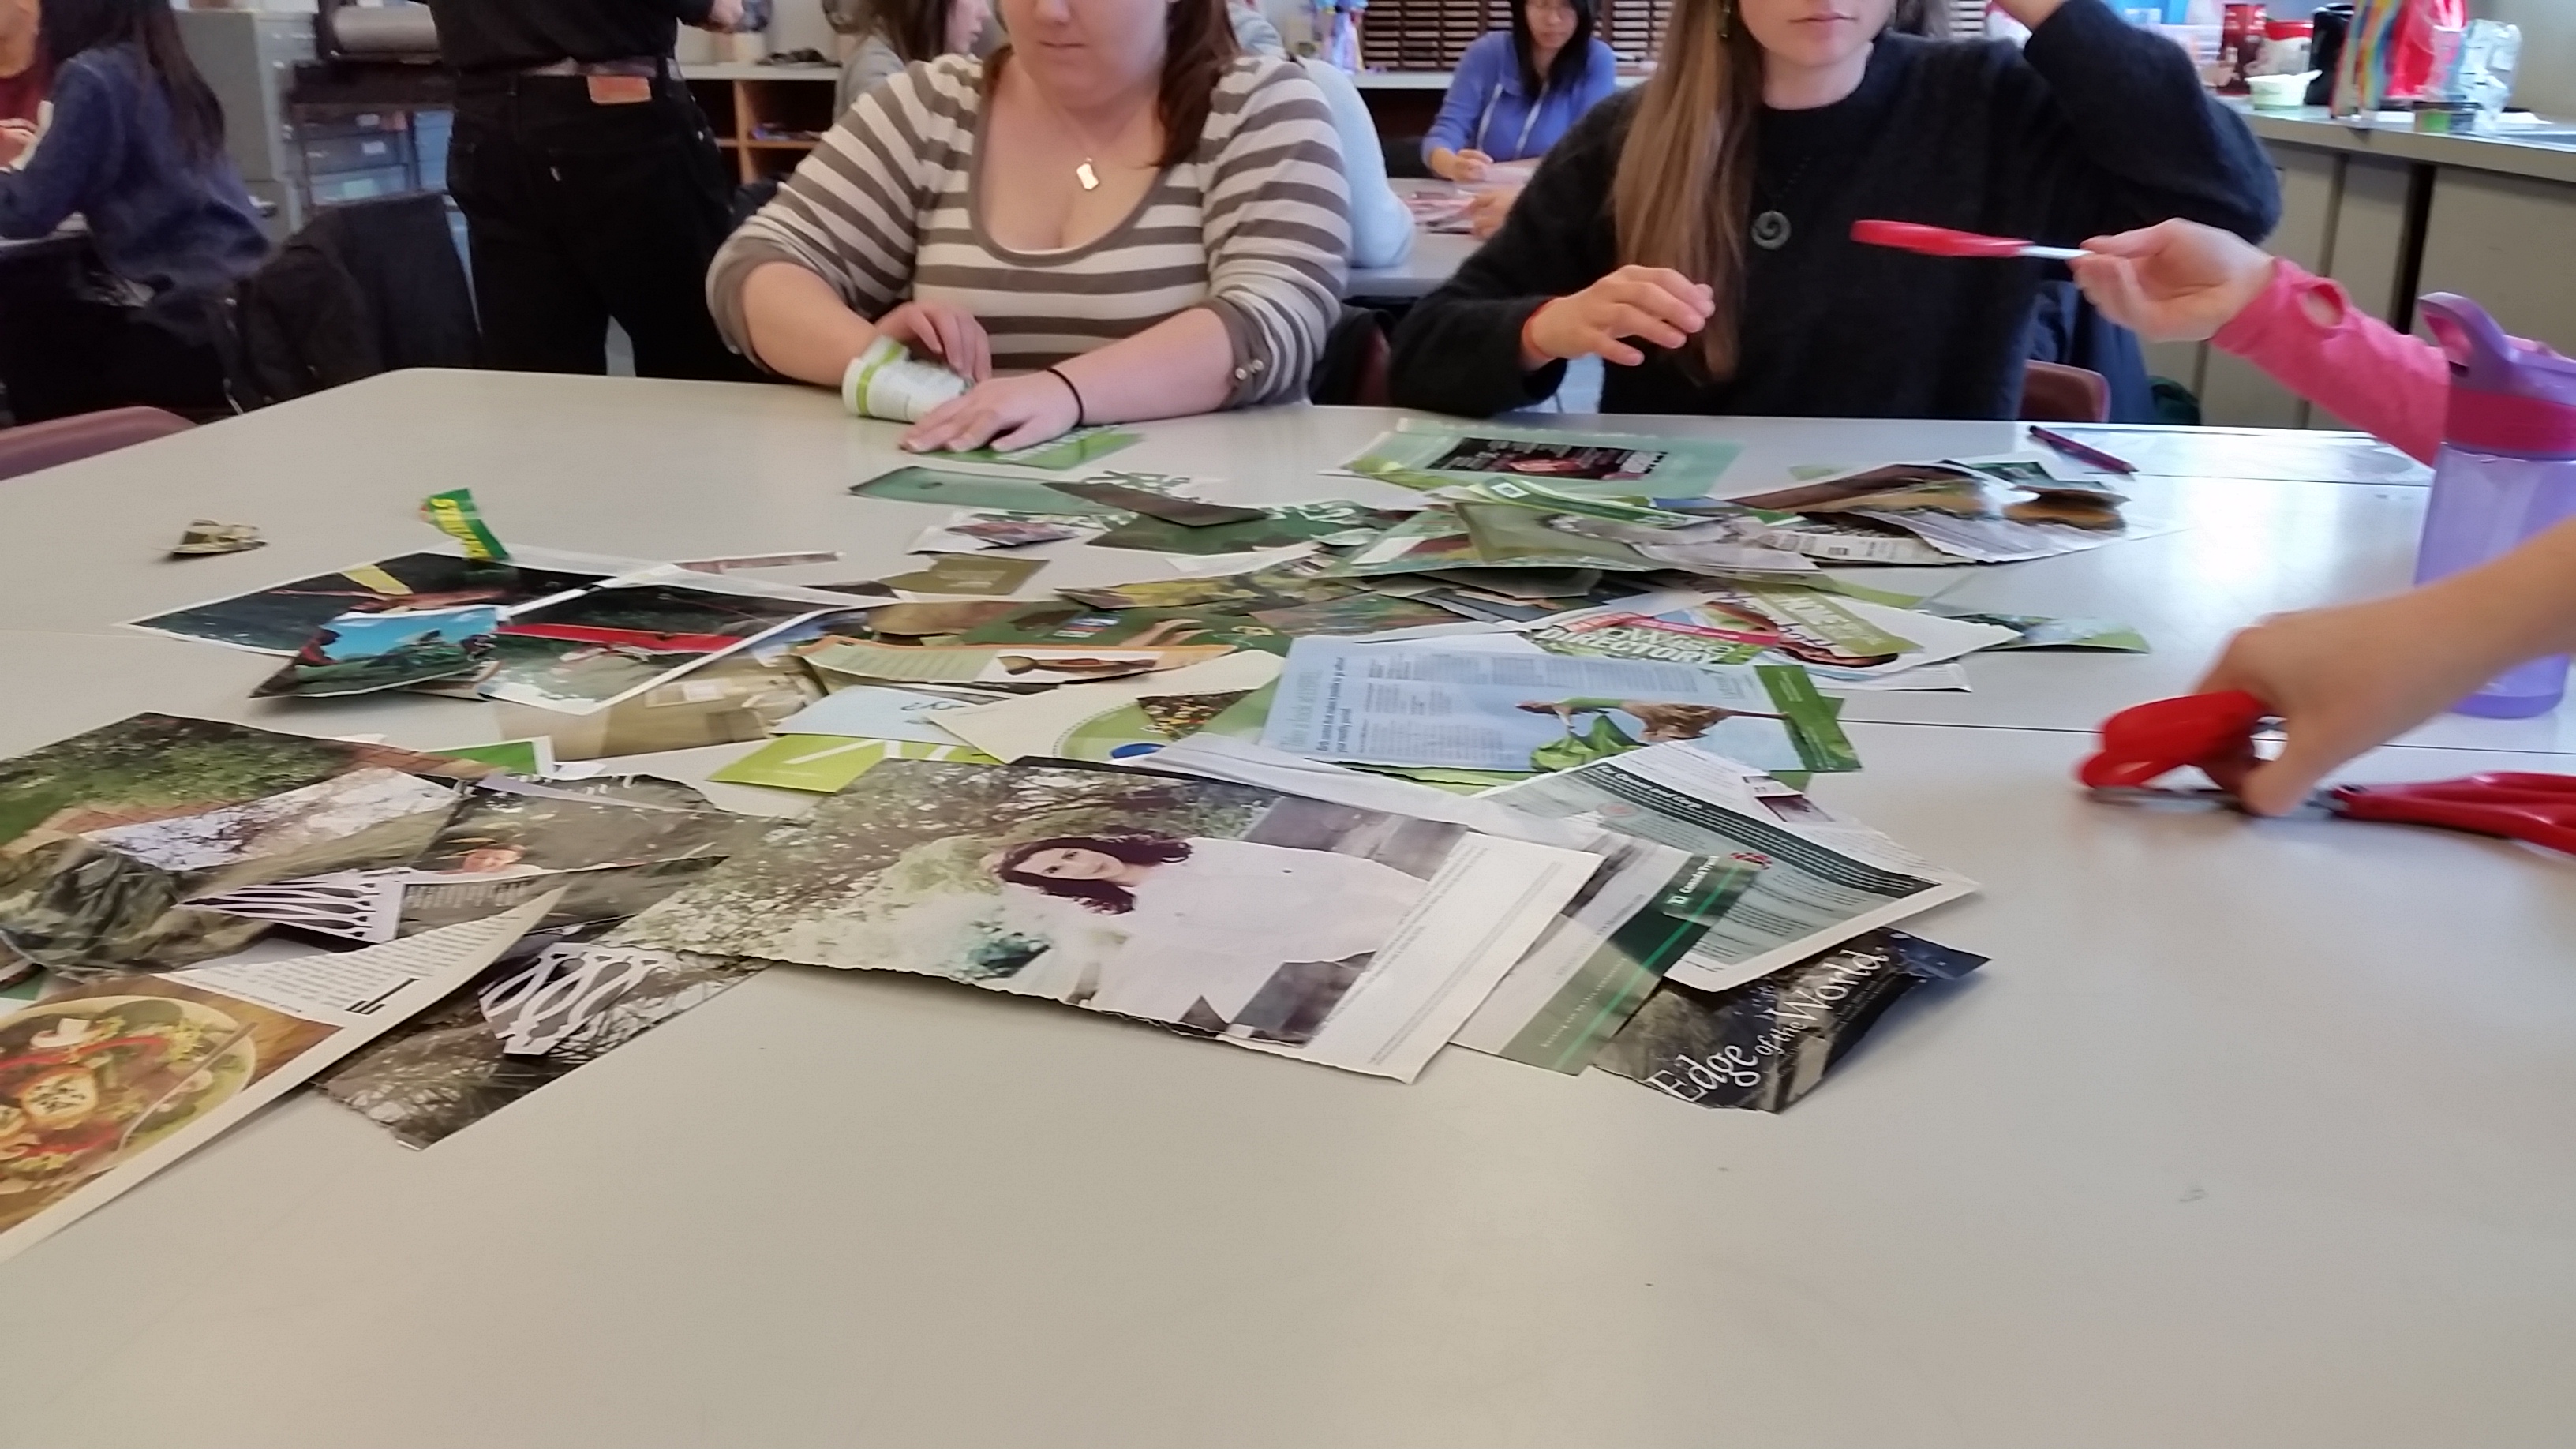
Printmaking

   Print Making!
IMG_1787  IMG_1786

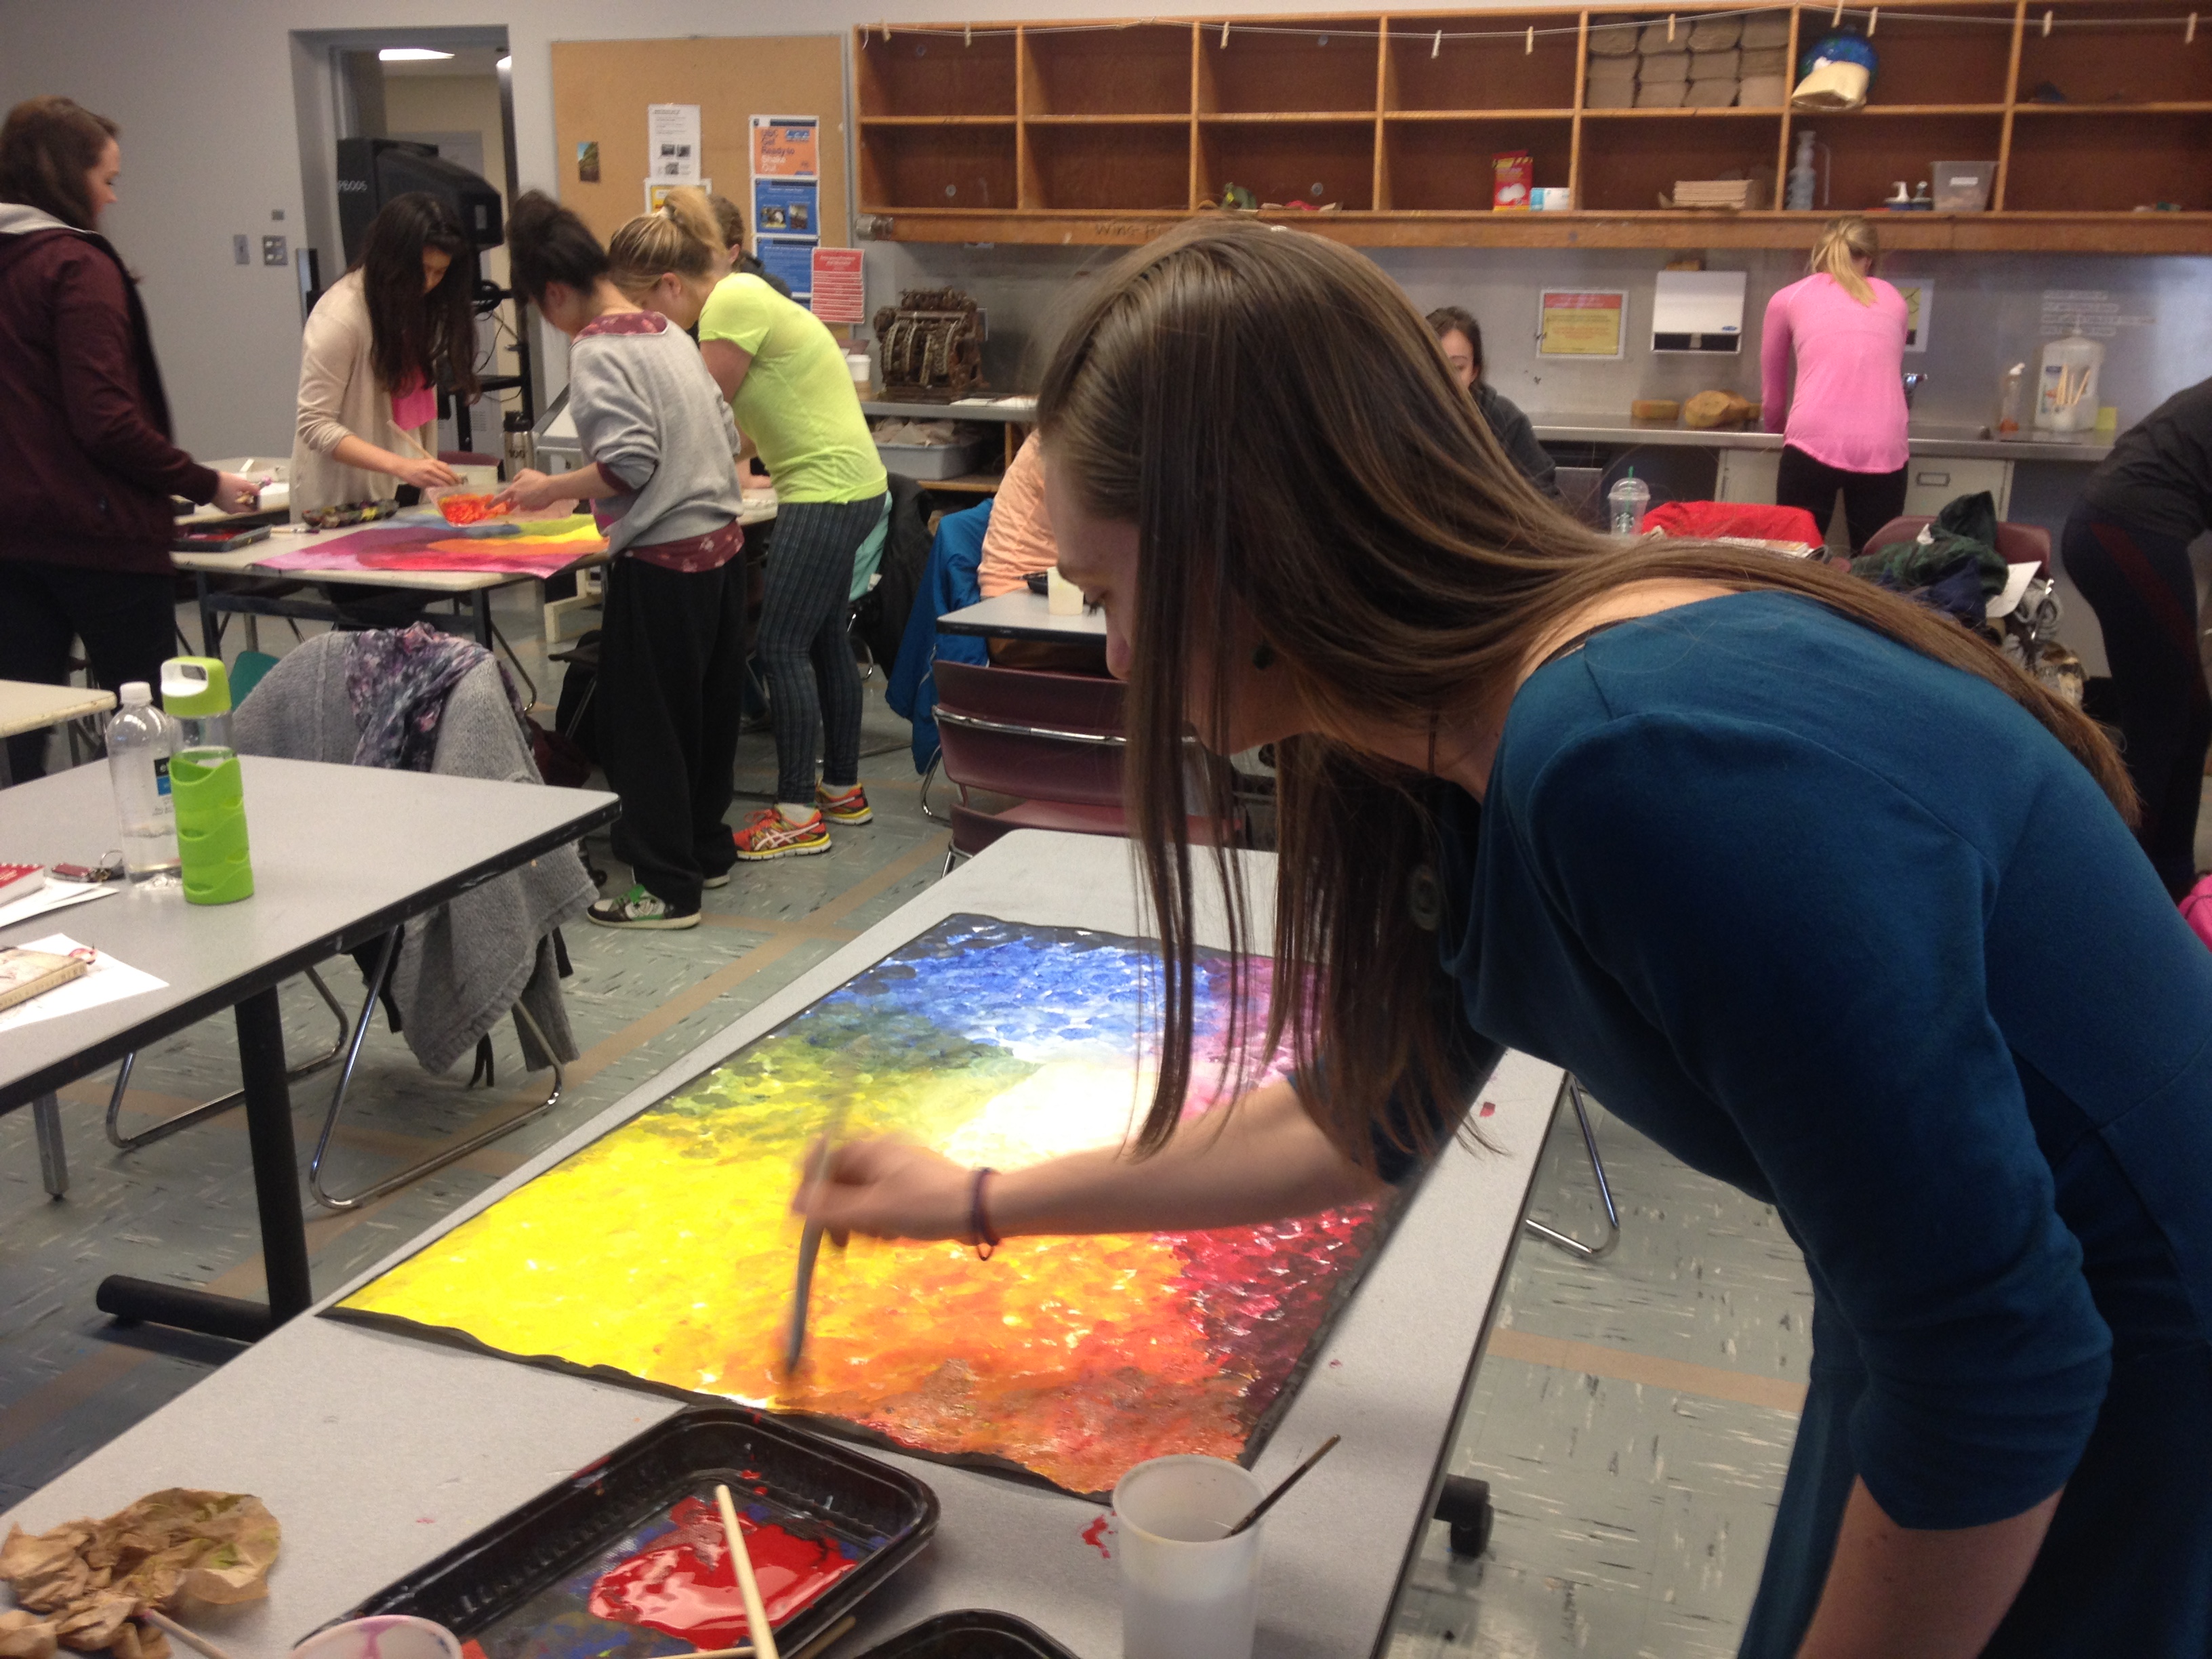
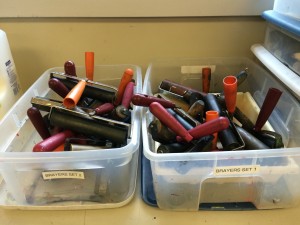
Print making uses ink. Unlike paint, this will stick to your clothes etc! Also, unlike paint, you only need a tiny amount. We use rollers to roll the ink onto our stencils. You know you have the right amount of ink on your roller when it makes a “kiss” sound, if there is no sound you have too much ink!

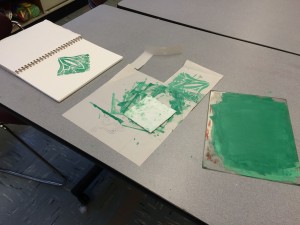
Stencils were made by drawing on paper, then tracing those drawings onto pre-cut squares of Styrofoam using a ball-point pen. The ben tip rolls nicely over the styrofoam surface, and doesn’t require much pressure to make indentations.

IMG_1788

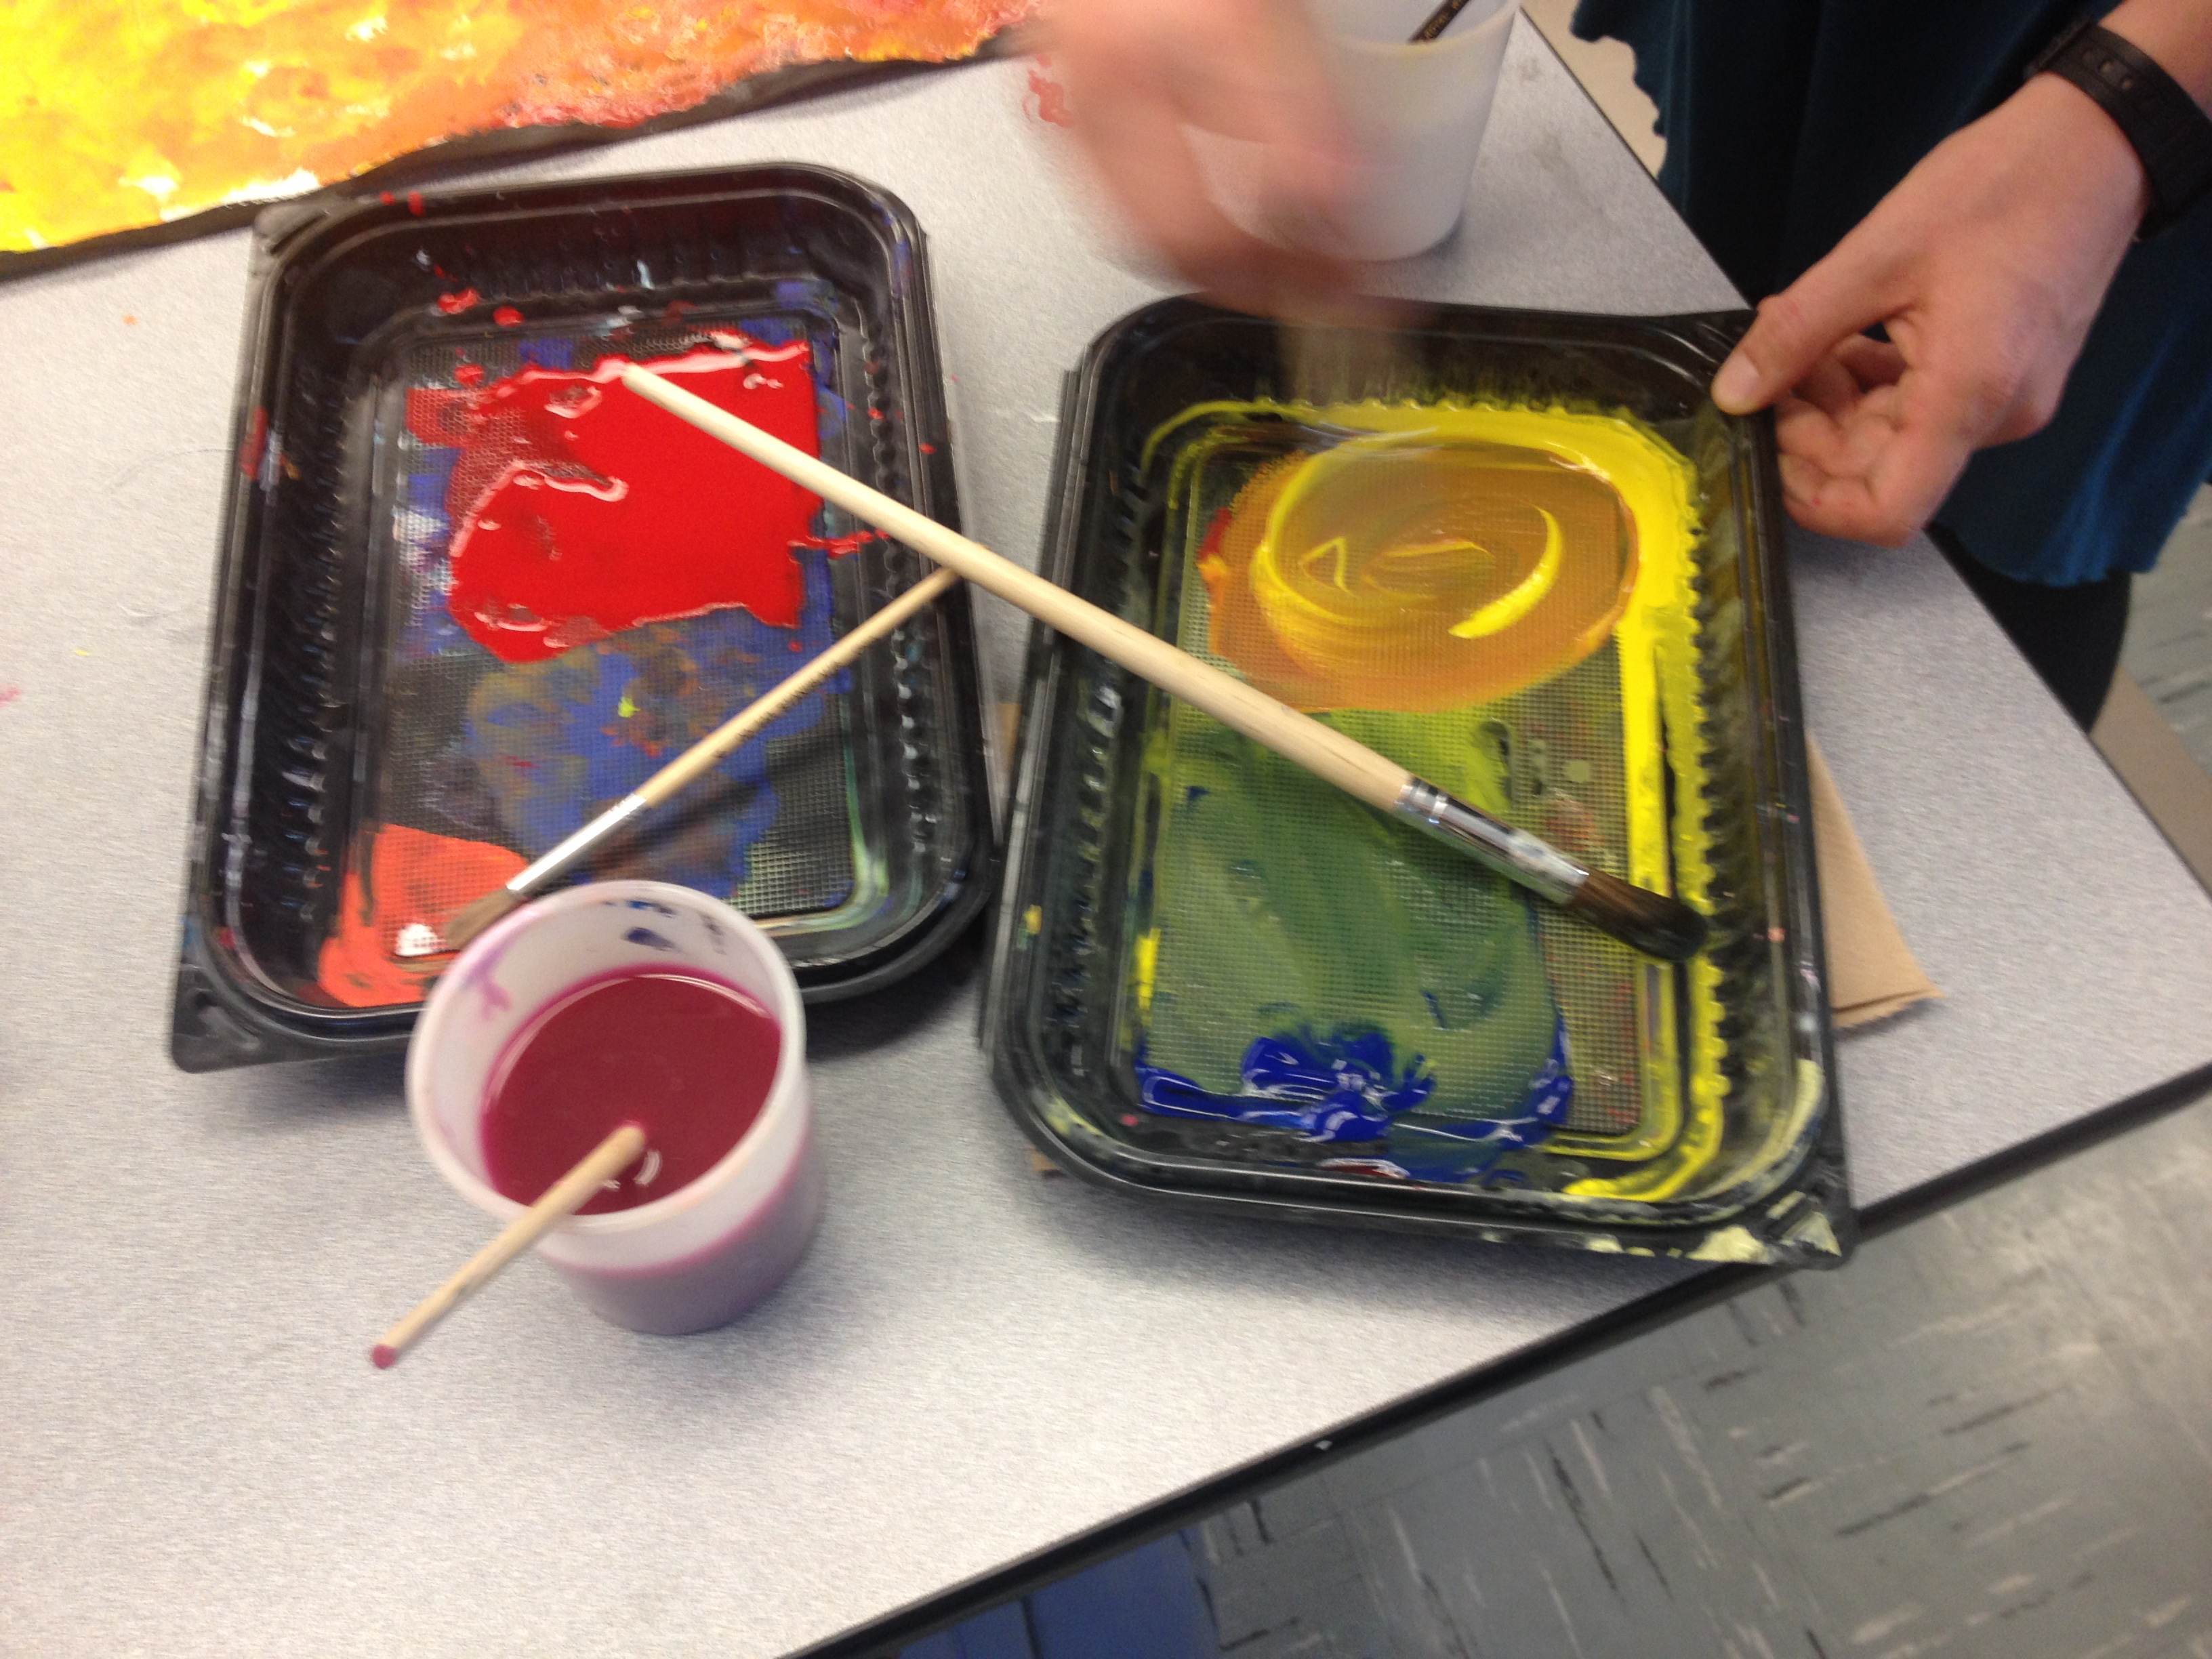
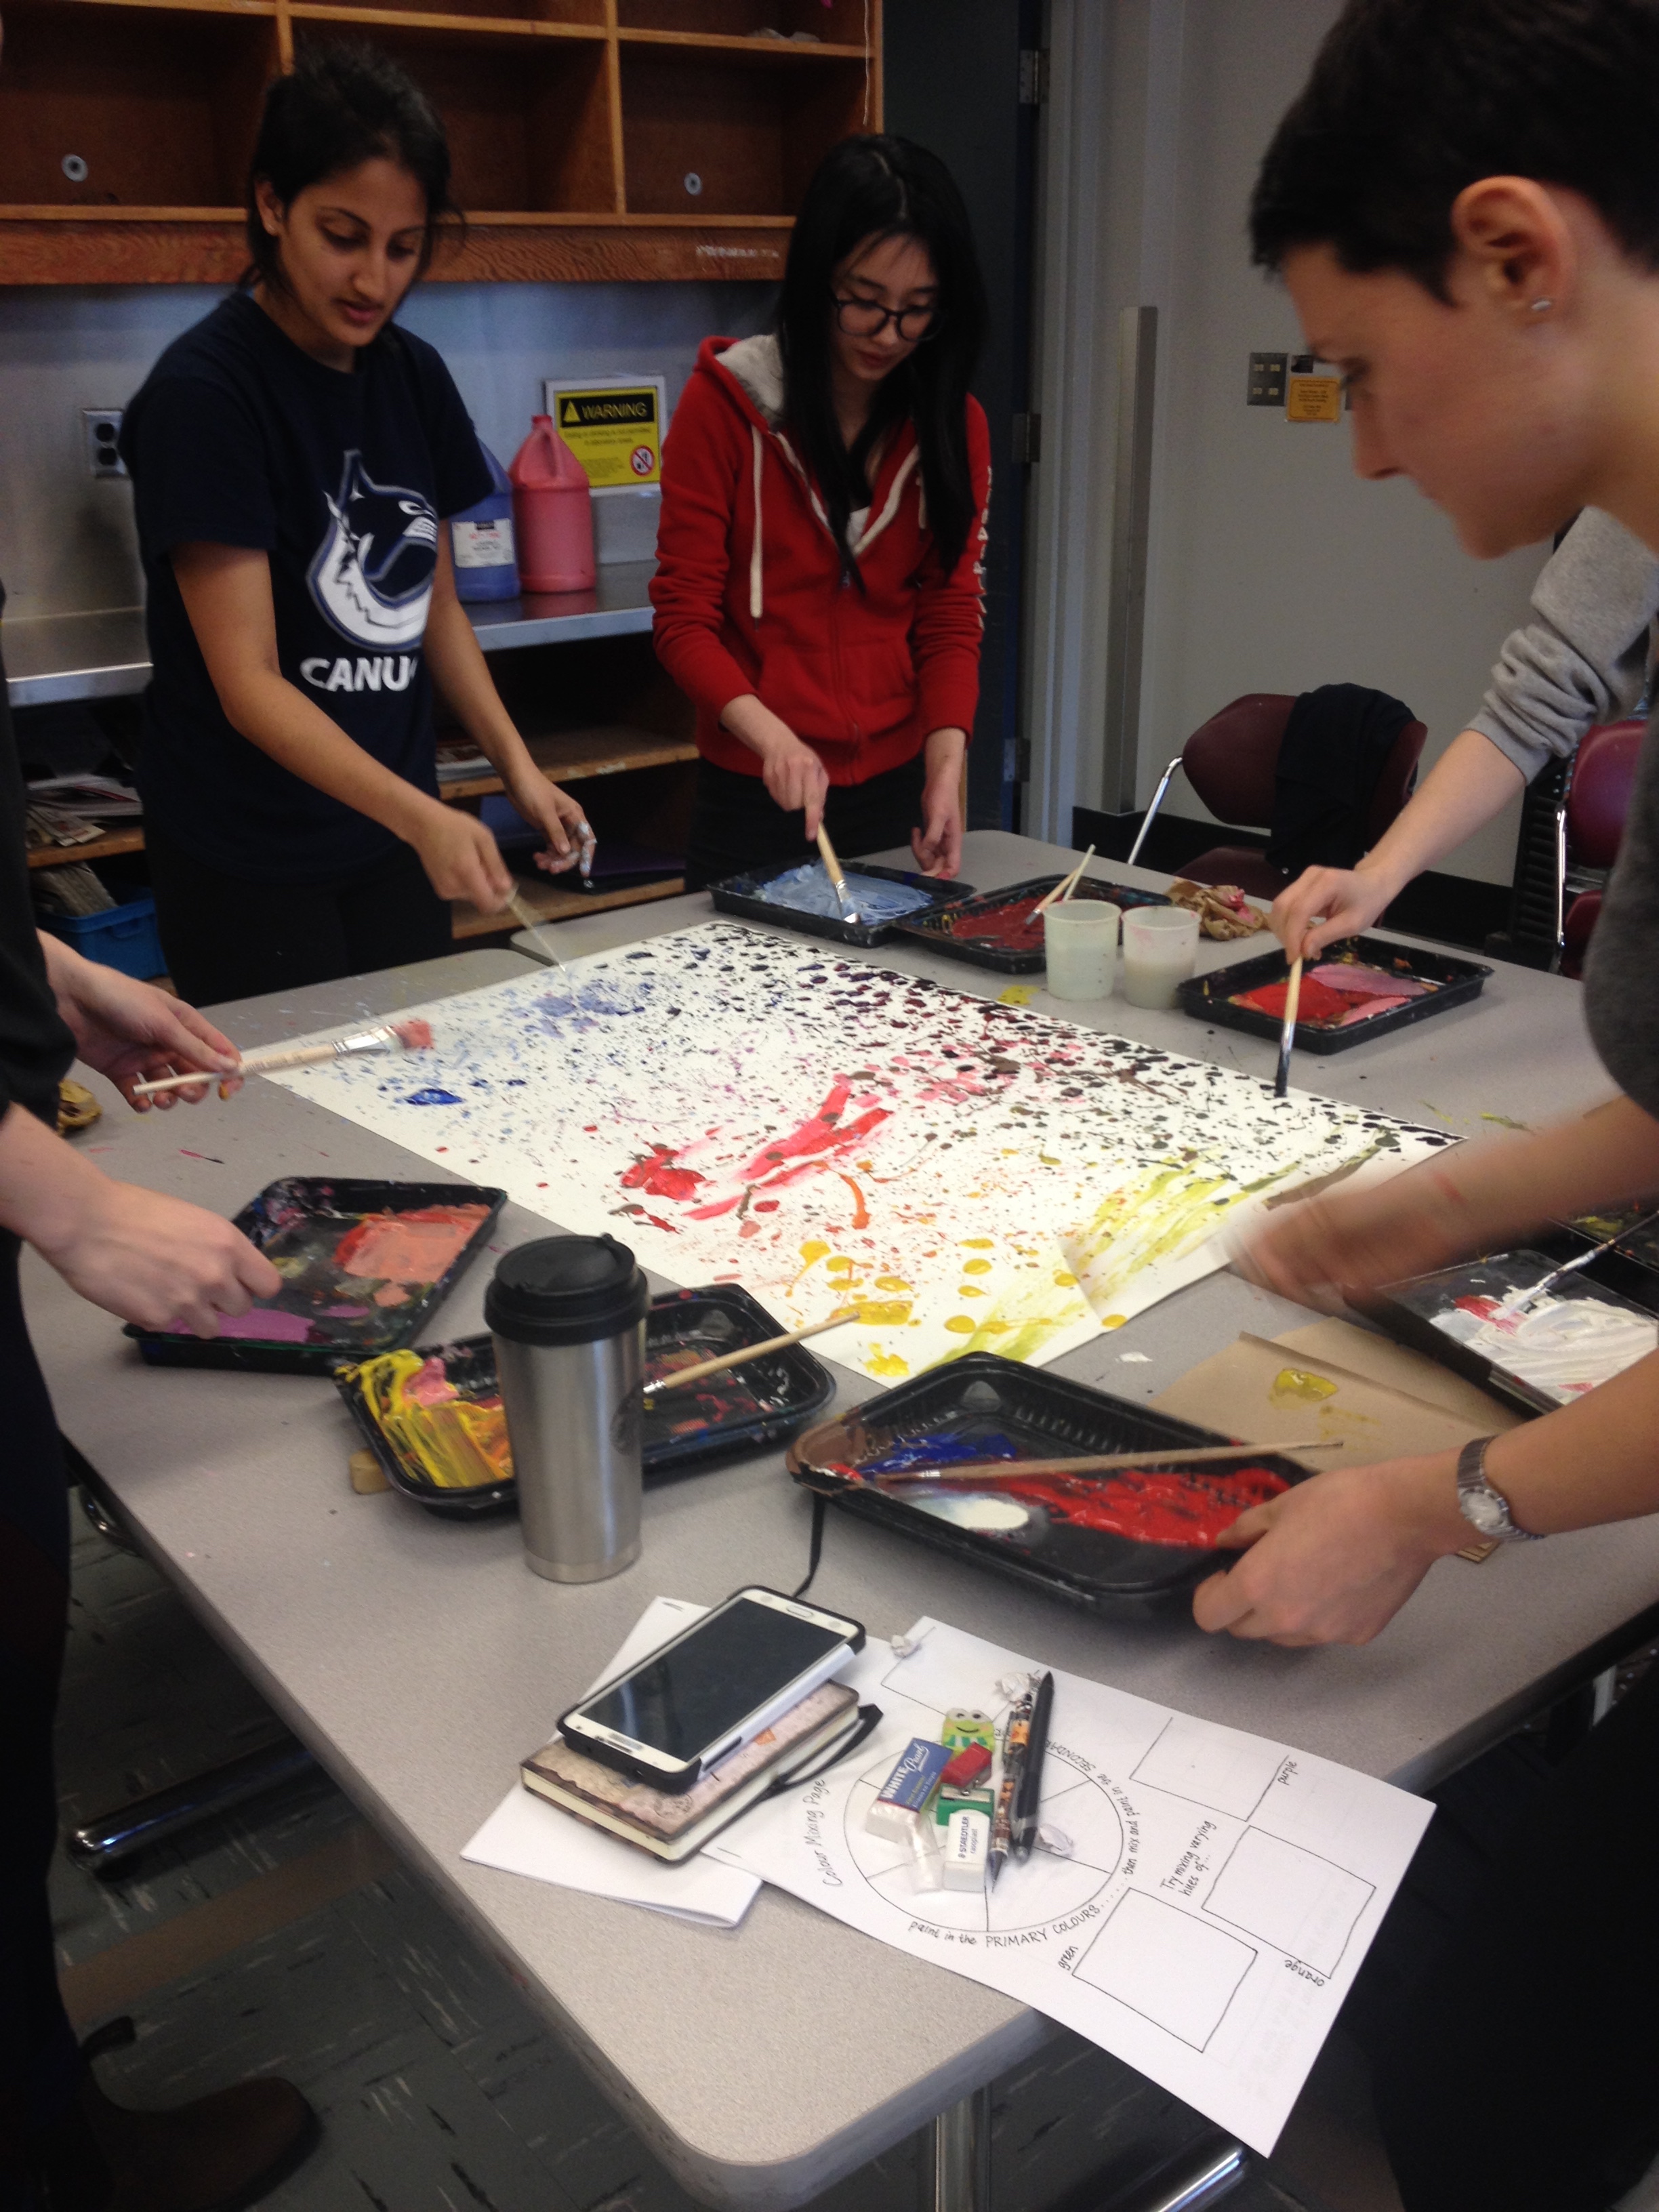
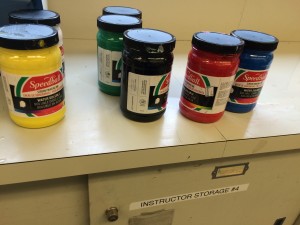
After the stencil is complete, ink is mixed to the desired colour on a board, and rolled onto the roller at the appropriate thickness. Then, ink is applied to the stencil using the roller.

IMG_1785

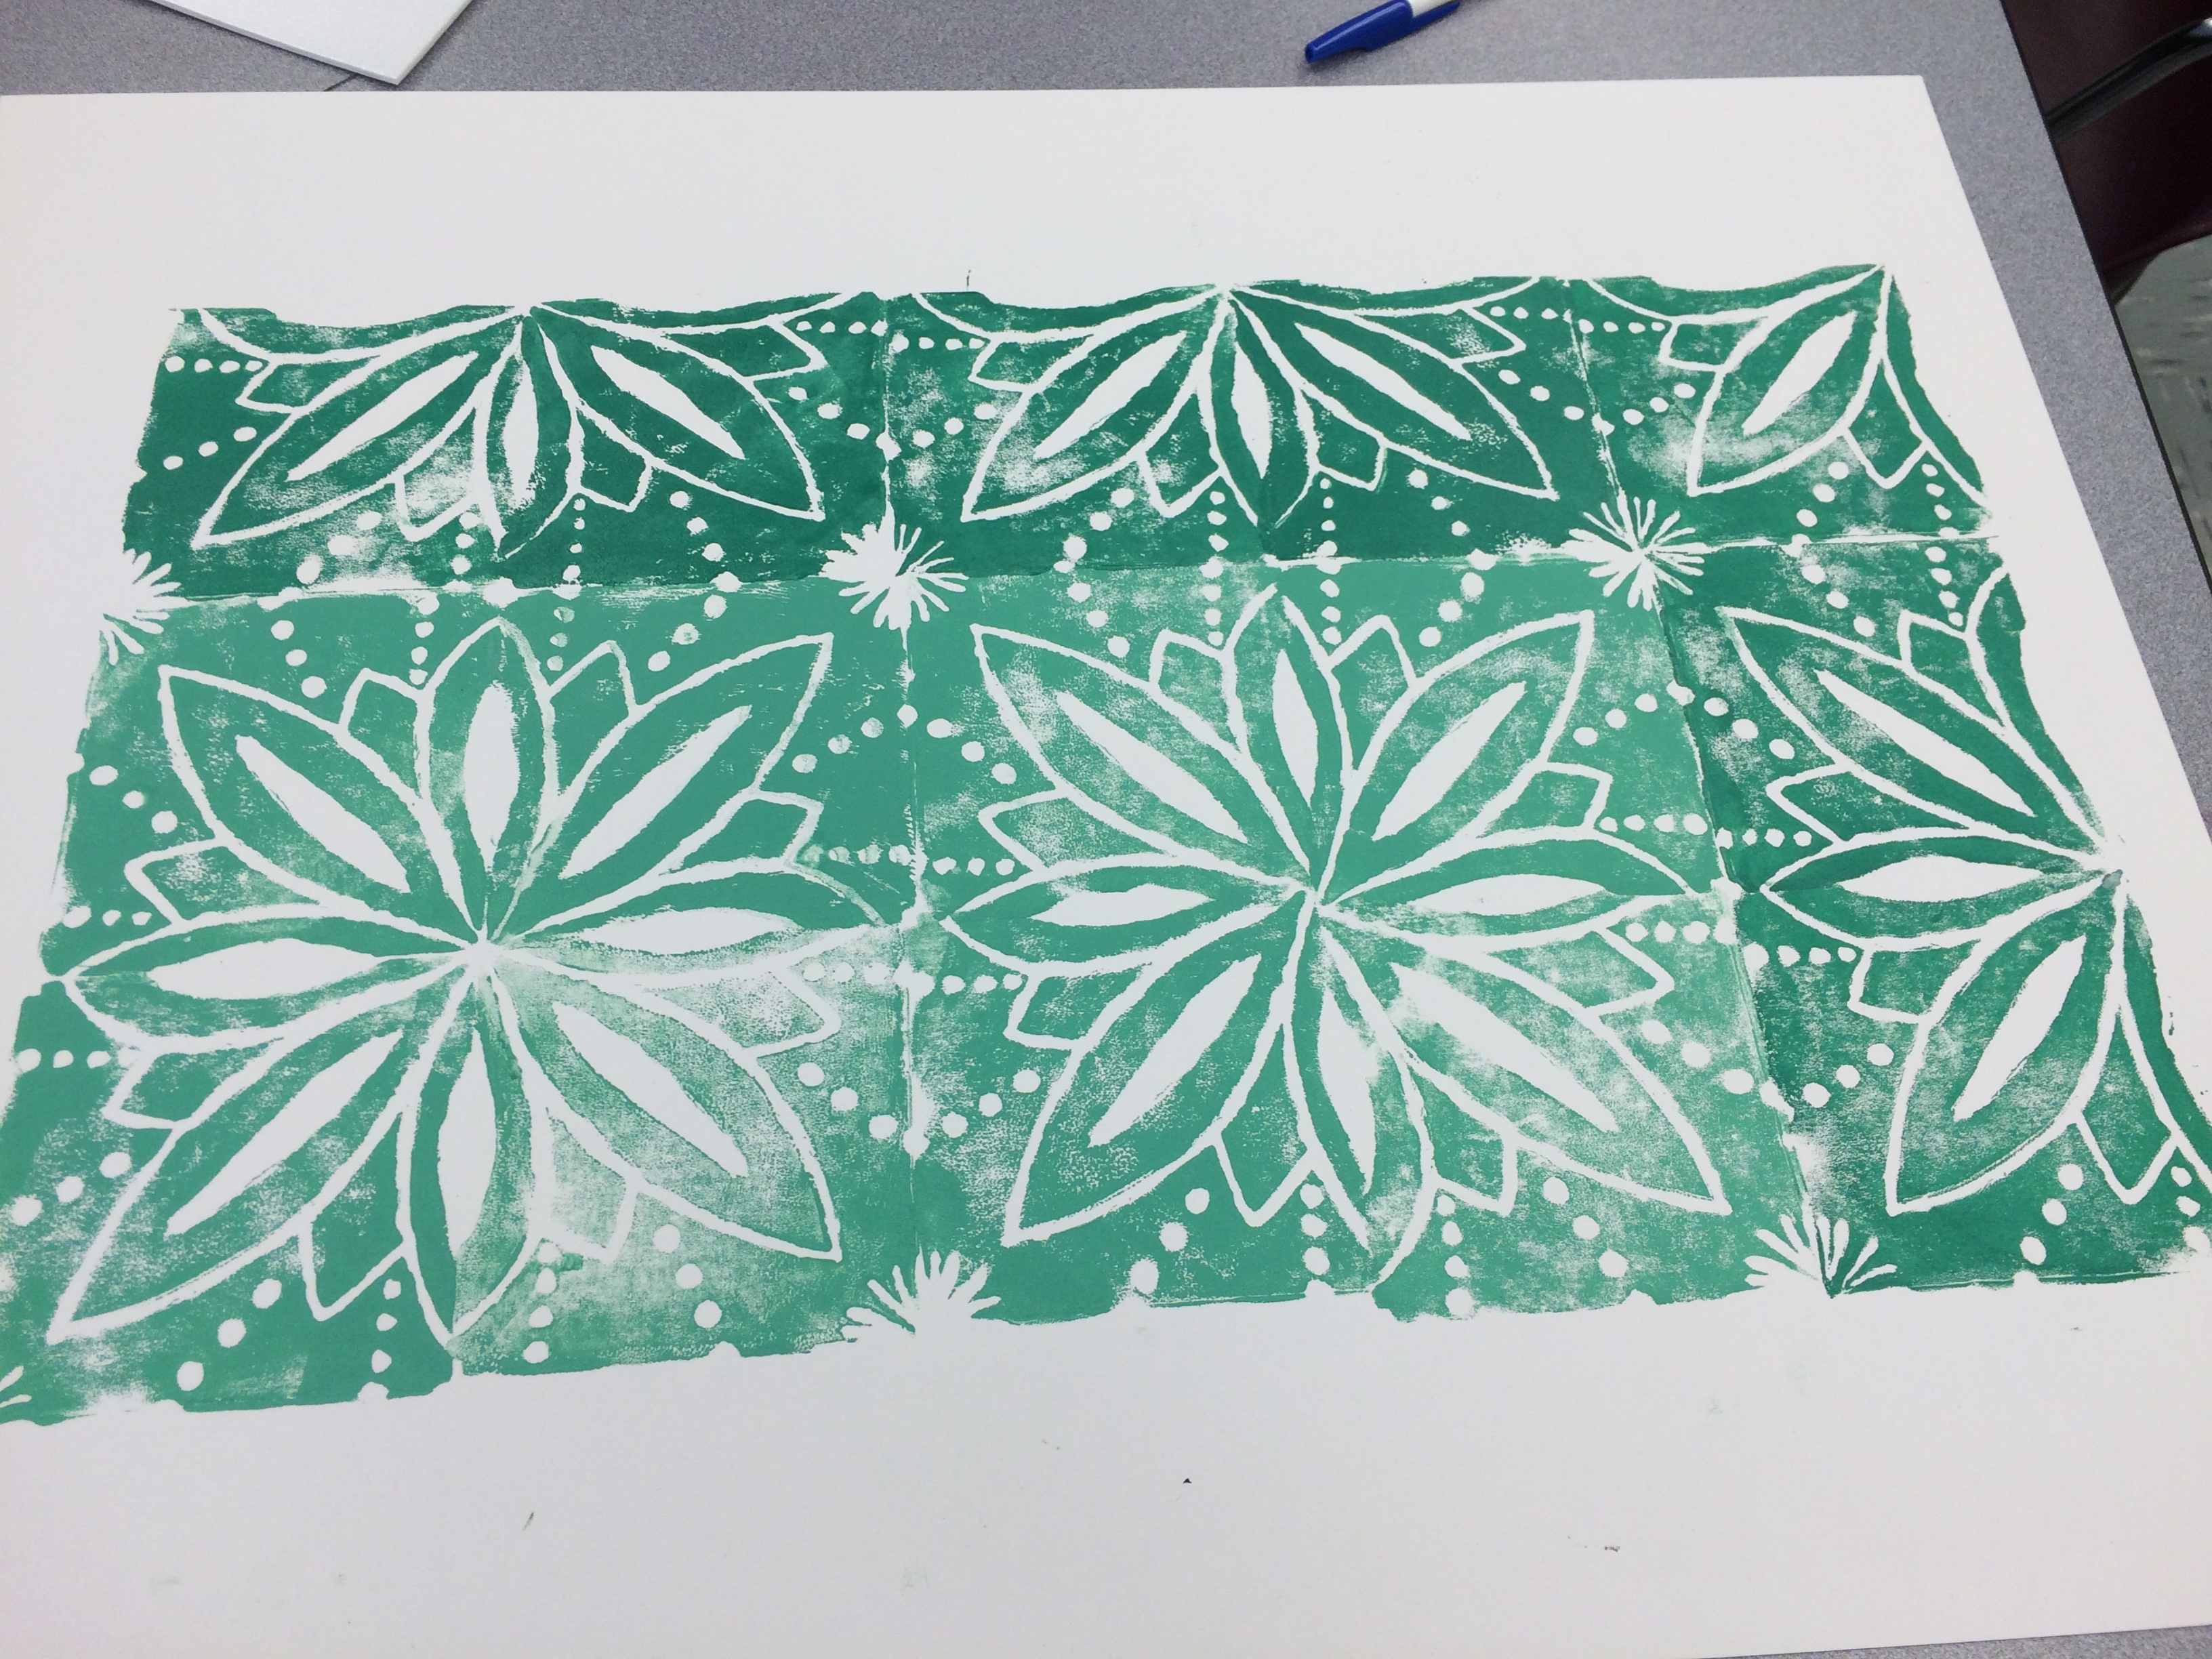
The stencil is “stamped” onto paper, and then re-stamped rotating the piece so that the inner corner touches its print. See our examples below.

IMG_1790  IMG_1789

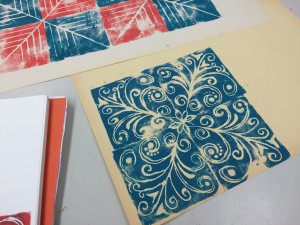
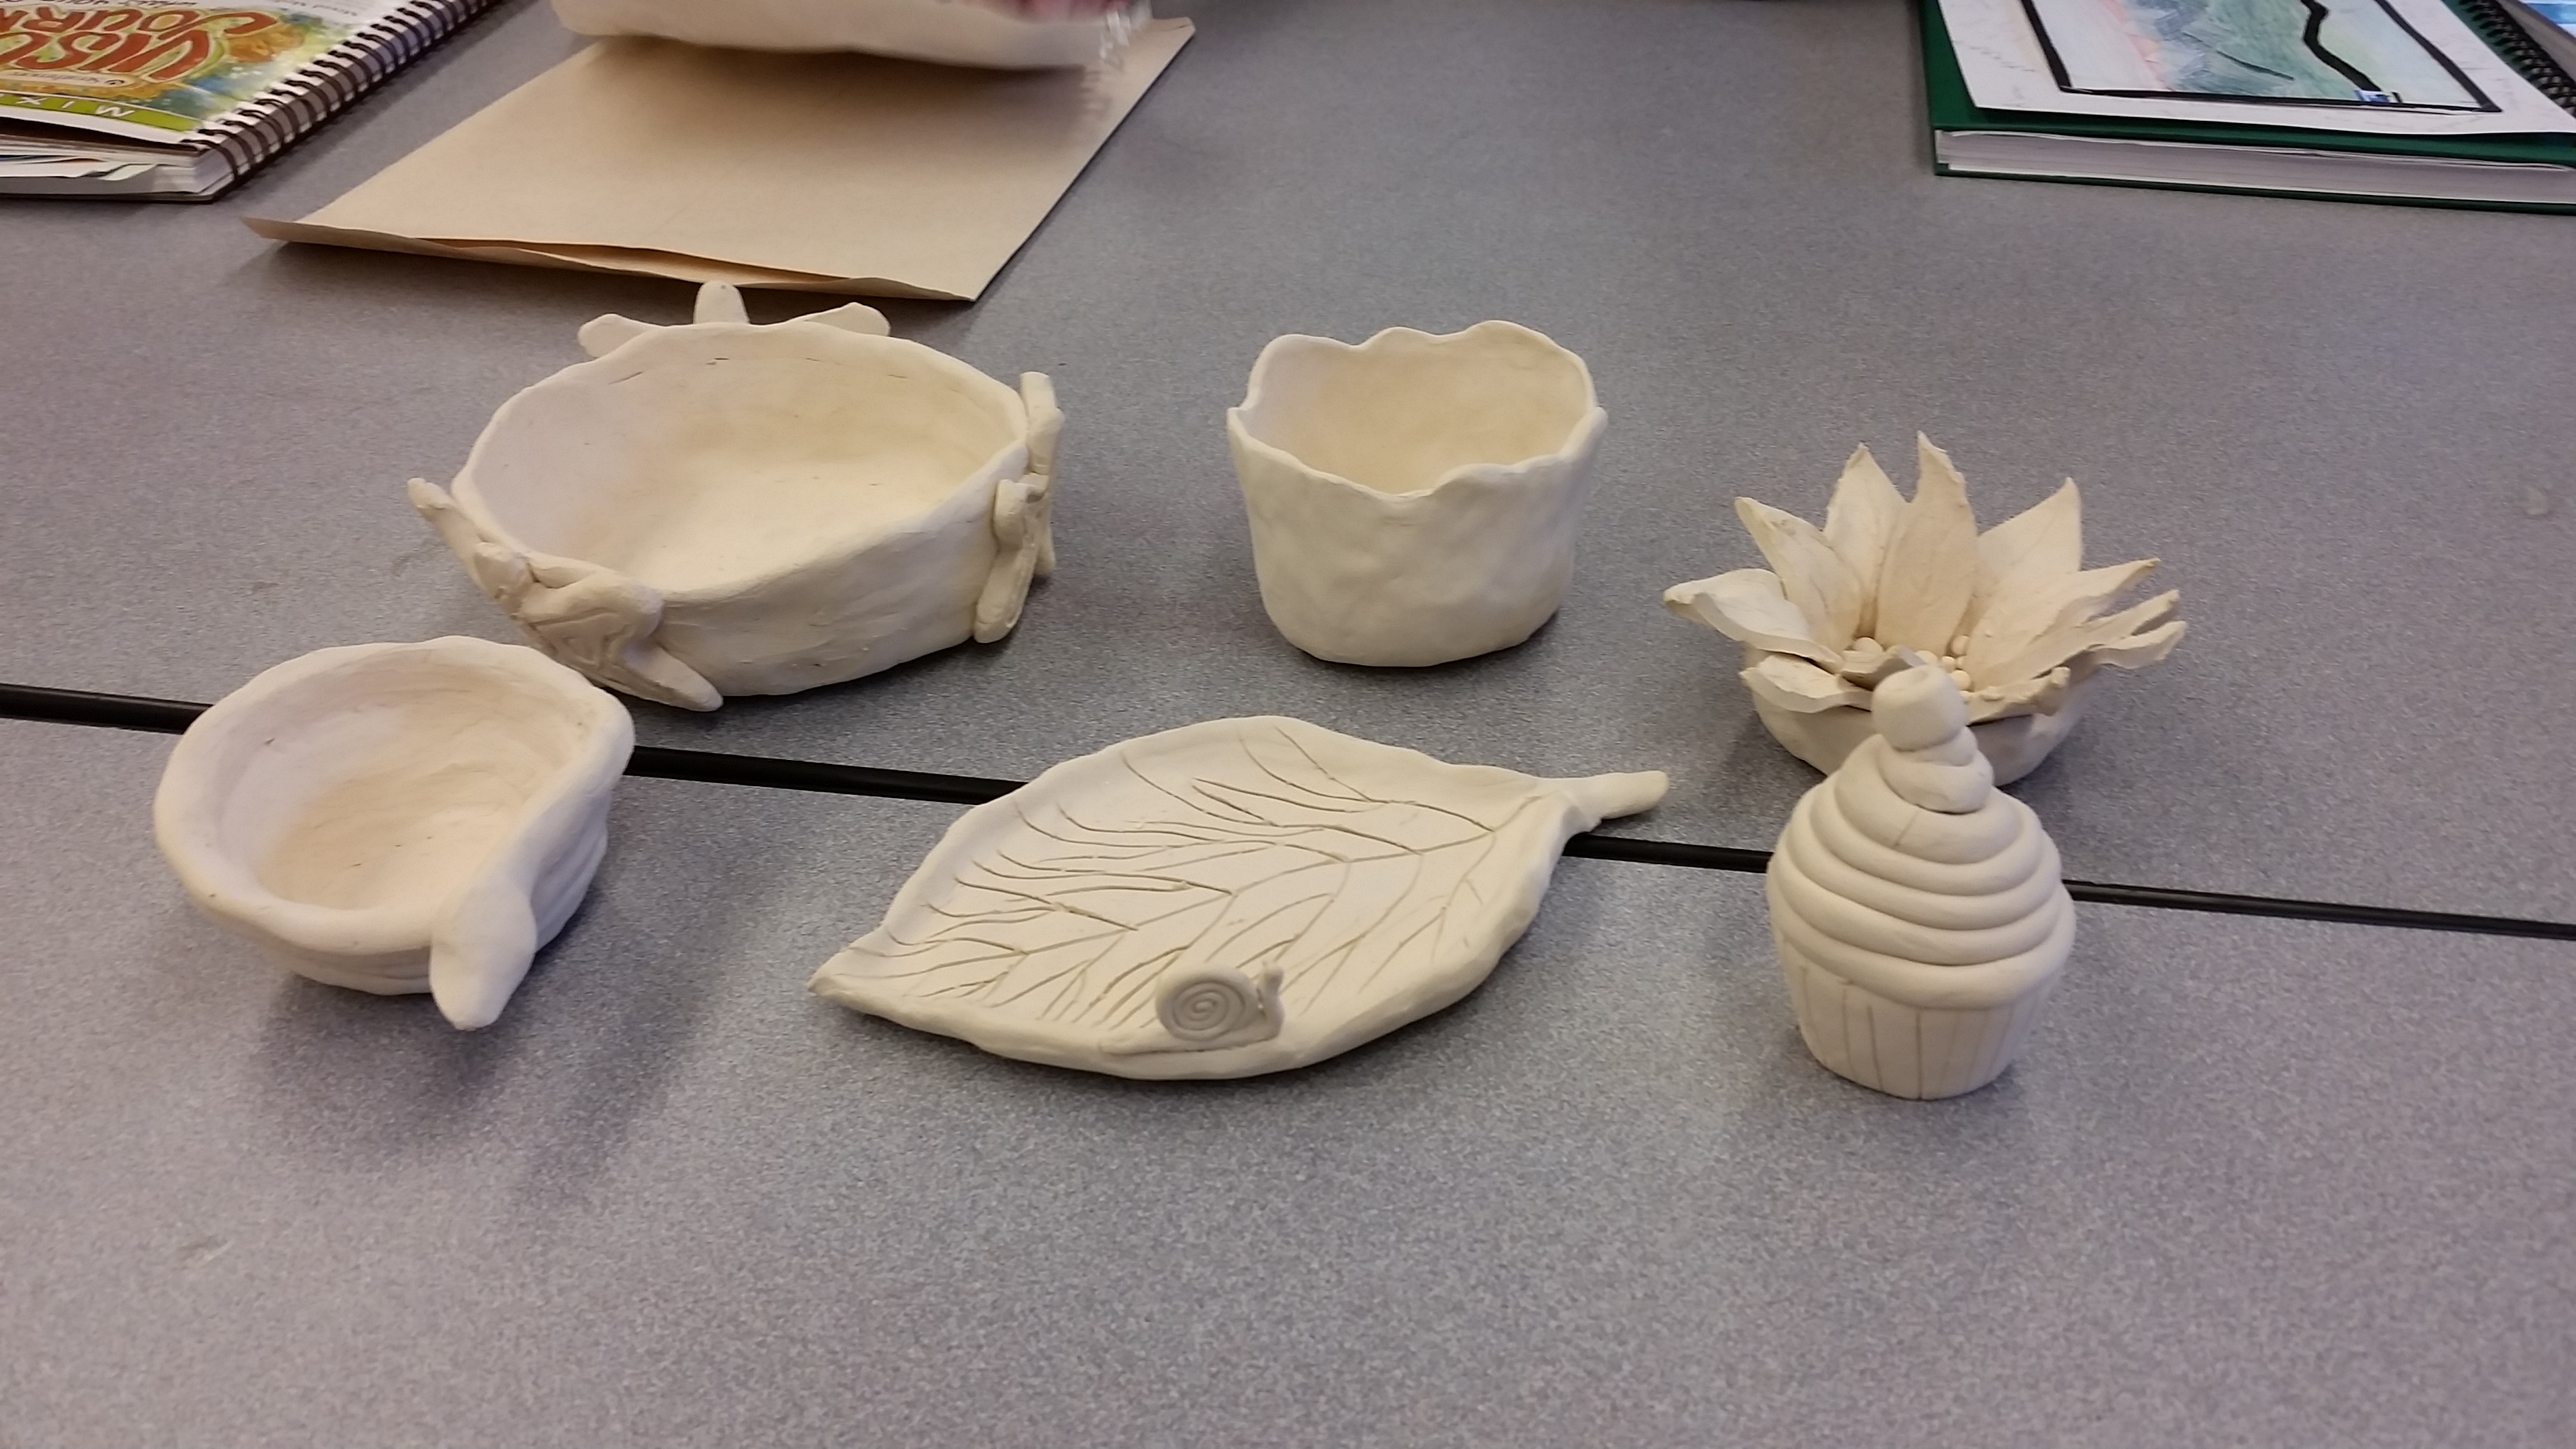
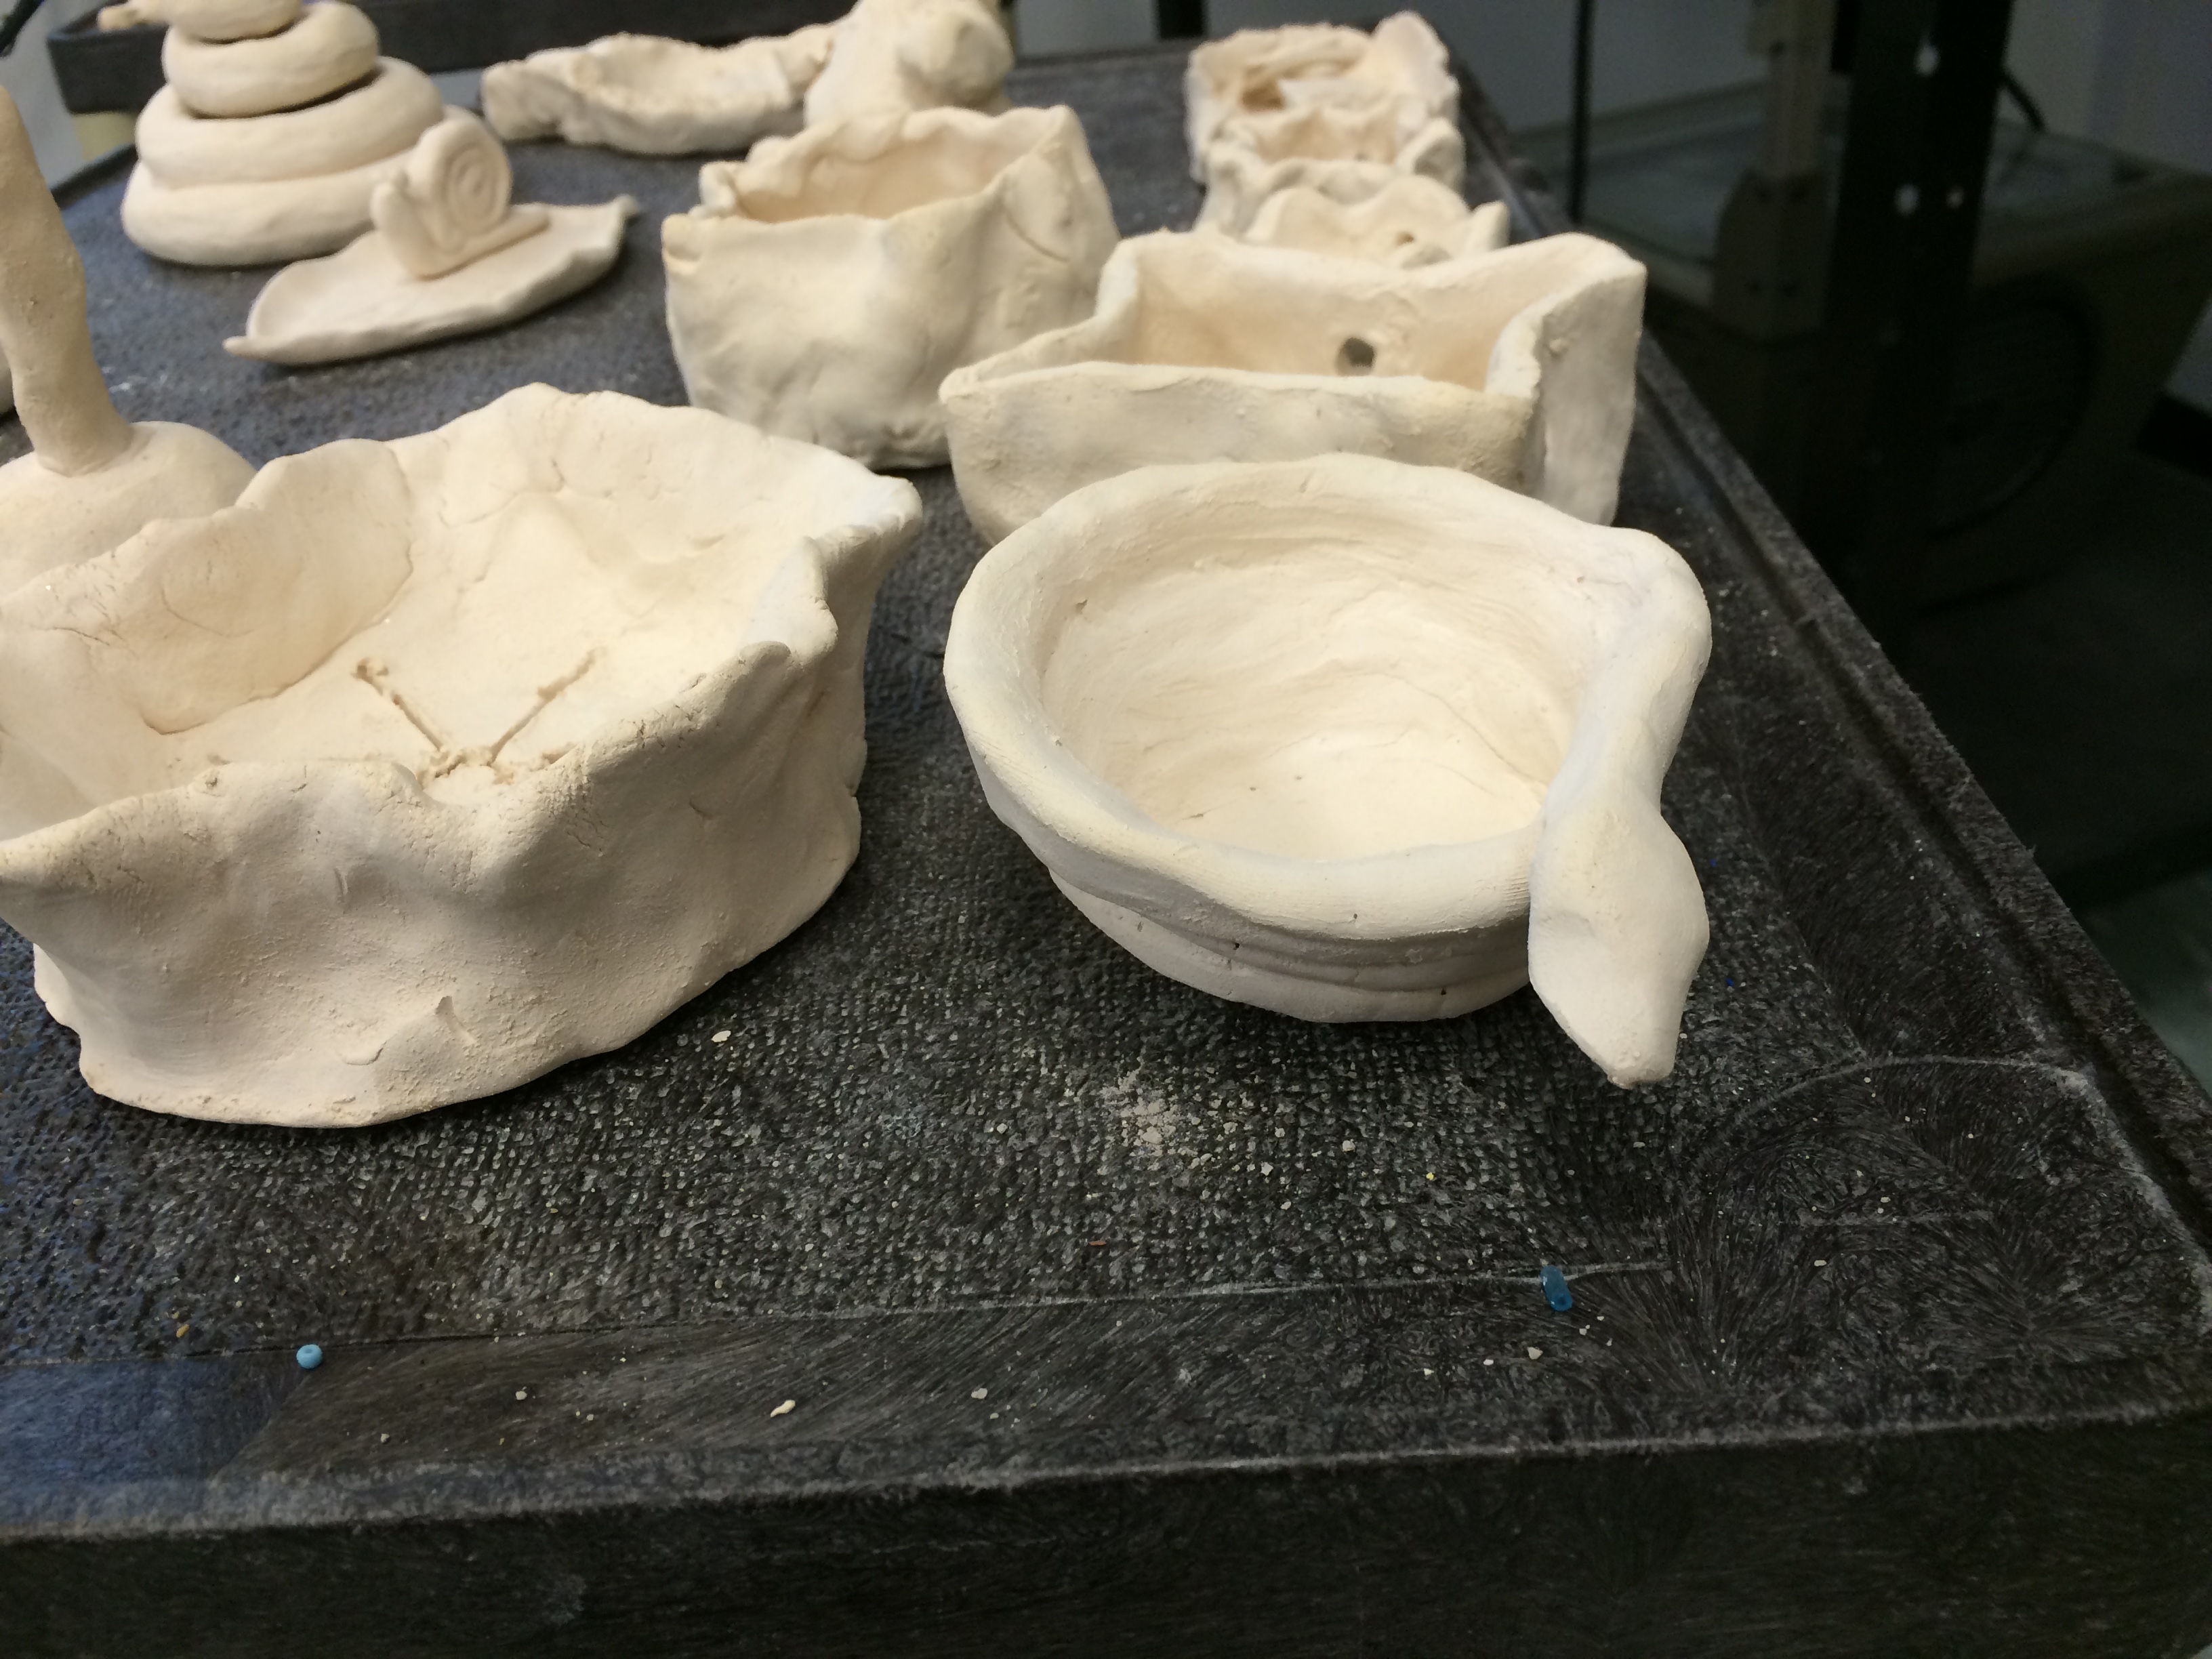
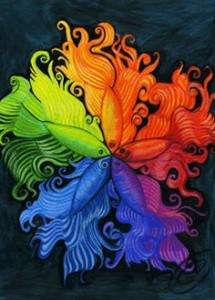
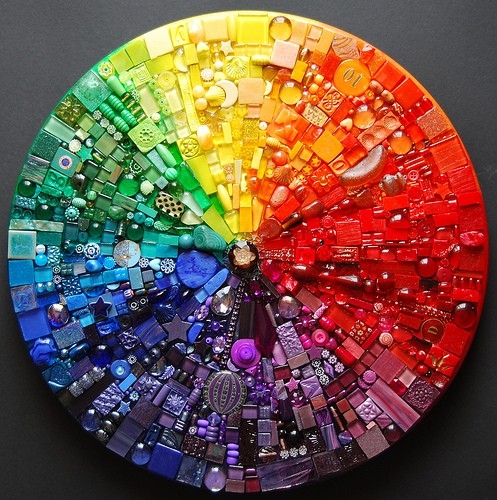
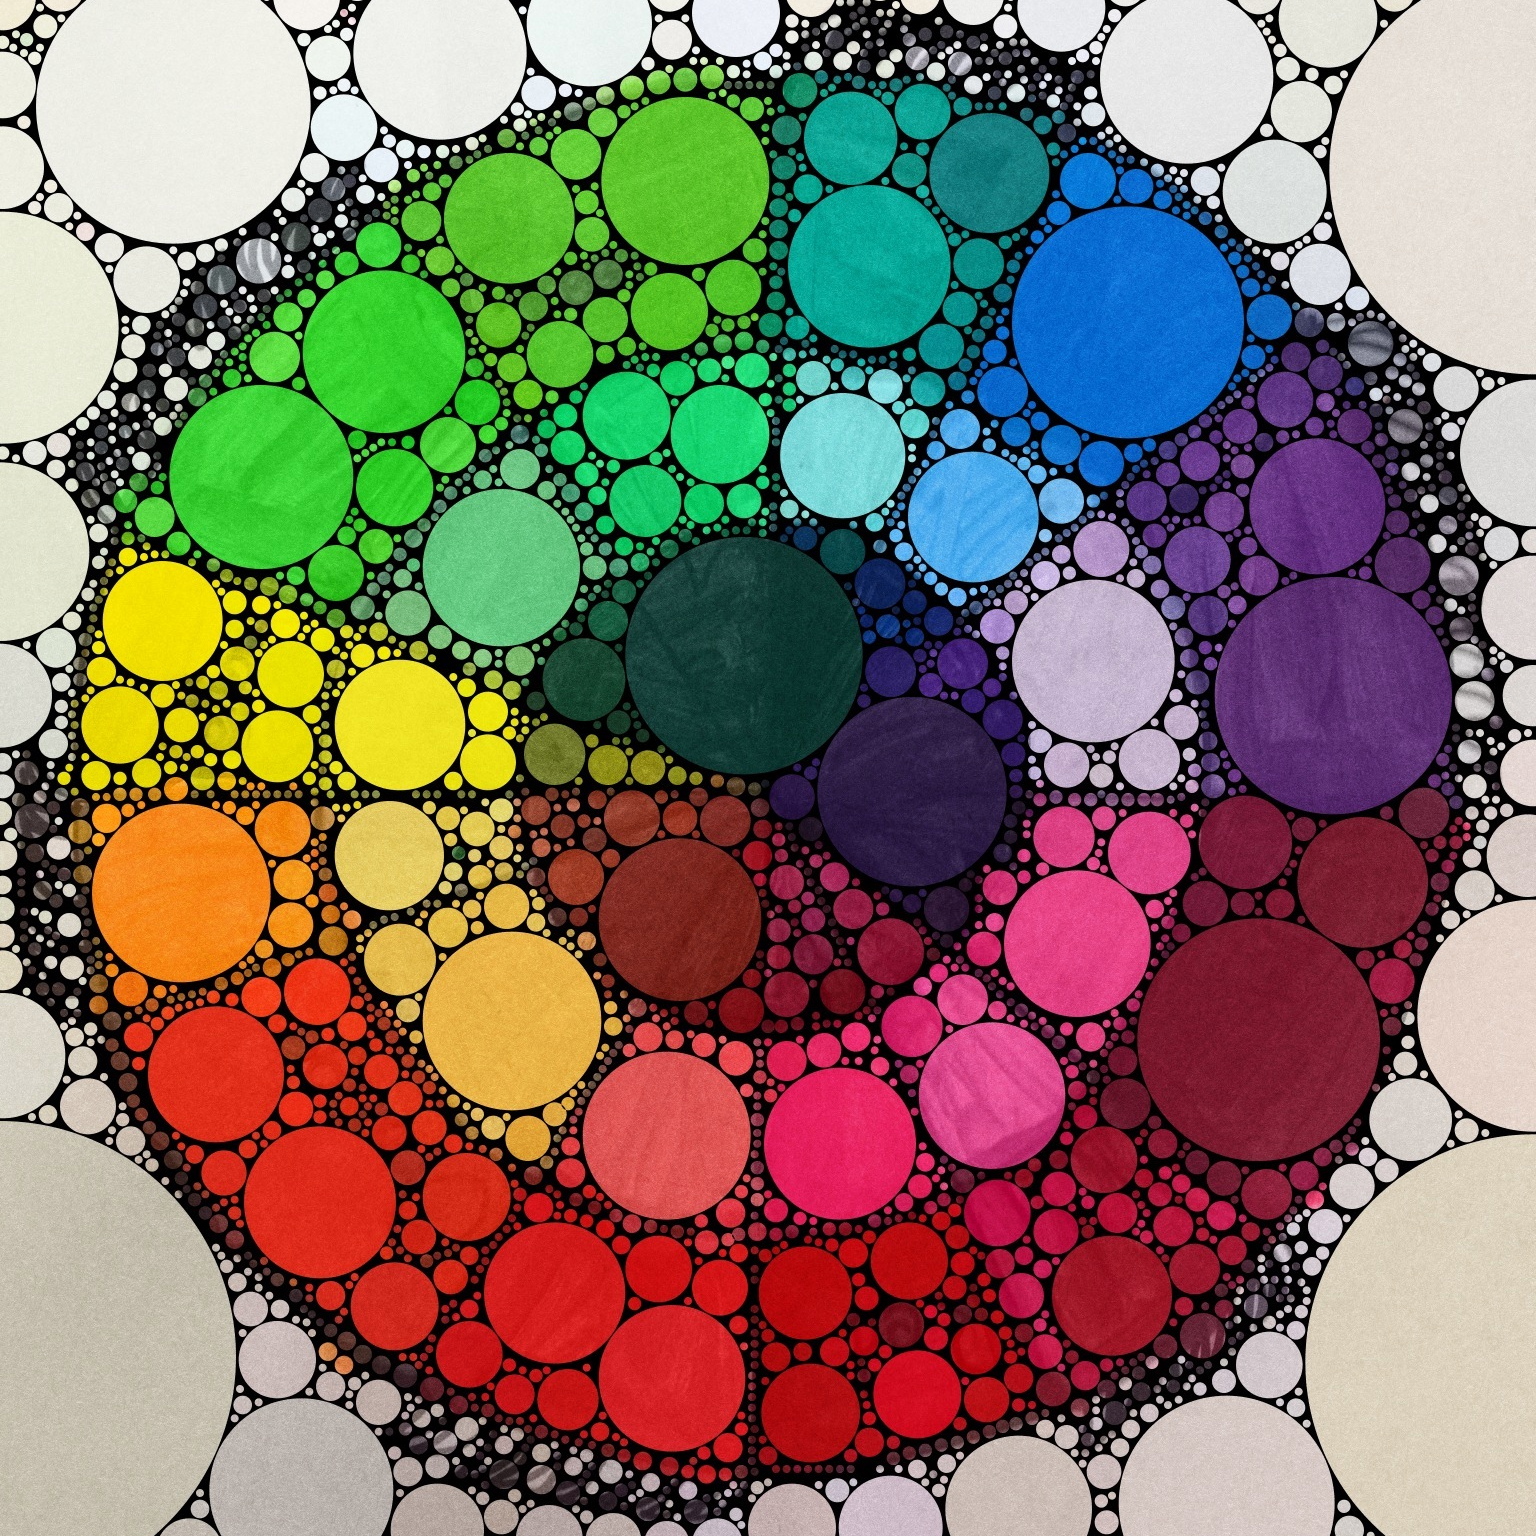
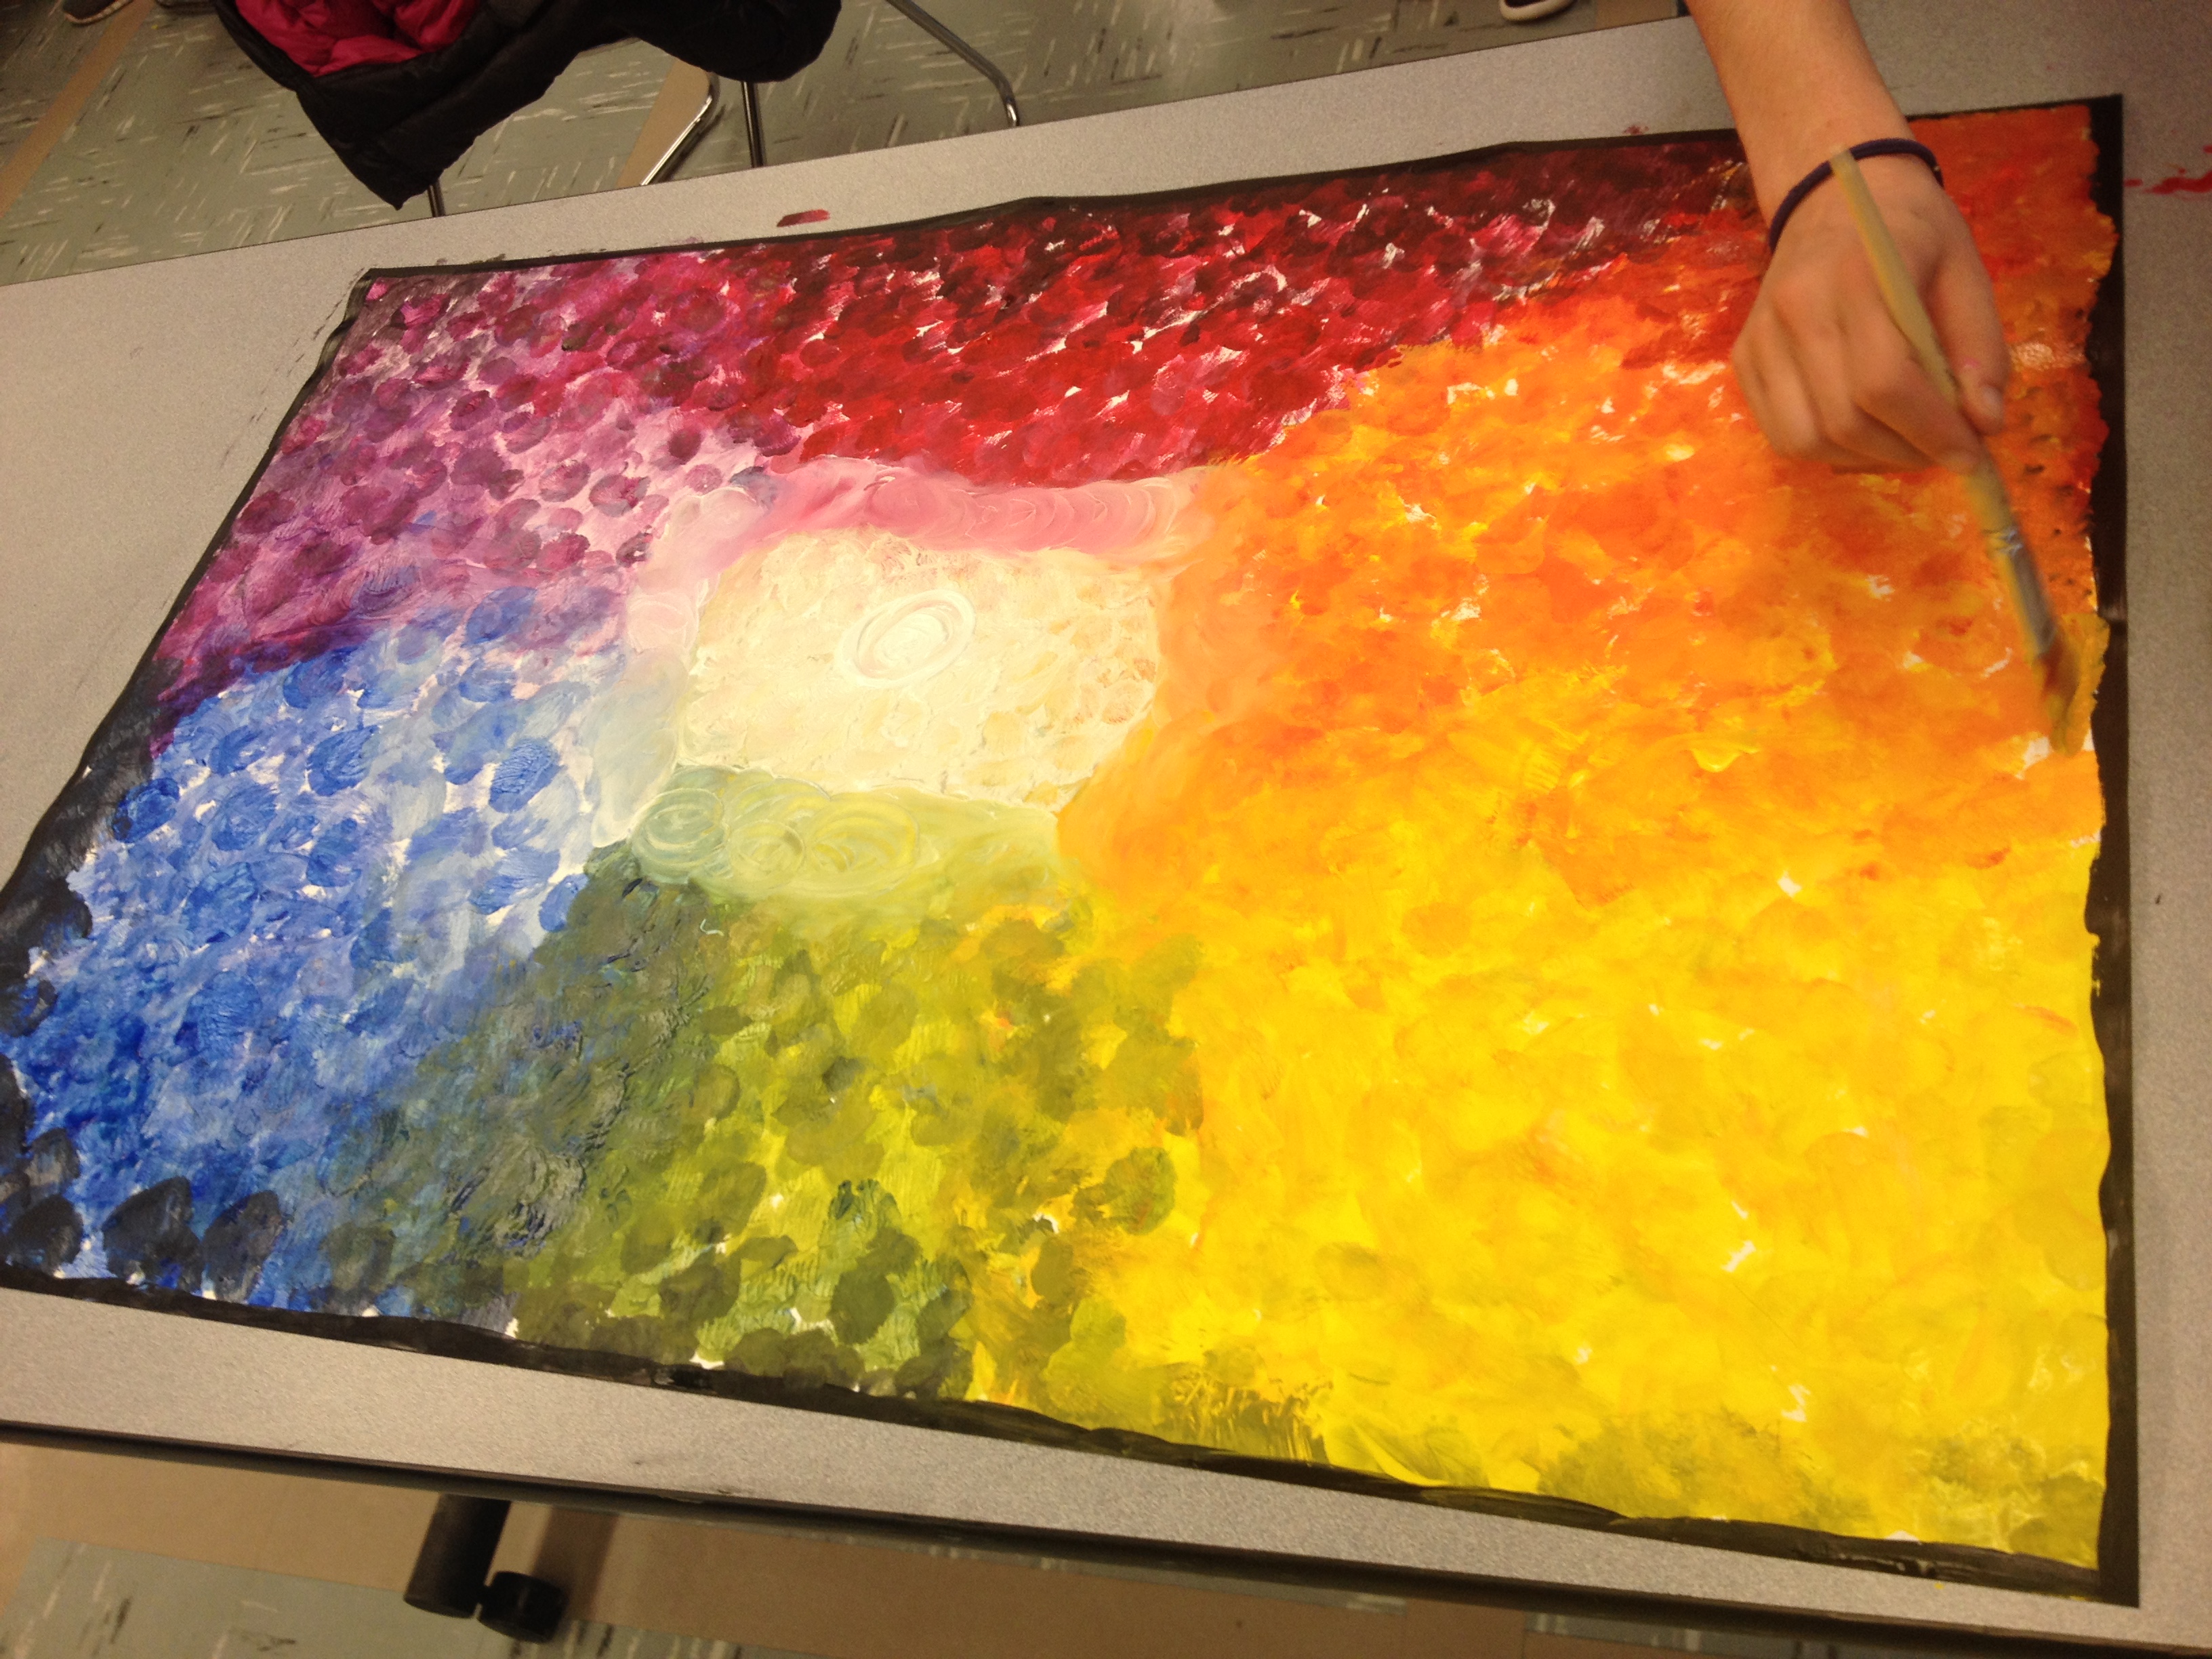
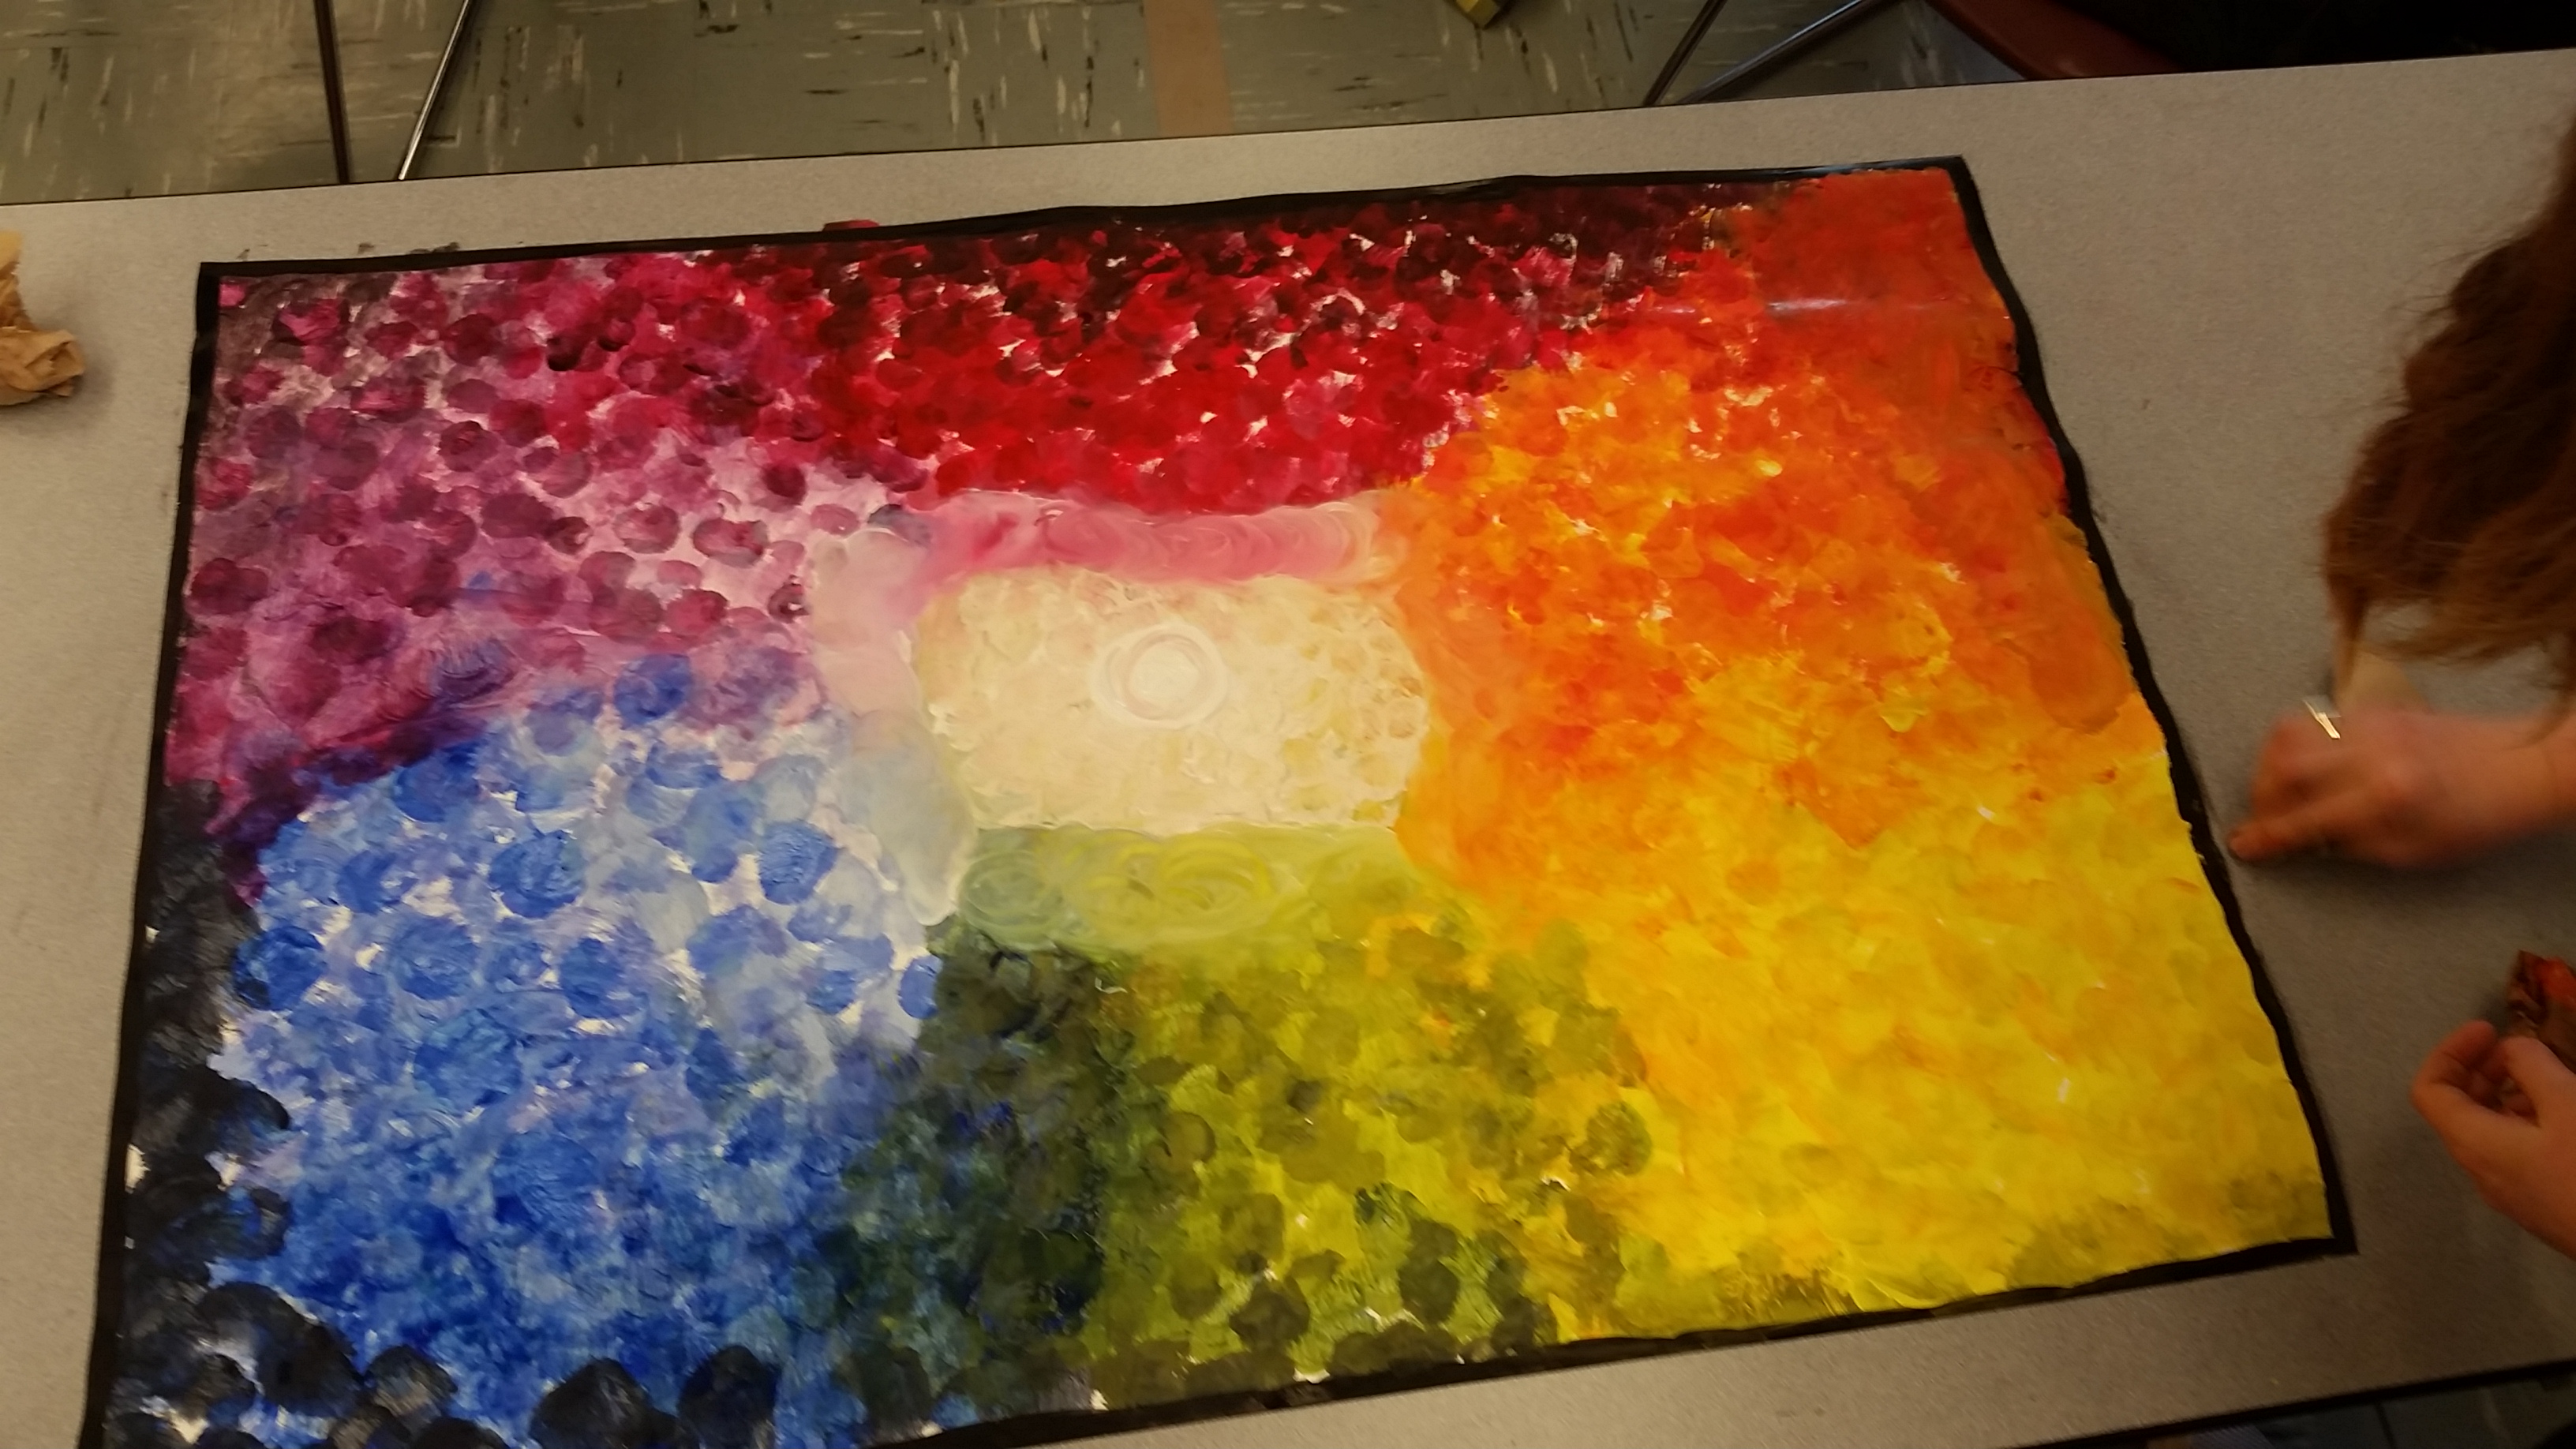
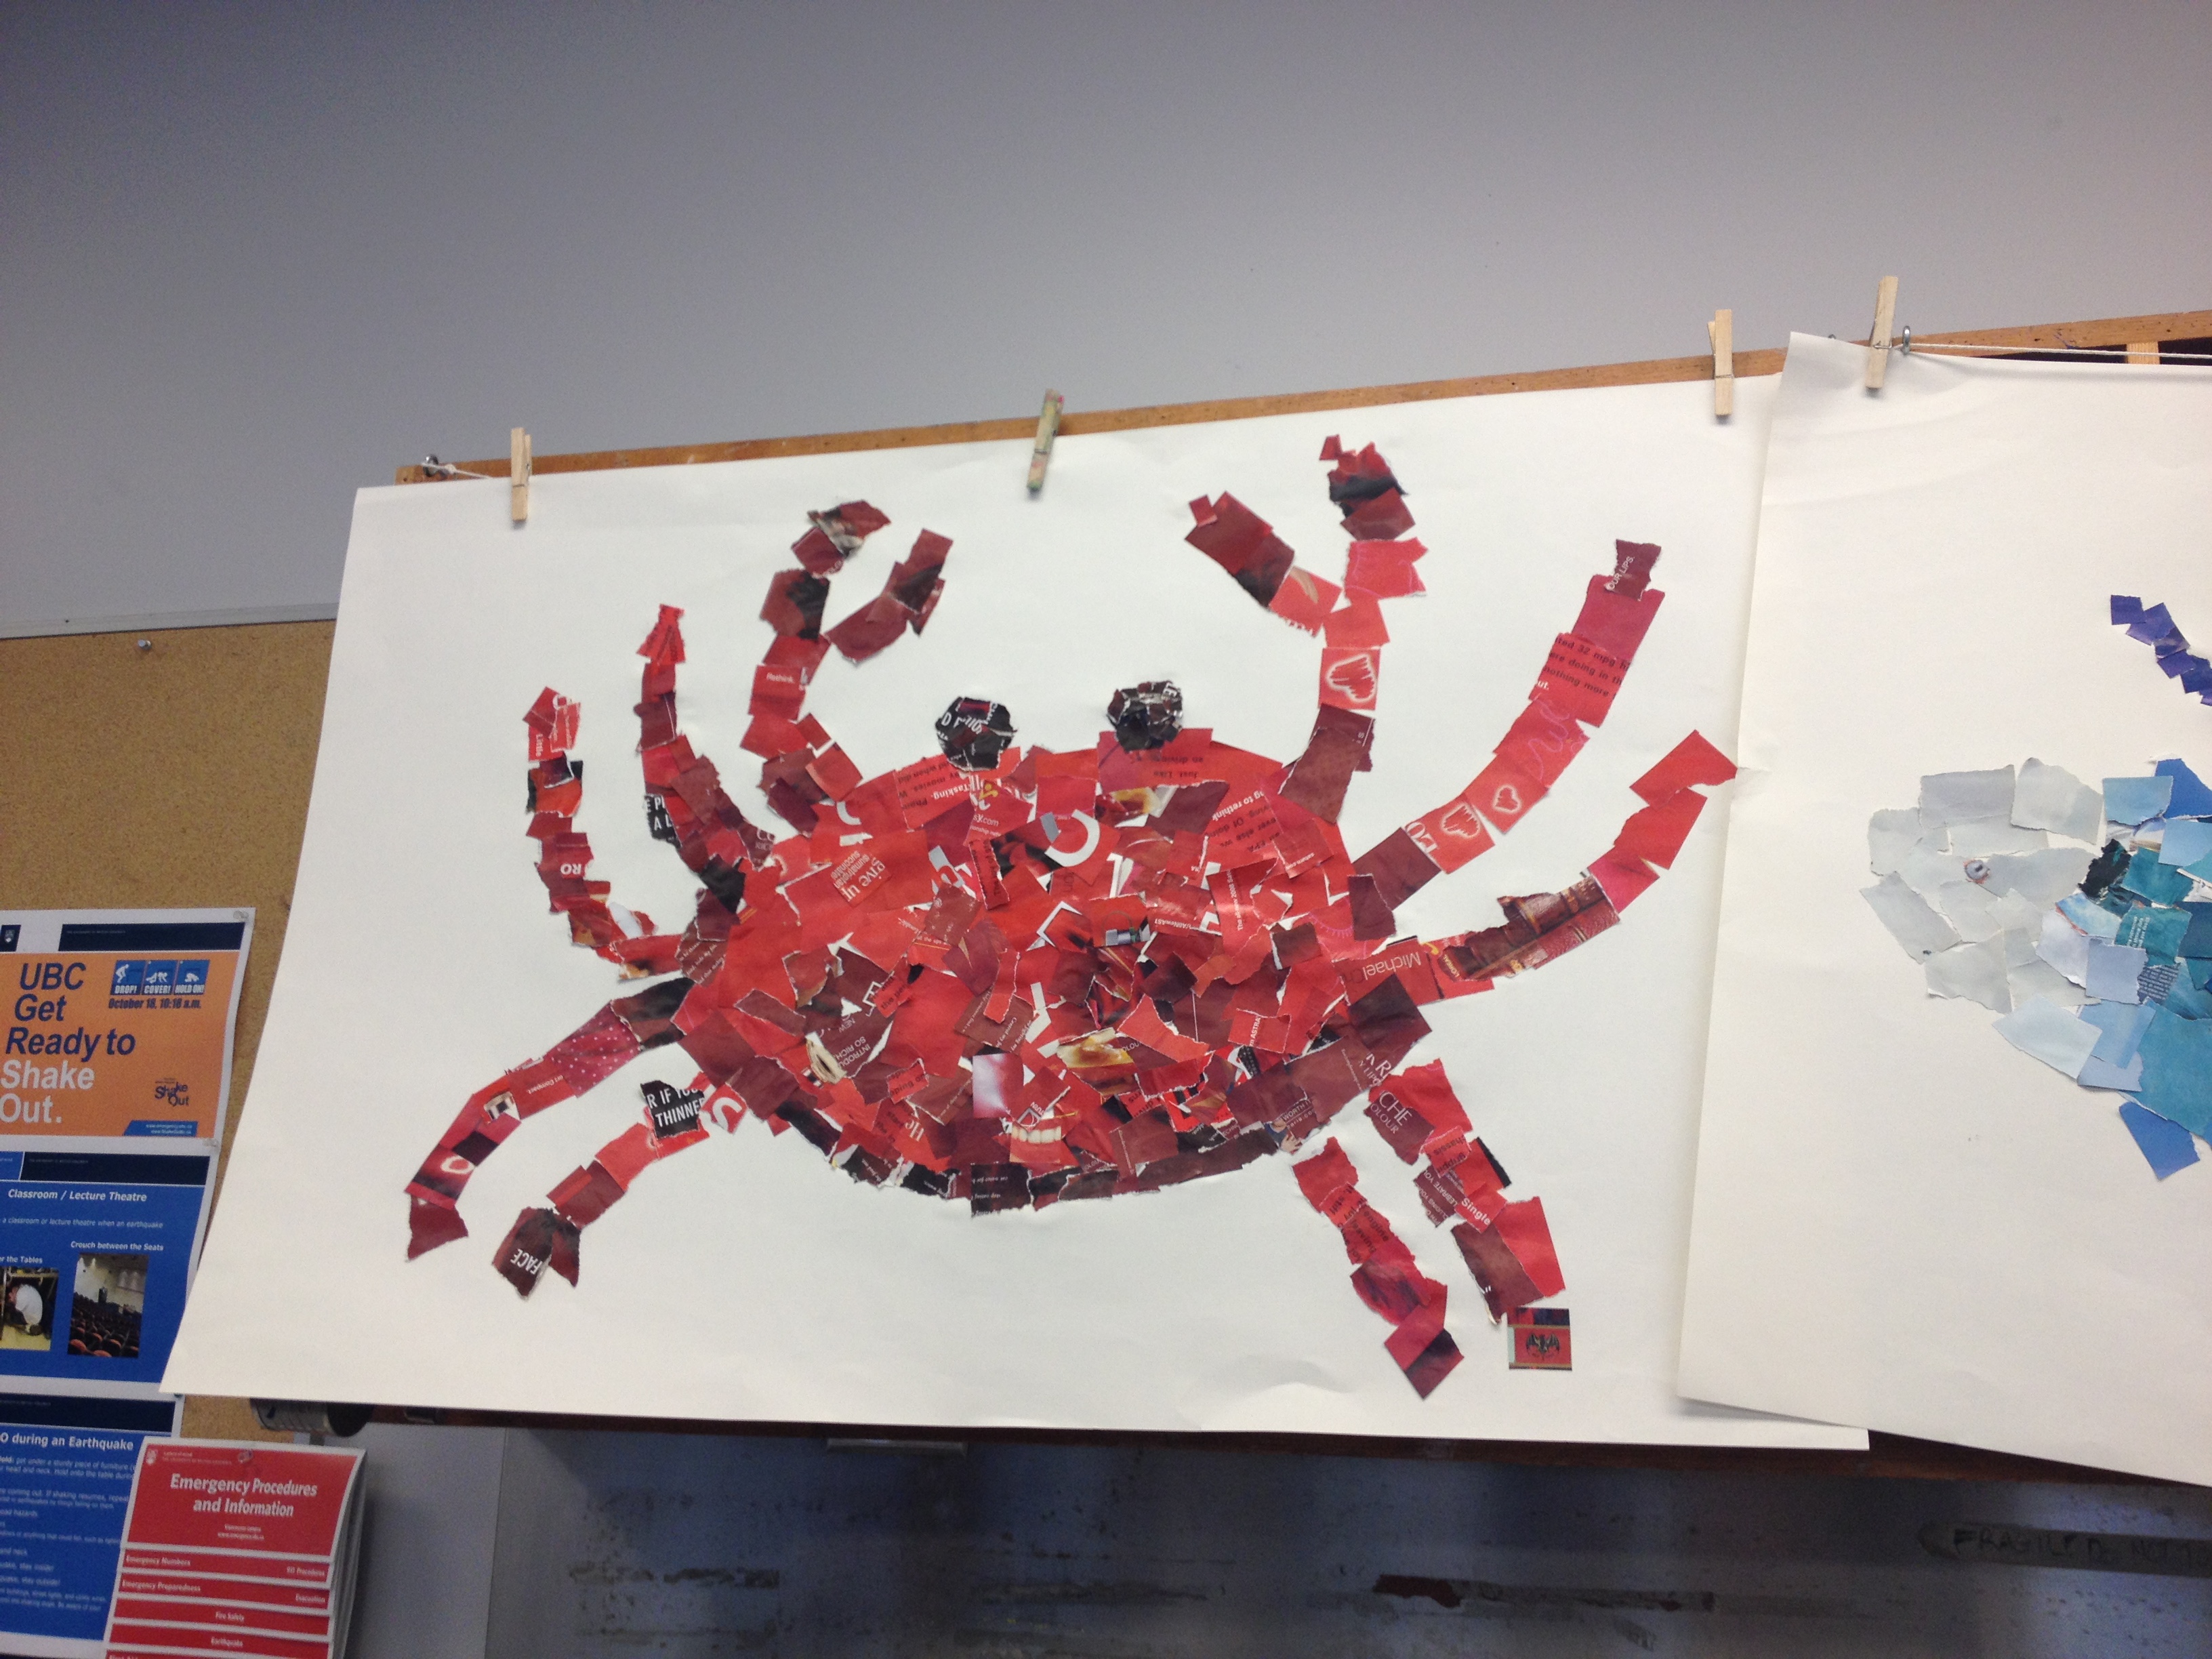
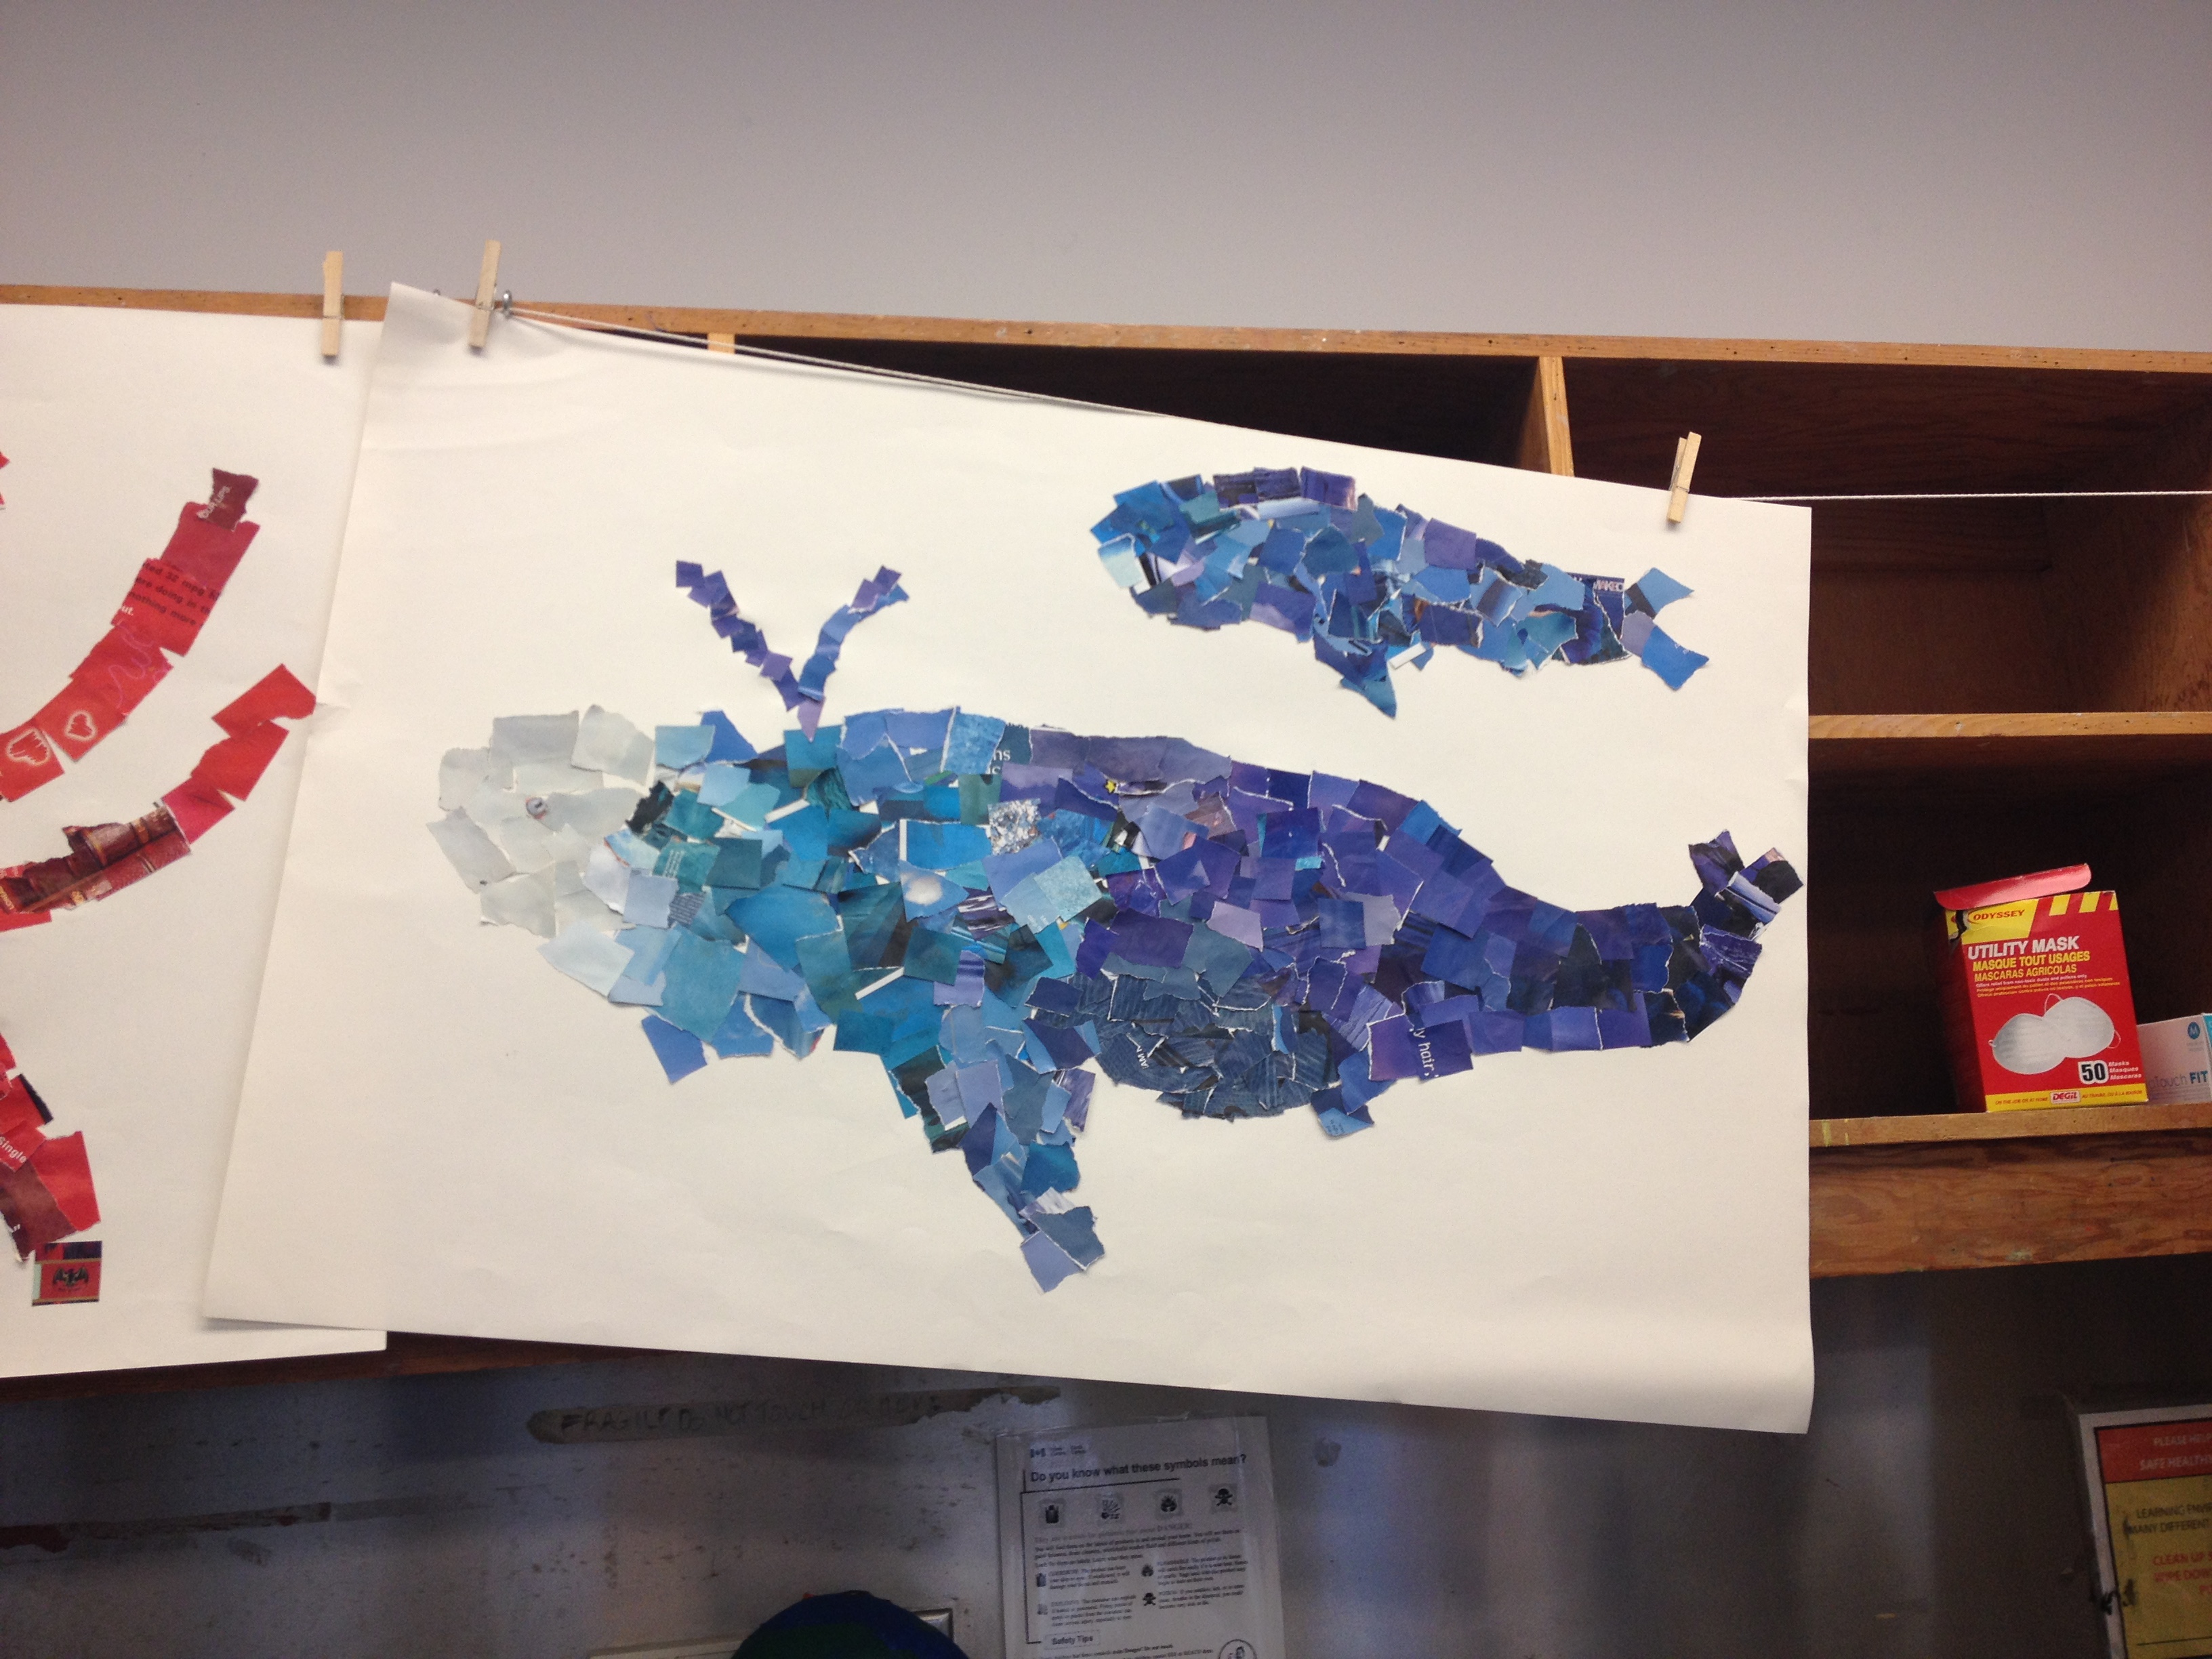
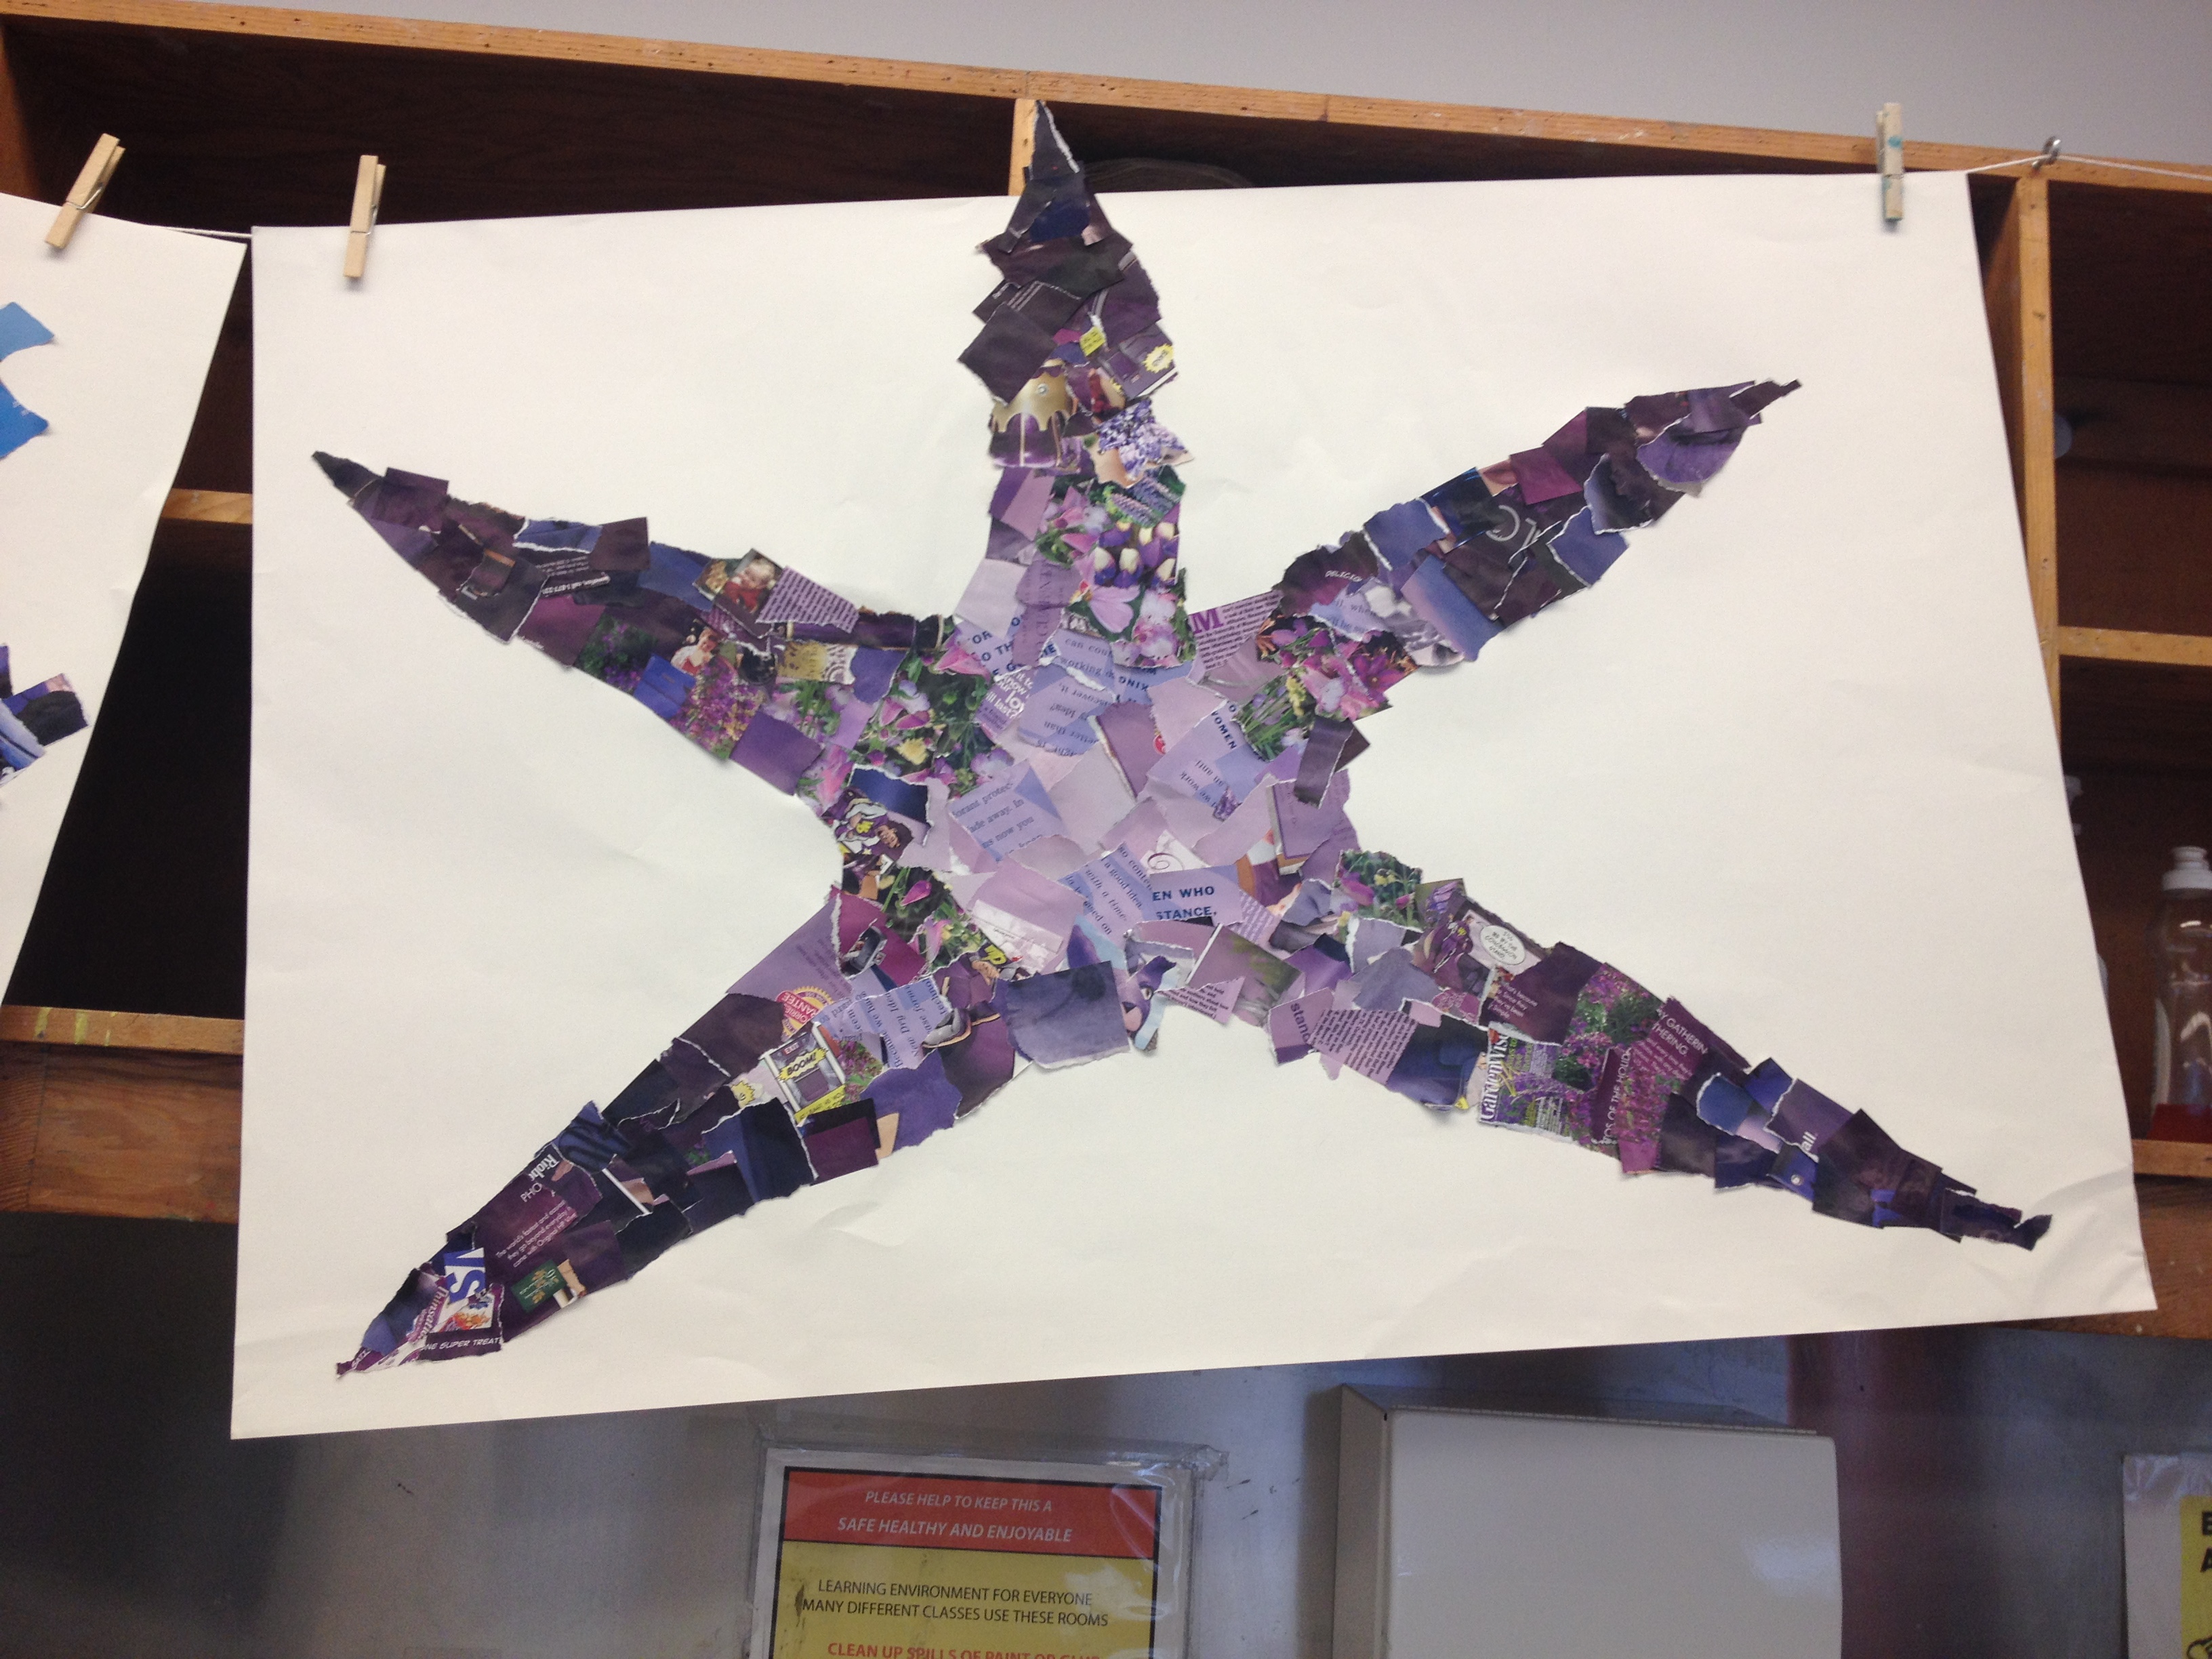
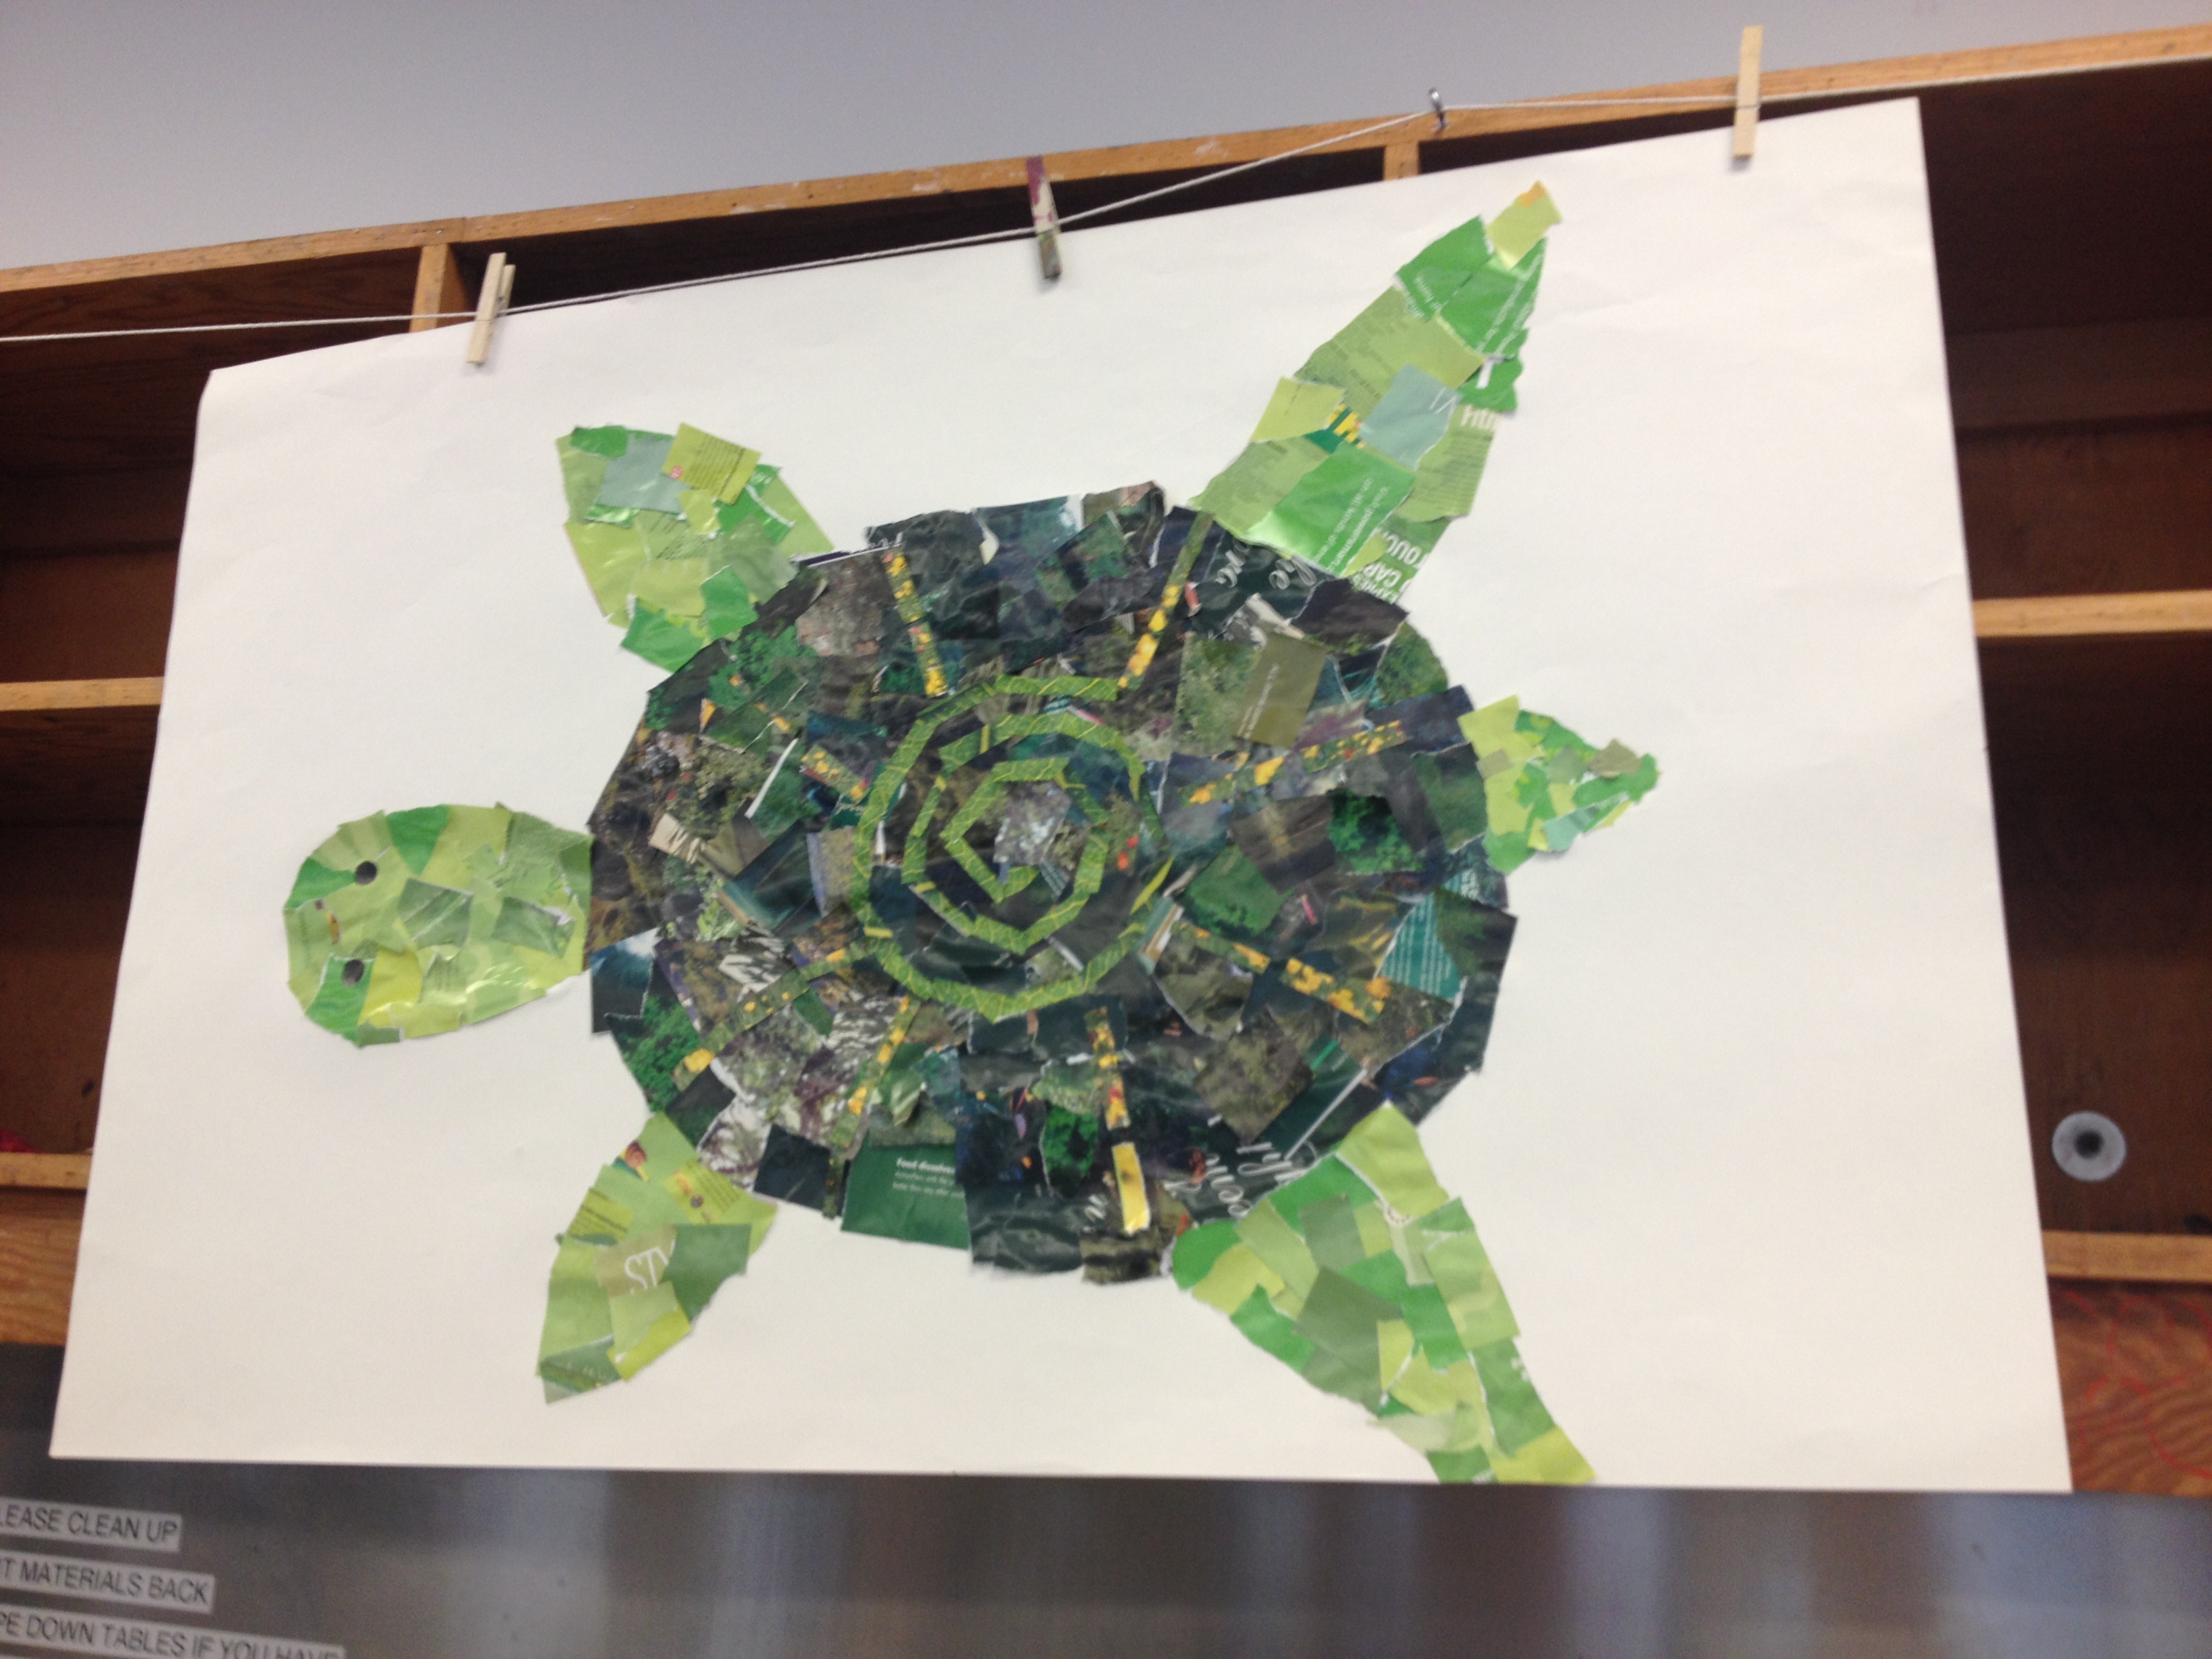
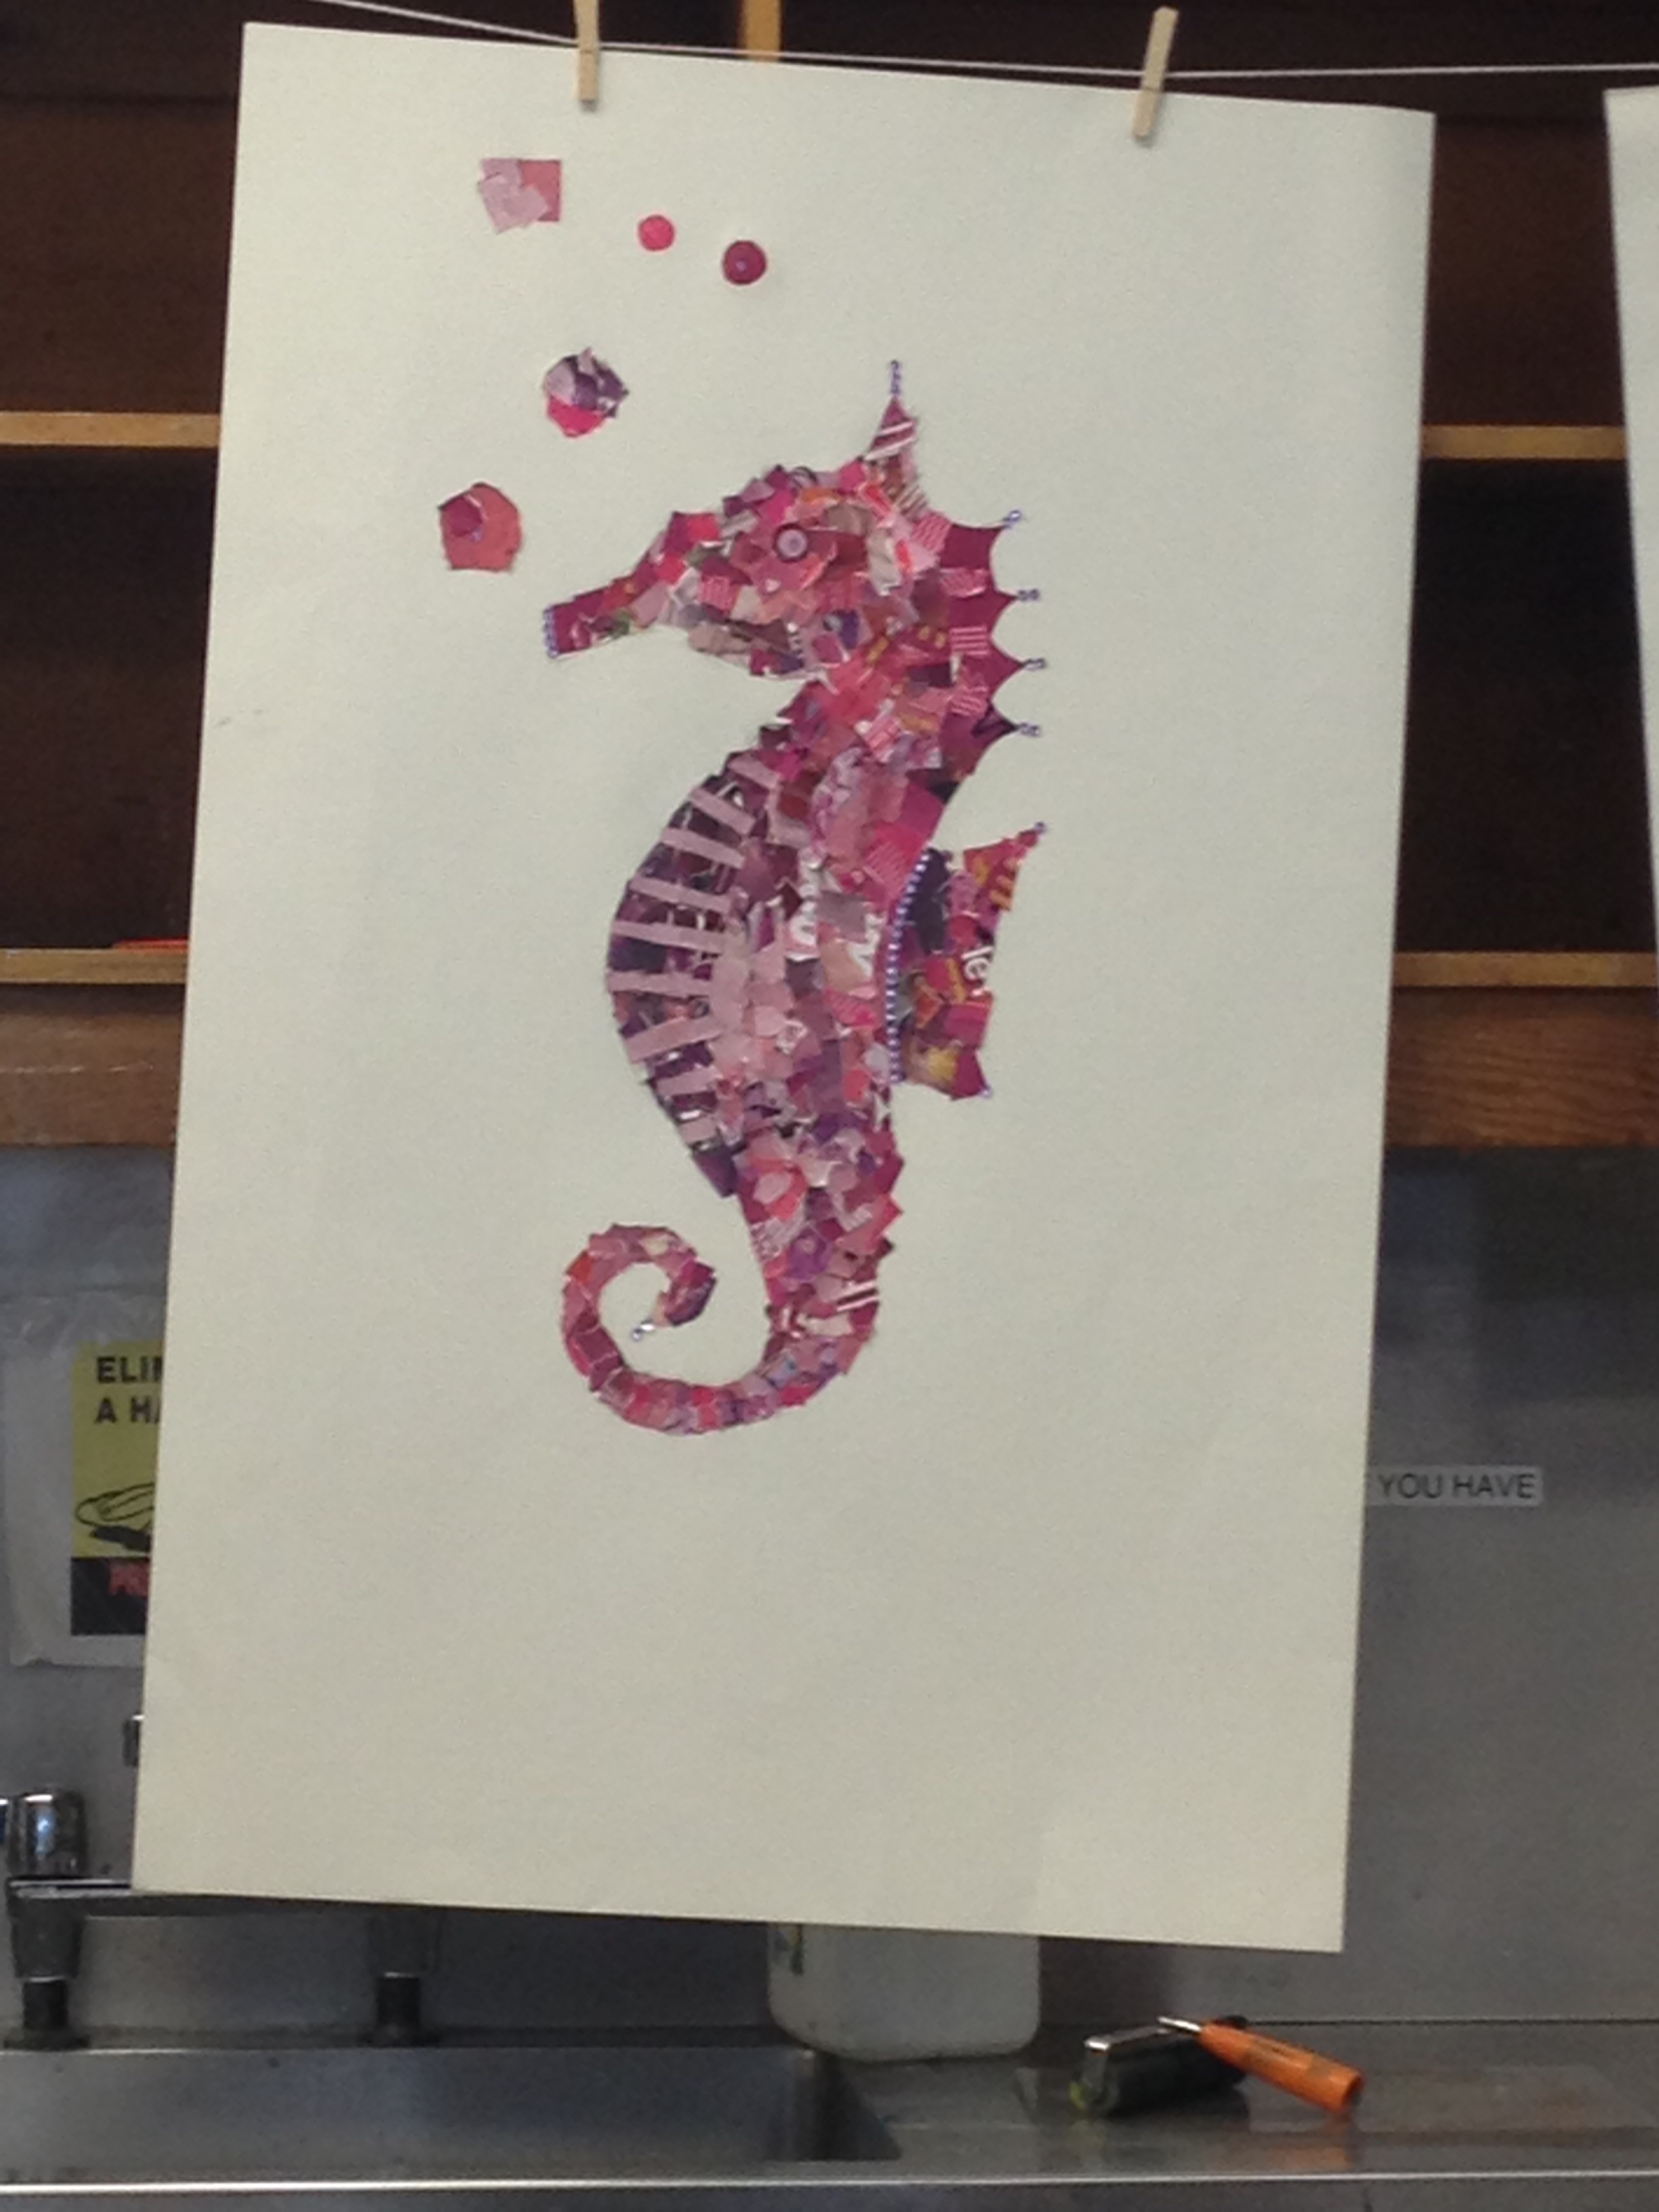
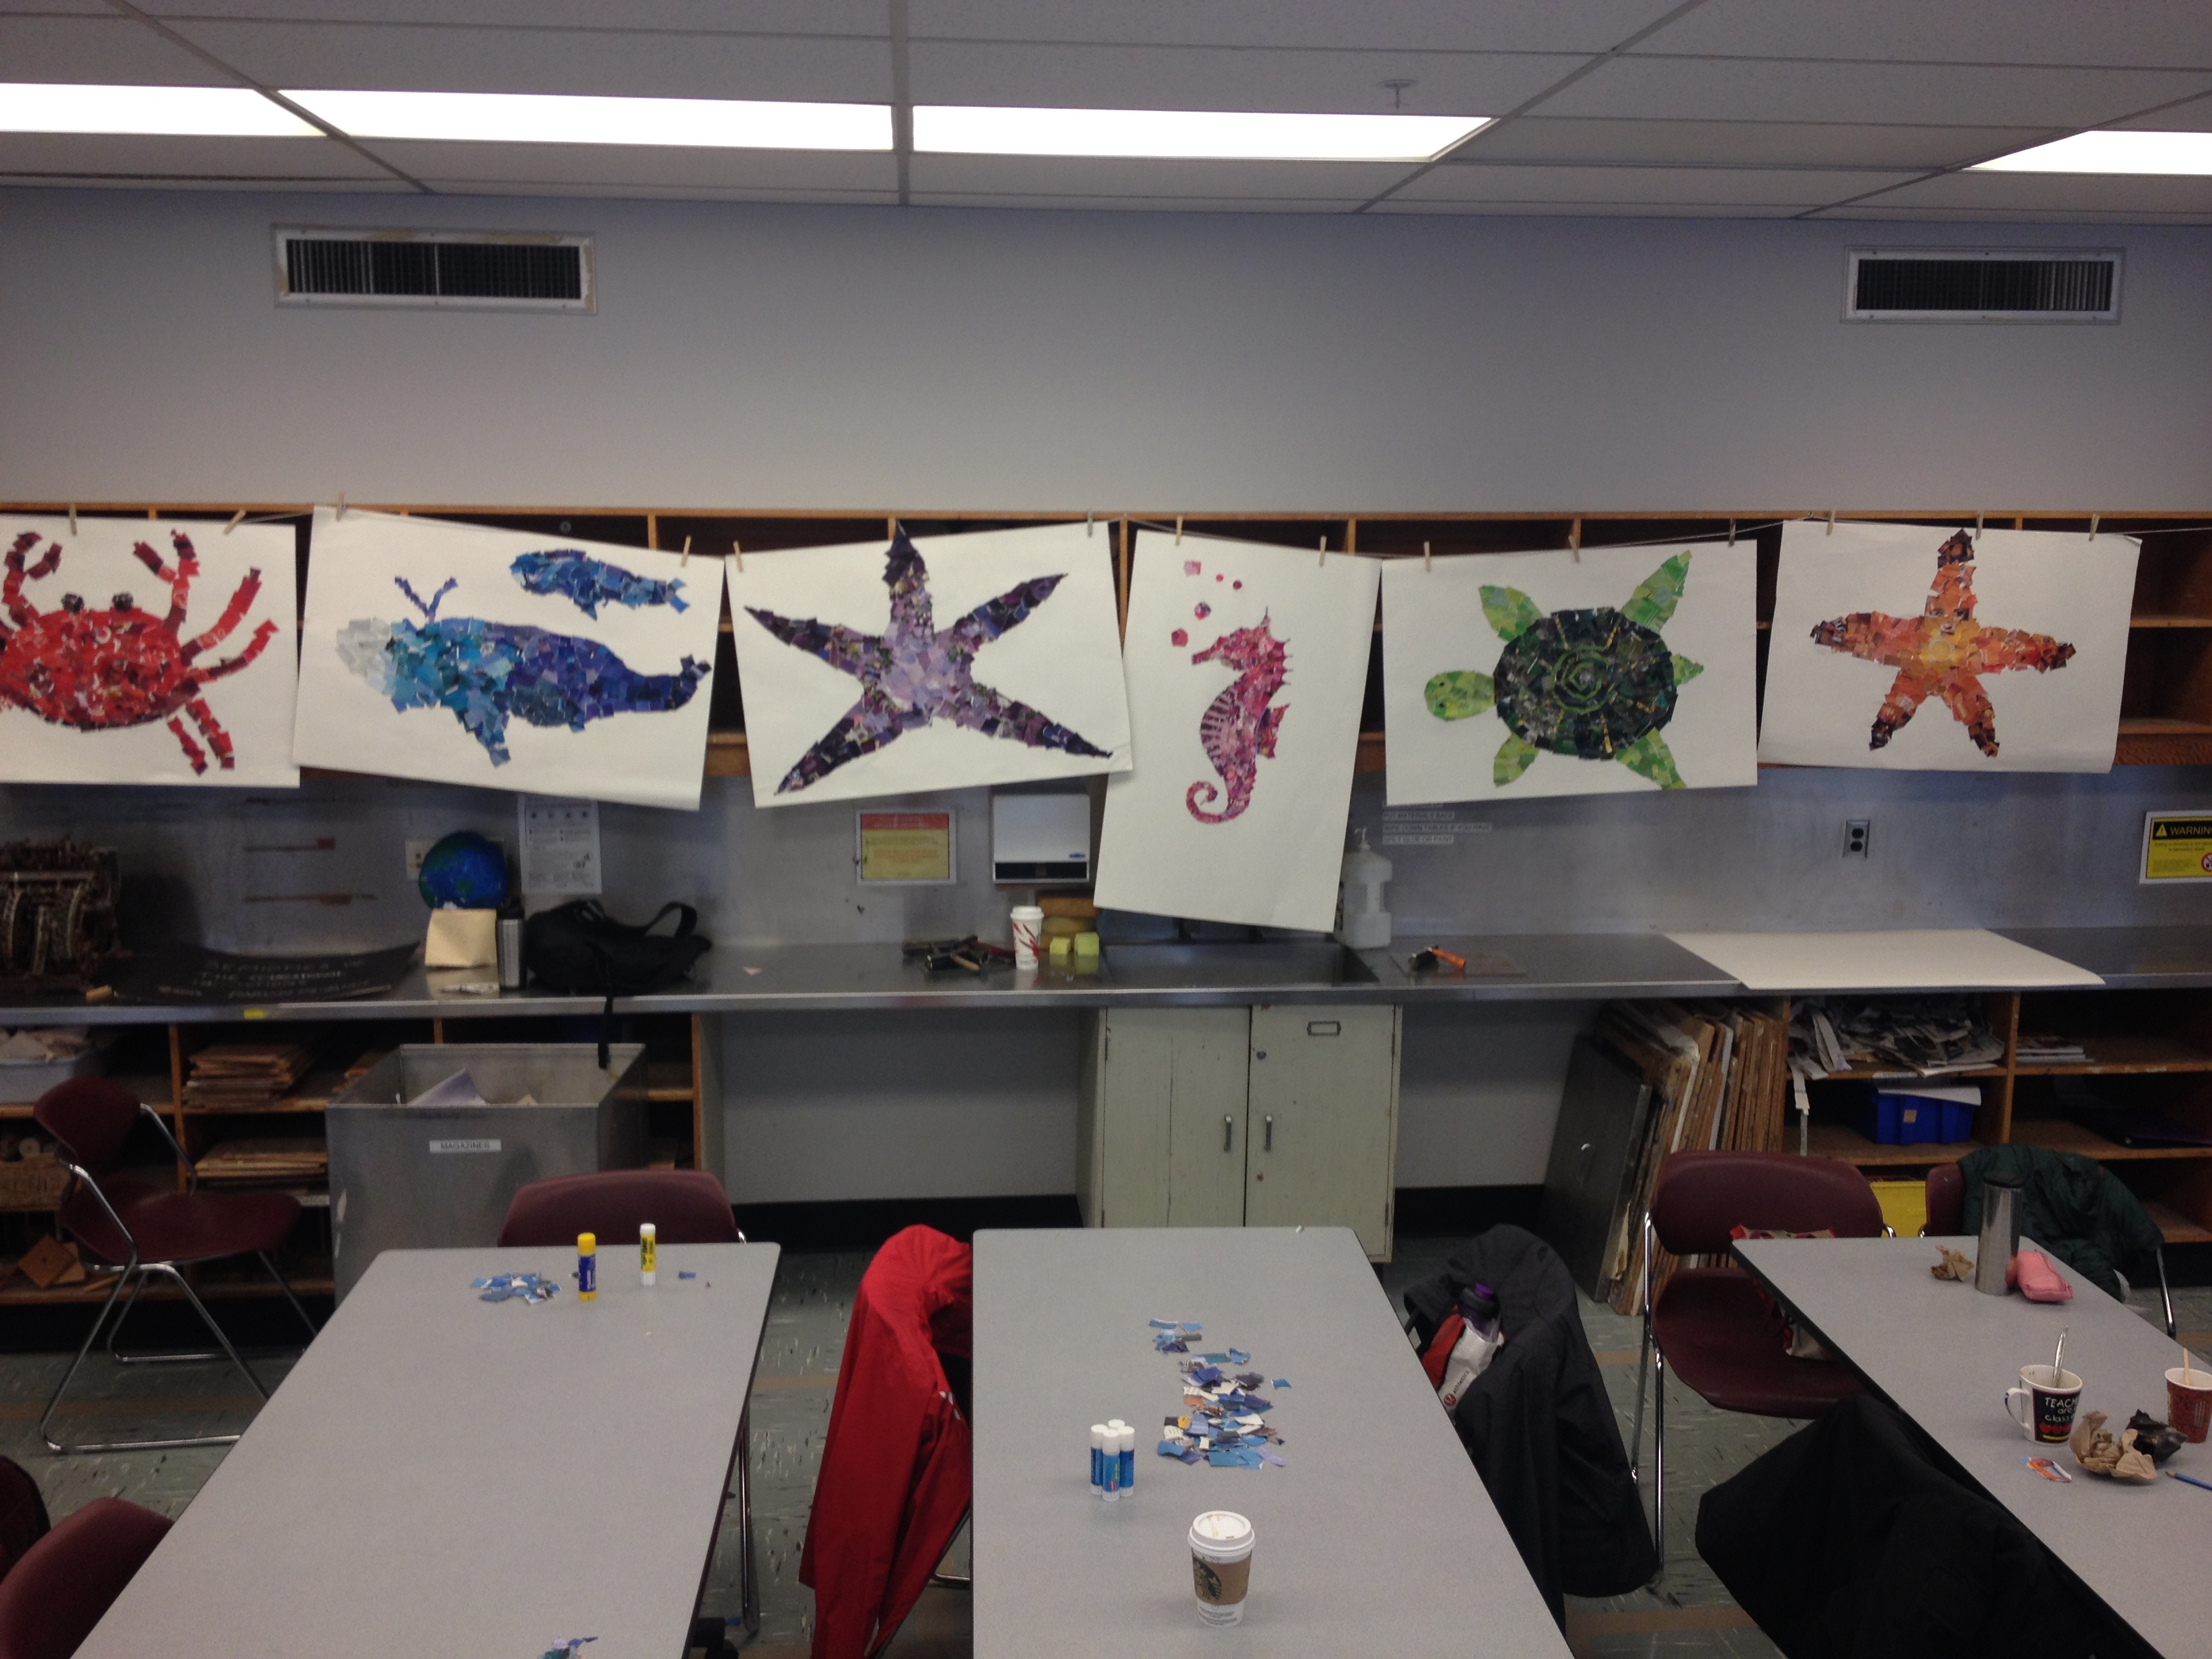
These are some of our finished products


IMG_1784  IMG_1784

Clay Work

20150316_082006IMG_1796 IMG_1791

On the same day as Slinkachu we also got to work with clay! We were each given a piece of clay and asked to play with it and create anything we liked.

-We were taught how to cut and handle clay.

– Then we were shown how to mould and create pieces with clay.

-We were also shown how to slip and score the clay to join pieces together.

Majority of the group enjoyed working with clay and created wonderful pieces as seen above.


20150227_155117 20150227_154007 20150227_155102 20150227_154926 20150227_154142 IMG_1715 IMG_1714 IMG_1713 IMG_1711 IMG_1708 IMG_1707 IMG_1706

Painting


IMG_1759  Colour Theory

There are 3 primary colours, from which other colours are made by mixing.

7b88b2309c4596f5396afbdd3742599fcolor-wheel3imagecolor-wheel yay

We were introduced to all kinds of colour wheels, and then set free to play with mixing.

IMG_1760  Colour mixing explorations

We used the Primary Colours to make other colours, including thought towards darker/lighter shades.


IMG_1761  Make a colour wheel

We decided to make the centre of our piece lighter, and the edges dark. We began with the primary colours, and then worked them outwards towards each other to achieve

IMG_1762  Or in splatter form…

Each group had a very different final product, all showing the colours arranged in a circular pattern.

20150306_161653  Final Product!

Collage

IMG_1682 IMG_1685 IMG_1687 IMG_1689 IMG_1690 IMG_1691 IMG_1692 IMG_1695 IMG_169720150220_150642 2


On our first day together we worked on Collages.

– First we were given a stack of magazines and asked to rip out anything in our colour (Green).

– Second we were asked to create a monochromatic gradient from light to dark.

– Then we were asked to create a picture out of the monochromatic gradient. We created a tree as shown in the pictures above!

– Then our teacher asked us to create a picture that matched the theme of under the sea!

As a group we had fun working together on the collages. Some of us found the ripping of paper therapeutic and enjoyable. We were giving scissors to cut up the paper but majority of us didn’t bother with the scissors.

It was great having the gallery walk and being able to see what each group came up with for their colours.