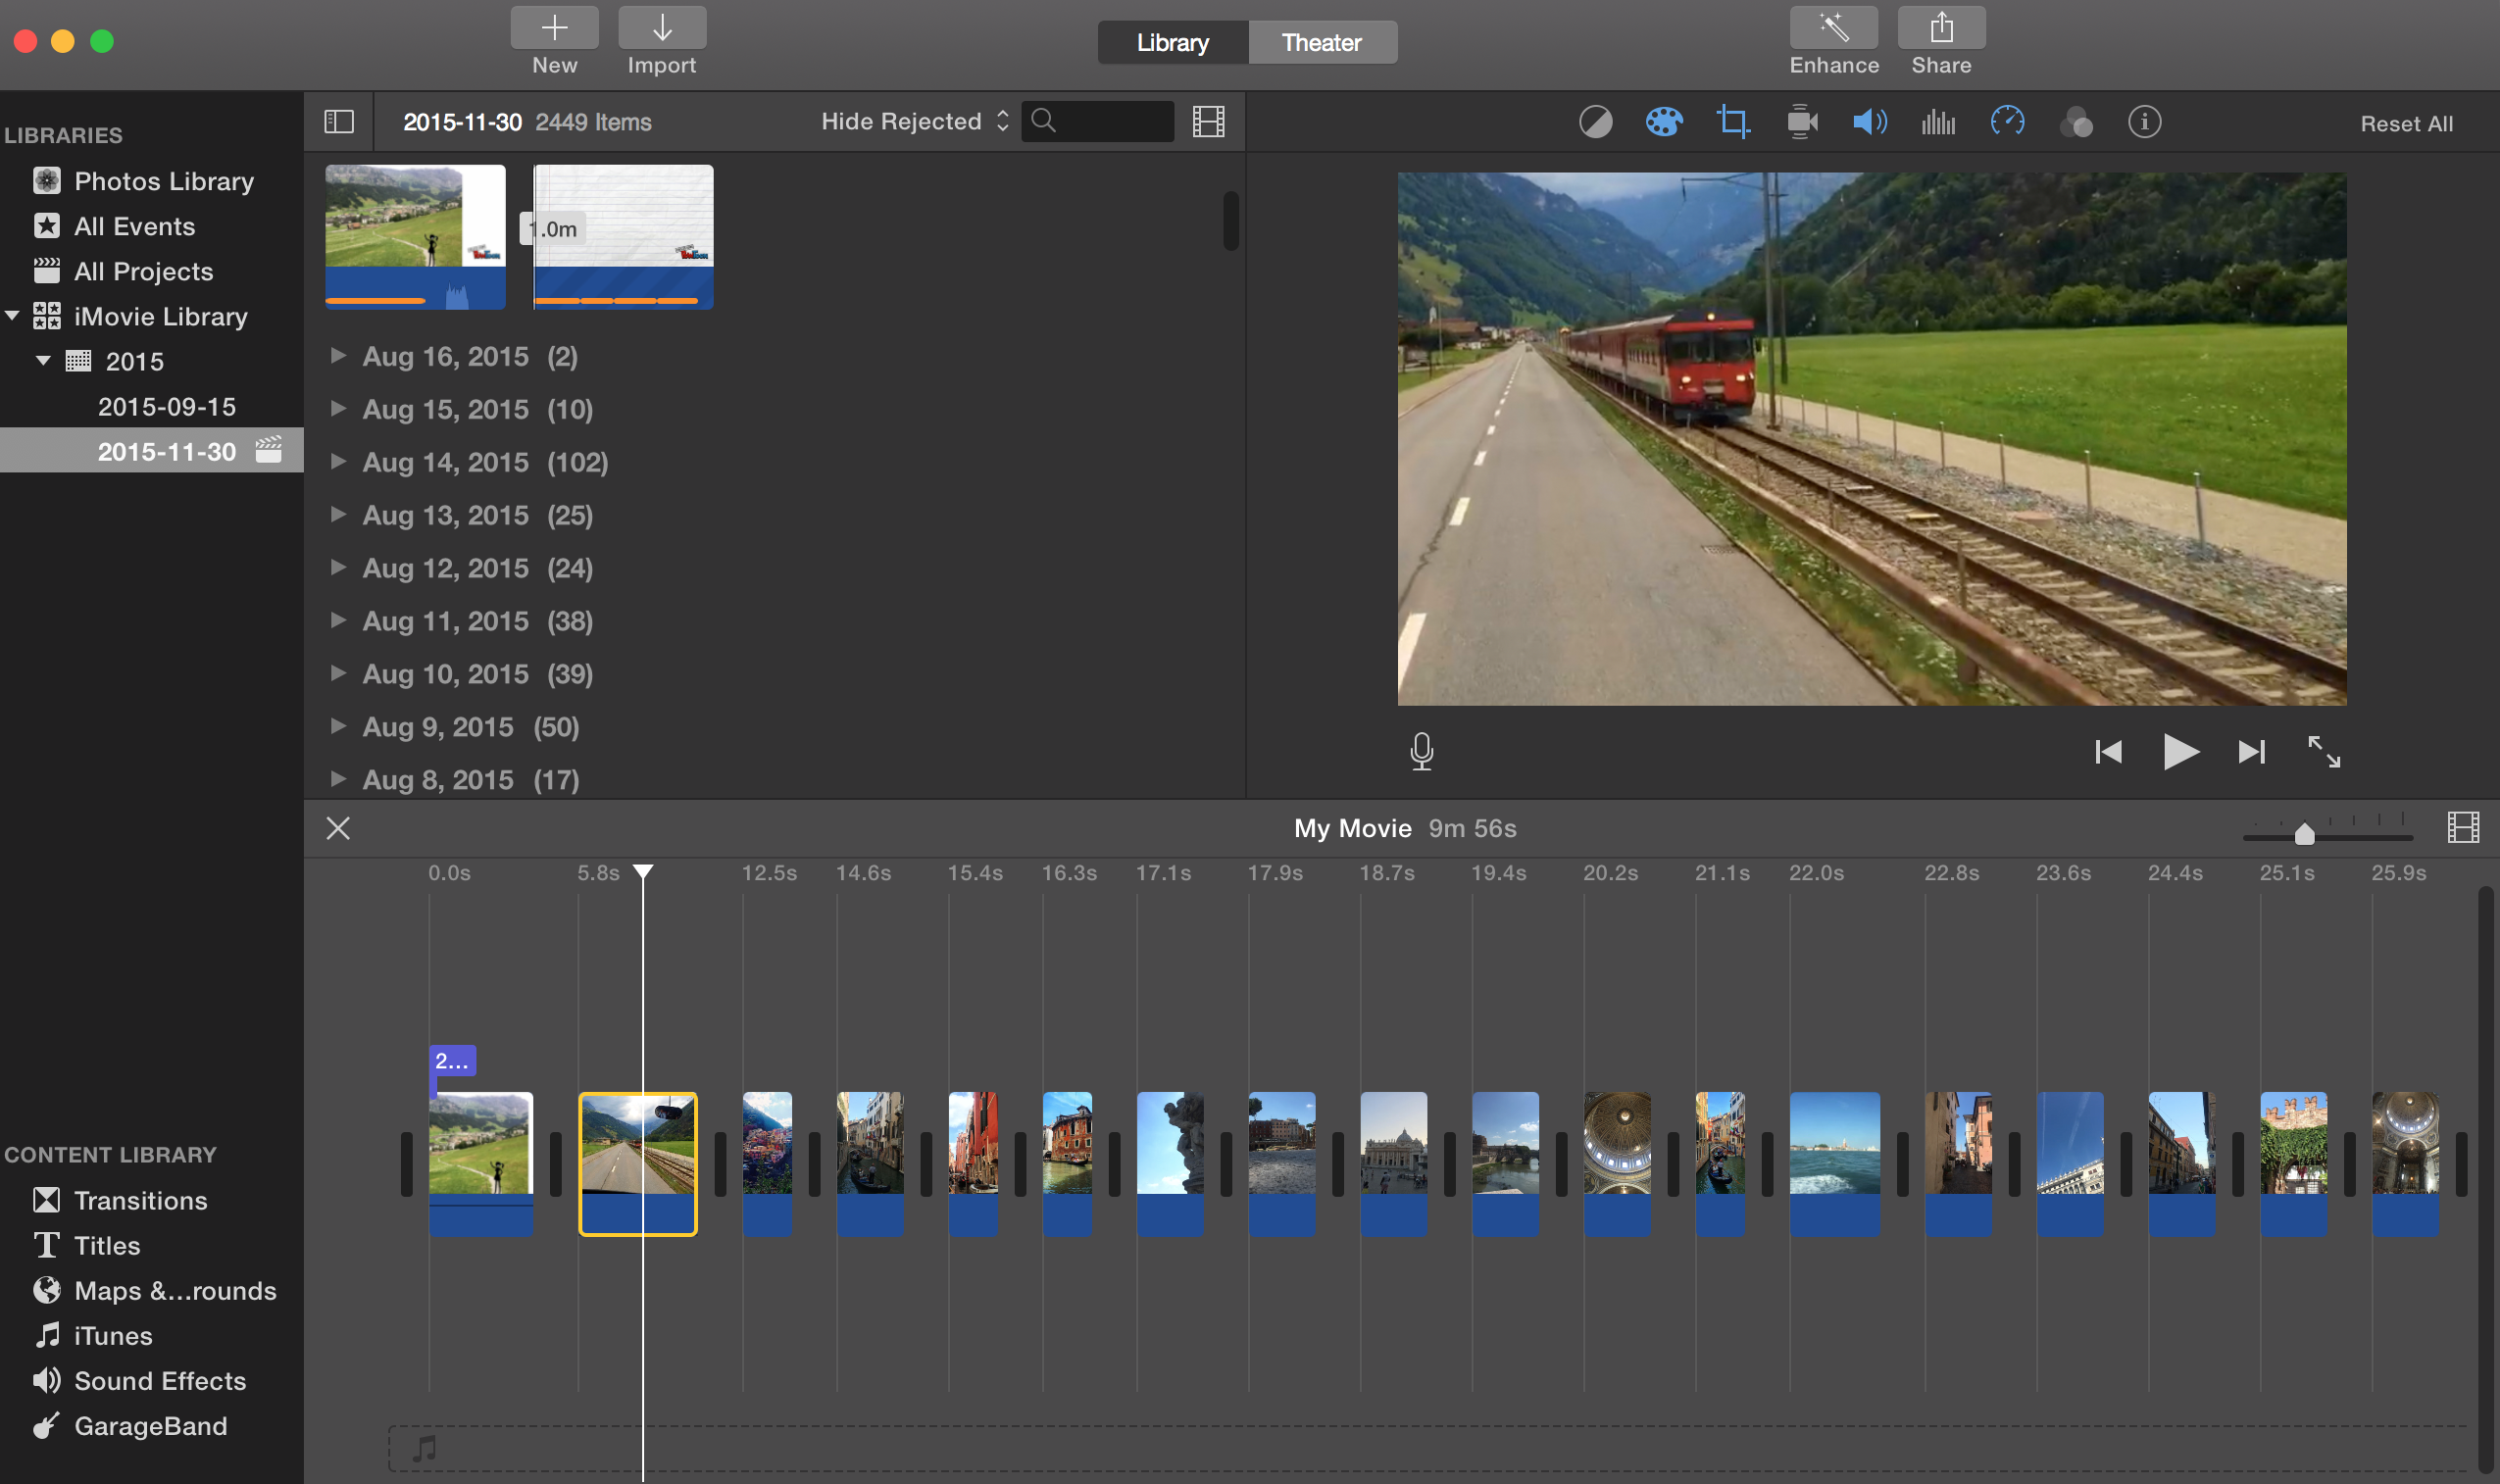
Progress #3: Editing the iMovie clip
1.The transitions
To make the video flow smoother, I have added different transitions in the video as circled below. The speed of them can also be adjusted when you double click them. They are set initially at 1 second per transition.

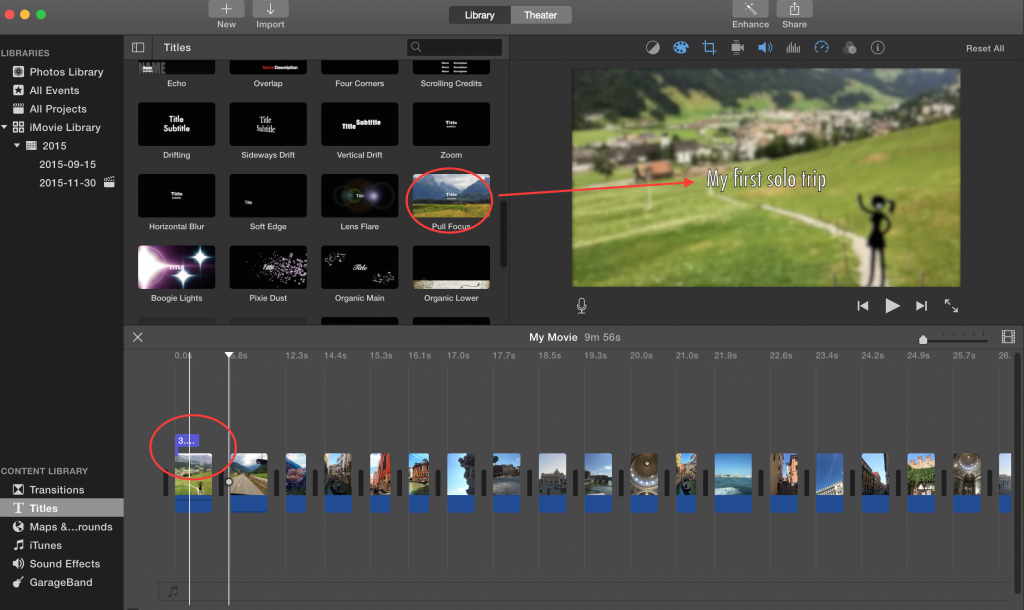
2. Titles
To give clearer information in the video and to also provide some way of transition between clips, the titles are used. In the picture below, I have used the “Pull Focus” title effect for the start of the video. They appear on top of the picture and you can drag them to adjust the duration of them.
3.Editing the pictures and videos colors
The palette symbol has different parts underneath that can be used to edit the saturation, intensity, warmth of the picture and videos. This tool can make a lot of difference in the way you want to portray your scenes.
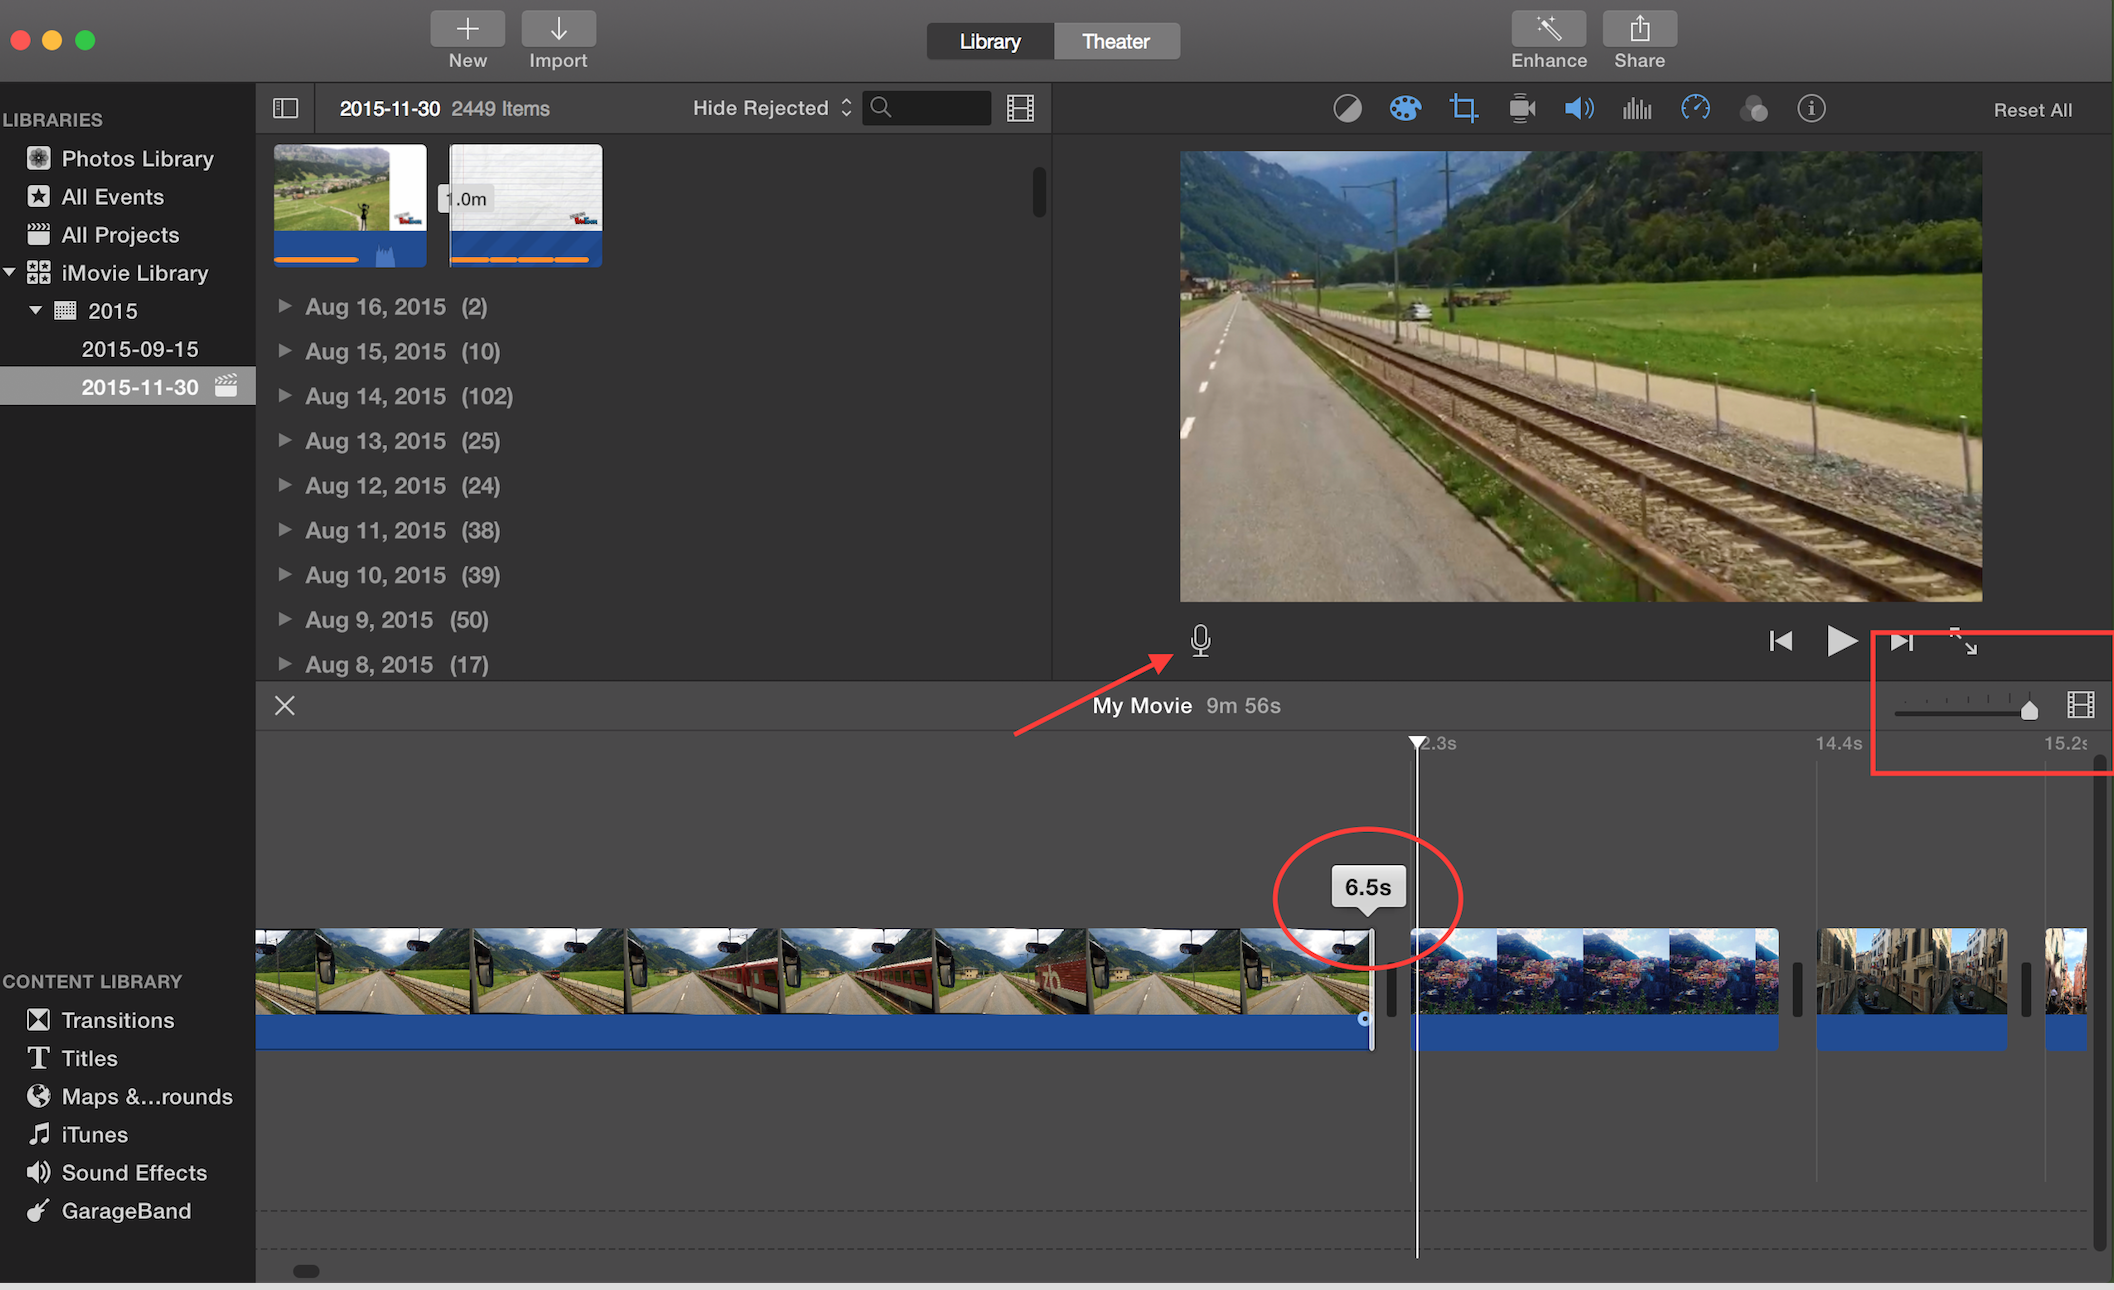
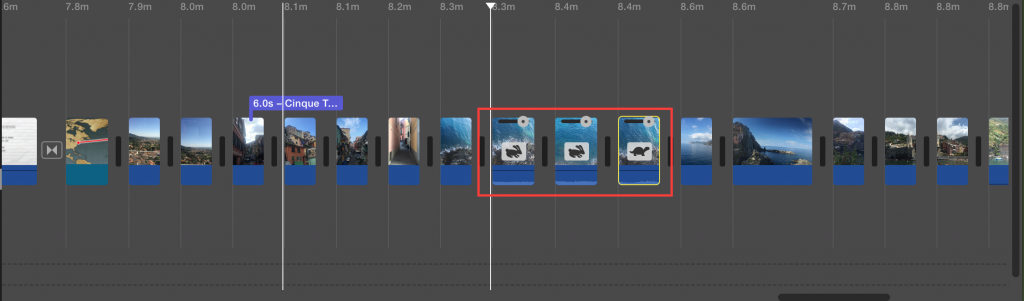
4. Speed editing and clip splitting for videos
Speed editing: the rabbit symbol indicates that the video was sped up than the original duration and the turtle symbol indicated that the video was slowed down.
And these 3 clips were originally from one clip but I divided them into 3 parts and edited the speeds to make the scene more dramatic.
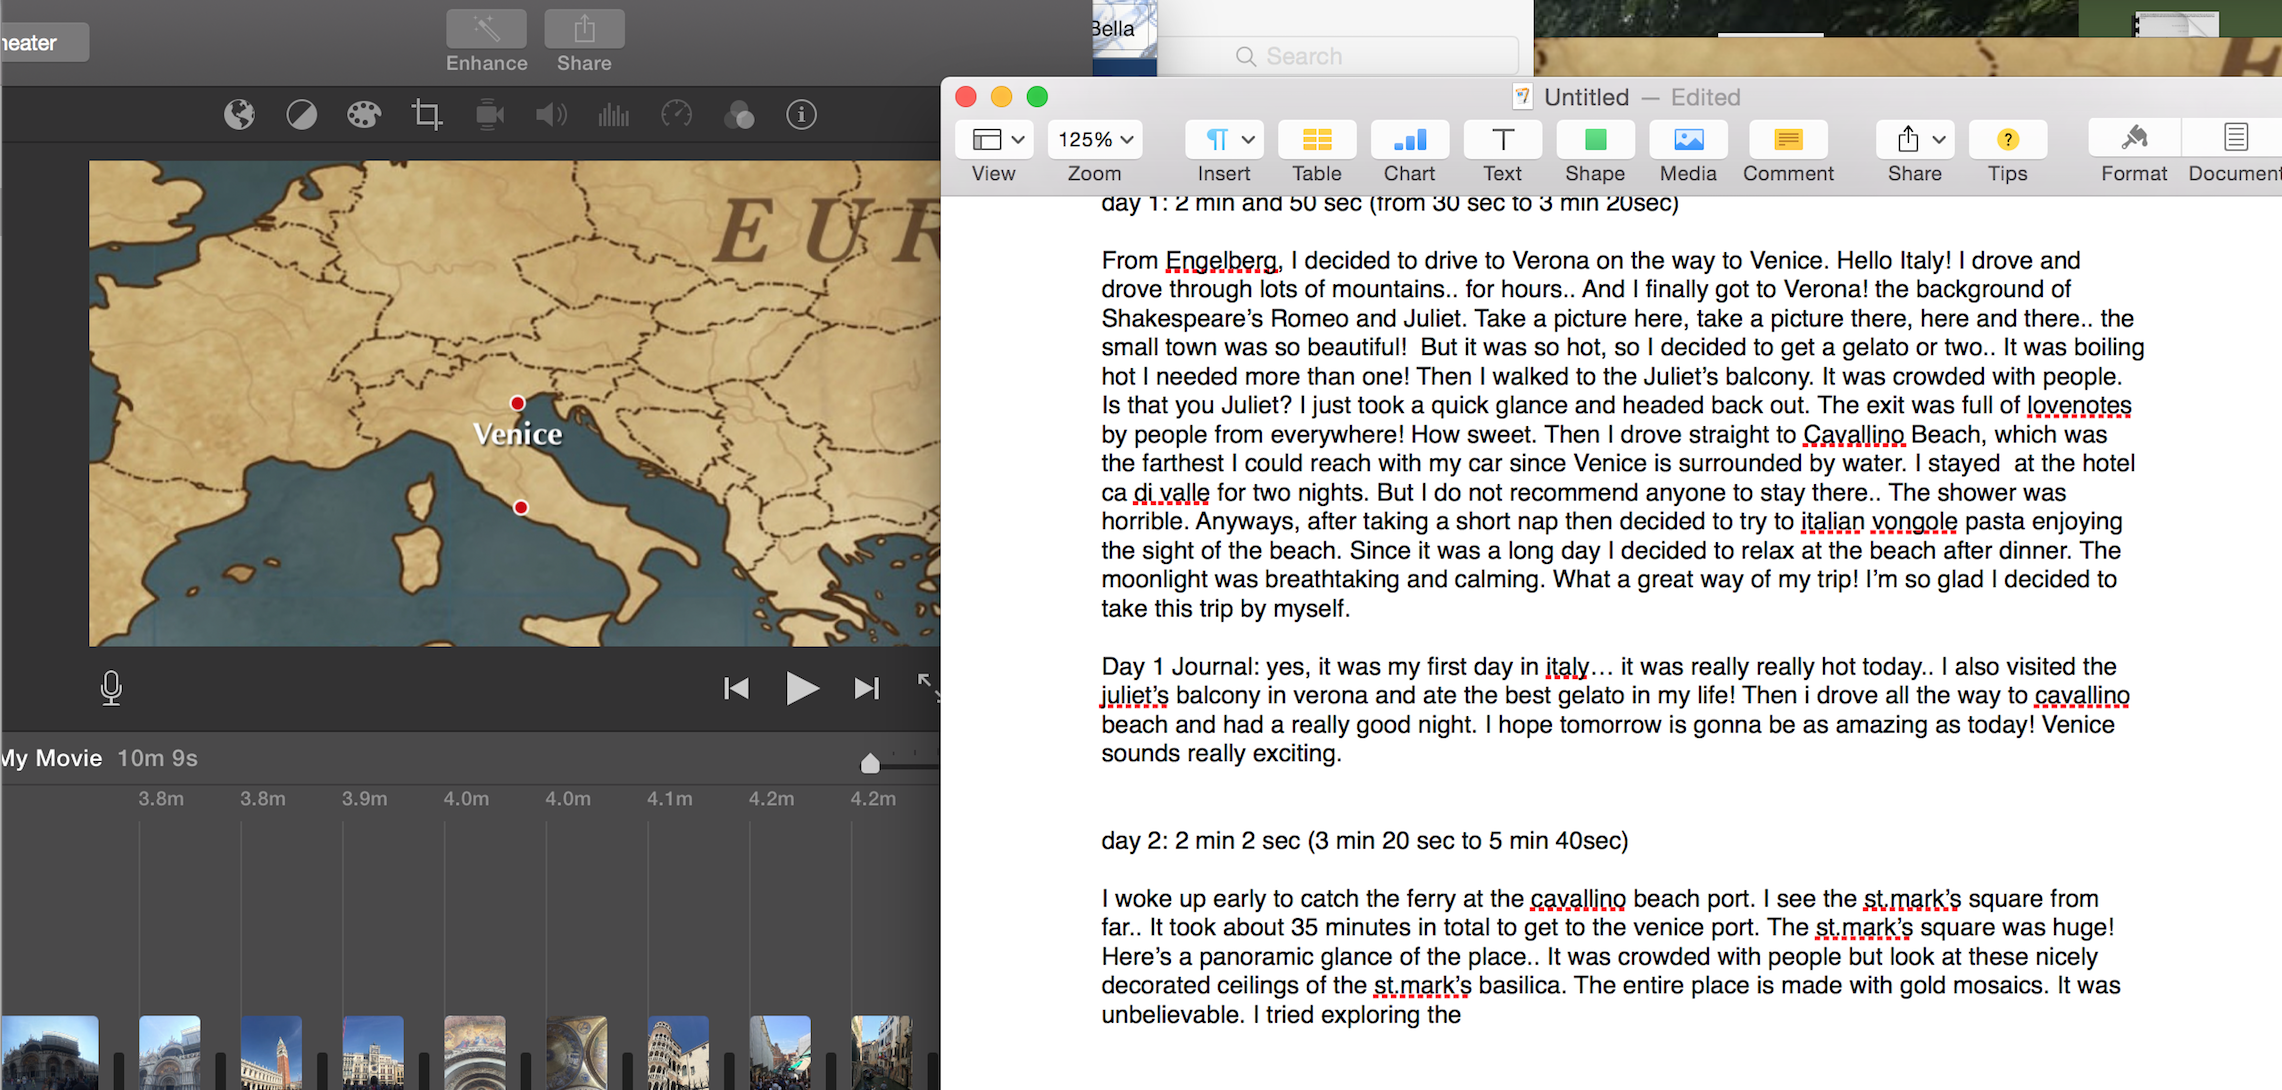
5. Adding Maps
I have added different maps in the clip to give more dramatic transitions in changes in locations. As I have circles, you can pick the locations you desire to start and end then the map will automatically form the route for you.

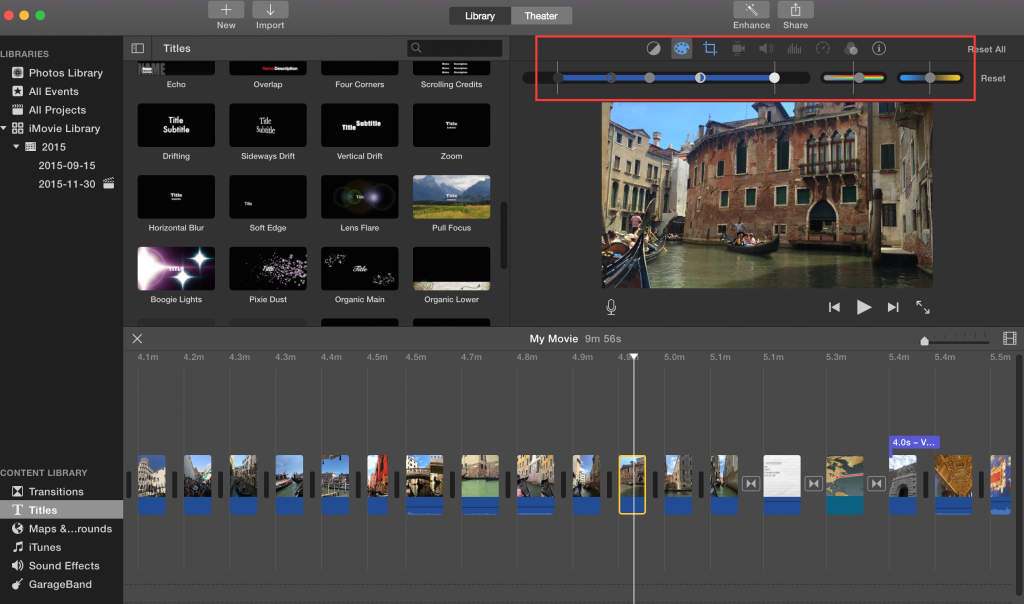
6. Using different crop styles
In the crop tool, there are three different crop styles you can use. These are outlined on the picture below, which uses the Ken Burn effect. Using different effects can lead to maximizing or minimizing certain parts of the picture/video as well as can emphasize or hide unnecessary parts.

7. The “Flash and Hold Frame” and “Add Freeze Frame”
I have used these two tools to modify and emphasize some parts of the clip. When you use the “Flash and Hold the Frame”, the clip adds a white flash and freezes the frame and makes a separate clip as I circled below on the picture of gelato. I used this modification to emphasize the gelato. If you do not desire the flashing effect and want to just hold the frame, then use the “Add Freeze Frame” instead.