The following is a redacted version of a student created reflection. This was posted on our school blog website. For reposting here, I have removed all student identifying information:
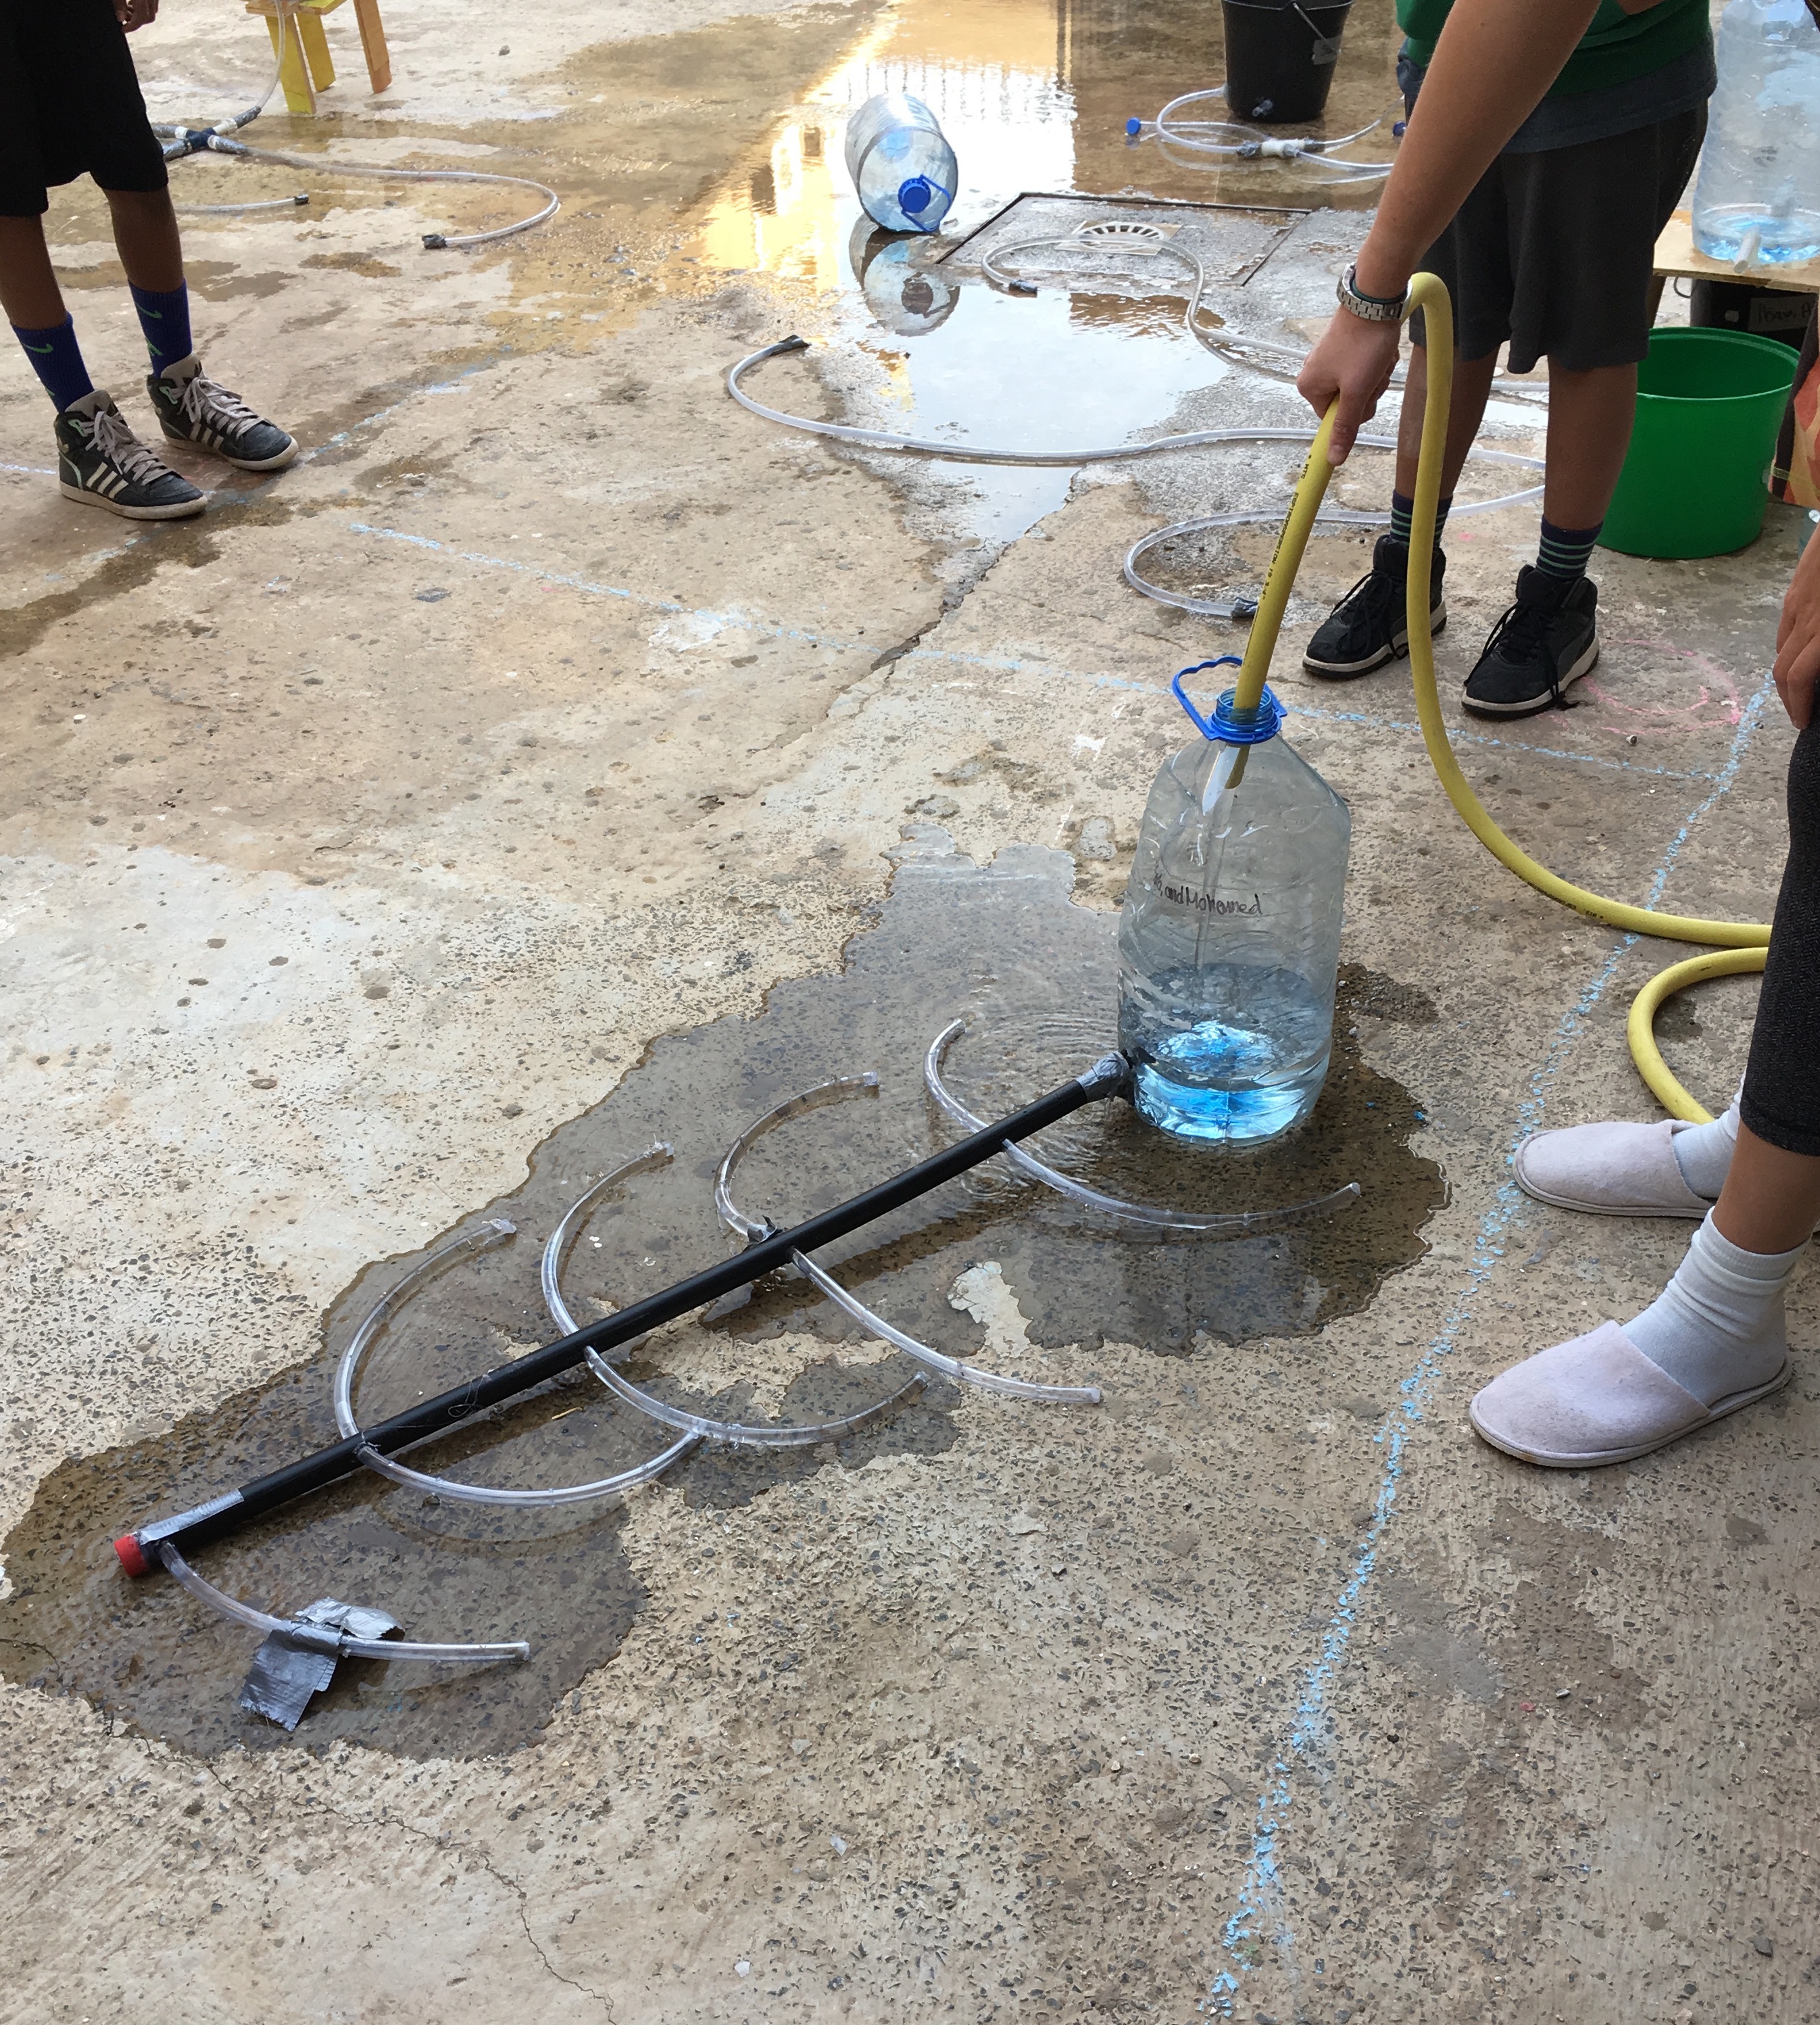
In this assignment we went to the makerspace to build irrigation systems. We were assigned to build the irrigation system in pairs of 3 or 4 people. The groups would draw a sketch of an irrigation system and then build the sketch. When we had finished our irrigation system we would decide as a class which one was the best and we continue working on that irrigation system.
The purpose of this assignment was not only to help Mr. Abdoulaye (the gardner) from watering the entire garden by himself, but also to understand the purpose of an irrigation system and why ancient civilizations benefited from it. Ancient civilizations used irrigation systems as an easier way of watering crops. Not only as an easier way, but a more efficient way to. It was also necessary for them to water their crops for food
During the reign of ancient civilizations, irrigation was a “revolution” in agriculture. (Irrigation means the domestication of water- learning how to control water). Irrigation systems can help prevent the damage of floods, depending on how the system is built. For ex: if there are big walls with holes in it (*Mesopotamia*), the walls keep the water within the walls, which partly stops the flooding unless the walls are not tall enough and the water floods outside the wall. Today we still use irrigation systems to water crops or bring us water. Our modern irrigation systems are basically the pipes that bring us water for us to wash clothes, cook food, drink water, shower or even flush our toilets. Another example of a modern irrigation system is a sprinkler. A sprinkler (it’s basically the name) sprinkles water onto plants and into the soil. With this tool gardeners don’t have to walk around an entire the whole day with a hose.
In this assignment I did very well in participating in my group. I used the time we had very responsibly by trying to do as many things as possible. I tried to include everyone in the assignment by asking if they wanted to use the drill, or if they wanted to use the hot glue gun. When we had finished one part of the project we would quickly move on to another part of the project. I respected my group mates and their ideas, by actively listening and taking heri ideas into consideration and gave them feedback and how we could build on that idea
The beginning of class when we had show our sketches to each other. Only **** and I had made them, ***** forgot or just did not want to or did not have time, I don’t know. When I showed my group the sketches I had made, they said they were pretty interesting, however it would be hard to make.
Our design had two big kiren bottles which were like two big water station that had propellers. The propellers were to push the water threw the rest of the tubes. One of the tubes was connected to a bottle and from the bottle it went into a “toilet tube” and from there to a styrofoam “box” which then led into another kiren bottle. The original idea was not like this though, it actually looked like this:

We had to find out how to get the motor to work, where to get a solar panel, and how to build a propeller.
Along the way I learnt about new tools and how to use the tools in the makerspace:
- Electric drill : when drilling you have to drill straight up, and down, or else it will go sideways and maybe not even drill thru the object and you can hurt yourself or someone else. For the actual drilling bit to fit into the machine you have to twist the “chuck” so it tightens the grip of the drill
- Saw: when sawing you have to saw on an angle so the saw saw’s faster. It saw’s faster because
- Glue gun: NEVER hold the glue gun in the front or you will burn your fingers because it is SUPER hot in the front
the description of a drill for you to understand what a “chuck” is and so you can learn more about the parts of a drill.

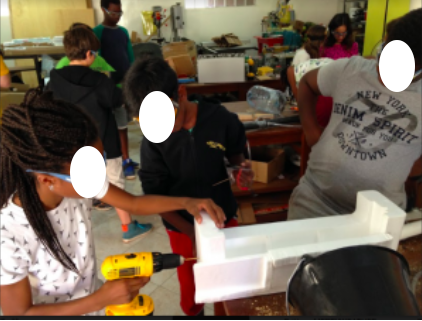
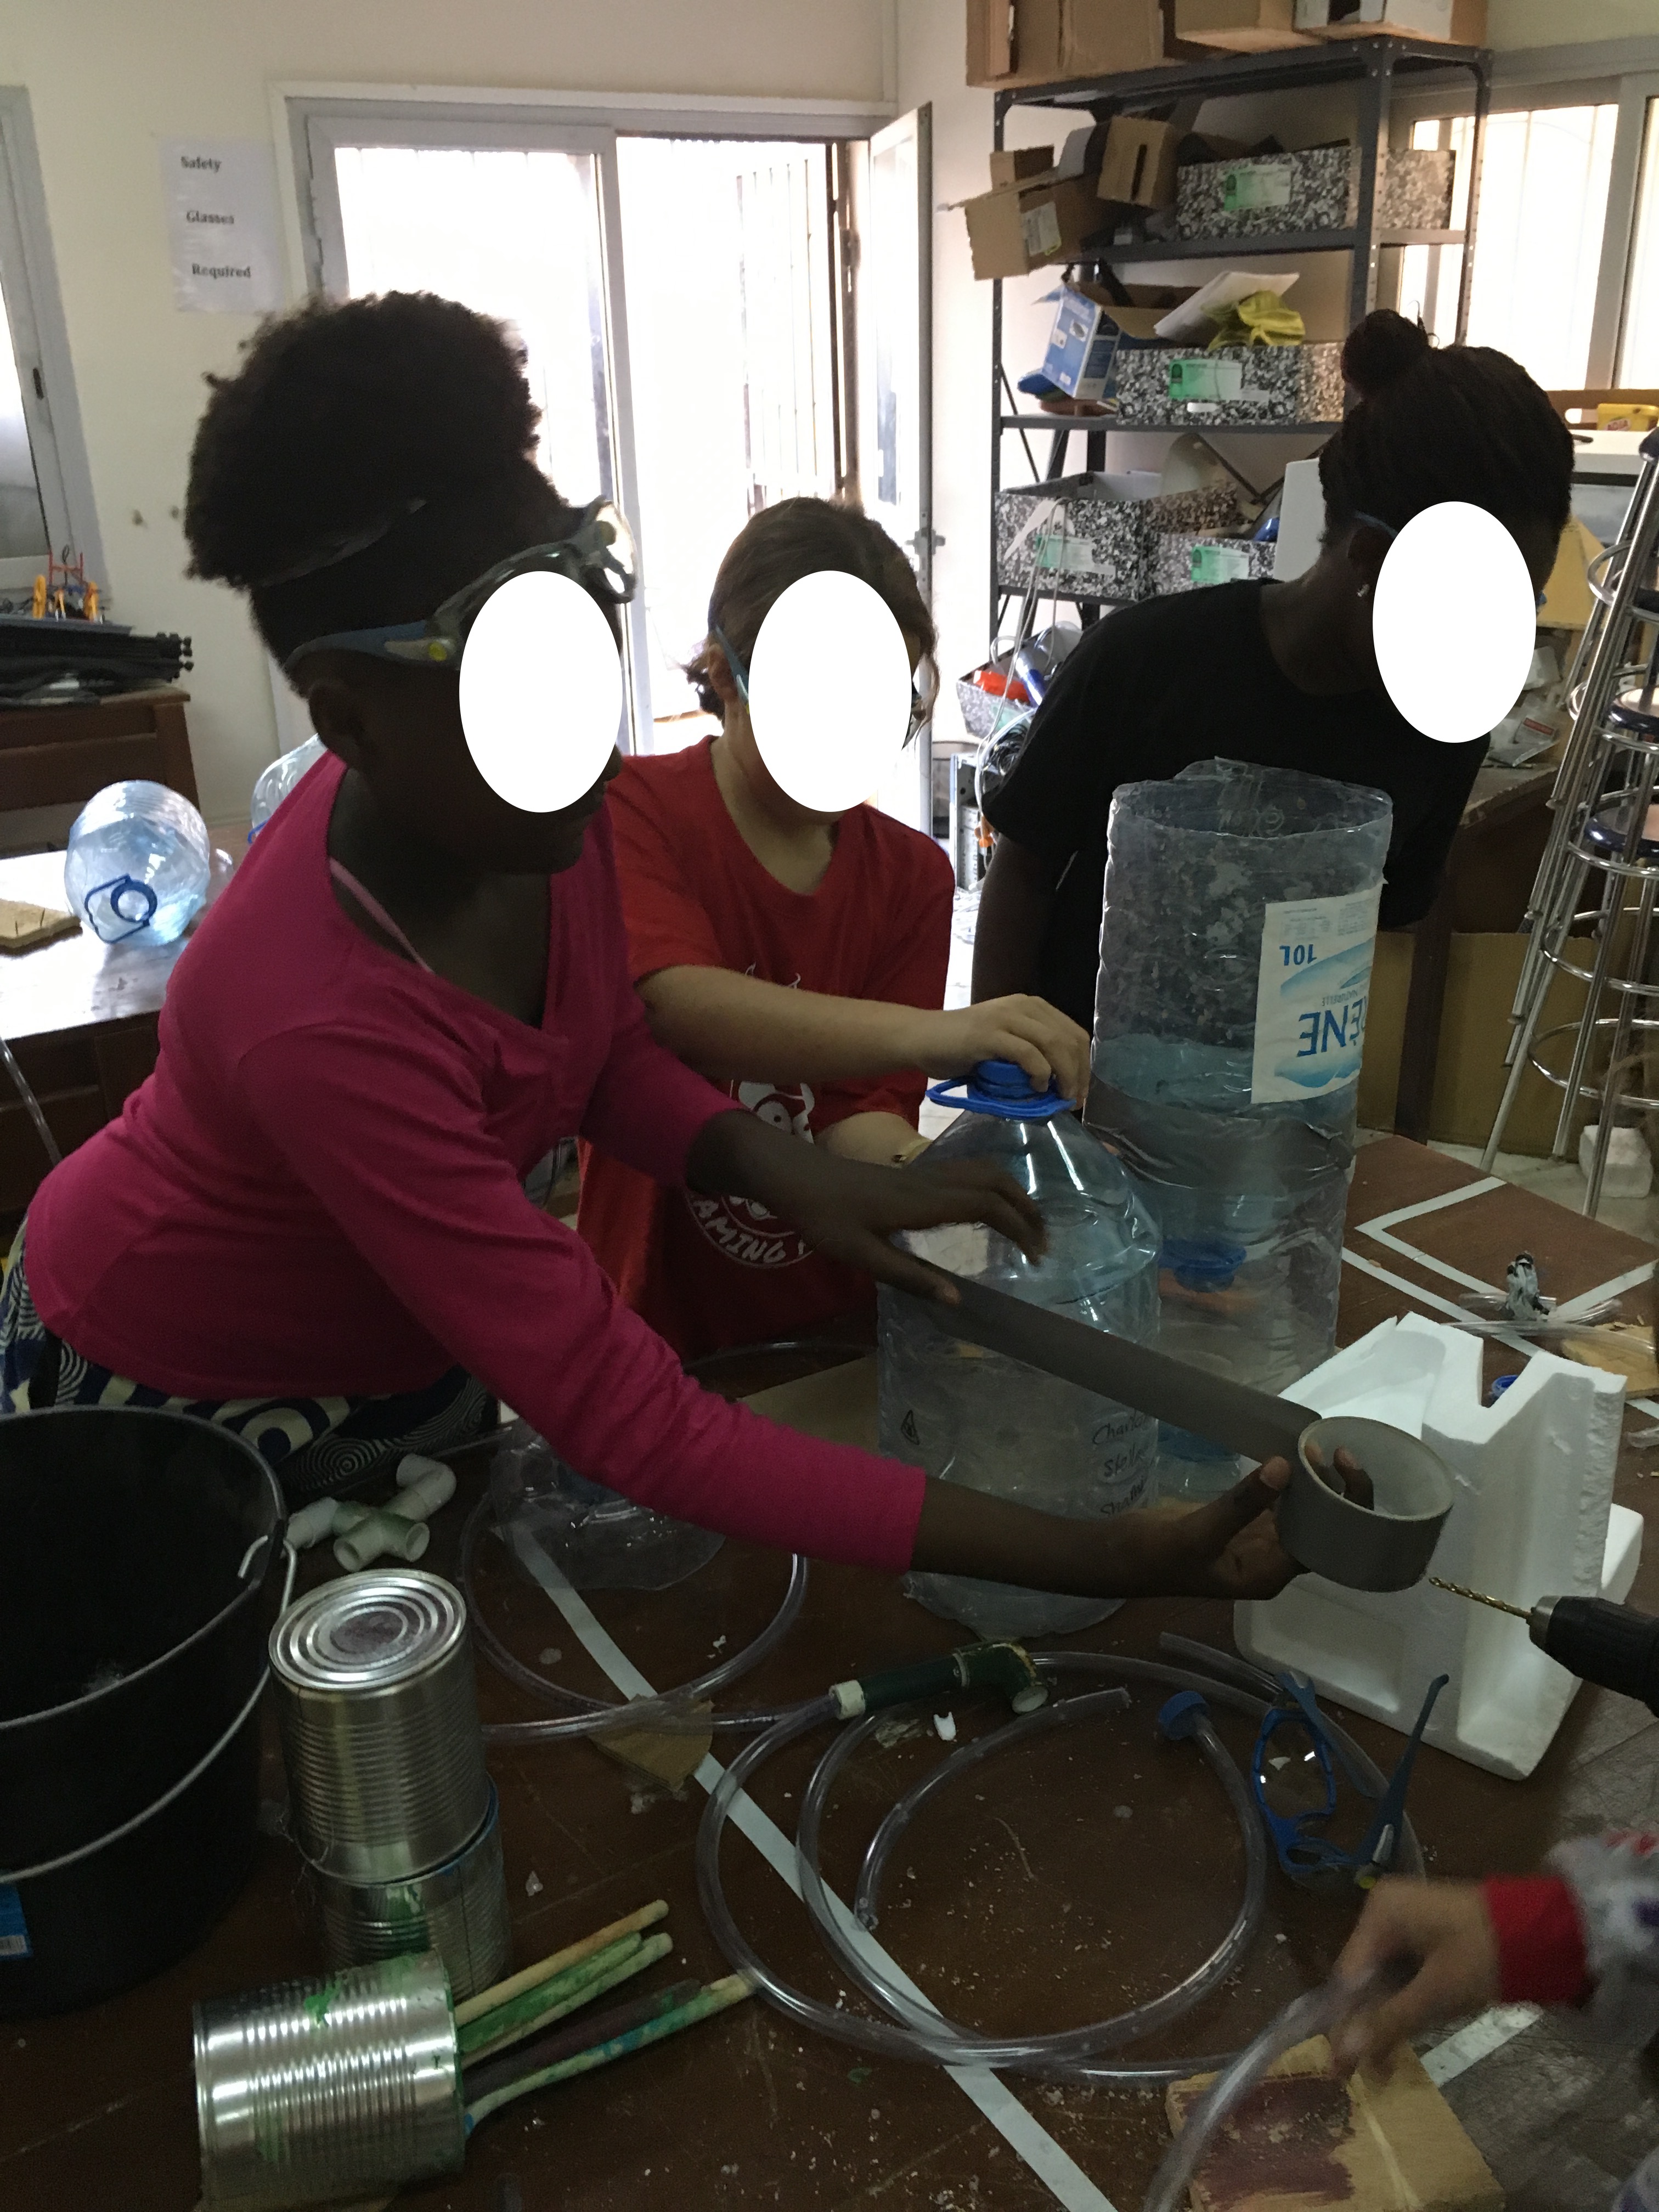
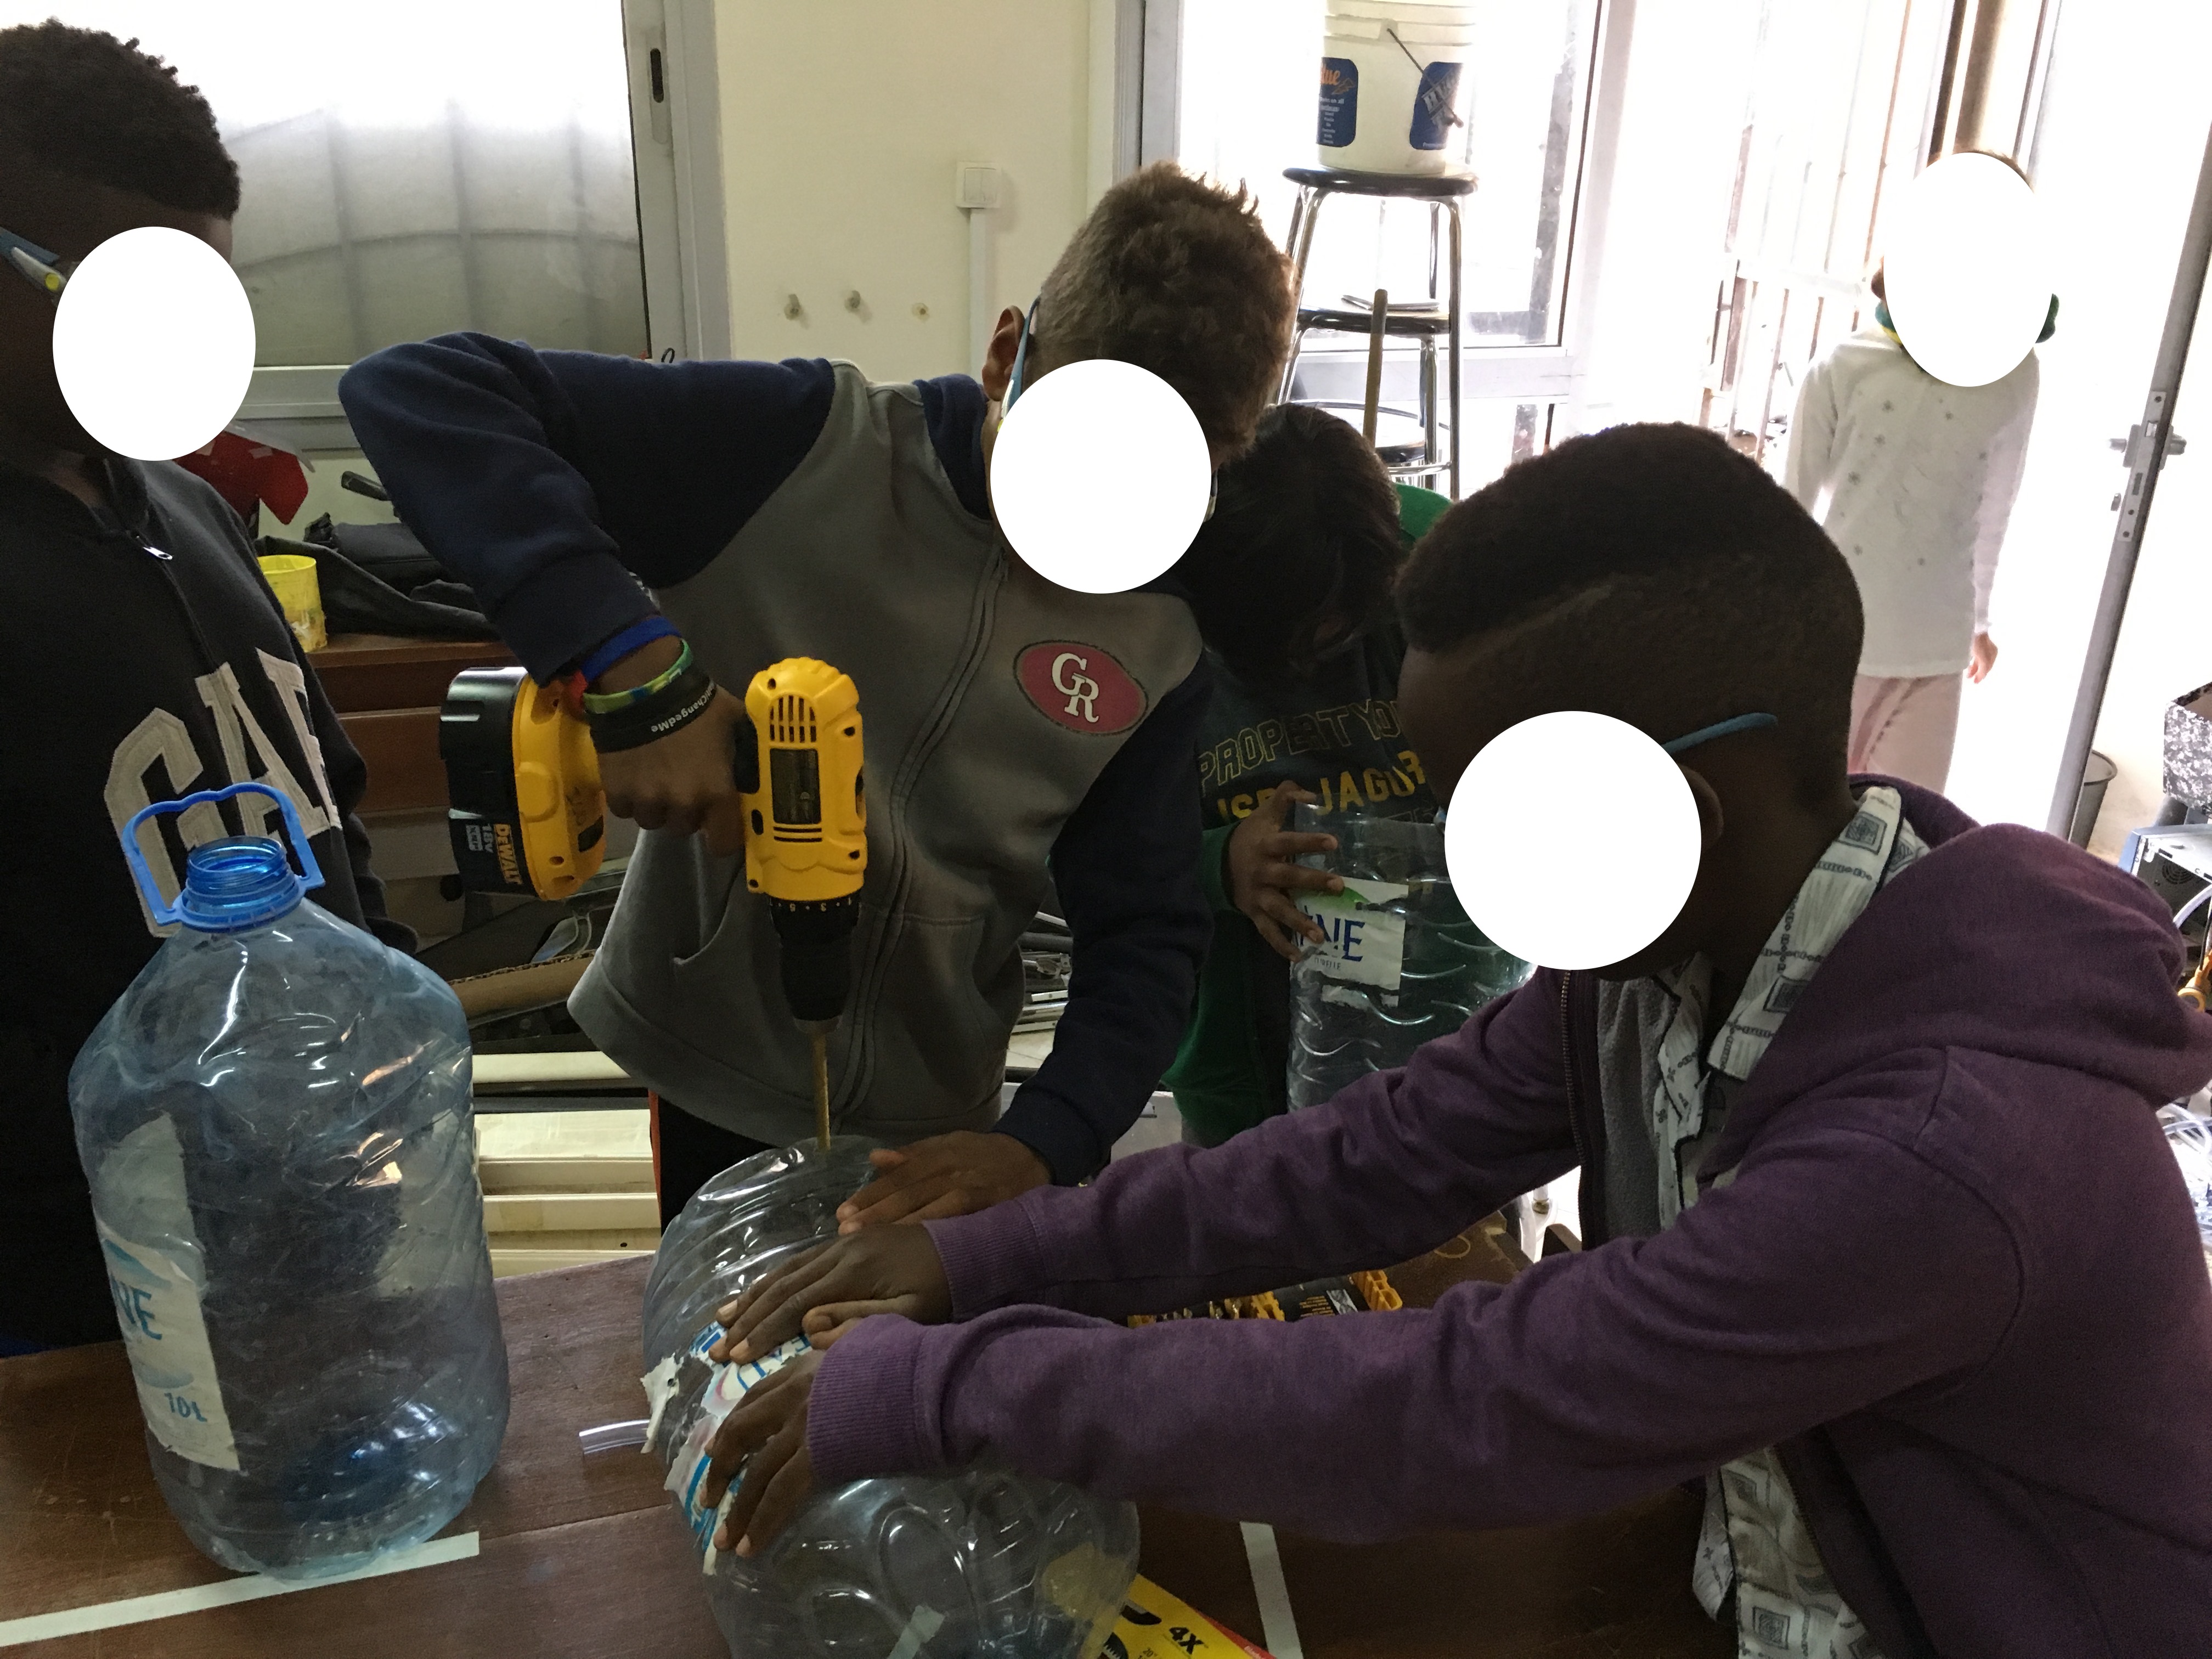
picture of me using a drill (the drill is the main point. For you to see how I am using the drill properly- hold it straight! And also I want to show the “styrofoam box” is) the white bow that I am drilling a hole in is the “styrofoam” box
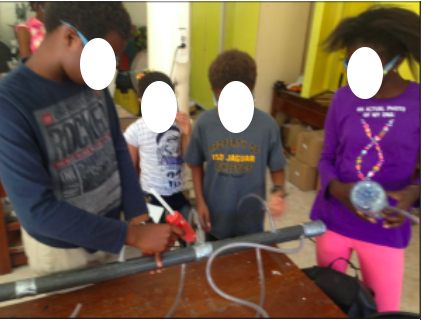
picture of my partner using a hot glue gun (the hot glue gun is the main point)
For the very first lesson in the makerspace, we tended to find many materials and tools we could use along with the things that had been bought for us for our project. I think that our irrigation project was difficult because we needed many additional supplies like:
- two big Kiren bottles
- two propellers
- two motors
- two power sources (solar panels)
- lots of tubes
- And some other things
A lot of these supplies were very hard to find, like the solar panels. We had to find the right solar panel: one which was the right fit, had the right amount of volts and one that actually worked with the motors we had. So the batteries had to be right for the motor or else it would not start.
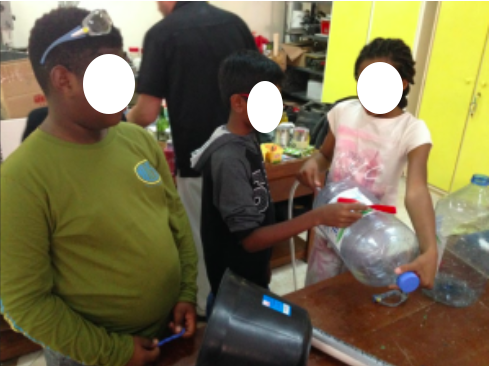
pictures of how we put the propeller and the stick in the bottle and picture of the kiren bottles
The most irritating thing that happened was when we tried to attach the stick onto the propeller because the we did not last we figured out how to put the propeller into the bottle (with some help of ms. Merryweather of course!). First we drilled a small hole into the bottle, then we took a pair of pincers and clipped them onto the propeller. Held the pincers into the bottle, hot glued a grilling stick, put the grilling threw the hole and then put it on the propeller.
Here is a visual for you to understand better-

This comic shows step by step how we put the propeller and the stick in the bottle and also how we attached the stick and the propeller together.
I think that our group had a very hard time focusing on the task and I think that is one of the reasons we did not finish our project. Sometimes some of the group mates did not exactly know what to do In our group **** did not really participate in everything, instead he wandered off and talked to **** or some of his friends. That must have distracted his friends as they joined in talking about stuff. He did take part in building the irrigation system and helped us sometimes, but not as much as he would have appreciated. We did remind him to come and help us, though it is also his responsibility to know when it is time to work and when it is time to play. That could be something for him to reflect on.
What went wrong with our design is that there was no point of putting the stick on the propeller, because it kept on falling of. Maybe to fix that we could have taped it, but then it would not spin on the motor as well (we glued the stick onto the top of the motor). We did not have time to drill a hole in the styrofoam “box”, so we could put toilet pipe through .
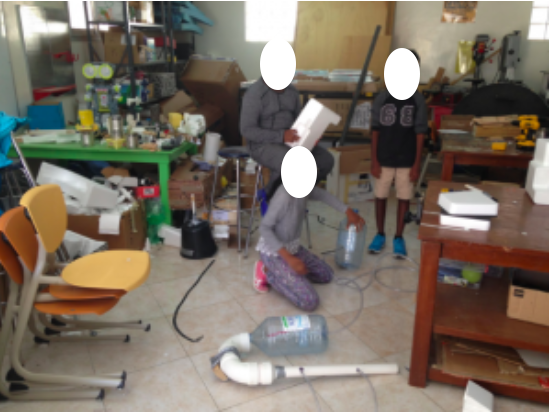
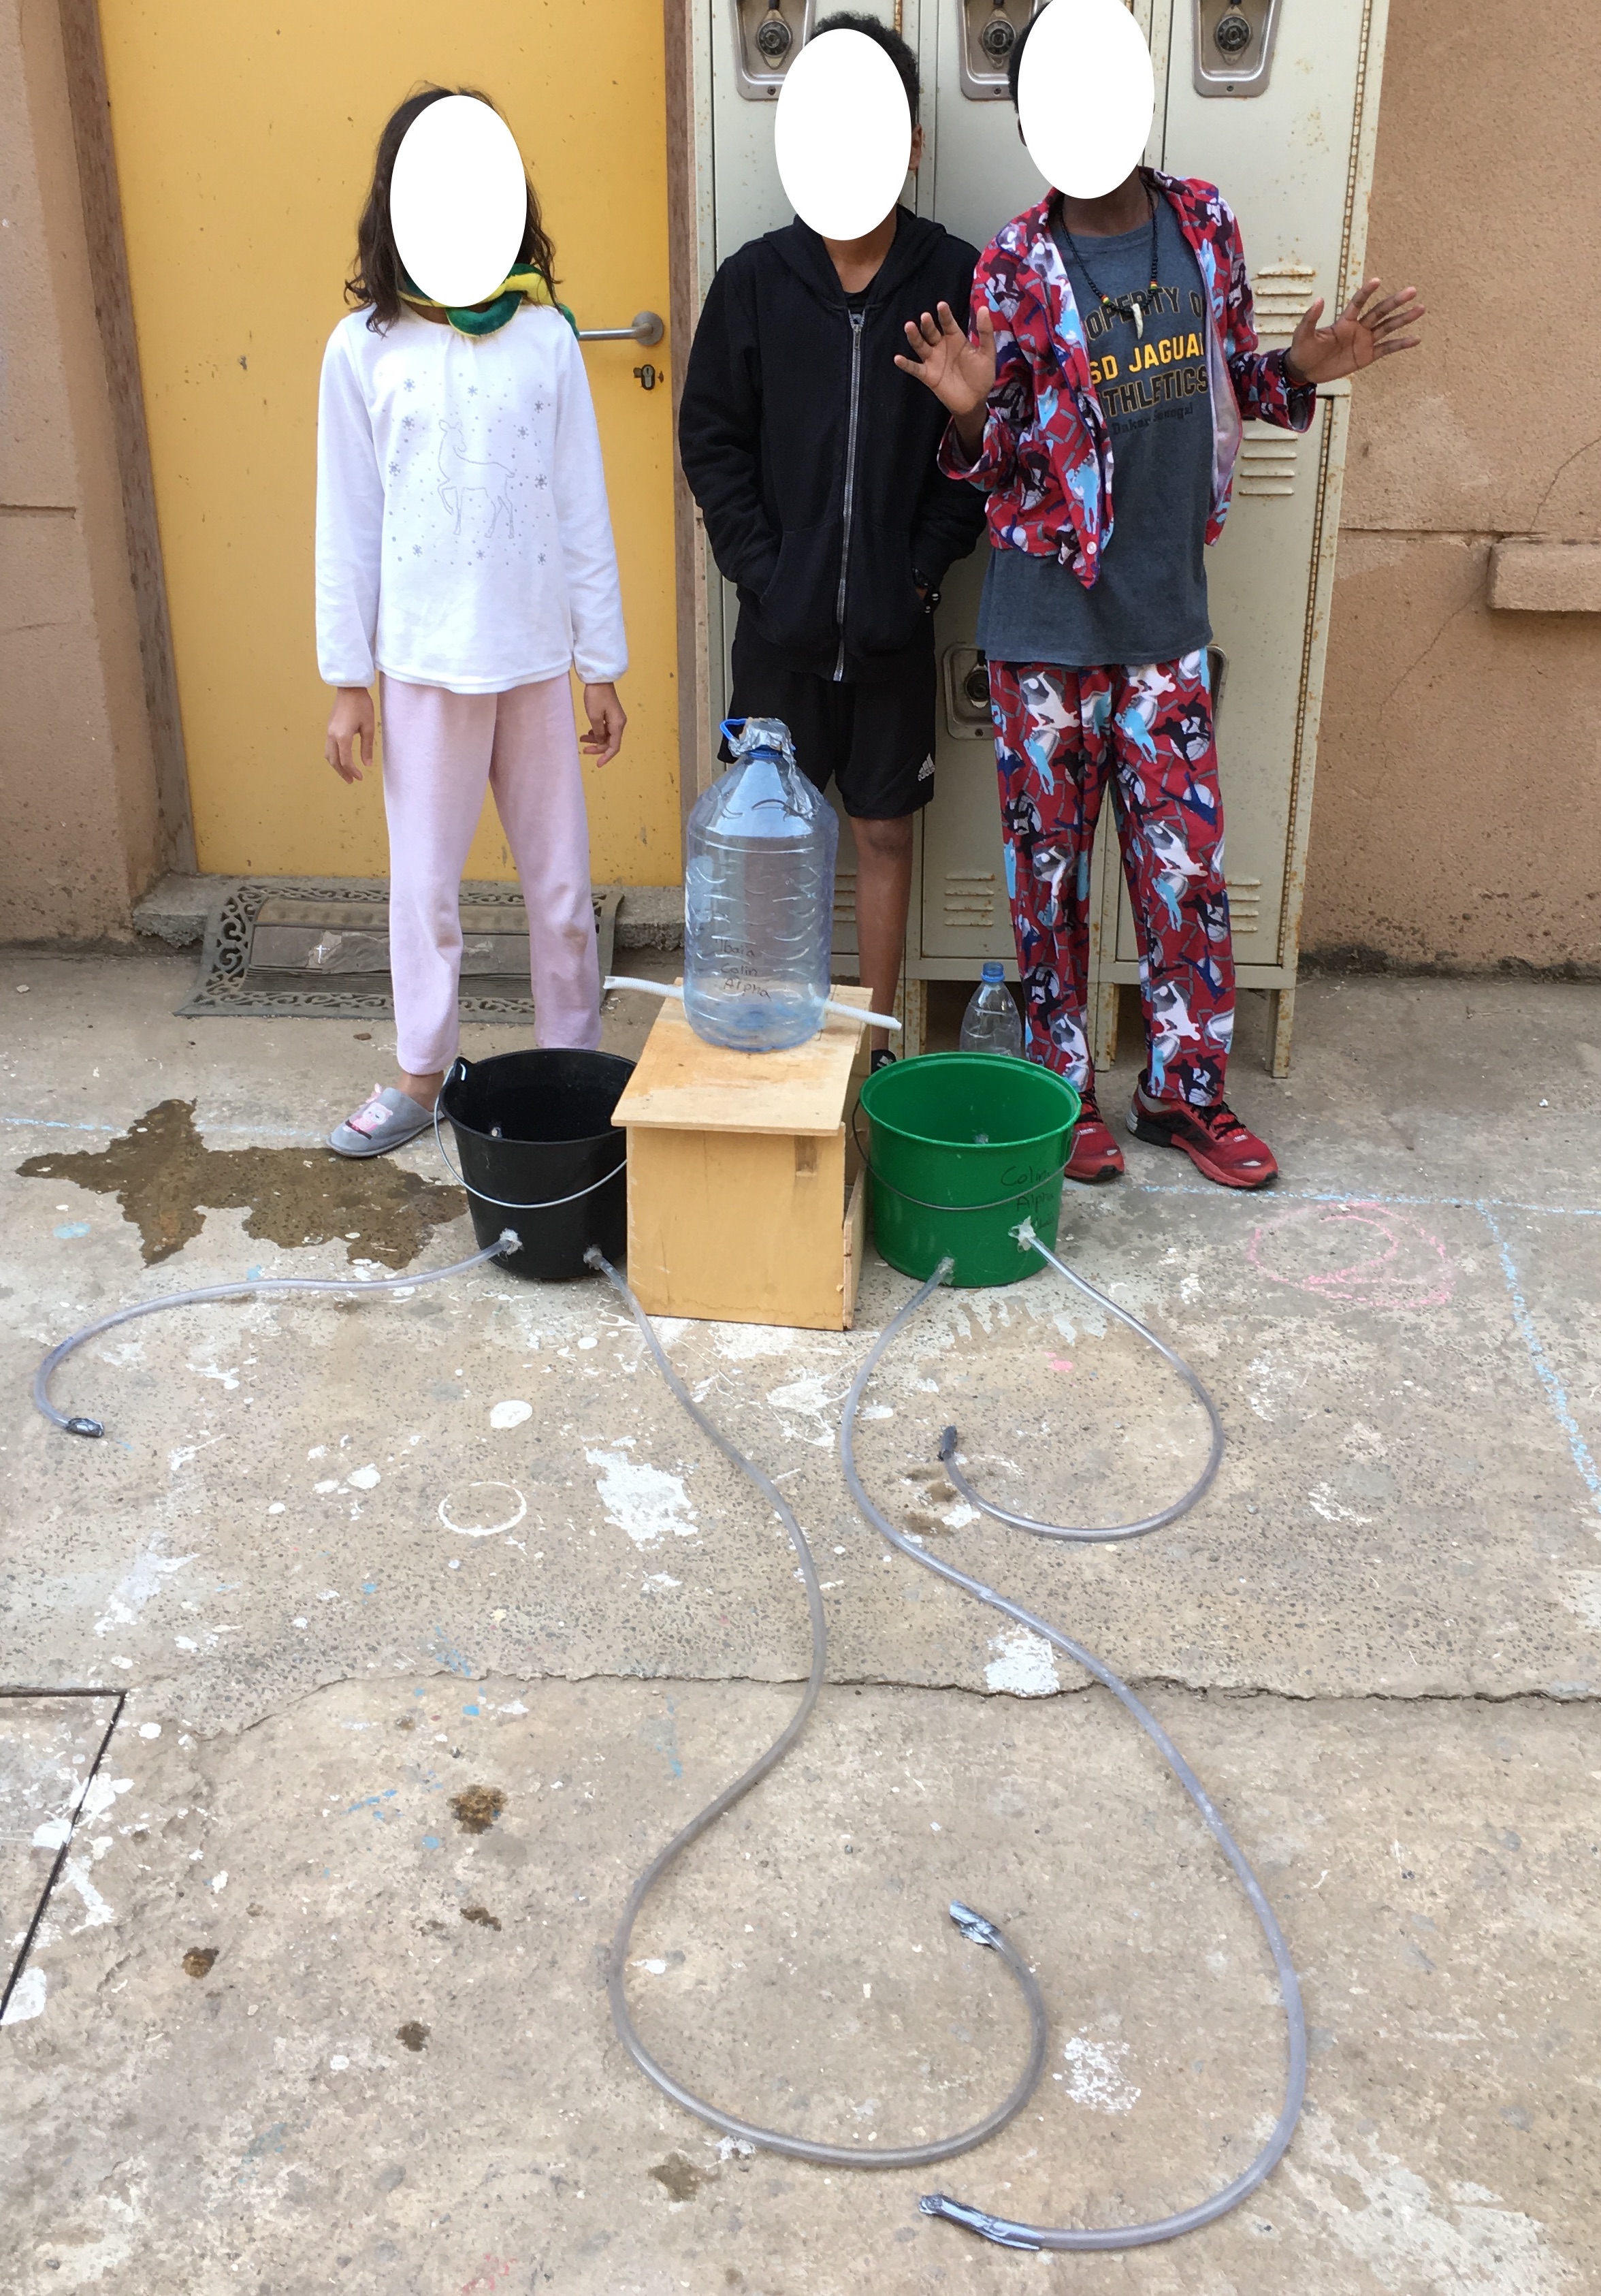
The white pipe connected to the bottle is the “toilet pipe” (though during this time we had not made the styrofoam box yet)
We did not have time to make a stand for the kirene bottle. Making a stand for the bottle we realized we had to do when we saw the project was almost complete. The water would flow down from the bottle into the tubes and into the irrigation system. But we did not have time to make it and it was one of those last-minute-realizations. This is something we could reflect on and take time into consideration when making another project in the makerspace.
Next time we have a project in the makerspace I am going to choose a simpler design, like for ex-

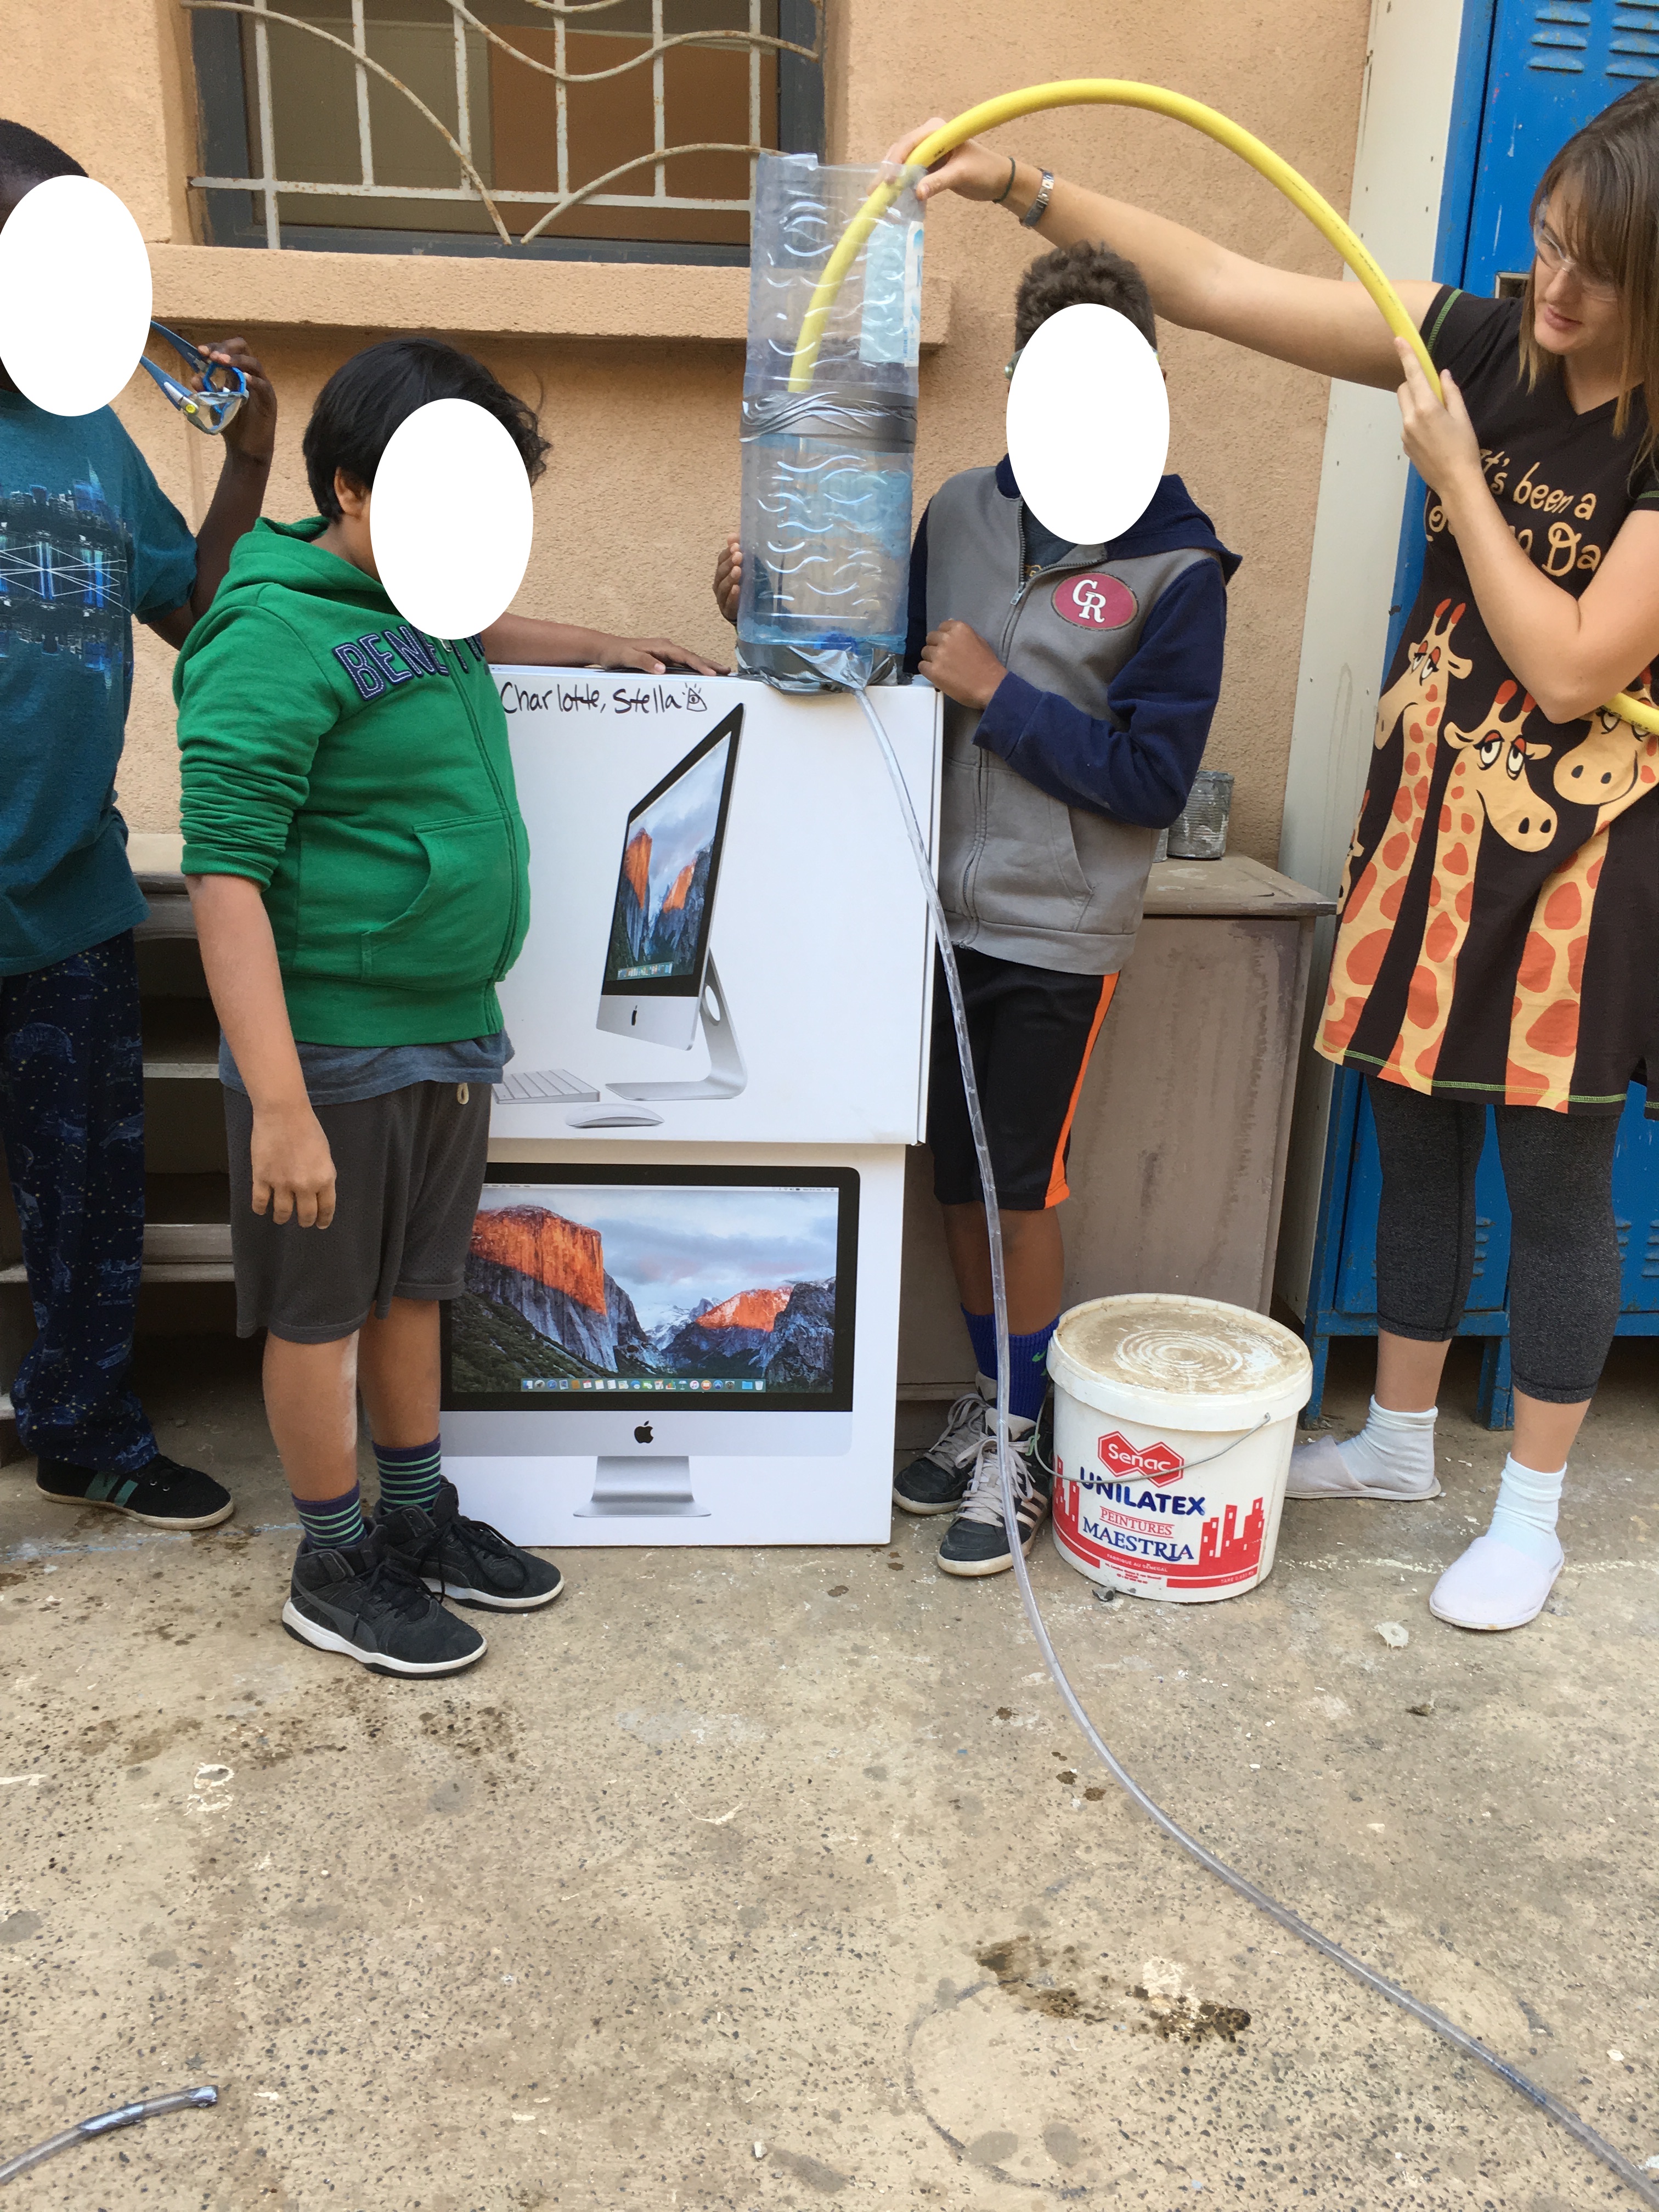
However, what did go well was that we finished most of our project and that we got to present it, but not demonstrate it with water. We got the tubes figured out, we almost got the bottle taped to the toilet pipe and we got the styrofoam box fixed. (I understand this is a little complicated to understand so her is a visual):

(The bottle is supposed to be at the end of the tube, but the wind blew it away)
The project would basically look like this-

THE END
 Follow


