What is Clay?
Clay is a natural, stiff, sticky fine-grained earth mineral, typically yellow, red, or bluish-gray in color and often forming an impermeable layer in the soil. It can be molded when wet, and is dried and baked in kiln to make bricks, pottery, and ceramics. The history of clay dates back to the beginning of civilization, for example the Taos Pueblo in New Mexico, Terracotta Warriors in China and more.
Materials needed when working with clay
Work Mat: clay is sticky with a plasticky texture, hence when working with clay it is best to use a working mat so the clay art would not be ruin when sculpting. Thin cardboard would be a great option as clay works best on porous surface.
Cutting Wire: this is usually used at the beginning of a new box of clay. The cutting wire is a great tool to cut easily and evenly. 
Sculpt Tools: these tools are specifically designed with multiple shapes and ridges. They are used to attach, cut and design the clay art. Other household products can also act as a substitute, such as paper clips, toothpicks, forks, knives, etc.

Techniques for Clay Art
Clay art can be integrated into the elementary curriculum as early as kindergarten. Young children love to play with sticky mouldable materials. The following picture will demonstrate when to introduce certain clay art techniques. 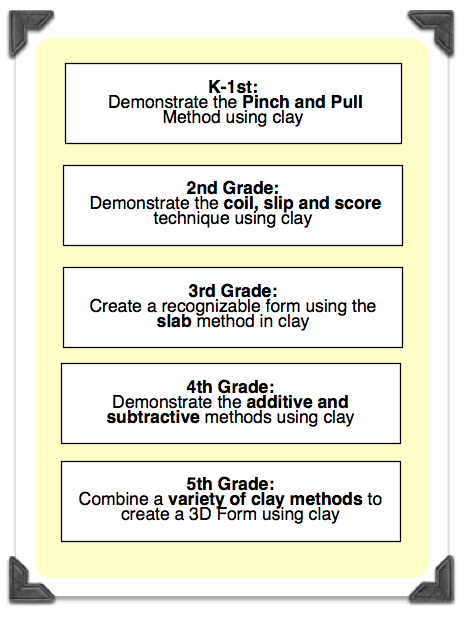
pinch and pull: while holding the clay, press the thumb into the centre of the ball, half-way to the bottom. While revolving the ball in one hand, press and pull the walls out evenly with the thumb into the inside and the fingers on the outside.
roll: form a lump of clay into a smooth sphere, then using the centre of the palm gently roll out to the fingers. Repeat until the clay forms long snake rolls.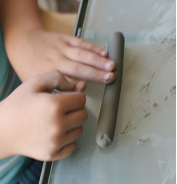
score: used to solidly attach two pieces of clay together. Using the sculpt tools to make rough marks on both connecting ends of the clays. Once the marks are done, add as much slip as needed and push the two pieces together to stick.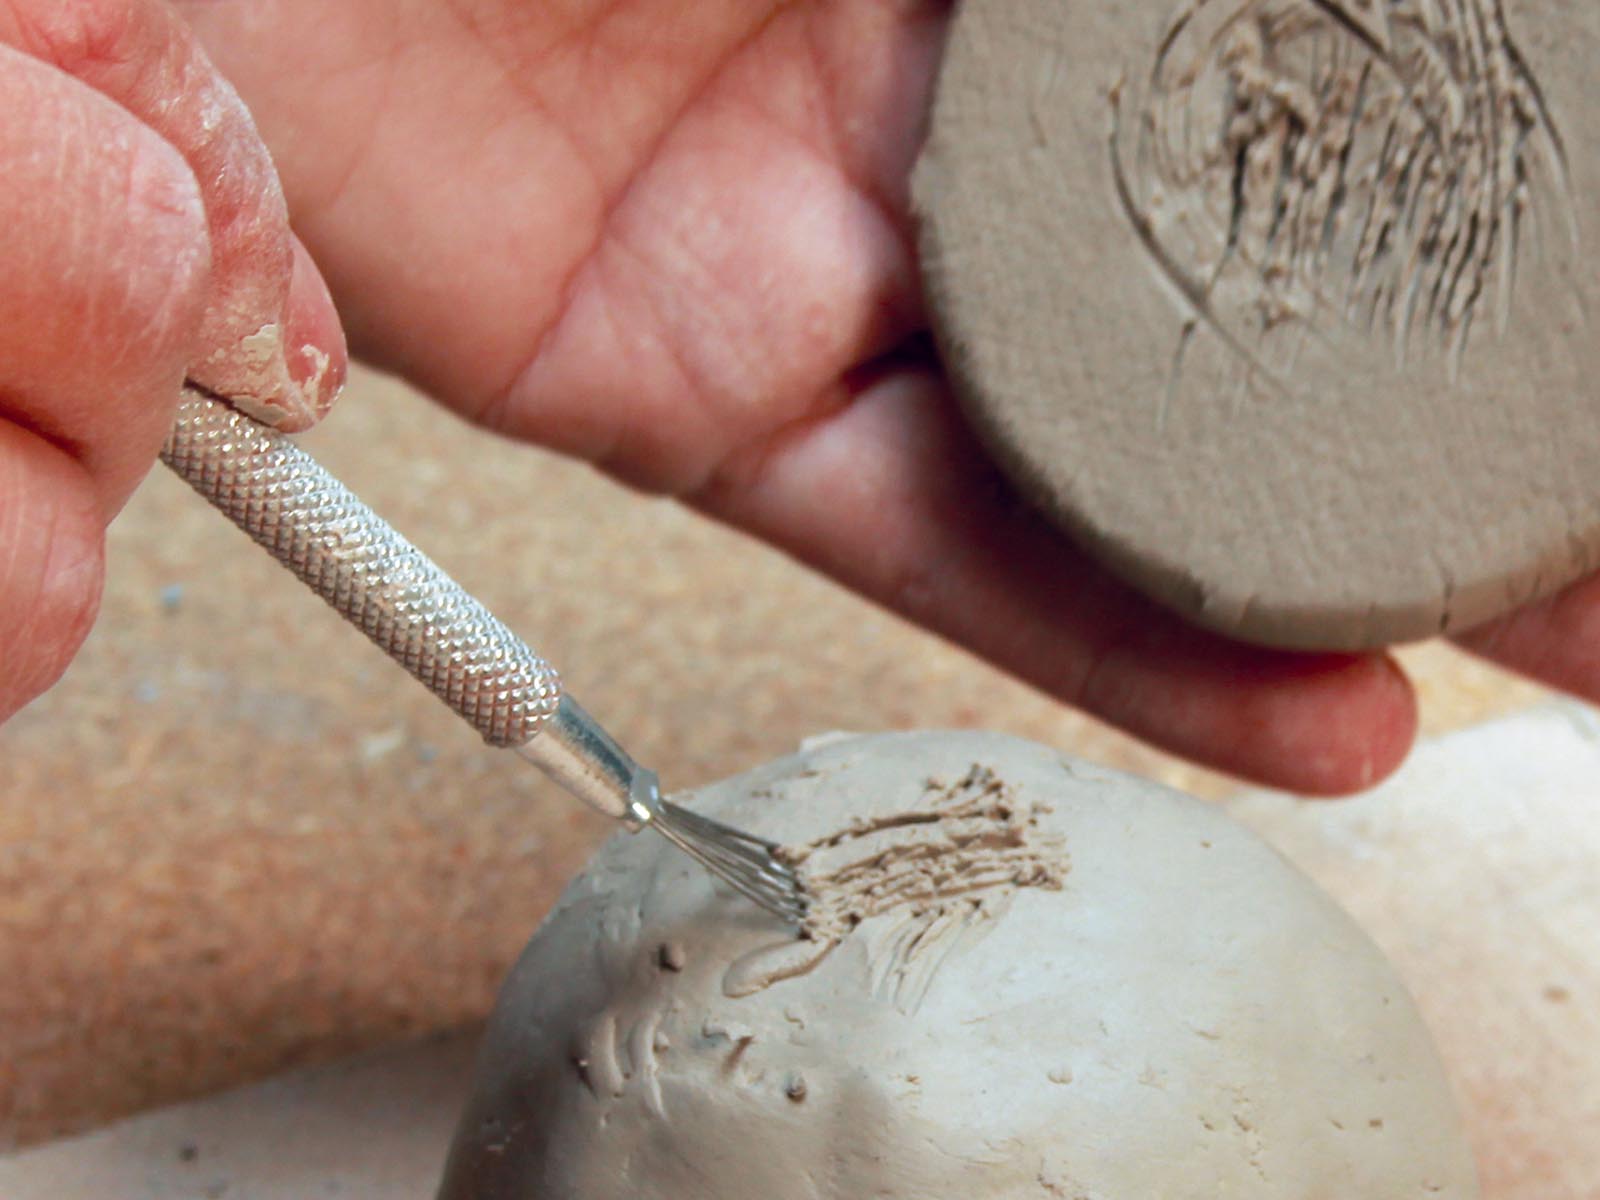
slip: a thick watery clay used to glue and/or decorate the clay art. Slip can simply be made by mixing clay and water together.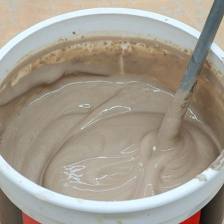
Instruction Examples:
- Roll a ball of clay between your palms to make it round.
- Explain that one hand (usually the less-dominant one) will hold the clay, while the dominate hand does the pinching.
- Place the ball of clay on the less-dominant hand, keeping it opened flat so that the fingers will not be in the way while pinching the clay. Using only the thumb of the other hand, press it into the centre of the ball until it is about one-half inch from the bottom. Emphasize that only the thumb will go inside the pot. Pull out your thumb and show the children the hole made in the pot.
- Explain that you are going to make the hole larger by pinching its sides. With your hand in the air, show the children how to pinch with the fleshy parts of their fingers and thumbs rather than the tips which will cause the clay to break off.
- Place your thumb all the way to the bottom of the hole, and with two fingers on the outside, pinch gently. Rotate the pot about one-quarter inch after each pinch. Working slowly and concentrating on the feel of the clay, continue this movement of pinch and turn, pinch and turn, all the way to the original starting point on the ball of clay. Show the children how the hole has grown.
- Repeat the pinching process slowly to avoid stretching the clay too quickly. Emphasize that once a pinch is made in the clay, it must be repeated all the way around to the starting point to maintain its roundness.

- Explain to the children that they will be making pots with coils or rolled “snakes” of clay.
- Show the children how to make a coil. Break off a small chunk of clay and roll it between your hands to form a snake-like shape. Put the “snake” on a flat surface. Starting with your fingertips, roll the clay down to the bottom of the palm of your hand and back to your fingertips. Repeat this motion moving up and down the coil, gradually increasing pressure until the coil is about a one-quarter inch in diameter.

- Discuss ways that the children might use coils on the pots; such as adding handles, smoothing the lip or top of the pot, decorating the sides of the pots, or making the pot grow taller. Have the children roll several coils and then add them to their pots.

Drying Process
Professionally, many would use a kiln to fired up the clay to quickly set the clay art. However, many schools would not have the budget to install one. Hence, one the student is done with the clay art, the clay can simply be kept in a dry cool room for minimum of one week to dry.
Links to possible clay art lesson ideas on pinterest.com
![]()