Week 2 – Jan 22-28.
Continue body/skeleton prototyping for purring CuddleBit.
Customized water bag design
First we attempted to create a customized water bag design, essentially a double-layered bag that would contain water between the layers, and allow the entire robot’s body to be water, instead of requiring a skeleton of some kind. Took a few trials to come up with a process to heat and press plastic (cut from a large ZipLoc) to create a good seal. The main downside to the process is that all the resulting seals need to be straight lines – we have yet to come up with a process to seal in curved lines, as it gets a lot more complicated.
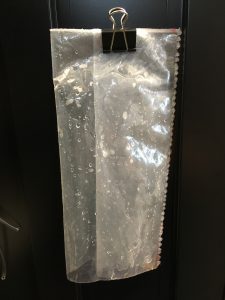
Two pieces of plastic heat-sealed together to create a double-layered bag.
The first past at this design highlighted a few unforseen complications – how can we easily get the motor in and out of the bags? Where does the wiring go? How do we seal the water inside the layers?
“Upside-down” skeleton
Decided to test out the idea of having a water pouch sitting on top of the motor instead of underneath. Made a rounded skeleton out of thin, flexible plastic (cut from a binder/folder) in a hemispherical shape, with a flat piece of plastic on top to support the water pouch. Seems to work quite well.
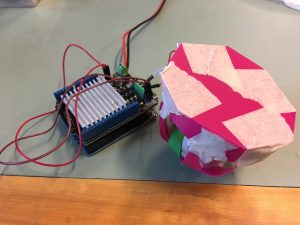
Skeleton that supports a water pouch on top. The motor is fixed in place inside the “basket”.
IMG_0898
Water pouch on top of skeleton. Blue paper on top to make vibrations more obvious.
Water balloon design
Had the sudden idea that I could fill a balloon with water and tie the balloon to create a torus-like shape, and fit the motor in the center. This fabrication process would be much simpler than the custom water bag design, and would allow for the rounded shape that I had wanted for the robot body. As well, a rubber balloon would be a more durable material than a plastic bag.
It took a few tries to figure out the best way to create the torus shape, including the amount of water I should start with. One important step I discovered was that I had to blow up the balloon to near its max capacity first, in order to stretch the rubber evenly so that the torus shape will be even. As well, it seems that the consistency of the rubber changed enough between the different colours (I suspect the variable is colour, possibly due to the differences in material?) that certain colours of balloon (especially white) were very difficult to work with.
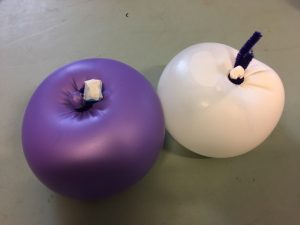
Tying the balloon into a torus-like shape. Note that the white balloon’s shape is less even than the purple.
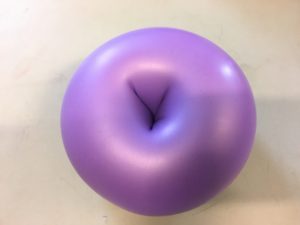
The bottom of the tied balloon.
IMG_0910
Balloon purring robot in action.
This design turned out to work exceptionally well – the entire body was able to conduct the vibrations of the motor. To make it easier to move the motor in and out of the body, we created a small container out of plexiglass that the motor could snugly fit into, and inserted the plexiglass into the balloon. It seems to still work quite well, as long as the container fit snugly around the whole motor in order to conduct the vibrations.
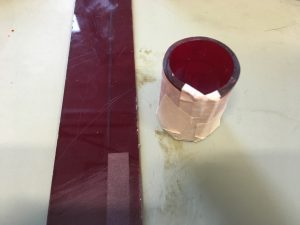
Plexiglass container for the motor.
IMG_0913
Adding the container into the design.
We then made another one of these toruses to suspend the motor entirely inside the body.
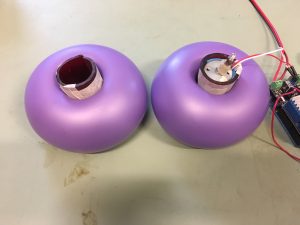
Two balloons for a body that entirely encapsulates the motor.
IMG_0917
Still works pretty well!
The success of this overall design indicated that the idea of suspending a motor inside a rounded, liquid body shows considerable promise. We plan to take this thought further and mold a rounded body out of flexible silicon for a more durable, higher-fidelity design.
Another observation is that with this design, lower frequencies transmit better.