Glazing and Firing

Finishing pieces is always a lot of fun.

I accumulated pieces throughout the year and fired and glazed and fired again all at the same time. Doing it this way meant that I had a full kiln and that I could consider different approaches for each piece with the previous treatments fresh in my mind.

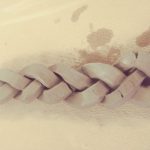
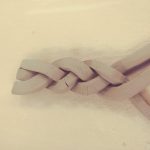
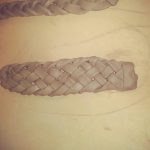
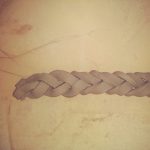
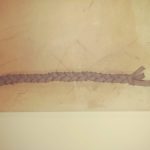
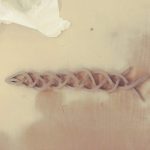
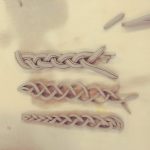
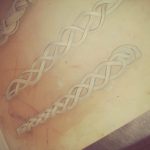
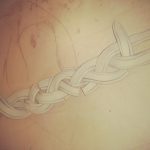
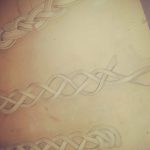
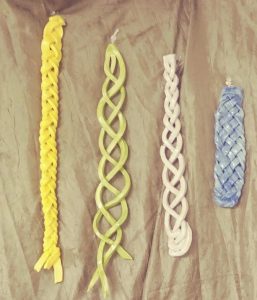
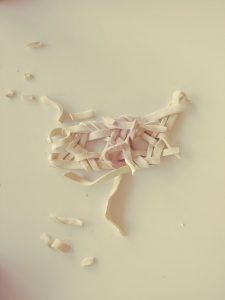
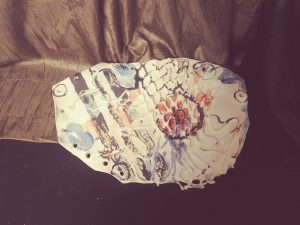
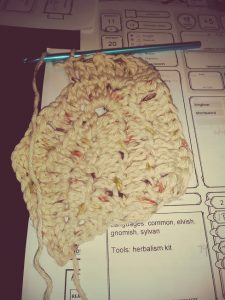
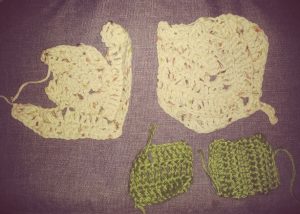
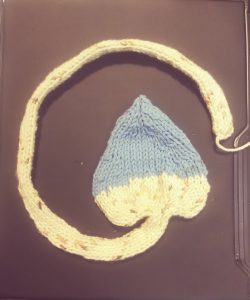
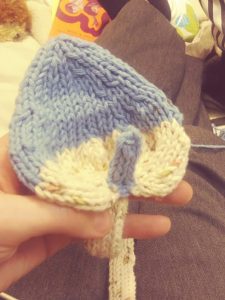
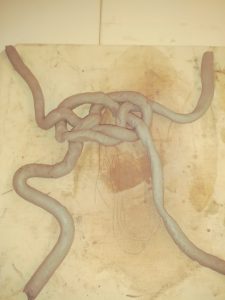
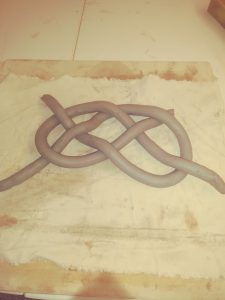
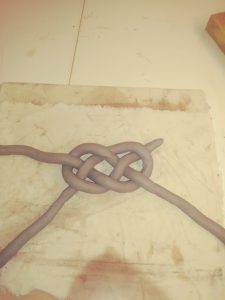
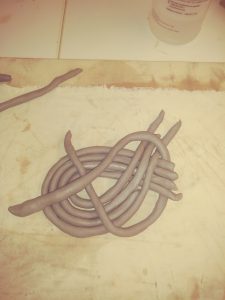
For my woven pieces, I painted on a layer of superior glaze, each in its own solid pastel colour, to avoid distracting from the details of the weave. I was really pleased with how the glaze softened the edges. Everything looked really rough before they were finished. One of them didn’t make it. Oopsy!

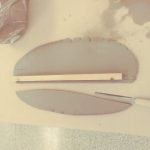
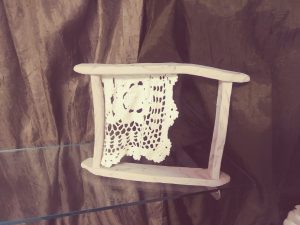
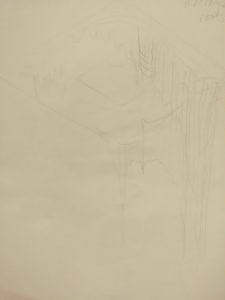
I wanted a natural look for Not a Window. I left the curtain alone because I thought the raw finish was more reminiscent of cotton. I painted and sponged brown underglazes onto the frame. I wanted to make it look like wood, but it turned out a little paler than I had hoped. I guess I could add more glaze next time.

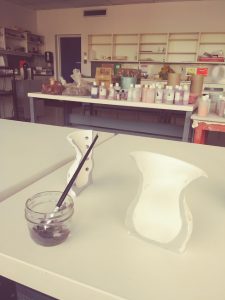
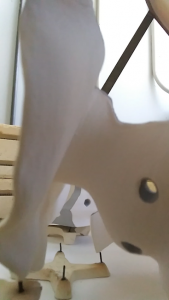
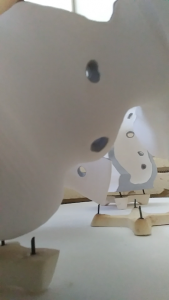
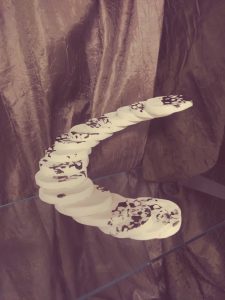
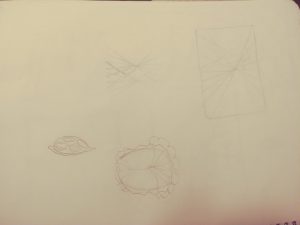
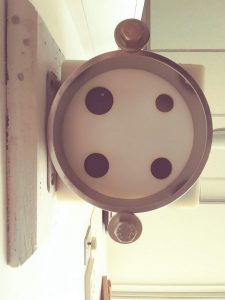
In finishing Disparate Parts, the goal was to draw attention to the split form, to the relationship between the edges, and to the way the string interacted with the ceramic background. I chose to glaze the bodies in white superior glaze and to finish the edges and holes in black.

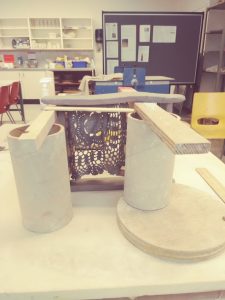
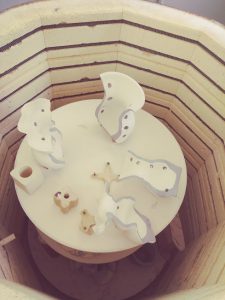
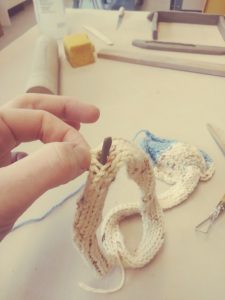
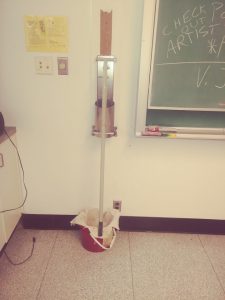
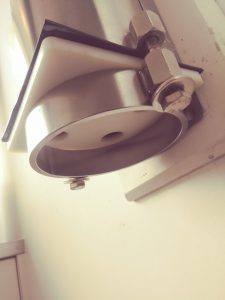
It was a real balancing act to arrange all the piece in the kiln. Some needed support, and some needed to be poised on stilts so the glaze didn’t adhere to the shelf. I couldn’t see what I was doing so I used my cell phone as a periscope.

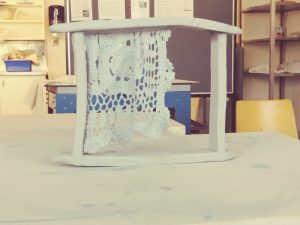
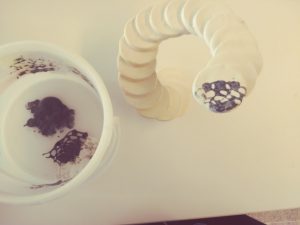
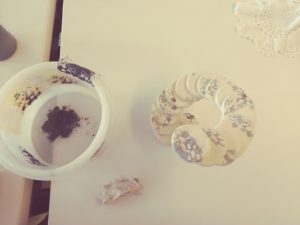
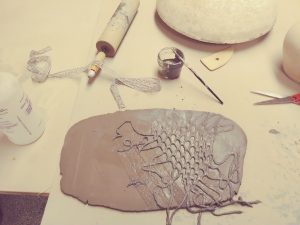
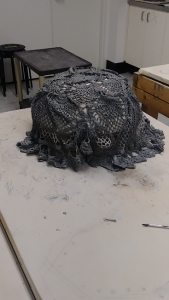
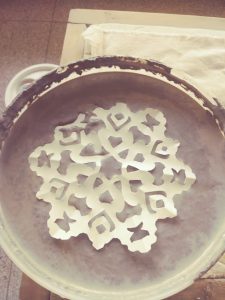
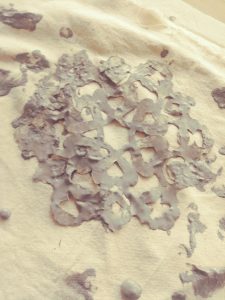
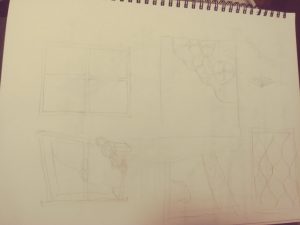
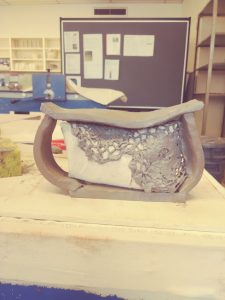
I went with a minimalist finish for Next Step, and printed black superior glaze onto the raw bisque surface. I used a doily to make the prints.

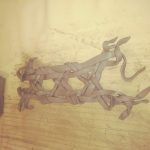
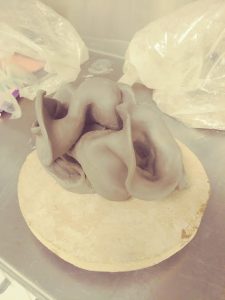
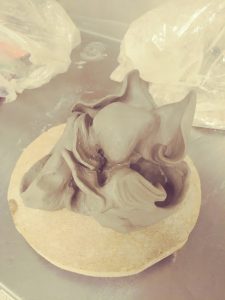
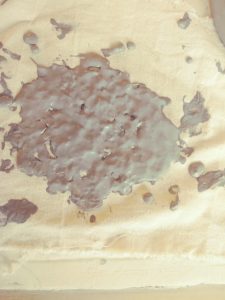
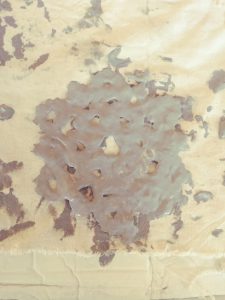
Growth Mindset was kind of a free for all. I went with greens, yellows, blacks and browns because it was about growth. I poured the glaze onto it straight from the jars. Then I spread the glaze that had puddled in the crevices around with my fingers. Next, I tried to emphasize surfaces and edges, or even implied lines by painting on bright and dark lines.

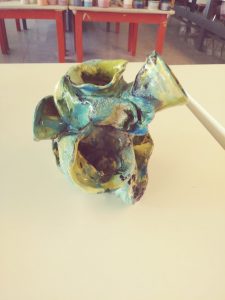
It turned out so well, I don’t think I can break it now.


Next Step

I made a piece that balances. I usually do.

Next Step is a metaphor for art-based inquiry. It shows how engaging in inquiry is so different from following a pattern. Through trial and error, one has ascended a stairway of knowledge and, at the top, has nowhere to set a hovering foot. Implied is the notion that this explorer has placed each step before climbing on, and must lay another tread without everything falling down.

I also like how Next Step communicates that I am going to continue my inquiry and push my process further.

Tile

This was one of the bigger challenges I set for myself. I wanted to merge the materials, to create a kind of oscillation between textile and clay, foreground and background, form and line. 

It is still wet in this picture. I rolled impressions of lace into the clay and spread a macramé net that had been soaked in slip across the surface. Then I rolled parts of the net right into the slab. I peeled out the top strands and trimmed them away, transitioning from impression to cast.

After this was bisque fired, I tried both to emphasize and obscure the different forms and impressions, at first following the track of the strings and then meandering away from them. I layed down splotches of colour that passed over and under the net and sponged on other glaze patches that merged and emerged. I feel like this was a good first attempt. Now I need to make about 100 more.

Crocheted Leaves

I used normal cotton yarn to crochet my leaves. They were really big and bulky. Not really what I had in mind since I wanted to create something more delicate.

Crocheting is new to me, so I am still looking up stitches and the process is slow. But it is something that it is easy to take with you. You can see my first leaf is laying on a Dungeons and Dragons character sheet; I was balancing making and enjoying time with teenage sons.

So this one didn’t make it to the kiln either.

“I have not failed. I’ve just found 10,000 ways that won’t work.”
― Thomas A. Edison

Growth Mindset Art

As a educator, I am really excited about this project. Any time I teach a unit on art, I hope to be able to include this as a companion project.

The assignment is to create an artwork from the “failures” of other artworks. In ceramics, this happens all the time. I started saving my failed pots and turn them into a hand-built sculpture.

Failure is information-we label it failure, but it’s more like, ‘This didn’t work, I’m a problem solver, and I’ll try something else.’ – Carol Dweck

At each stage of this project, the artwork must not be considered precious. After this is fired, I could smash it and reassemble it in a new form. The important part is to put as much effort into the design process every time you create.

“I believe ability can get you to the top,” says coach John Wooden, “but it takes character to keep you there.… It’s so easy to … begin thinking you can just ‘turn it on’ automatically, without proper preparation. It takes real character to keep working as hard or even harder once you’re there. When you read about an athlete or team that wins over and over and over, remind yourself, ‘More than ability, they have character.’” – Carol Dweck

Big Doily

Well that didn’t work.

What can I learn from this? What will I do next time I’m in this situation? – Carol Dweck

It needed to be soaked more and moved around less. Each of the fragments was very crumbly, so they just didn’t absorb enough slip. I did try painting more on, but it obviously wasn’t enough. I had visions of a giant flower that I fired in pieces and put together like a puzzle, but now I just have doily fired in pieces. Maybe next time.

Anthurium

I had the idea that maybe I could create a hollow cord by knitting or weaving.

I learned how to knit a tube and then tried to create a flower.

I tried different ways of stuffing the tube. I jammed little pieces into it through the sides, but then it had all kinds of crumbly cracks. So I tried soaking it after that, but the tube collapsed. If I try this again, I will either wrap a coil or leave an opening for a tube. If I do the tube, then I can pour slip in and see if it will set up. In any case, this project didn’t make it to the kiln either.

Mashups: Ceramacramé and Doilie Windows

I made a mash up word: Ceramacramé. I like it!

So far it is beyond my abilities. I had all kinds of plans to make macramé knots in shadow boxes, or to create 3D ceramacramé sculptures. 

I forced paper clay through the extruder and made coils. The trouble with coils is getting them long enough without having them break or distort. Except that the clay was softer, using paper clay in the extruder didn’t seem to be any different from using normal clay.

I was considering making a die with smaller holes. I have some of the material that the die is made from, but I struggled with the macramé process as the following pictures show. So I decided to save that project for later.

I will still explore it later on. (Just because some people can do something with little or no training, it doesn’t mean that others can’t do it (and sometimes do it even better) with training. – Carol Dweck)

For now I built, instead, on the frame idea.

My first attempt:

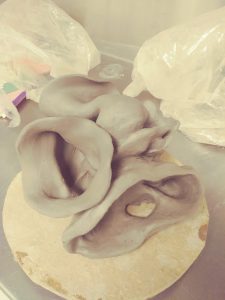
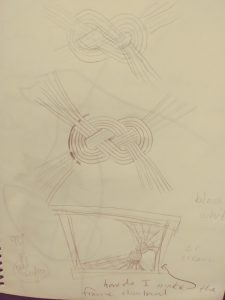
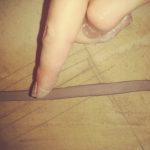
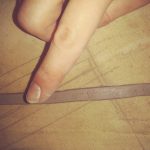
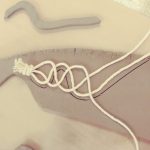
For my second try, I allowed the frame much more time to stiffen up. I also supported it while it dried.


process pictures

Weaving Clay Belts

I started trying to weave clay today. It is so different from weaving leather because of the plasticity of the clay. In other words, it keeps mushing.

I was using using low fire clay without any fibre added. I tried working very quickly and loosely with thin strips and handled them as little as possible.

I also tried using strands of different thicknesses. So far I like this the best, but the small strands crumbled. I would like to try it with paper clay and see if it cracks less. Also it would look cool with a slip-soaked knitted strand in the middle.


Spam prevention powered by Akismet