Video
Making a video using my digital camera and Windows Movie Maker was surprisingly simple and yet again a rather time consuming activity. Did I say simple? Yes, using the technology is simple but creating a professional looking video is a little more difficult. In fact, I think it will take a lot more practice to make a really skilled looking product. In the name of getting the thing done, I broke a few rules; recorded outdoors on a bright and windy day, began by reading my script – I recovered fairly quickly, and held the camera myself – it is a little shaky at times. However, I did get it done, uploaded to Youtube and linked to my LMS and I am impressed (and a little surprised) with the way it turned out. I know I will be much more comfortable and confident with this technology next time!
DVD
I was also able to burn this video to a disc using Windows DVD Player. I think creating a DVD that would be interactive (e.g. with quizzes, etc.) would require a lot more time and effort than I can afford at the moment but the tools available certainly make this task doable for nearly everyone!
Month: July 2011
Categories
Reflection on Glogster
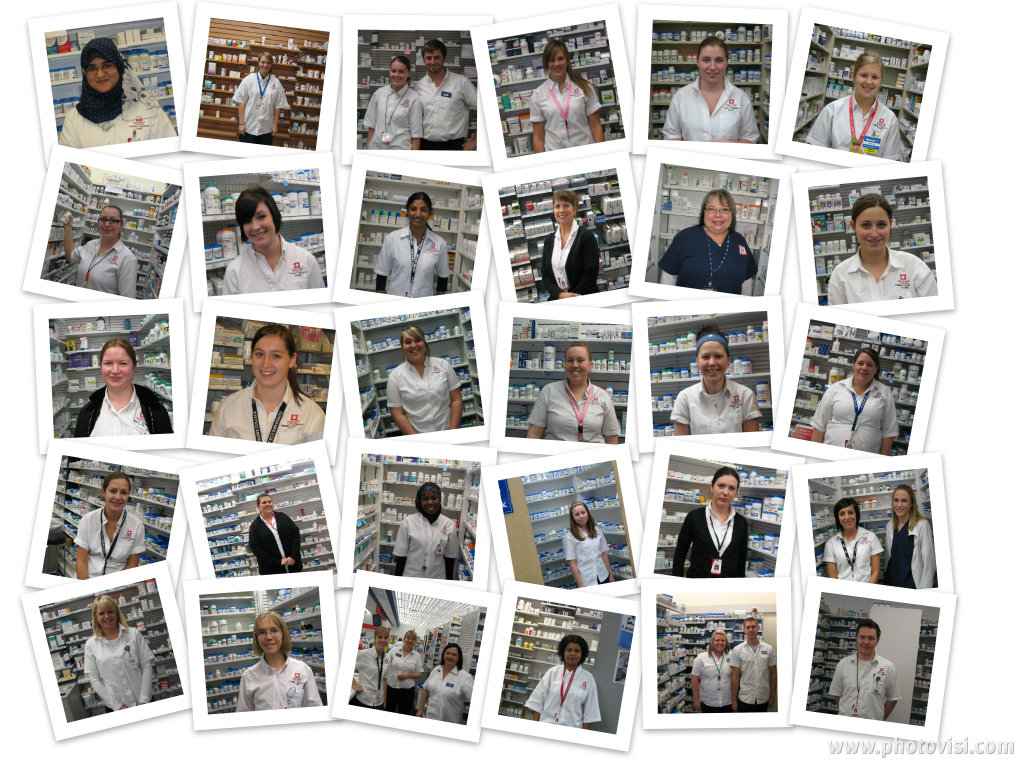
I chose Glogster in which to create an “edgy” Digital Story primarily for its ability to add audio and video. I intentionally made it a little dark because pharmacy can be a very rough place believe it or not. Yes, I have personally witnessed a robbery at my store. We can call this an effort to desensitize and initiate, I suppose.
I think this tool would work well for students to create a story of their own. Each year I give students an assignment in which they are required to describe a “Leading Practice” in a hospital setting that would add value to the institution. The example that I use is a living roof. I show students a PowerPoint presentation with pictures and describe how the project came to be as if I were really involved. They are asked to follow suit and be very creative, however, what I often receive is a dry presentation with “just the facts.” I think using a tool such as Glogster would encourage students to think more outside of the box and be creative. It would also allow students to share and get ideas from each other and hopefully increase motivation and improve the quality of the final product. I do not think it can be used effectively to teach a lesson if there are too many bells and whistles added. I used numbering to help guide the flow of the story. You can view my work and read more under “Digital Story.”
Still Images
Using Picasa was relatively easy and enjoyable once I realized I needed to double-click on the photo to open up the “Basic fixes,” “Tuning” and “Effects” buttons. How could it not be intuitive for me to double-click on something to open it? Anyway, I managed to crop a photo and resize (and make black & white) a photo.
Again, as with other tools, it took me quite a long time to get to know this one even in a limited way but I did not find it difficult. I was surprised by the number of different things it allows you to do with your pictures (collages, movies, albums) but I was also overwhelmed – simply resizing and cropping a photo took me long enough! I was delighted that Picasa found pictures on my computer that I forgot I even had, how cool.
Now that I feel comfortable using it, I think Picasa will be very handy for altering pictures that I find on the web and want to use in the classroom. I always create a class picture at the end of the year for my students using a picture of each of them at their placement. This year I made a collage (release forms were signed! And it is all over Facebook) using Photovisi. Next year I might try something like this using Picasa!
Audio
This exercise reminded me of my daughter’s violin practices a few years ago (not my guitar practice, I am a hacker). She would have to practice a piece of music several times and the more difficult sections many more times until the whole thing was perfect ten or twenty times in a row! But it made me realize that there is value in repeating things over and over and over. Certain aspects of the exercise become routine and retention over time increases. So too it was with practicing with Audacity. After the initial downloading (do not forget to download LAME) and checking it out, I went to work. Being familiar with recording my voice using other audio applications, I think the number of practices I needed to get an acceptable version was reduced. It still took about 5 tries! Is it just me, or do I have some “Oprah” inflections in this? Oh, well she had a large following so there must be something appealing to it.
Unfortunately my daughter traded violin playing for volleyball and I will likely trade Audacity for the latest, greatest recording tool – someday. But for now, this is a great tool and very easy to use!
Categories
Accessibility
Accessibility is a major concern with my students. Our college does so much to ensure the success of students with disabilities by providing in-class notetakers and interpreters, a testing centre equipped with technologies to aid in test taking, and ergonomic and other equipment to help with comfort and ability in the classroom. But looking at our college website with all of its non-intuitive, often hidden information, I wonder if they have seriously thought about making the online component of teaching and education as accessible as the traditional in-class part? I know I have not until now.
Reading through this material has really opened my eyes to the need for creating a course site that is easy to use for EVERYBODY. Does this make my work more labour intensive? Well yes, but the suggested improvements will make a better site for all students, not just those students with disabilities. For example, using simple, straight forward language, making the site navigation consistent, and paying attention to its ease of use will benefit everyone who accesses the course site. I also realize I need to add descriptions for my images (img alt tags) and lots of audio for those who are visually impaired. I hope I have time to have a friend test my site so that they can make suggestions as well. For now, I checked the Moodle site using the Markup Validation Service and so far it passed!
Categories
Group Wiki
Creating a group Wiki was more fun for me than contributing to a discussion forum in a LMS. Being able to focus on one document rather than reading multiple postings made this task easy and enjoyable.
Advantages
I believe that using wikis for collaboration can be gratifying for students. I enjoyed watching the wiki grow and develop and quite quickly at that! I also appreciated being able to check in and add to the wiki at any time as opposed to trying to collaborate synchronously using Skype or live chat. Live chats also tend to put people on the spot. For those who may need some extra time to think about ideas and then respond, I think chats can be intimidating. I also think the final product that was created was much better than what could have been produced in the same time frame using another form of communication. Scheduling a time for a live meeting would have limited contributions and using the wiki helped to organize and track activities.
Challenges
I thought it would have been harder to reach a consensus but the group wiki developed quickly. I am unsure if everyone felt comfortable participating. I think a synchronous group meeting would help ensure that everyone is heard from. I am also aware that a few students took the lead in putting together the final 5 Strategies and 5 Challenges but this is normal in any group activity.
I think that group collaborations involving a combination of wiki work and synchronous chat sessions would likely provide the richest learning experience for students.
Categories
mLearning
Yes, the physical size of mobile devices (smart phones) is far too limiting. I do not have enormous fingers or a problem with manual dexterity but I certainly had difficulty with this exercise. First I tried using my son’s Blackberry to access my course and my initial fumbling attempt to type in my Moodle site, never mind my username and password, provoked my son to do so for me. And then we waited. And we waited. After a couple of minutes my son declared the attempt a failure. I, apparently having a different sense of time, would have given it a longer try. His impatience to wait reminded me of someone – oh, yes, my younger students! Would they get frustrated and give up too?
I had a bit more success with the iphone tester http://iphonetester.com/ but I think it was mostly because I used my trusty computer keyboard to run the thing. I was delighted when it loaded and I could see my course on the tiny screen but that same tiny screen soon became annoying. Although I was able to navigate the course and access the images, it drove me crazy not to be able to see the pages as I do on my laptop.
So the limiting factors that I encountered were: time to load and screen size. Another major limiting factor is the reality that not every student owns a smart phone. At this point, for me, mobile learning cannot replace classroom learning and I am not sure it will anytime soon…but I have not tried out the iPad yet. Of course, that would mean I need to actually purchase one first.