Project #2 Textile Art as A Collaborative Act: EDCP 304, Dr. Lorrie Miller
Artists: Stephanie Hawkins. Jennifer Johnson, Natalie Harustiak, Sarah Shinkewski
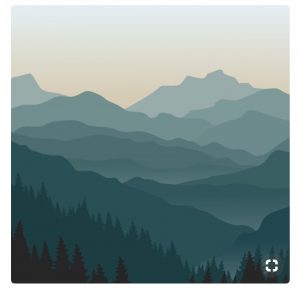
We began our collaborative journey with a discussion of what we have in common. One theme for this project was an individual interpretation of a shared home, in our case, British Columbia. We discovered that our home is a source of inspiration for each of us, in our own ways. The beauty of the misty mountains of our west coast resonates deeply within us. For us all, the colours and richness of our physical surroundings invoke a sense of tranquility and appreciation.
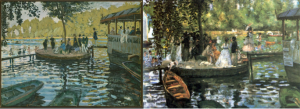
We drew inspiration for this collaborative project from the art experiment of Claude Monet and Pierre- Auguste Renoir. In 1869, each artist painted the same scene side by side, en-plein-aire, for eight hours. The result was two paintings similar in content but differing greatly in style and execution. Our piece is also in the tradition of quilt-making groups where members of the group take ownership over various quilt blocks which are then stitched together into one cohesive whole.
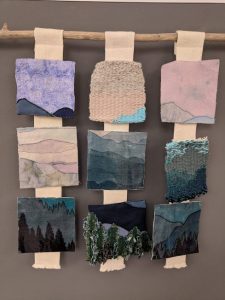
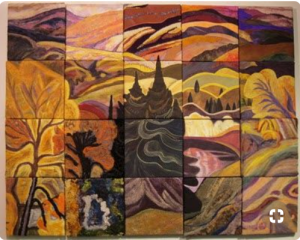
Initially, we found an image of west coast mountains that that spoke to all of us and divided it into nine squares. Each of us took two squares (except for Natalie who generously offered to take three) and interpreted the image through the various textile techniques that we had learned in class. Our individual squares represent our own abilities, artistic sensibilities, and lived experiences.
We each have a story to tell about our squares…
Sarah: The fabric I used was taken from an old shirt and fabric I had dyed with cabbage juice. I had made the fabric as an experiment in vegetable dyes. I have been drawn to this fabric because its colours and accidental patterns are so evocative of my beloved lower mainland landscape.
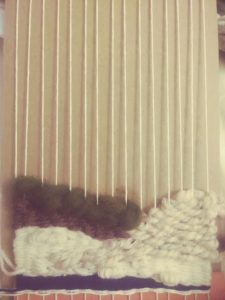
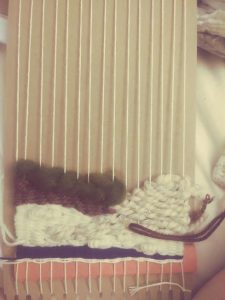
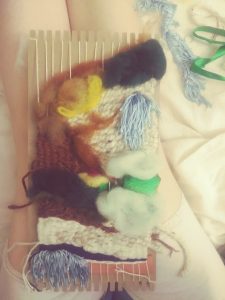
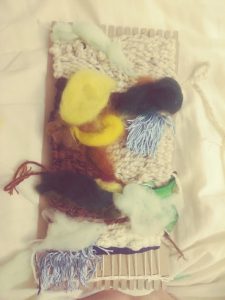
Stephanie: I chose to weave my squares of the BC landscape to emphasis the weaving together of perspectives in our collective project. I wove my squares using yarns of different shades of blue, weight and material to reflect the varied textures and richness of the landscape. I was determined to not purchase any new wool and instead mine my own collection for the weaving. I twisted colours together to suggest darker and lighter shades of blue.
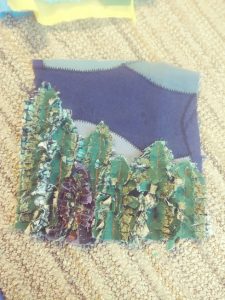
Jennifer: My love for my mother and for my home inspired me to apply her traditional quilting techniques to the representation of our west coast landscape. Artistically, I find myself appropriating methods and ignoring boundaries. I use the ragged edge technique to create a cozy, yet prickly forest; I quilt a knit print onto cotton simply because it suggests landscape; and I use sloppy stitches to reference a gestural drawing approach. Thus, the subject is dynamic, alive, textural and homey.
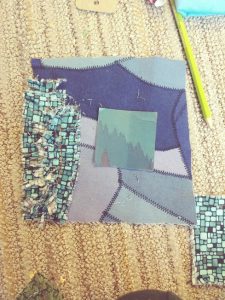
Natalie: I chose to do a photo transfer process with my squares and attaching them to fabric in order to give the image stronger shape when putting it together with the collaborative squares. Originally I had wanted to transfer the images directly onto material and possibly wood, but I quickly realized that while the images themselves being reversed from the transfer process would not affect the beauty of the image, it would affect the fluidity of the collaborative art piece when placed all together. The finished result lends itself to the beauty of BC’s landscape seen through a glass window on a rainy day, which Vancouver is known for.
We’ve attached the squares together to create a single image, meshing four different interpretations of the same BC landscape. We hope you take away with you a little piece of the love that we have for this place, our shared home.
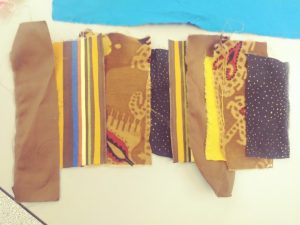
 I didn’t actually do it this way. I freely cut most of my pieces leaning to the big side and then trimmed them down. I started by hand sewing, but it was taking a long time, so I broke out the sewing machine.
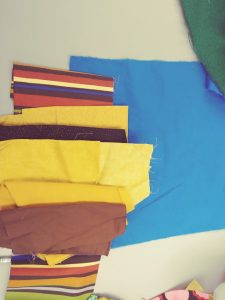
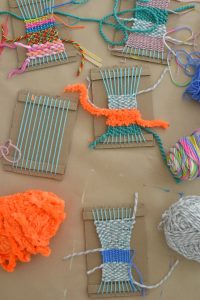
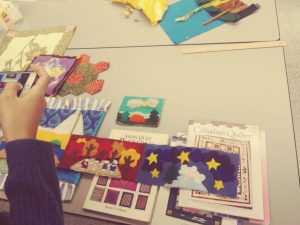 This photo includes several examples that Lorrie brought in, as well as some resources and someone’s work in progress in the back.


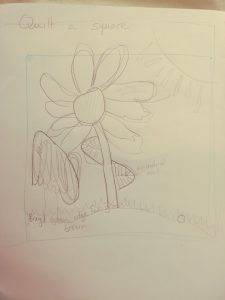
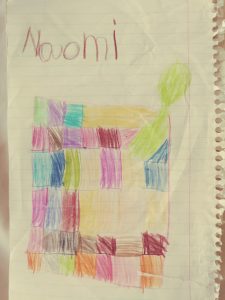
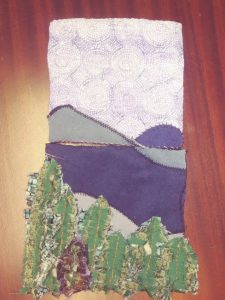 Here are my two squares together. I felt inspired by the dotted circle pattern that I used for the sky in the top square. It reminds me of swirly clouds that I thought could have appeared in a Van Gogh painting. I quilted the swirls right through both layers.
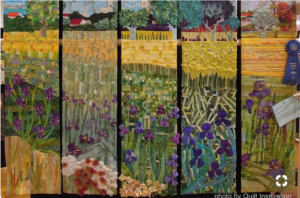
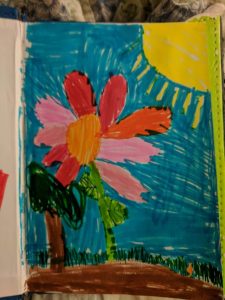
 Teeny Tiny Lines, Marcus, age 3
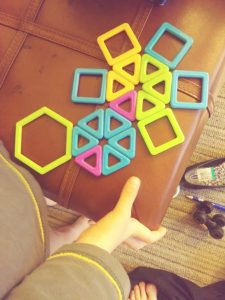


