Before you begin, brainstorm what your website is going to be about. Get an idea as to what you want to use your website for and what you want your audience to use it for.
The first thing you will need is a domain name and hosting. Considering that these all cost money, and this is but a class assignment, we will use the resources made available to us by the Faculty of Education here at UBC. So, for this exercise go to the UBC blogs home page. We recommend you open this in another tab, so you can follow our step-by-step instructions.
Disclaimer: following this guide will only show you how to make a website through UBC blogs. If you want to make your own website detached from UBC, we recommend you follow an actual website creation tutorial.
Login using your Campus Wide Login (CWL) and click on “Create a Website.”
Fill in the proceeding form.
You’ve picked a name? Great! Hopefully it isn’t anything too clunky or hard to spell. Give your website a title (the first thing your visitors will see when they arrive at your website). Once the form is filled and you clicked “Create Site,” you should find yourself on your site’s Dashboard. If you’re working in a group, now is a great time to add users.

In the left hand menu of your dashboard, hover over the item “Users.” Once a drop down menu has appeared, select “Invite User.” As long as your classmates’ email has an account registered with blogs.ubc.ca (hint: yours does, it’s your CWL!), you can add them as a subscriber, contributor, author, editor, or administrator. You will want to make your group members administrators, so they can edit, contribute, and author pages as they see fit.
UBC blogs are made using WordPress, a user-friendly and accessible content management system designed to make starting a website or blog very straightforward. Unfortunately, what UBC blogs gives us access to through WordPress is a smaller selection of some of the themes and customization tools the full WordPress experience has. That’s okay though! We have plenty we can do with the tools that are available to us. Let’s get to using those tools!
Oof. This website is boring. Let’s customize it! Click the customize button on the toolbar at the top of the page!
![]()
You may want to proceed by choosing a theme. Themes can be changed at any time without losing any of the content you’ve posted, but swapping themes might rearrange or hide some of your posts/menus due to differences in formatting.
Flesh out your site’s identity by giving it a catchy or fun tagline. Upload a picture, too, if you want.
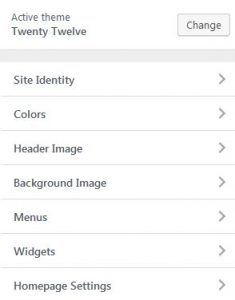
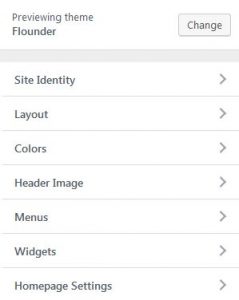
Now you’re going to want to add pages and posts to your website–consider being as straightforward and accessible as you can; you want to create intuitive, navigable menus for your users to follow. Some themes will allow you to alter and change the layout or colours of your website, but let’s advance to creating a menu and inserting widgets, as this is a more universal function across themes on WordPress.
E.g.,
 vs.
vs. 
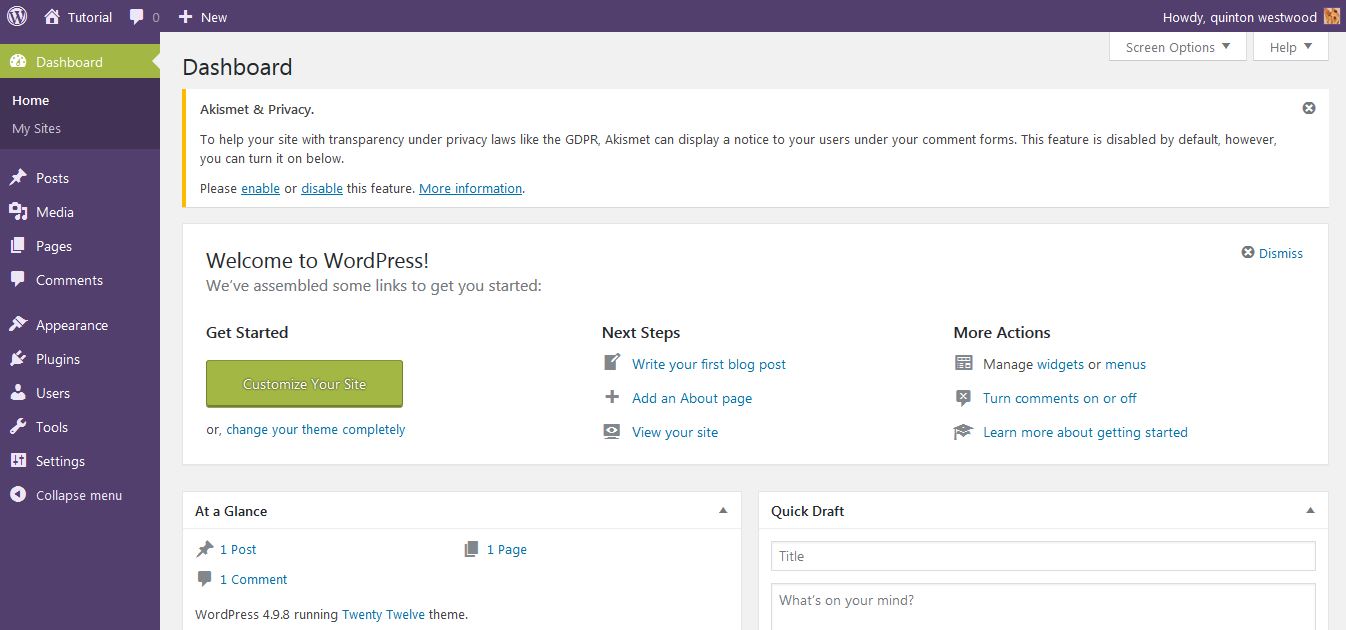
In our experience, you should now go to your site’s Dashboard. You’ll find your Dashboard in the top left corner of your website, in a drop down under your website’s title. Your Dashboard should look something like this:

It is helpful if you now create some Categories for your website. This will allow you to organize your pages and posts. If you do not create categories, your menu may not function exactly how you planned.
Go to Posts on the left and then select “Categories.” Create categories for central “themes” or “topics” your website will be dealing with. If you’re doing a book report, you might create a category for “Chapter Summaries,” etc… You can always create more categories, so return here if need be.
Let’s return to our website now. Click your website’s name in the top left and select “Visit Site.” Now, when we go to “Customize,” let’s select “Menus” from the menu on the left. Create a primary menu, give it a name (this is for your reference only, it will not appear anywhere on the site), and then we can add some items! This is why we made categories first: not only do categories allow you to keep like with like, but they facilitate the function of your future drop down menus. You can nest categories within categories, too, if it makes navigation easier.
Now we’re getting somewhere! While still in “Customization” mode, select “Menus.” Create a new menu and make it your primary menu. “Add Items” is next. Choose to add some of the categories you made first, order them in a fashion that you like, and then you can begin adding “Pages” and “Posts” to the categories. You can always rearrange these from the “Menu” tab while customizing.
Pages and posts function differently. Pages are much more static than posts. You can add a page to your website, and fill it with information and hyperlinks to external sites, insert media (audio, video, photo), and it will remain as you leave it. Posts are a bit more dynamic. They can have almost all of the same features as pages, but they are interactive; they are your “updates.” If your website is a blog you will probably have more posts. Posts can be commented on by your subscribers or audience whereas pages can not be.
You can do a bit more with your menus, like adding “Custom Links” to external sites and adding “Tags,” to group posts and pages across categories, but we will move on for now.
You’ve just about figured it all out! Depending on the layout you chose, you can implement widgets in certain locations on your site, and personalize your website a little more thoroughly. Add an image to your sidebar or a slideshow of images, add a static quote, add a calendar so your subscribers can navigate your website chronologically, and you can make your website more intuitive with widgets, if you feel the need.
Change your “Homepage Settings,” if you like, and maybe edit “Colours” to give your website more of a theme.
Now you have a functioning website! Fill it with your content of choice, share it with your peers, and curate an audience! You’ve produced digital media! Way to go. We’re proud of you.