SXRS Sauder Recording Service
A fully-automated and scheduled service for every class, instructor and classroom including:
• Preset as per SIS/FSC
• Preferred sources
• Automatic delivery to your Panopto folder for editing and distribution
What to expect with Sauder recording service
With Sauder recording service, the recording system automatically starts up at the scheduled class time.
When an instructor walks into their classroom, they should:
• Turn on the preferred audio source (lav/lapel mic, handheld mic, lectern).
• Load the desired data sources (room PC, HDMI, or document camera) on the two screens. Reminder that whatever is on the screens will be recorded.
Note that recordings are scheduled to end 10 minutes prior to the end of the room schedule to accommodate normal class changeover (i.e., content is not recorded after the 80th minute of a 90 minute class).
After class
After a lecture, instructors should follow the steps below to easily retrieve their recording on Panopto.
• Login in to Panopto from a web browser. Note that this is different than the Panopto Recorder App that some instructors may have already downloaded.
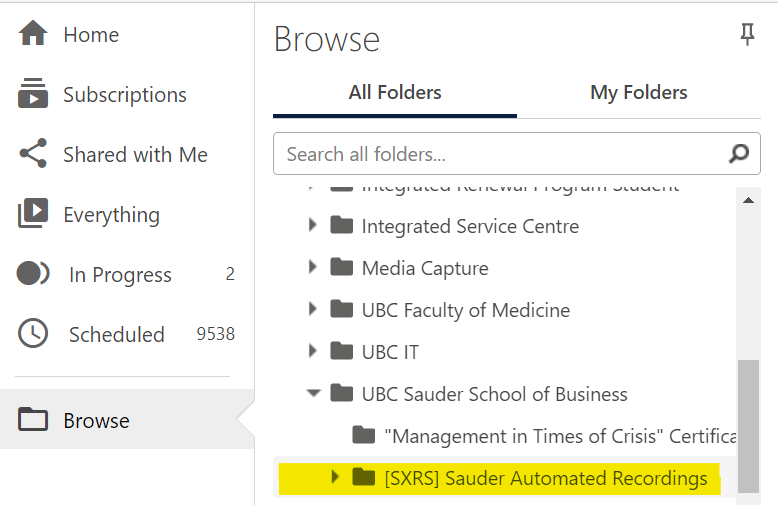
• Click “Browse” (middle left of the screen) → “UBC Vancouver” → “UBC Sauder School of Business” → “[SXRS] Sauder Automated Recordings”
Note that instructors are only able to see the recordings they are authorized to see.
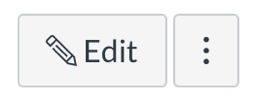
Edit the recording
Instructors can edit their recording(s) in Panopto directly by clicking the pencil icon on the top right of the screen.

Here is a guide on how to edit a Panopto recording
Share the recording
Log into Panopto
Before sharing any recordings, instructors should change each recording’s permissions. By default, all videos are not public, for students to be able to view instructors will need to adjust the viewing setting to ‘anyone with the link’. Instructors can then copy the link and share it through their method of choosing:
• Share a link with: Canvas inbox, Canvas Course Announcement. This is ideal for sending to individual users or groups.
• Share a link within Canvas: Directly link all the recordings in a Canvas module or create one Canvas page for all the recordings links. This is ideal for sharing with the entire course.
• Share with Embedding: Create Canvas page with the recordings embedded. This is ideal for sharing with the entire course.
How to share a link
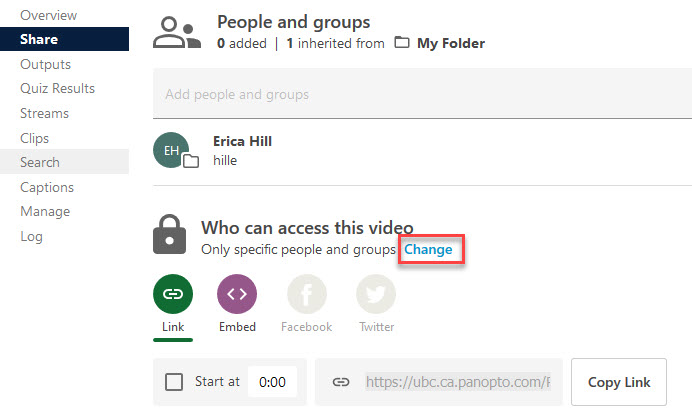
- Click the Share button for the video.

2. Adjust the access settings by clicking on ‘Change’
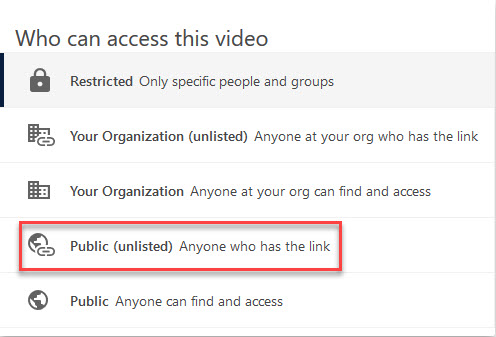
3. Select ‘Public (unlisted) Anyone who has the link’
4. Click ‘Copy Link’
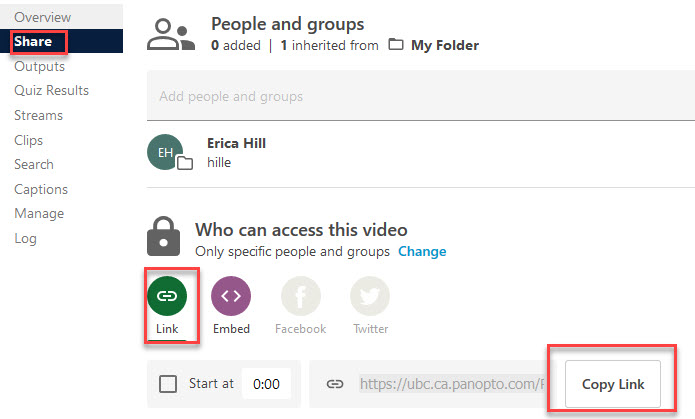
5. You can choose to share the link via:
• an email within your Canvas Inbox. This is ideal for sending to individual users or groups.
• Share a link within Canvas. This is ideal for sharing with the entire course.
How to share in Canvas using embed codes
Hover over the video in Panopto. Click the Share button for the video you want the embed code.
Click Embed at the top of the window, and different options will appear that will allow you to change how your video will be displayed in the page you embed it in.
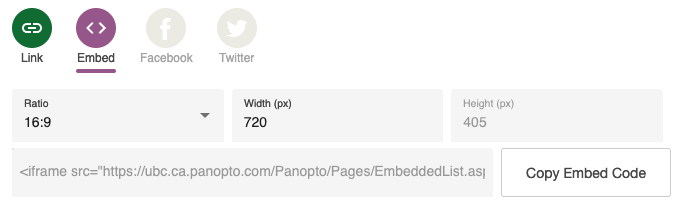
Once you have selected your display preferences, click the Copy Embed Code button. This is the code you will use to embed into Canvas.
Select ‘Change’ and Select ‘Public (unlisted) Anyone who has the link’.
Go to Canvas and the page you are going to embed your video into or create a new page in Canvas. Click the Edit button at the top right corner.
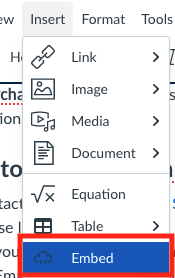
Click into the section in the page where you want the video to appear. Select Insert menu, Then click the Embed, copy the embed code. Submit.
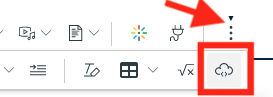
Alternatively you can Embed via the Embed button by clicking on the three dots, then select the embed cloud icon.
On the Embed dialog, paste the Embed Code you just copied.
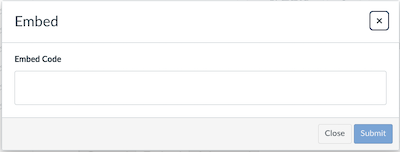
Click Submit
Save the Page
Video Embed Instructions
Here is a video showing how to embed a classroom recording from Panopto into your Canvas course.
Troubleshooting
For assistance, email help@sauder.ubc.ca
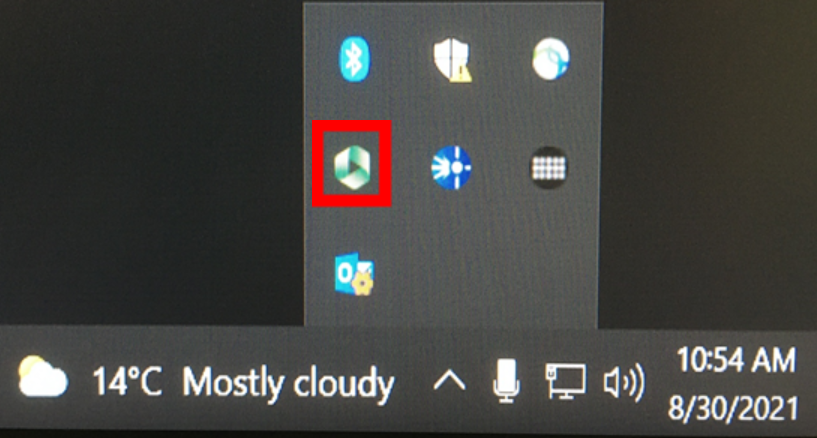
To confirm if a lectern computer is setup and able to use the remote recorder, the Panopto Remote Recorder icon should be visible in the bottom right System Tray (click the ^ icon).
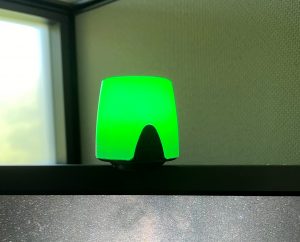
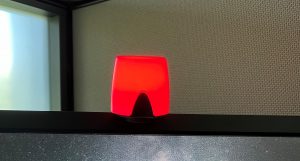
To visually confirm that the scheduled recording is working, first look at the colour of the Kuando light above the lectern monitor (should be green if ready, and red when recording)
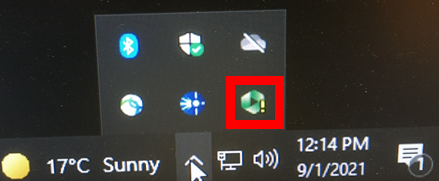
If the light is not on, then double-check the System Tray (the ^ icon at the bottom right of the Windows taskbar). The Panopto icon should have a little red recording dot at the bottom right corner if it is working:

If the recording light is not on, and/or the Panopto icon in the System Tray has a yellow exclamation point, the system is not recording, and instructors should reach out to Tier 2 support (a member of the Learning Services Media Team).
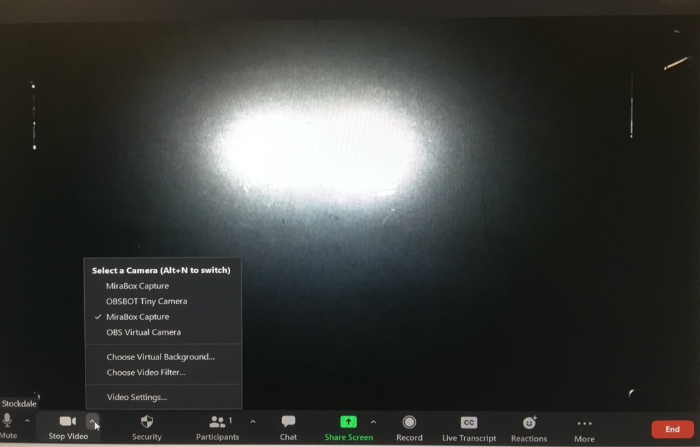
If an instructor doesn’t want to record or wants to use another recording or broadcasting service
If an instructor requires the use of system services for other purposes (like a Zoom call for instance), they will need to disable Panopto Remote Recorder. The fastest easiest way to do so is to open the Panopto Desktop Recorder App (pictured below).
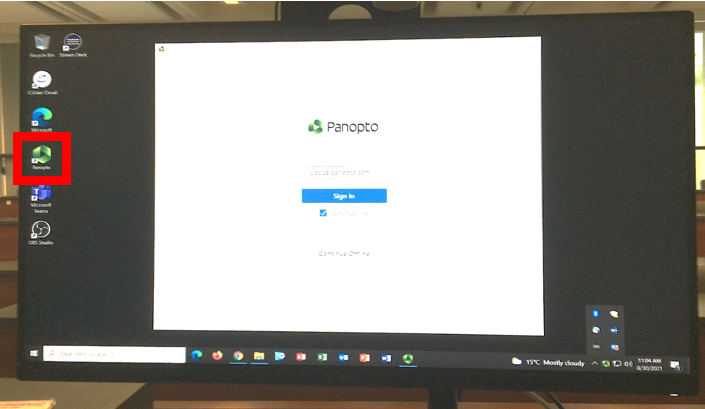
Once open, Panopto Recorder Desktop App blocks the use of the Panopto Remote Recorder allowing instructors to use the webcam, and screen sources in other apps (e.g. Zoom; see below).