For the love of Pinterest & Geography

Procrastination is always best when it involves do-it-yourself (DIY) inspiration and Kate Middleton photograph collecting, that’s why the universe created Pinterest.Pinterest Boards Some of my Pinterest board collections. Follow me as ericafromcanada.

As it turns out, there are many cool things you can do with maps during periods of procrastination. Too bad Google Maps, as wonderful as it is, has made paper maps a “thing of the past.” Here are some examples of some mappy do-it-yourselfers from my “Projects” board.

State, territory, or province love

More maps and love inside picture frames

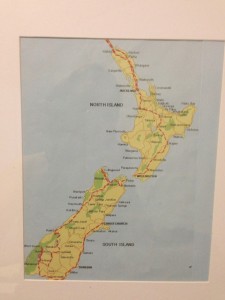
And then there was this guy (below), that inspired me to illustrate my road trip through New Zealand and to have it framed! The first picture is from Pinterest, the second is from my iPhone after it was complete. Wonderfully, it wasn’t a Pinterest fail.

Road trip

DIY Project, complete.

It’s Watermelon Time!

Are you glad it’s reading week? I know I sure am. It has been a stressful, overwhelming week and I am looking forward to a much needed break. 
My bestie from first year, who sadly no longer goes to UBC, is coming to visit me and I am beyond stoked. We don’t really have a lot of plans, but we have a lot of ideas, including baking. In preparation for her coming, I did my nails. Okay, I did other stuff too, but cleaning my room and doing laundry hardly makes an entertaining story.

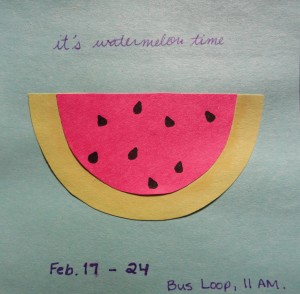
When we were in first year, at the beginning of second semester, we sat down and colour coded our schedules. Like literally coloured in our schedules. We are just those kind of people. We also decided we needed to colour in our common break times when we would be drinking hot chocolate together. I mean studying, when we would be studying together. By this point we had run out of different colours to use, so we decided to make them watermelon “coloured” and call these times watermelon time. I don’t really have a reason for this choice, that is just what happened, and the name stuck.

So in honour of her visit, I present you with watermelon nails!

The cast: 
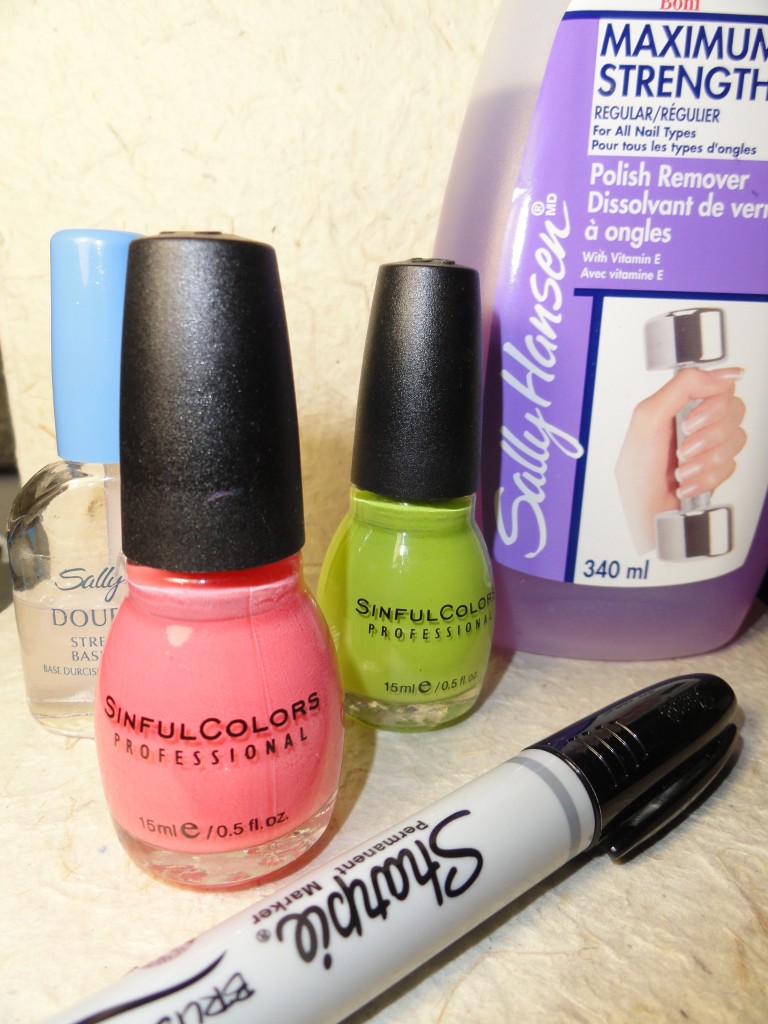
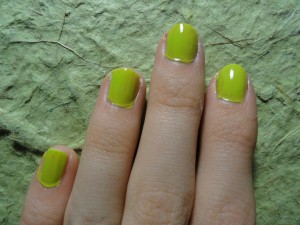
Begin my cleaning your nails with nail polish remover. Do a clear coat and allow it to dry. Usually by the time I’m done both hands, the nail polish is dry enough to begin on the nail I started with. Then put a green coat over top. It doesn’t have to be perfect, it will be mostly covered.

Now it’s time for the pink nail polish! Start about a third of the length of your nail up from the base of your nail and paint it pink. One coat usually does the trick, but if you can see the green I would suggest doing another layer.
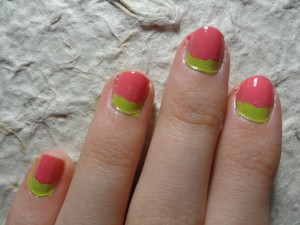
Once the pink is dry, take a black marker (or nail polish, I left my black way back home) and make some dots on all of your nails. Let this dry! If you don’t it will smudge. Sad days.
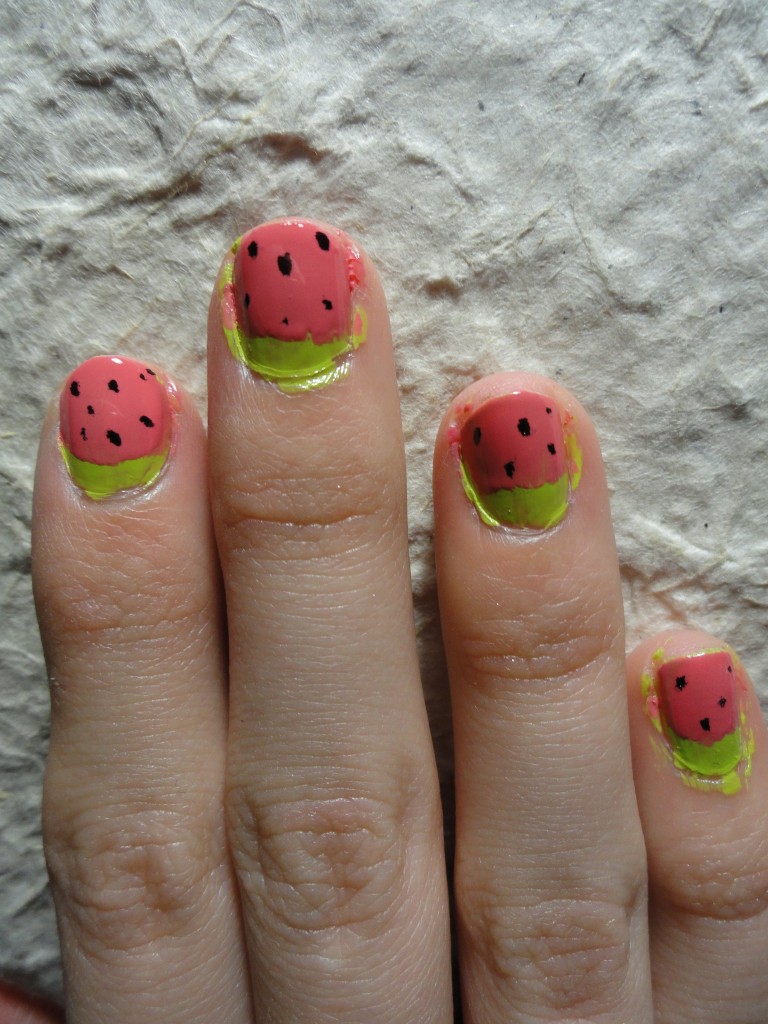
Then add another clear coat, clean up around your nails, and you’re off to the races!


I hope you all have a relaxing, fun break!

Simple Pink Tipped Nails

When I was in high school, I went through a phase where I was obsessed with doing my nails. As in I would do them once a week, generally while watching a Disney movie or the Food Network. Not just a solid colour though, I would go all out. At Christmas there would be snowmen, snowflakes or presents. I painted on fireworks and flowers, and even transferred newsprint to my nails. I found it a great way to relax and do something creative that I could still consider somewhat productive. Although I no longer do my nails that frequently, I still enjoy making them pretty every now and then.

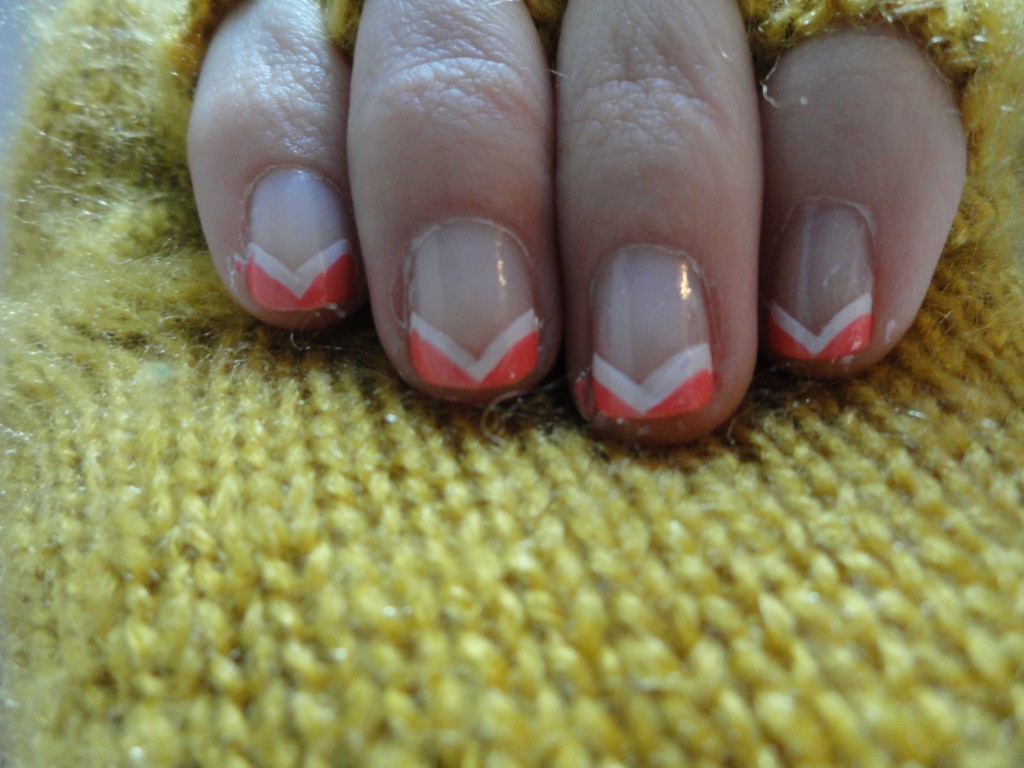
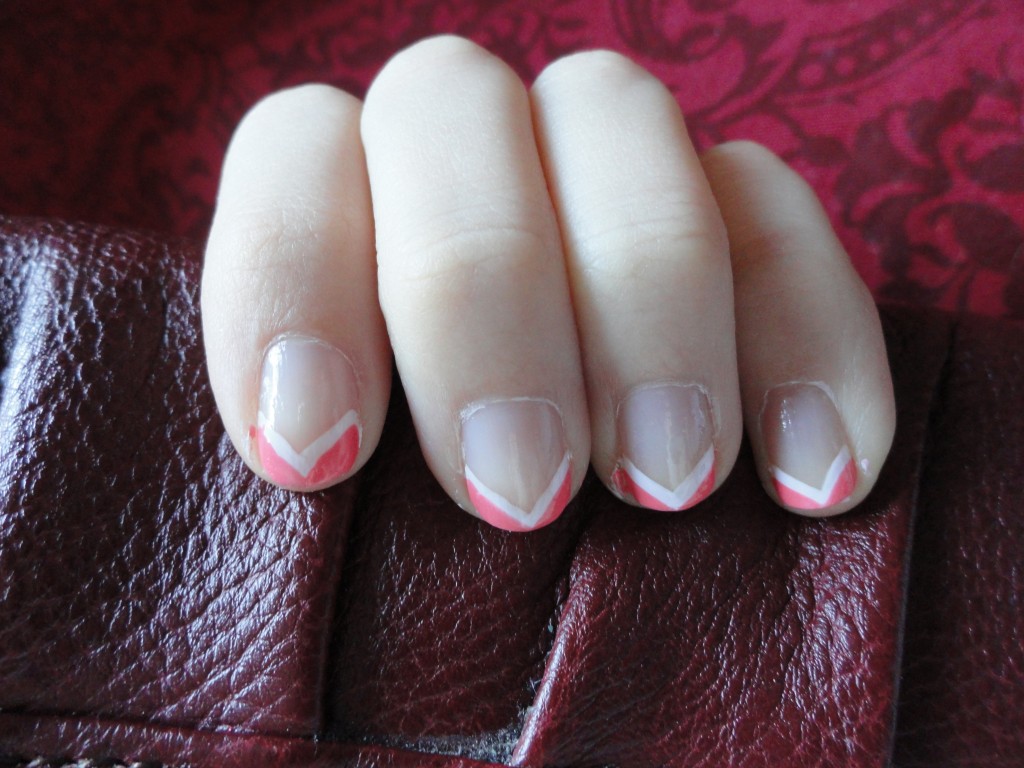
The other day I was in the mood for something simple. I was thinking a French tip, but I also really wanted some pink in there. I pulled out my nail polish bag, and this is what happened:

I started by cleaning my nails up with nail polish remover. I’ve read that you should clean your nails with nail polish remover first, even if you don’t have nail polish on already. Something about it going on better. I then put on a clear coat.

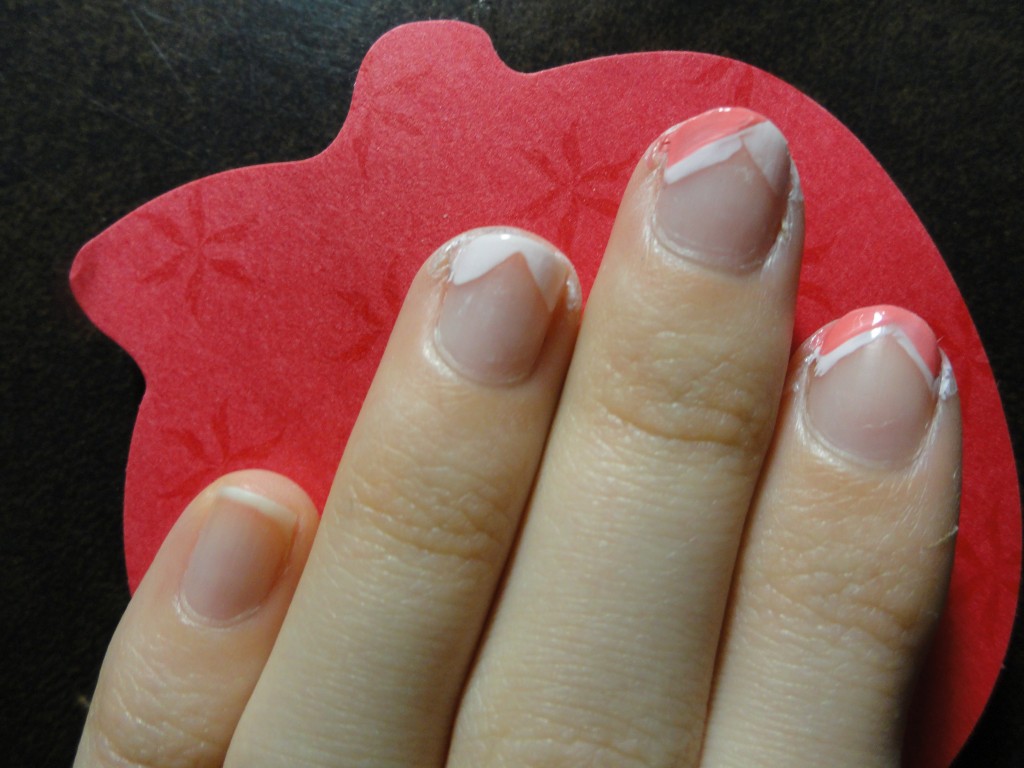
Next I took a really light pink, and in two strokes starting from the either side of the nail up to the centre at the tip, I made an upside down “v”. This sounds a little confusing, but looking at my ring finger in the picture below will help.

Once this dried, I took a darker shade of pink, and repeated the same step a little higher up on the nail. Let this dry, and slap on a clear coat. Bam. Done.

You can clean around your nails as you go with a Q-tip and some nail polish remover, or if you plan on showering later, I find most of it comes off then.

Happy Belated Valentine’s Day!

Hey Gage!

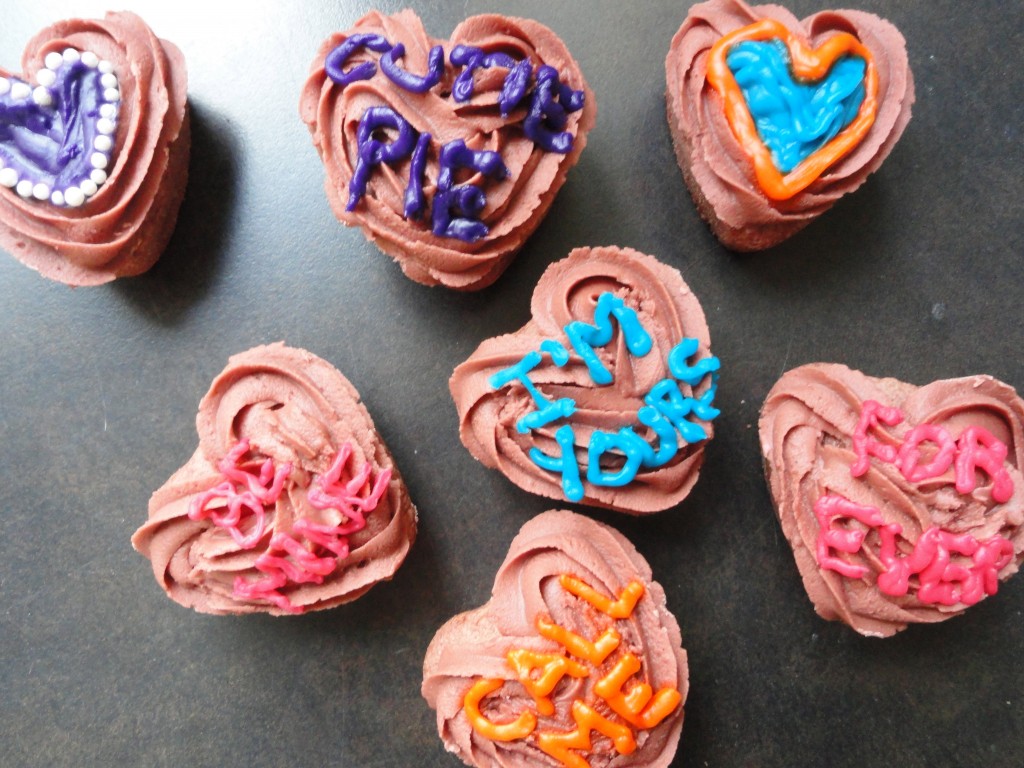
I like Valentine’s day. Not because of the candy, flowers and spending time with loved ones and stuff. I mean don’t get me wrong that stuff is pretty great. What I like about this special day is walking around campus and seeing all the adorable, happy people. I like getting calls from my brother asking me how to bake a cake and pictures of the mashed potatoes he dyed pink. Most of all, I like Valentine’s day as an excuse to bake things. Cute things. Pink things. Heart shaped things. Especially since I finally have an occasion to use my mini heart shaped cake tins.

The plan was red velvet cake, but halfway through making it I discovered that although I have a ton of baking supplies and six different colours of food dye, I did not have red. Seriously?!? Pink it is. Not as cool, but what can you do? The cakes turned out brown on the outside and pink on the inside.

Maybe this whole thing was a little disastrous. I tried a new recipe and the first batch of icing was weird. Okay, back to my reliable icing recipe I guess.

Chocolate Peppermint Icing

  • 1 Tbsp room temperature butter
  • 1/4 cup milk
  • 1/2 tsp vanilla extract
  • 1 tsp peppermint extract
  • 2-3 cups of icing sugar
  • pink food colouring
  • 1 oz baking chocolate, melted and cooled

Note: these measurements are very approximate and dependent on how much icing you want and what consistency you want.

For the icing, all you have to do is mix everything (I use a hand mixer) except the chocolate and about a cup of the icing sugar together. Then add the chocolate and continue to add in the icing sugar until you are at the right consistency. You don’t want it too stiff or it will hurt your hand and crack when you pipe it. If it is too runny it will literally slide off the cupcake and make sad looking cupcakes. Trust me, I’ve done both. Many times. The icing will look chocolaty with a hint of pink.

Now it’s time to decorate! Yay! Basically just have fun, using whatever you like. Sprinkles, candy, different colours, it’s all you!

I just used a piping bag fitted with a large star shaped tip for the chocolate peppermint icing and little plastic bags with a corner snipped off for the colours. I think the blue writing is my favourite!


Happy Baking!

Can’t Beet That!

Have you ever bought something at the grocery store, then when you got home realized you had absolutely no clue what to do with it? I bought some beets and they have been sitting in my fridge for eternity. Last night I decided I was going to cook them. I wasn’t sure how, but I was going to cook them and eat them and like it. It was just going to happen.

I began by bringing a (huge!) pot of salted water to the boil. I trimmed the stems off of my three beets, and placed them in the boiling water. Turn it down to medium heat and cover the pot. Now this is the time to put your laundry on, start that assignment you’ve been putting off, or go have a dance party in your room. It’ll probably take a solid forty minutes for them to cook. You basically just want them tender.

Um, so the water turns pinkish-red. Awesome! Your hands also turn pinkish-red when you peel them. Not so awesome. However, peeling them is super easy as the skin pretty much falls off in your hands.

Now you can have fun with them. I ended up making soup the first night.

Beet and Onion Soup

  • 1 boiled beet, peeled and chopped
  • 1 tsp butter
  • 1/4 cup of milk
  • 1/2 an onion

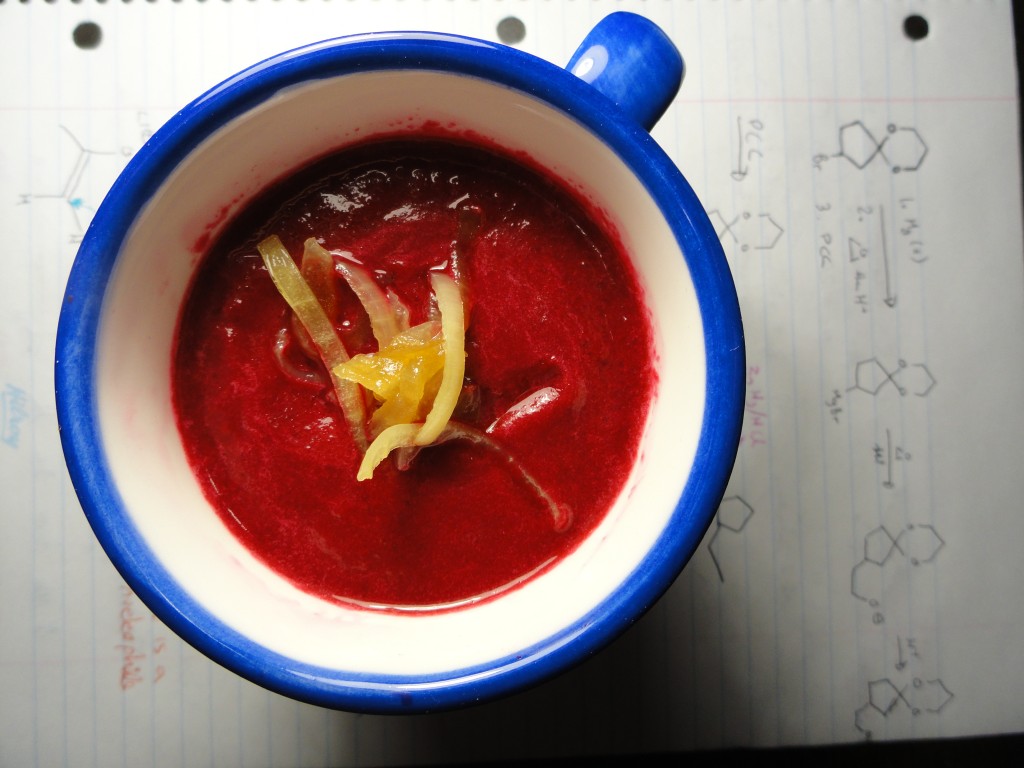
I had some leftover sautéed onion. Yum. Put that and the chopped beet in a blender. It helps if the beet is warm (it melts the butter! Also, then your soup is warm, and personally, I like my soup warm). Blend it as much as you can, and when it isn’t … blending anymore, add in the butter and milk. Blend until it is smooth. Pretty simple, right? Well the next recipe is even easier.

  • 2 boiled, chopped beets
  • 2 tbsp white vinegar
  • sugar (to taste)

Throw those chopped beats in a jar, pour in the vinegar and sugar, and shake. Consume. See, simple? And surprisingly tasty. Definitely happening again. And again. Soup makes chemistry go down a little easier. And yes, I eat my soup from a mug.


Toodles!