Where I should be more often: Paper-Ya

Have you ever been to Paper-Ya on Granville Island? Better question, have you ever been to an arts and crafts store that inspires you to make ambitious goals and take on big projects that involve fancy paper and hand-spooled string? That’s Paper-Ya for me.

For some back story as to why I love paper, books, and stationary, I was once in visual arts at UBC. At the time, I loved print-making (and still do, which is why I belonged to an off-campus print studio when I went on exchange to Australia) and I’ve always been a fan of paper cranes. As well, there was this one point in my life where I was a contributor to the Sketchbook Project. Basically, I was given a single Moleskine sketchbook like thousands of other people in the world, I filled it, and then sent it back in the mail to have it end up be a part of a giant sketchbook tour across America, kind of like a concert tour for art. It was at this point that I began dreaming of putting together my own books or expanding/replacing pages in existing sketchbooks. Now, I’m reinspired by a recent trip to Paper-Ya to get started on some wicked summer projects that possibly involve binding notebooks.

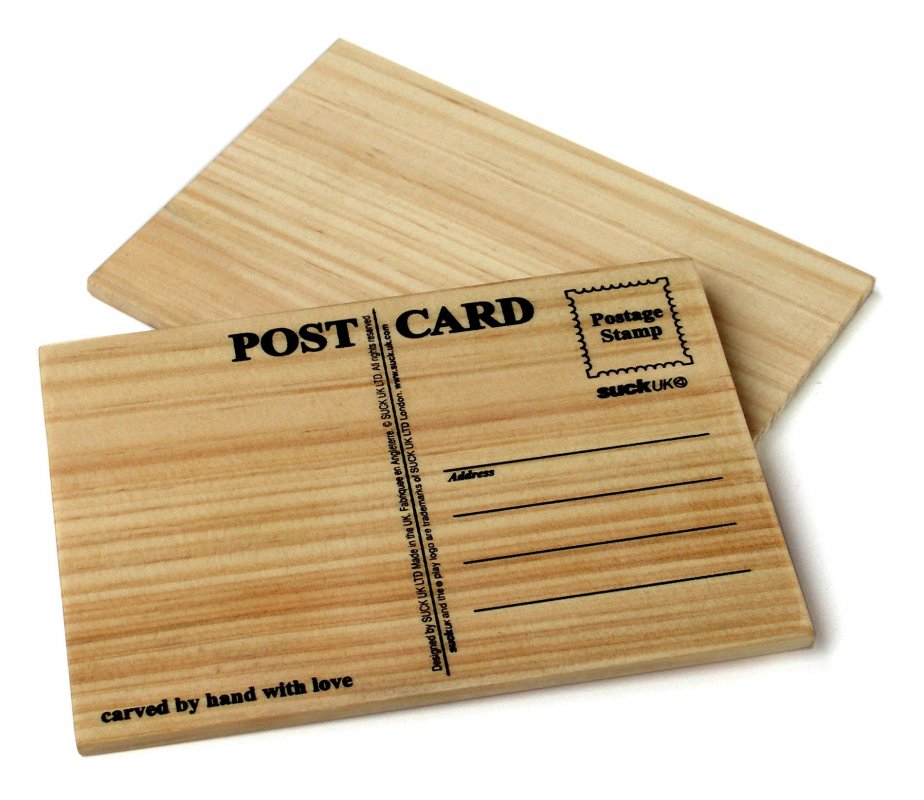
What did I purchase during this trip? One of my coolest finds at Paper-Ya was a set of wooden postcards (as pictured above). You can get a small set for about $25 as a way to send a unique message through the mail. Next time? I think I need to go for the wax seal supplies and start sealing my letters to friends.

PS. I encourage you to check out their website, because I just recently discovered they maintain their own blog to help inspire others in their endeavours!

Sweet Parsnips

In my tutorial today, my professor asked the dreaded question “what do you want to do when you grow up?”. Thankfully he started at the back of the class because if he had started with me, I’m sure I would have blurted out “open a bakery” instead of stammering “I’m not sure”. I panicked. How does everyone else know what they want? I mean seriously! I don’t even know what I want to make for dinner! Well, I guess I could start with that. I mean one problem at a time, right?!

Sweet Parsnips

  • Parsnips (I used four because that is what I had in the fridge. It made quite a lot.)
  • Olive oil
  • pinch of salt
  • 1 tbsp brown sugar
  • drizzle of honey

As per usual, this recipe is pretty simple. Partly because I was hungry and super tired.

Begin by preheating the oven to about 400F, with a rack in the centre-bottomish slot. Wash and peel the parsnips, then cut the parsnips in half, and then into strips, like you are making carrot sticks. Toss in a tiny bit of olive oil and sprinkle a little salt on top. Place them in a pan that can go in the oven and evenly spread the brown sugar over the parsnips.

Cook them for about ten minutes before giving them a stir and drizzling some honey over them. The cooking time will vary depending on the thickness of your parsnips and the temperature of your oven. You want them tender on the inside and a little crisp on the outside. If they aren’t crisping up on the outside (mine weren’t), then turn the broiler on and move the pan up to the top shelf. If you do this, you MUST watch them carefully! It is super easy to burn things under the broiler. Like super easy.

Happy eating!


TMNT: Nostalgic Nails

The other day I walked into my 8am class and heard familiar music playing, but I couldn’t quite put my finger on it. I grabbed a seat near the front and pulled out my books. Then it hit me, it was the music from Final Fantasy! I excitedly texted my brother and told him we had to play that over the summer on our old Nintendo. He texted back with a slew of other games we had to play. The list included beating the Teenage Mutant Ninja Turtles game, a game which we finally conquered last summer.

Feeling kind of nerdy, I decided it was time to do my nails again. It’s been a bit of a crummy week and I really needed a break, so here goes:

Begin by doing a clear coat, then painting your nails green. Once they are dry, take orange, red, blue and purple polish and create the masks for the turtles, a different colour on each nail. To do this, I used the side of the brush, with very little nail polish on it. Make a straight(ish) line across the upper section of your nail, with a little bit of green still showing above your line. Then make two little bumps where you want the eyes to go.

On a side note, I am pretty sure I can still recite all of the old TMNT theme song.

Wait for this to dry. For the eyes, I used a mechanical pencil and dipped it in white polish, then touched it to my nail, moving it around to spread the white as desired. When the white was dry, I dipped my pencil in dark purple (still don’t have black. Ugh.) and touched it lightly on top of the white.

I decided afterwards that I wanted happy turtles! The smile is made by the mechanical pencil again, dipped in dark purple polish. Give them a clear coat and you’re done!