It’s been three weeks since my return to Vancouver. It has been hectic, overwhelming, and absolutely fantastic. However, I have been missing the luxury of having my own kitchen, so when the opportunity came up to prepare sugar cookies, I jumped at the chance. The last time I made sugar cookies was last Christmas, and I was extremely happy with the result. I thought I would toss on some holiday music and share some darn cute winter time treats!
 Over winter break I didn’t go home, as I was going on vacation with my friend and her family. Before I left, I had quite a few days in our eerily empty unit. Being surrounded by snow, what was I to do with all my freedom? Bake of course! I had seen a picture of these bad boys on the internet a while ago, and I knew I HAD to make them. There wasn’t a recipe with the photo, just a photo. I was obsessed.
I made sugar cookie dough a couple of weeks before and had put about two-thirds of it in the freezer. I pulled this out and set out to work. It made so many cookies. My goodness. Cookies everywhere!
I used a cookie cutter that looked like a cloud, I think the proper term is probably something like “a scalloped, circular cookie cutter, approximately 2.5 inches in diameter”. But yeah, something round-ish would be preferable.
Cut, cut, cut, cut, cut, knead, roll out dough again, cut, cut, cut, cut, cut, cut, put on cookie sheet, bake. That’s basically how it went. Then, when they were cool, the best part: decorating!! Okay, the second best part (the best part being eating, obviously).

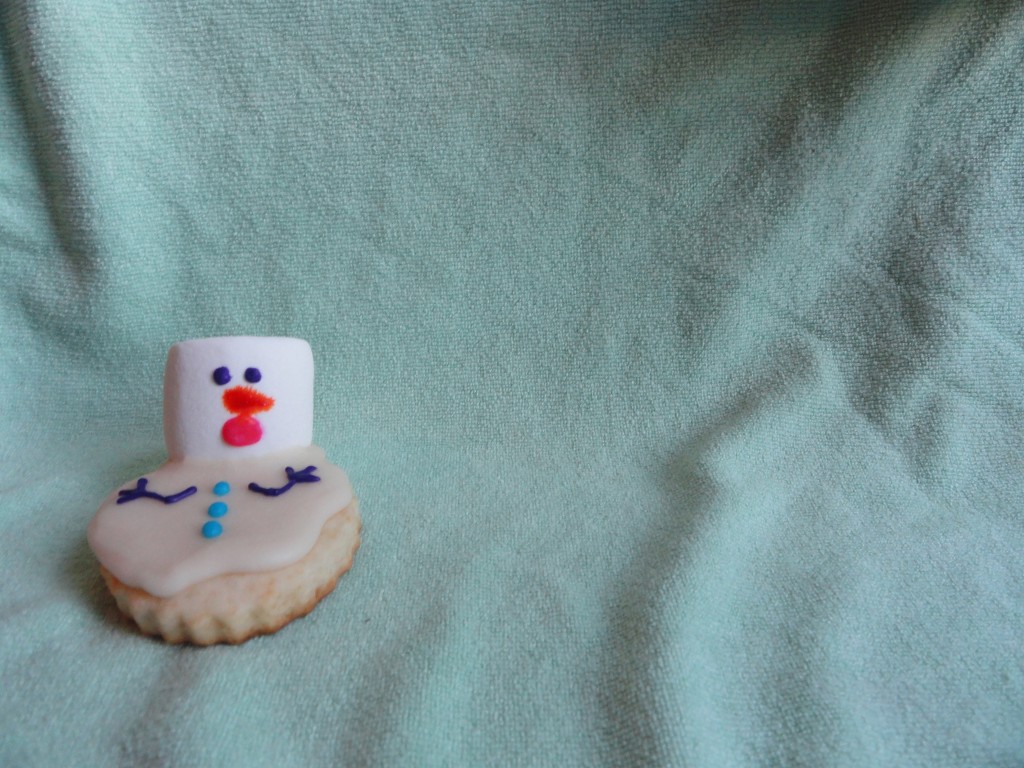
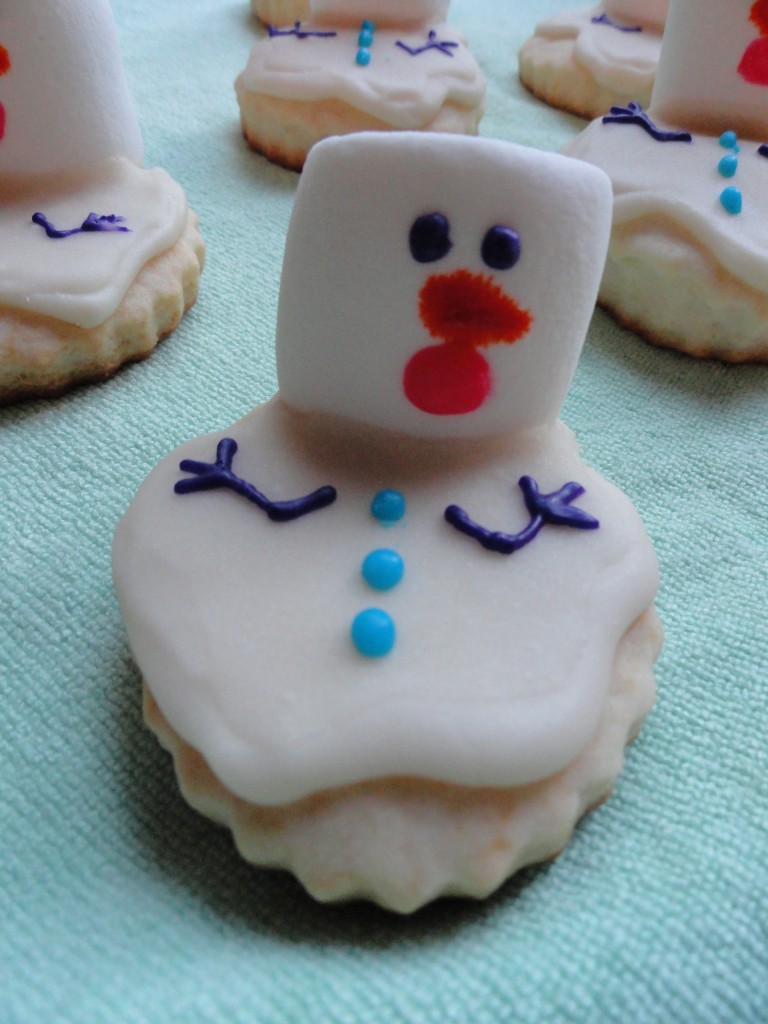
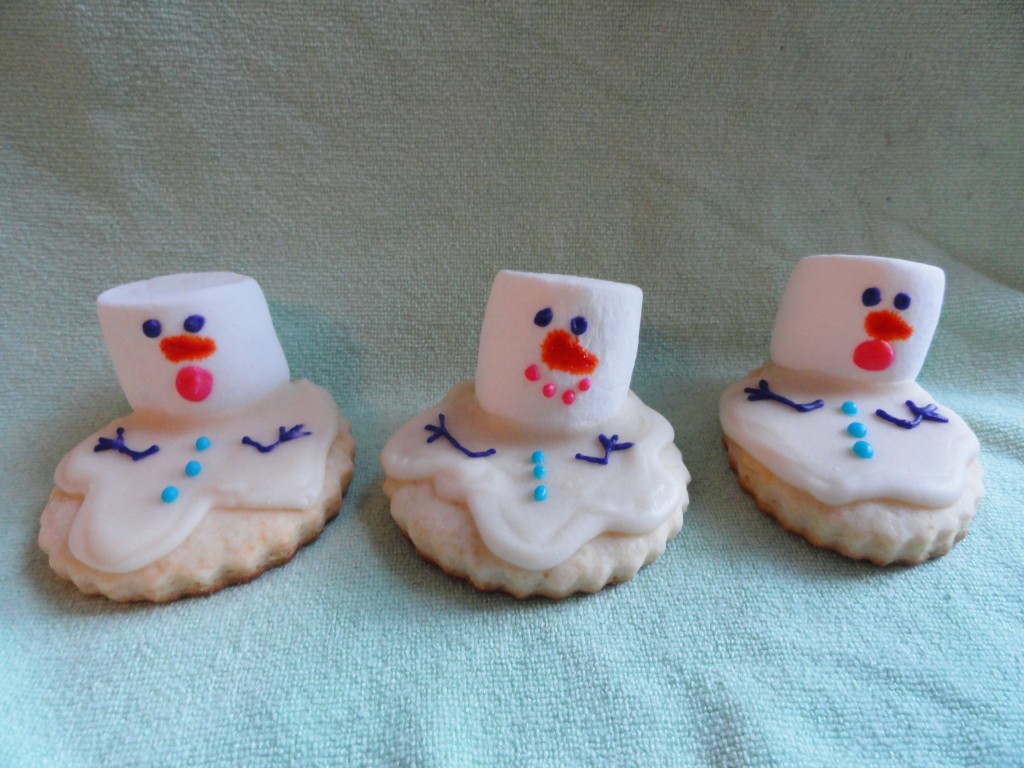
I am a little new to cookie decorating, but after scouring the internet, I decided to try “flooding”. You begin by outlining the area you want icing in with a stiffer icing. I did a squiggly outline around the cookie, but you don’t have to be very precise, after all, they are melting snowmen! Let this dry for quite some time, then take a thinner icing and basically just dump it on the cookies and it will run to the edges, coating the outlined area. If you have some trouble with that like I did, you can use the back of a spoon to guide it all the way out. Push a big marshmallow on one side and let them be. I put them away and went to bed. What can I say, I like to sleep. But seriously, if you don’t let them dry for long enough the next step will turn into a complete mess. Sad days.
Once they are all set up, I made a tiny bit of icing in a few different colours, spooned them into separate little plastic baggies and snipped off the corners. I piped on three buttons and two arms on the base of the cookie, and on the marshmallow I did two eyes, a carrot nose and a shocked looking mouth. You can totally have fun with the colours and the faces!
 I thought these guys were so adorable and are they are definitely my new favourite holiday sweet, especially when paired with a warm mug of hot chocolate and a fuzzy blanket.
Hope your first week of classes went well!
