What is it?
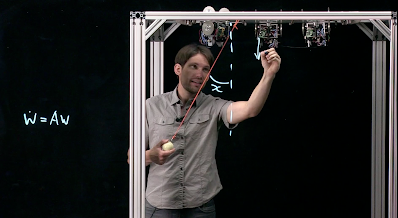
Originally developed by Professor Michael Peshkin of Northwestern University, Lightboards are an Open Source Hardware that are used for recording video lecture topics. A Lightboard is an illuminated piece of glass that instructors can write on much like a whiteboard. What makes the Lightboard unique is the ability for the instructor to face the camera and reverse the image in post-production to allow viewers to read their writing from left to right.
Benefits
- Provides the same affordances as a whiteboard, but with additional benefits.
- Lightboards have a relatively small learning curve as instructors are already familiar with whiteboards. Post-production requirements are minimal, especially if a support team has been established to assist instructors.
- Can be particularly useful for instructors in science, math, or technology, who often demonstrate formulae or difficult concepts through the use of illustrations.
- Instructors are not forced to continuously turn to write on the board and block what they are writing. Instead, they continue to engage directly with the viewer and are able to point to key concepts as they are written or drawn.
- Writing remains on the Lightboard throughout the duration of the presentation and does not disappear like in many other video lecture formats.
- Students benefit not only from listening to lecture and viewing text and images, but also from the gestures and body language of the instructor, which has been shown to play a key role in learning (Roth, 2001).
- Recorded lectures can be used in fully online courses or flipped classroom settings by easily uploading to a learning management system, allowing students to watch on their own time and at their own pace.
Potential Uses
Annotate real objects 
Start with real equipment, replace with frame grab 
Run a video inside PowerPoint 
Type code live 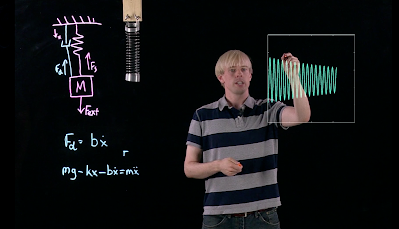
Use Matlab to create a moving graph 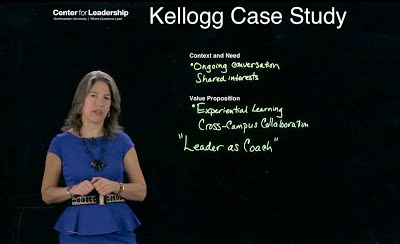
Add text to a PowerPoint slide as you talk 
Draw and talk
Credit: https://lightboard.info/tips-techniques/videos.html.
Tips
- Keep your presentation short (4-6 minutes). Lightboards are best used for creating short, engaging videos that examine difficult concepts. Limit your presentation to one topic.
- Use fluorescent markers to really make your writing and images stand out on the illuminated glass surface.
- Be aware of your clothing. Avoid wearing black, complex patterns and text on your clothing. Dark, solid colours work best.
- You are a performer! Be aware of your gestures, as well as where you are standing or pointing in relation to text and images on the Lightboard. Look at the camera when not directly writing on the board.
- Be prepared! Plan your lesson ahead of time. Also plan how you will use the space on the Lightboard. Lightboards do not erase quite as easily as a traditional whiteboard, so you may need to briefly stop recording. Consider what approach will best suit the intended learning outcomes of your viewers.
Sounds great, but how do I access a Lightboard?
Lightboards are becoming increasingly popular in post-secondary institutions. Your institution may already have a Lightboard studio available to you. The UBC Lightboard is located in the IRC Studio in the Woodward building at 2198 Health Sciences Mall. UBC faculty and students can book the Lightboard or request a demo time by emailing lecture.capture@ubc.ca.
Don’t have access to a Lightboard studio at your institution? A number of commercial companies are now available to purchase Lightboards from. Alternatively, you may wish to build your own. Visit https://lightboard.info/buy-or-build.html to read more about the benefits of each option, as well as a list of required parts. This site estimates the total cost to build at around $8,000; however, cheaper DIY alternatives are certainly possible.
Don’t forget to make use of the Checklist after you complete your video.
References
Roth, W. (2001). Gestures: Their Role in Teaching and Learning. Review of Educational Research, 71(3), 365-392. Retrieved from http://www.jstor.org/stable/3516003
Leave a Reply