As a foreign researcher in Indonesia, I will undoubtedly visit the immigration office at some point regardless of my enthusiasm for collecting documents and paying fees. As the current system functions, a foreign researcher is entitled to a limited stay permit for the duration of his/her proposed research, also known as an Izin Tinggal Terbatas or KITAS. Since these are handed out to nearly all foreigners who spend some length of time in the country for reasons other than tourism (family visit, research, etc.), the process has improved and become fairly straight forward. Yet, the interactions at the immigration office continue to be inefficient and frustrating.
For instance, a simple online search for the local immigration office will likely pull up a corresponding website with several options for local residents and foreigners. In Bandung, I was pleasantly surprised to find a link to the KITAS criteria. Unfortunately, this information cannot be trusted because after visiting the immigration in person, one finds that there are in fact other letters required that are not mentioned. And so begins the series of visits to the office that could be avoided had the information been updated in the first place. For a new visitor to the country who has not been around the bureaucratic-block before, it could be very unclear what needs to go into the body of a surat permohonan (letter of request) or a surat rekomendasi (recommendation letter). An example letter would clarify what foriegners are expected to obtain.
The multiple visits, however, do not end once the required documents are clear. After submitting a complete file for a KITAS, we are told to return a few days later to make the obligatory payment. It remains unclear why this step cannot be bundled into another one because it becomes very cumbersome to make a trip simply to make a payment. Once the payment is received, an official will invite you to return the following day to have your picture taken. I suppose we should be thankful that the office now takes their own electronic photos instead of asking us to provide some obscure size on an unusual background color. Still, why not go one more step and have photos taken upon receipt of payment? Following the digital photo, we are asked to return yet again about a week later to pick up the completed KITAS.
At the very least, two simple improvements to this process are to 1) update and check the accuracy of the information online so that it matches what is actually requested in the office and 2) bundle the steps together so that foreigners are not obliged to make so many trips to this office. Then we would be able to give a genuine smile when we arrive.
A simple mistake… or a poor attempt to fool customers?
During my most recent experience at the immigration office in Bandung, an apparent mistake occurred when I was given an invoice to pay my KITAS fee. Although I made my request for six months (and all of my required documents stated such) the invoice said that I should pay for a 1-year KITAS. I gave them the benefit of the doubt and assumed that I was going to be granted 1 year (perhaps they do not issue six-month extensions, I thought). In hindsight, one should never assume anything could be that simple. Having paid for 1-year and posed for my digital photo, I returned to pick up my new electronic KITAS. But any relief I had quickly dissipated when I saw 6-months on the new card – the process was not finished after all.
I immediately approached the woman at the counter and drew her attention to the discrepancy between my payment and the new card. Believe it or not, her first response was to ask me why I had not brought up the issue before paying. I tried to hide my bewilderment that I should question the documents that are issued from their office, and instead tried to believe that someone had made a simple mistake that could be easily corrected with a refund of over-payment I made. By now I should know better – refunds in Indonesia are like trying to take candy back from a baby. They still often occur grudgingly with a long, convoluted process of paperwork and signatures, if they occur at all.
After some consultation in the back, I was told that even though the immigration officials acknowledged the mistake, I could not get my money back because all the money from the office had already been stored in the national bank. Apparently, this had occurred conveniently the day after I paid my fee. Undeterred, I returned the following day with my Indonesian counterpart (aka spouse) and we made it clear that we were going to wait patiently until they returned the money that was owed to us. Surprising to me, the cashier department never did succumb to return the money. Instead, after several minutes of discussing in the back, they directed us back to the counter for foreign services where an official – as willing as a toddler giving up candy he is not supposed to eat – presented the money from inside his desk. His explanation was that he was using his own funds to make the refund! I should have left well enough alone, but I began to protest saying that it should not be his own money. It was at this point that I received a discreet tap on my foot from my wife indicating that it was not worth taking the matter any further.
So I am left wondering now whether these mistakes occur unintentionally or if there is some calculation, knowing that most customers will accept their unwillingness to make a refund.
I am PhD candidate currently collecting data in Indonesia. To conduct research in Indonesia, one must patiently go through the process of obtaining a Foreign Research Permit and additional letters. Even though there have been some improvements to streamline the overall process for foreign researchers, I still found myself on scavenger hunts through Jakarta to deliver and pick up letters along the way. I decided from the beginning that I would figure it out on my own rather than hire an agent to do it for me. In an effort to provide some insight for the next person, here is a checklist of the steps I went through and some notes on what to keep in mind along the way.
First, others have gone before me and left fairly well-detailed bread trails of their own. As an honest researcher, I want to provide credit to their efforts and also provide links to their blogs on the topic. Hopefully, between all the information one can successfully navigate the process without too much trouble. It will definitely still take some time.
Second, I will also admit that I have spent some time in Indonesia and I am very familiar with Bahasa Indonesia (the national language) and many of the characteristics of Indonesian culture. Nonetheless, this extensive process still managed to test my patience and make me wonder how it can still require so many steps. If nothing else, this is an accurate glimpse into the bureaucratic belly of Indonesian Government affairs.
As others have already outlined, the process basically consists of three parts:
Submitting your proposal and application online
Arriving in Indonesia
Conducting research and Follow-up reporting
1. Submitting your proposal and application online
The Ministry of Research and Technology (Kementerian Riset dan Teknologi or Ristek) is in charge of issuing foreign research permits. Submitting your proposal and supporting documents that make up your application can now be done online, saving a lot of paper and postage and time. You will need to register on their website to begin the submission process: http://frp.ristek.go.id/ . The instructions are mainly in English and you can see the list of supporting documents that need to be uploaded. Almost all of the files need to be converted into .jpg format in order to be uploaded and there is a 150 mb limit on most. A few notes on the different documents:
A formal letter of request to do research in Indonesia.
This letter can simple and straightforward (no need for an abstract of the research), but make sure you state exactly which Indonesian Embassy or Consulate you would like to pick up your documents (research permit and visa) when they are ready.
A copy of detailed research proposal.
The proposal is going to be read by not only people from Ristek, but also other ministries and representatives from security forces. It is a good idea to think about any sensitive areas that your research might be exposing (i.e. politics from controversial periods, social issues that could portray the country negatively, etc.). In my case, there was concern that I might expose a lack of readiness on the part of hospital staff for quality improvement initiatives. Nobody wants to look bad. Also, make sure you are as specific as possible when you identify the geographic location of your research.
A copy of the researcher’s curriculum vitae (CV) including a list of publications.
Two letters of recommendation.
I used a letter from my dissertation advisor and then another from the director of our PhD program.
Letter(s) of acceptance from Indonesian Counterpart.*
If you can organize to collaborate with someone at an Indonesian university, sometimes these institutions are already familiar with the paper work and your life will become a lot easier.
A letter guaranteeing sufficient funds.
If you have a fellowship/scholarship letter, by all means use this. A letter from your bank stating the total funds in your accounts will also work.
Health certificate from a medical doctor.
A letter of recommendation from an Indonesian Representative abroad.
This letter is issued by the embassy or consulate that your choose to receive your documents through. Once you have all the other documents assembled, take them to the embassy/consulate and an Indonesian representative will issue the letter. Plan for few days to receive this letter.
Four recent red background passport size (4×6 cm) photographs, and two copies of 2×3 cm size photographs. You will need to submit some with your documents in order to receive the letter from the Indonesian Embassy / Consulate.
A copy of the researcher’s passport.
A list of the equipment brought to Indonesia, if any, to support the research.
For me this was a short list. I included my primary laptop, a backup, and an external hard drive. It will be more important for those who need to bring in technical equipment.
If a researcher plans to bring his/her spouse and children to Indonesia, the researcher must submit a copy of marriage certificate, spouse’s curriculum vitae, children’s birth certificate, four recent photographs of each family member and a copy of his/her family’s passports.
*When you decide on an Indonesian counterpart, make sure they understand what is being asked of them. He/she will need to provide letters to you and to Ristek. If the person has previous experience with sponsoring a researcher or someone in his/her department has previous experience, it will be easier. The institution that sponsored my research permit addressed one letter to me accepting me into the university as a “visiting scholar”, and another letter addressed to the Secretariat of Foreign Research Permit reiterating this acceptance and the research that I would conduct. As others have noted, your counterpart can also follow-up with Ristek to find out the status of your application after you make your submission online.
In general, try to use official letterhead from your school or institution for any letters you generate or request.
Once all of your documents are uploaded and you have visited the embassy/consulate to receive the letter of recommendation from them, stay in contact with Ristek through email, but don’t be afraid to give them a call. Or even better, have your Indonesian counterpart follow-up. I found I got much more info by talking to them directly. The time to receive your research visa will depend on when the coordinating team (representatives from different ministries) is meeting to review proposals. When I submitted mine, they met twice a month. Your contact in Indonesia may also be requested to make a short presentation on your behalf about your research. This can be done via Skype if they do not live close to Jakarta. He/she should receive an invitation directly from Ristek regarding this meeting so make sure they he/she is up to speed with your research objectives, methods, etc. and ready to meet with the team from Ristek. If your contact person cannot make it, he/she can reschedule, but you risk waiting several weeks until the coordinating team meets again to review proposals.
The normal operating procedure is to pick up your research visa from the embassy/consulate that you designate about a week or so after a decision is made by the coordinating team. When I applied, there was some maintenance going on with the Department of Immigration’s online system, so Ristek offered me a Social-Cultural Visa (Sosio-Budaya) rather than waiting for the regular research visa. Rather than wait again, I gladly accepted the sosio-budaya visa thinking I would save some time and get started sooner. In hindsight, I would strongly recommend waiting for your research visa. If for some reason you end up accepting a sosio-budaya visa and then need to convert it (as I did), you can refer to the process I went through below.
2. Arriving in Indonesia
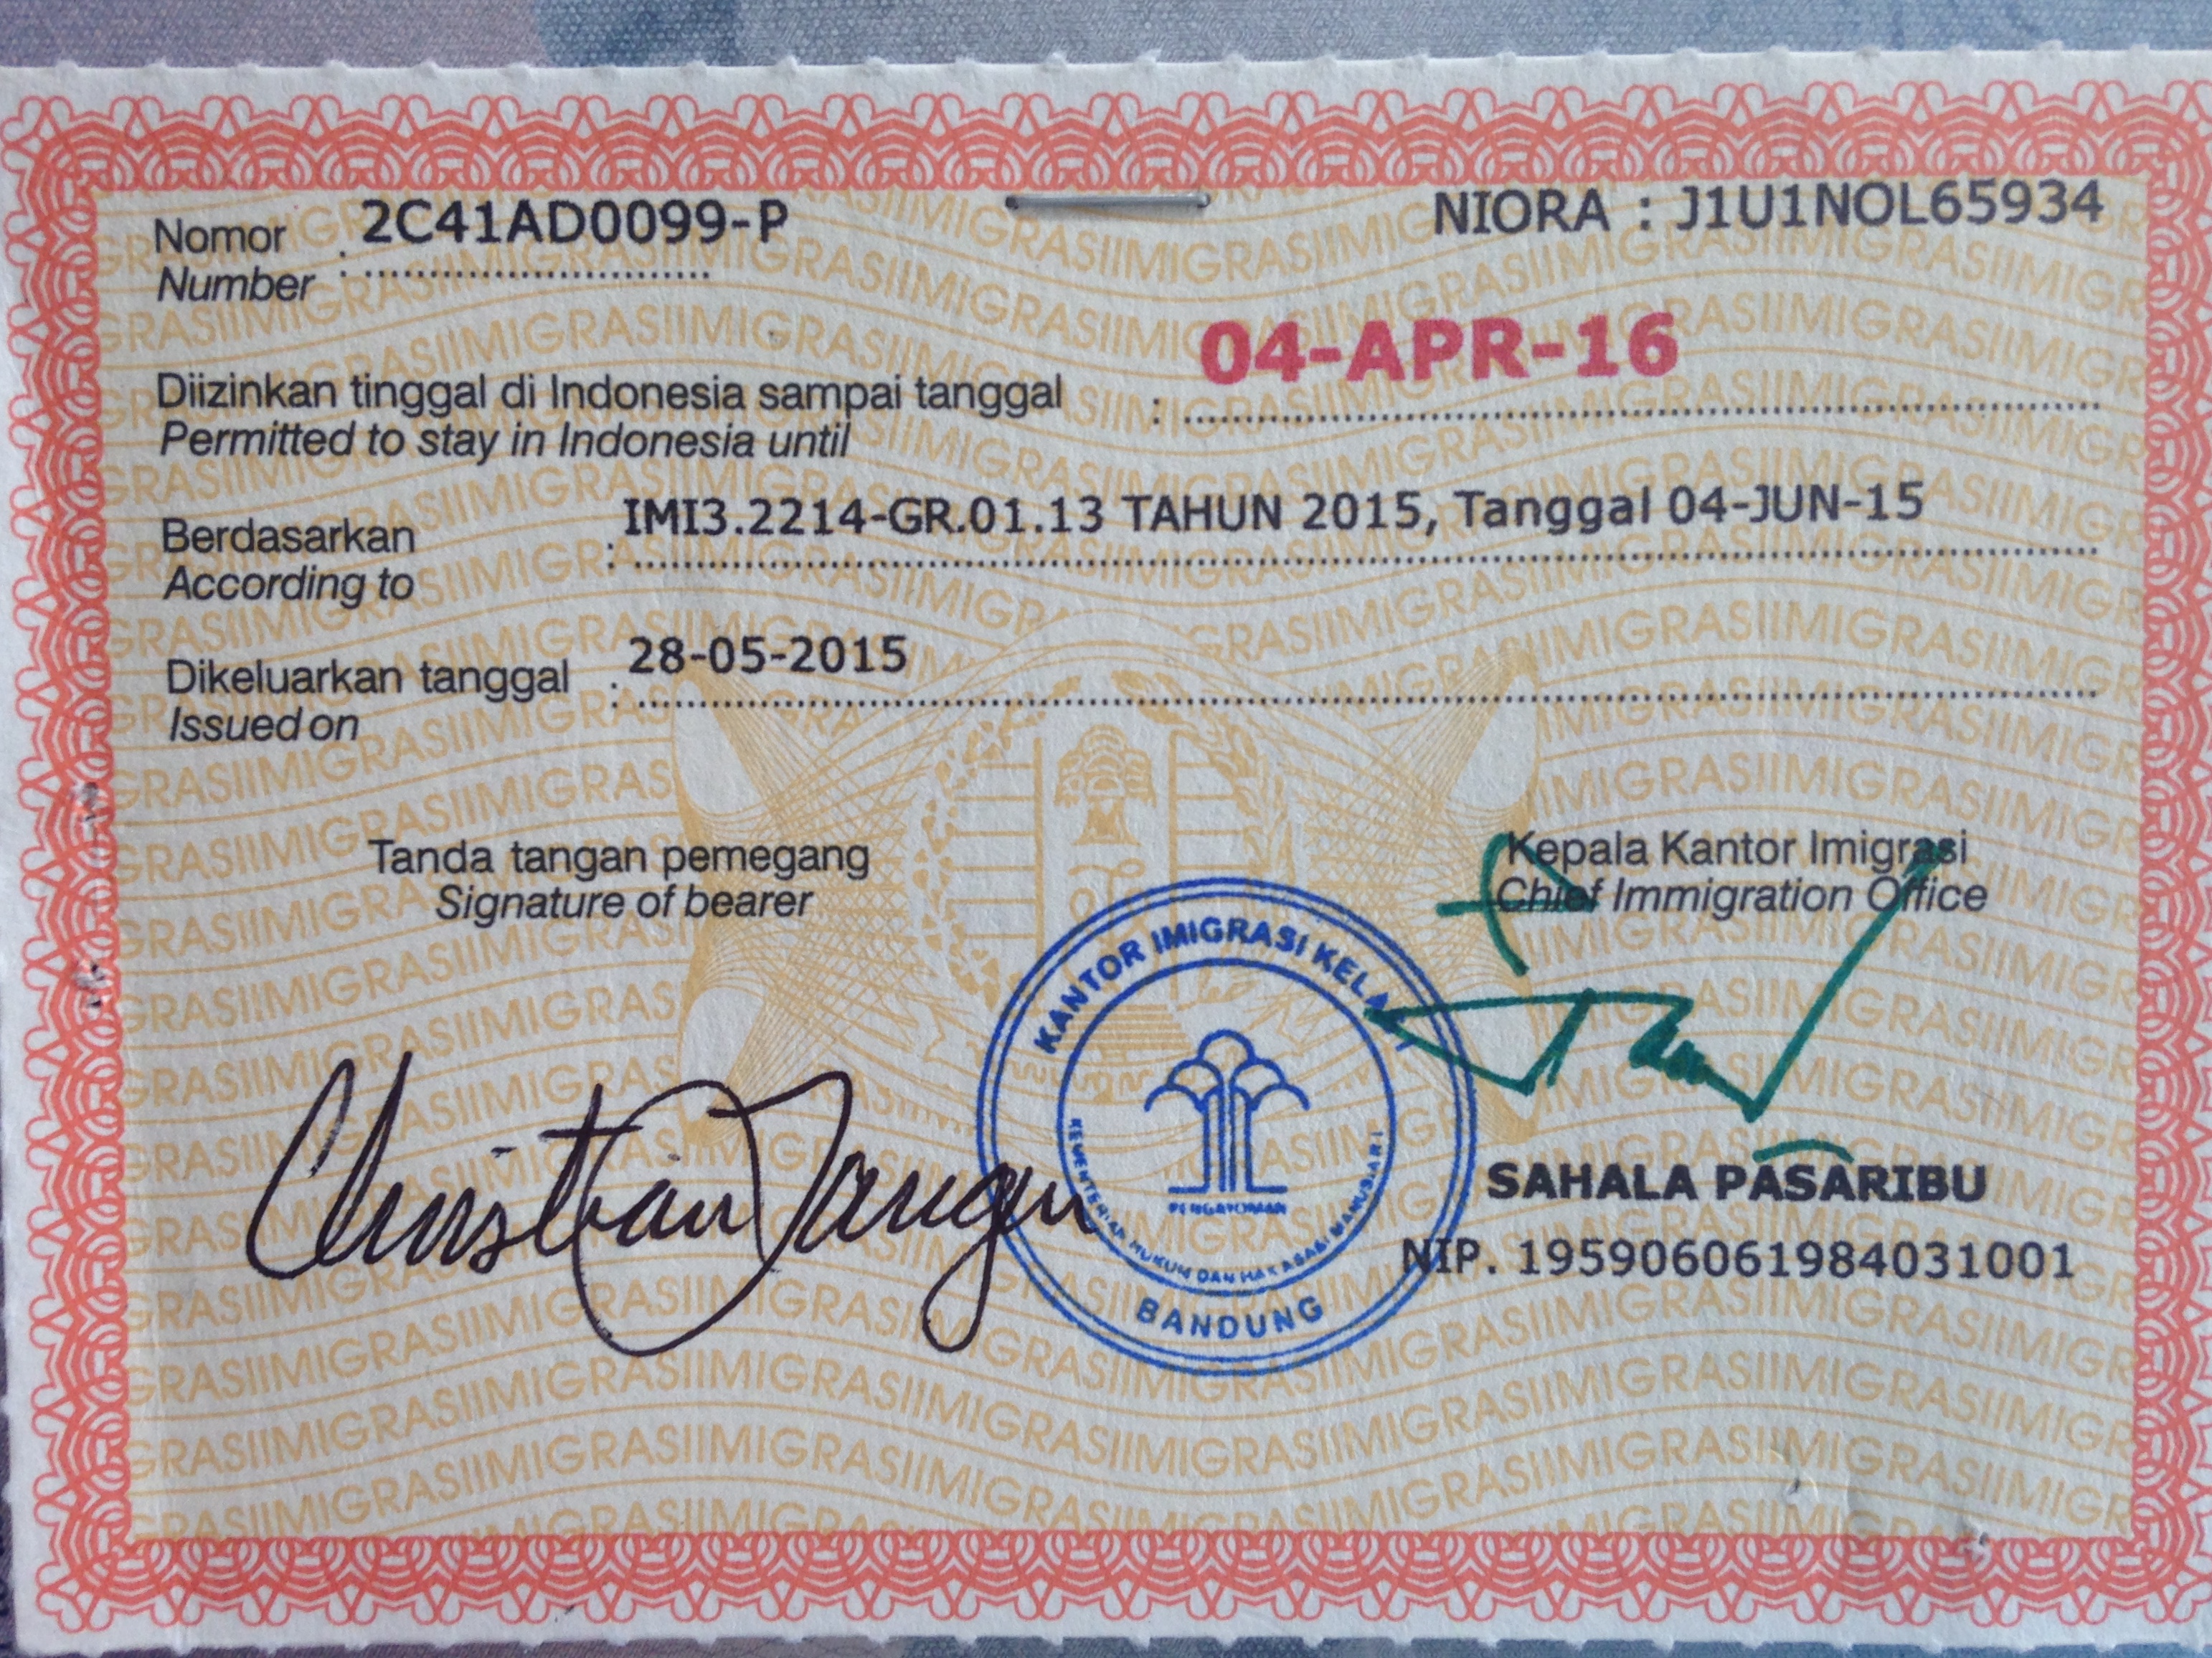
When you arrive in Indonesia, the immigration should accept your research visa and you will probably see a date written in your passport that indicates the deadline for obtaining your Limited Stay Permit (Kartu Izin Tinggal Terbatas or KITAS). I was allowed 30 days from the date I entered Indonesia, after which the immigration officials who issued my KITAS would begin to issue a fine, so heed this date.
First stop: Kementerian Ristek
When you arrive in Indonesia, give the Ristek office a call so that they can expect you. There are a couple different letters that they will be preparing for you, so a heads up will save you time. The building is easy to find, not far from the National Monument (MONAS), but make sure you bring your documents from your application and 2 photos (2×3 on red background). You can also prepare yourself by making extra photocopies of your passport and the visa pages too. Many Indonesian offices do not have a photocopy machine, so they send you out to make photocopies – it only costs a few hundred Rupiah, but it can become annoying. This was one of the most efficient stops I made in the entire process. Within half an hour (there were no other foreign researchers ahead of me) I received all of my letters, my research permit, and a detailed explanation of how to proceed. You should receive:
An official research permit letter from Ristek
A letter addressed to the immigration office where you will be living
A letter addressed to the Ministry of Domestic Affairs (Kementerian dalam Negeri or Kemendagri)
A letter addressed to the Police Headquarters in Jakarta (Markas Besar Polri or Mabes Polri)
A handbook of procedures for Foreign Researchers
Before you leave you should also be given your new research permit card (so don’t forget your photos!).
Kartu Izin Peneliti Asing
Second stop: Immigration Office to obtain KITAS and Multiple Entry/Exit Permit
I was directed to the Kantor Immigrasi (Immigration Office) in Bandung because I indicated that this is where my research home would be located. I was also told that this would facilitate my research because I was allowed to begin while I waited for the following administrative processes to finish. When I reported to this immigration office, my optimism turned to skepticism once again. It turned out that in order to issue my KITAS, I needed not only the official letters from Ristek, but also another letter from my sponsoring institution (in my case Universitas Padjadjaran – Fakultas Kedokteran) and a letter of guarantee (surat kuasa). So plan on making multiple visits. Here is what I included when my file was finally complete:
Letters from Ristek addressed to Immigration Dept.
For me these included one letter to convert my Sos-Bud Visa into Izin Tinggal Terbatas (ITAS), and one letter requesting my KITAS and multiple entry/exit permit. (Yes, foreign researchers are permitted to leave and re-enter Indonesia freely during their research.)
Letter from sponsoring institution
The immigration official asked me to bring back a letter from the Indonesian university that was acting as my sponsor. The contents of the letter were identical to that of the letter from Ristek, but it needed to be on the official university letterhead and signed by the dean.
Letter of guarantee
This is a form you pick up at the immigration office. It needs to be signed by someone at the sponsoring institution. Be careful as some people may be hesitant to sign this on your behalf because of a clause that basically states he/she will be responsible for anything that happens to you while you are in the country! However, it must be signed, and I eventually found out it is more of a formality. Fortunately, an assistant dean at my sponsoring university understood that this was protocol and reassured the dean that he could sign for me.
Photocopy of the Kartu Identitas Penduduk (KTP) of the person who signs the letter of guarantee.
Form of Extension or Conversion of Visit Permit
This is another form you pick up from the immigration office and fill out. When I applied, it was not available online.
Photocopy of passport
First pages and visa pages
Original Passport You will have to give up your passport for a few weeks until this process is finished.
On a subsequent visit you will be asked to pay your fees:
KITAS and Multiple exit/entry permit fees: Rp. 1,855,000 (as of May 2015)
Since I was converting a Sos-Bud Visa into a Izin Tinggal Terbatas I had to go through a few extra steps. You may or not be required to do, so ask the person at Ristek to clarify this before you begin. Once I had all of the documents listed above, the immigration office in Bandung issued me a letter addressed to the Kantor Wilaya, Kementerian Hukum dan HAM R.I. Jawa Barat (Regional Office for the Ministry of Law and Human Rights for West Java). After finding my way to this office, the person who received my letter said I could wait just a few hours and they would issue me another letter. I had lunch and stayed close by, thinking I might be able to return to the immigration office the same day! To my dismay, the letter I received was addressed to the Direktorat Jenderal Imigrasi or DirJen (Directorate General Immigration) in Jakarta! Apparently not familiar with the process, this person also said I could plan to go to Jakarta and return in a day with an official decision letter.
I planned a separate trip to Jakarta to deliver this letter and discovered that the DirJen office in Jakarta required 5 business days to issue their official decision letter. Unfortunately, one cannot move on with other parts of the process before the immigration documents are finished. I was forced to return to Jakarta the following week to pick up my decision letter, then bring this back to Bandung to complete the request for my KITAS and multiple exit/entry permit.
Once I submitted this letter with the other documents listed above, my application was officially submitted and I was given a date to return to have my picture taken. The immigration office in Bandung takes their own digital photographs, so you are not required to supply your own anymore. After I had my picture taken, I waited another week before my KITAS and multiple exit/entry permit were finally ready for pick up. Finally, after more than a month, I had my passport back in my own hands!
KITAS (photo is on the other side)
Third stop: Mabes Polri to obtain Surat Keterangan Jalan
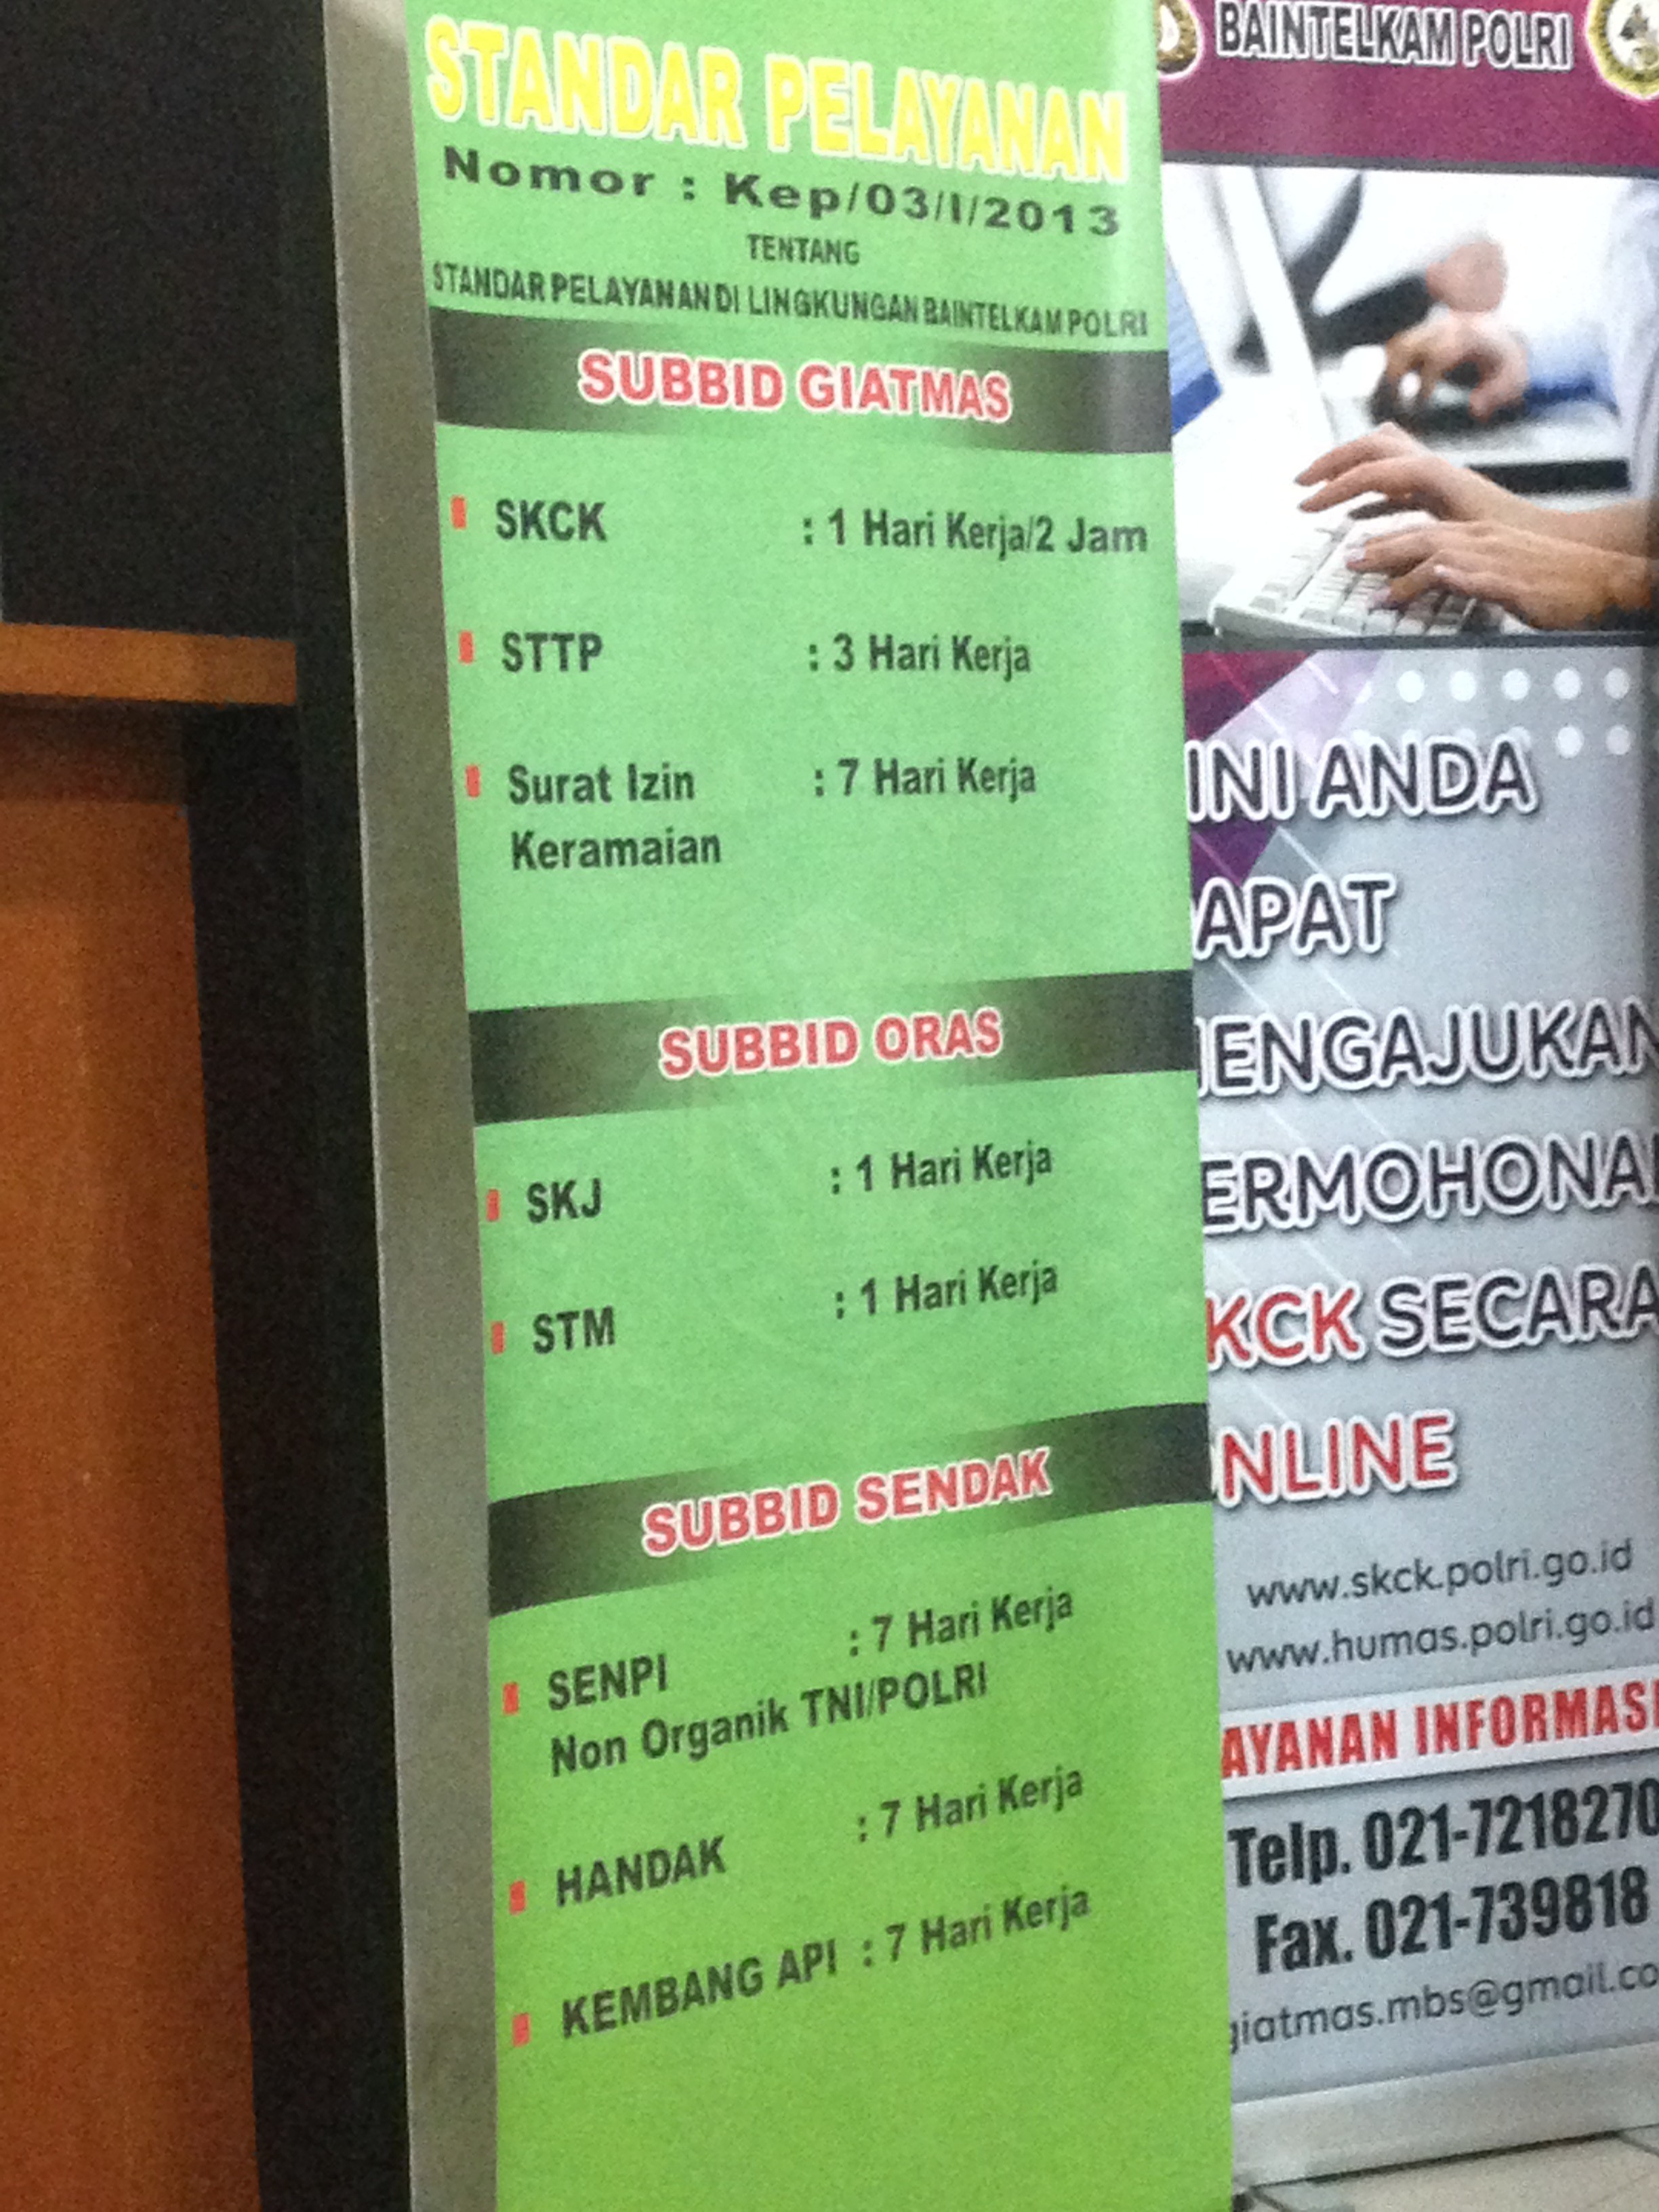
Next to the visit to Kemenristek, the visit to Mabes Polri in Jakarta is probably the second most efficient. If you are like me, a little uneasy about walking into the Police Headquarters of a foreign country, you can rest easy. Not only were the people straight forward and helpful, but the timeline for obtaining the Surat Keterangan Jalan or SKJ (Traveling Permit) is posted on a banner in the office.
SKJ : 1 Hari Kerja (One working day)
For this visit you will need:
Letter from Ristek addressed to Mabes Polri
Copy of your Research Permit Letter from Ristek
Passport with KITAS
Photo copy of passport
Photocopy of KITAS
Photocopy of visa used to enter Indonesia (for me the Sos-Bud Visa)
Two photos (4×6 on red background)
Thankfully there is no fee for this service. I returned the following day and picked up my SKJ just like they promised.
Fourth stop: Kementerian Dalam Negeri to obtain Surat Pemberitahuan Penelitian
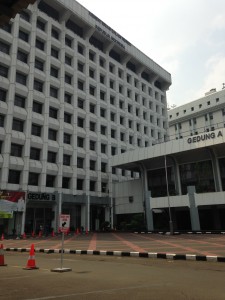
After you pick up the SKJ from Mabes Polri, the next step is to get your Surat Pemberitahuan Penelitian or SPP (Research Notification Letter) from the Kementerian Dalam Negeri or KemenDaGri (Ministry of Home Affairs). The location is very central, across the street from MONAS at the northeast corner, just down the street from the Presidential Palace. As soon as I picked up my SKJ, I made some photocopies and continued on to KemenDaGri the same day. The Ministry of Home Affairs is a vast complex, almost like a little city to itself! I was given incorrect directions when I first arrived and ended up exploring all the way to the very rear before somebody explained that I only needed to go to building B (the first building you will come to).
Gedung (Building) B at KemenDaGri
This stop does not require any fees either, but they will ask for the following:
Letter from Ristek addressed to KemenDaGri
Copy of Research Permit Letter from Ristek
Copy of Traveling Permit from Mabes Polri
Copy of Passport
Copy of KITAS
Copy of Visa used to enter Indonesia
Two photos (4×6 on red background)
When I visited in June 2015, the procedure was to pick up my SPP one week after submitting the documents listed above. However, they will provide you with a phone number and you can check if your letters are ready to pick up sooner than the date they give you. They will provide you with a receipt that you should bring back with you to pick up your letters.
Receipt from KemenDaGri
Here I received another unexpected surprise. Since I plan to collect data in a few different kabupaten (districts) in different provinces, I received two SPPs for each province – one SPP addressed to the Governor’s office and one SPP addressed to Kapolda or Kepolisian Negara R.I. Daerah (Provincial Level Police Headquarters). Before you leave, make sure that the addresses on the letters match the regions where you intend to do your research. One of my letters was address to the Governor’s Office in Balikpapan, Kalimantan Selatan, but I had no intention of going to Kalimantan. Luckily, only the envelope was mistakenly addressed and not the actual letter inside! They were able to fix it while I waited.
Almost done…or so I thought.
This entire process took me several weeks to complete because of the waiting periods to pick up letters and having to make multiple trips between Bandung and Jakarta. I am certain that other researchers hire organizations or agents to complete this post-arrival process for them. That may be a more convenient option for you if for example, you plan to live far away from Jakarta, or you have extra funds to pay for this service. When I applied for my research permit, I received an email from such an organization offering me this service.
I would be weary, however, of believing you can begin your research while someone else takes care of this bureaucratic scavenger hunt in Jakarta. When I attempted to validate my questionnaire while waiting for my KITAS to be processed, I was held up at a district level office called Kesatuan Bangsa dan Politik or KesBangPol. There is an equivalent office at the provincial level. These offices handle permits for conducting research at the local levels. In my case, before I entered a hospital to collect data with my questionnaire, I needed to obtain permission from this office in the district where the health facility is located. I prepared for this visit with a letter from the Indonesian university and an brief proposal in addition to the usual documents (i.e. photocopy of passport). The only catch was that the official from this office asked for my SPP from KemenDaGri (at that moment I didn’t even have my KITAS, much less my SPP). Long story short, I was not able to begin any data collection until I had received all of my other documents (KITAS, SKJ, SPP). Depending on the nature of your research, however, you may or may not encounter this kind of red tape.
Reporting to Badan Kesatuan Bangsa dan Politik
My SPP letters from KemenDaGri were addressed to the Governor at this office in each province I intended to collect data in. If other provinces are like Jawa Barat (West Java), then this office is not physically located at the Governor’s Office. You should be prepared before you deliver the SPP letter from KemenDaGri, as this provincial level office is going to issue yet another letter that you take with you to the district level KesBangPol office. In order for them to issue this letter they asked me to provide:
SPP from KemenDaGri (addressed to Badan KesBangPol Provinsi)
A copy of my research proposal (if you have a version in Bahasa, they will appreciate that)
A copy of my passport
A photo (red background)
Fortunately, the letter(s) that this provincial level office issues can be prepared in 15 minutes once you provide all the requirements. Since I had listed three different kabupaten in the province where I want to collect data, I received one letter for each kabupaten (i.e. KesBangPol Kabupaten Karawang).
At last I was ready to report to the kabupaten level KesBangPol office where I intended to validate my questionnaire. Here, you can expect another similar process, where you will be asked to submit your documents again, wait a few days, and then pick up your Izin (permit) to collect your data. As I am led to understand, one must go through a similar process at the KesBangPol office in each province and each kabupaten where the researcher intends to collect data.
Reporting to Kapolda
The other SPP letters I received from KemenDaGri were addressed to the Provincial Level Police (Kapolda). Thankfully, this letter is what Indonesians call a surat tembusan, in other words the final stop. There is no letter issued from this police department, but it is still a good idea to make sure the SPP gets delivered here. The letter actually goes to the Intelligence Branch, and no researcher wants to be on the wrong side of them. Better to report, rather than be reported.
3. Follow-up Reporting
Once you have all your documents and letters squared away, you should have a real feeling of accomplishment in addition to your research data. KemenRistek requests that foreign researchers submit quarterly reports through email to their office. When the research in Indonesia is complete, Ristek also asks for a final report. The format for these reports can be found in the handbook provided by Ristek. If your research is for a thesis or dissertation, you may also be asked to submit a copy to Ristek.
A few tips…
In Indonesia, try and begin a process at any office early in the morning and early in the week unless you are certain how long it will take.
Beware of the fasting month of Ramadan. Although it is an enjoyable month to experience in its own right, it is not the most productive month in Indonesia. Even though offices are open, there are reduced hours and people like to plan holidays early.
As you deal with offices further and further away from the capital, in other words, further downstream, you may find you are more familiar with the process than the government official you meet (and most definitely more punctual). Be aware that connections begin to play an important role, so it is worth your while to build relationships with these people as you go along.
Be patient. You can expect to be asked to make your own photocopies, come back in a week, and maybe bring an additional letter, etc. When you look back it won’t seem as hard as when you are in the moment!