

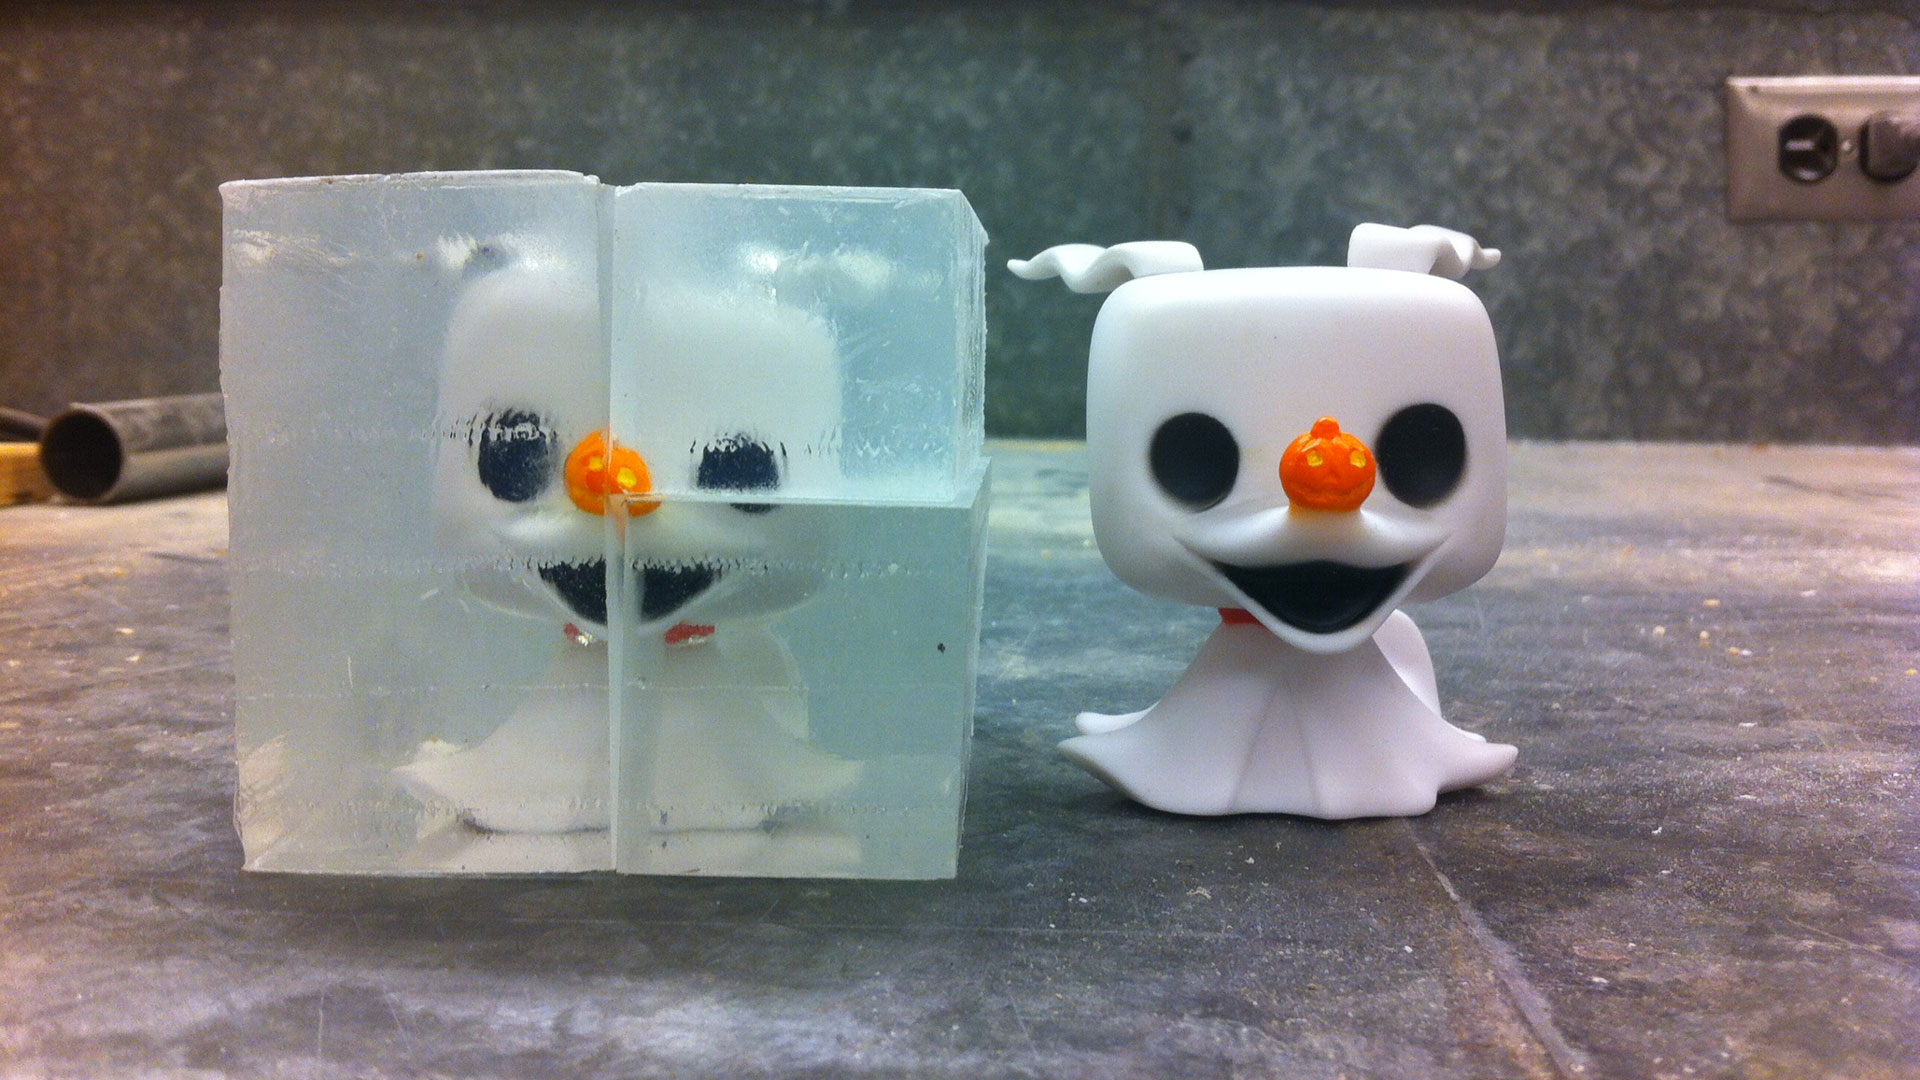
My partner Bianca and I chose the toy Zero, the little ghost dog from the Nightmare Before Christmas. We thought that he had enough complexity to require a good range of techniques to replicate, but not too complicated to make our lives miserable. We chose to cast him into resin instead of the spray foam, to get a more consistent and clean finished product. To cast him into resin, we made a small box out of acrylic that was just large enough for Zero to fit inside without touching any edges, but as small as possible to avoid wasting resin. We cast the resin in layers, pouring one layer before inserting the toy to get a base of resin underneath it. In the future, I would place the toy first. We thought that we would be able to get him to sit at the proper angle, but as the resin cured he shifted slightly off centre. The resin casting took about 5 hours, we found that the ambient temperature had a large effect. It was too cold for the resin to cure if we left it outside.
After 24 hours the resin was set, but it was still tacky to the touch. We left it for another couple of days before cutting it. We weren’t sure about how the cutting would go (whether we would be allowed to in the woodshop), but it was a very smooth process. Using the bandsaw, we first did a test cut to check how the resin held up, before cutting into the toy in two places.
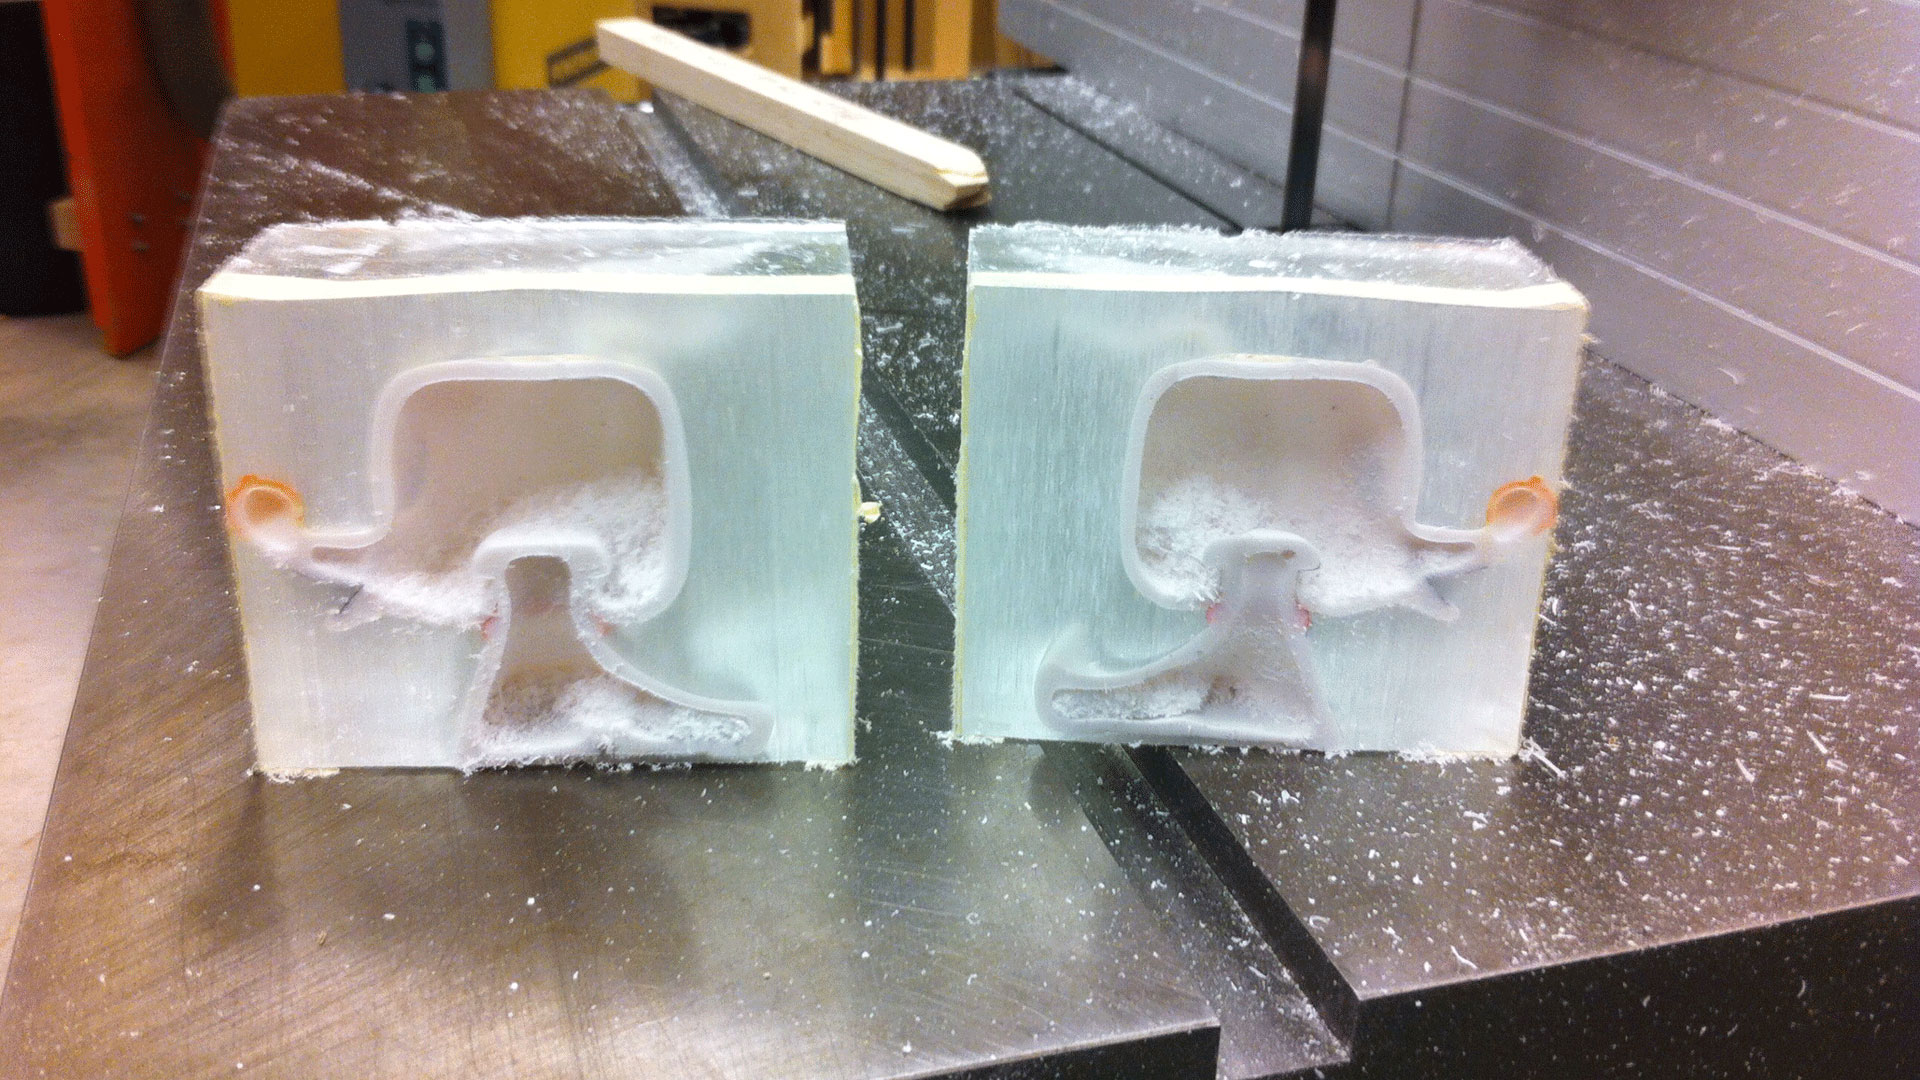
We made one cut in section view, and one cut in plan view. The horizontal cut gives us information about the depth of the eye, which was one of the only things we couldn’t get from the intact toy.
My first forays into modelling were based on photographs of the intact toy. We set up a black background and took the most accurate photos we could orthographically. I centred these photos and made them consistent between the views, then set them up in Rhino to work from.
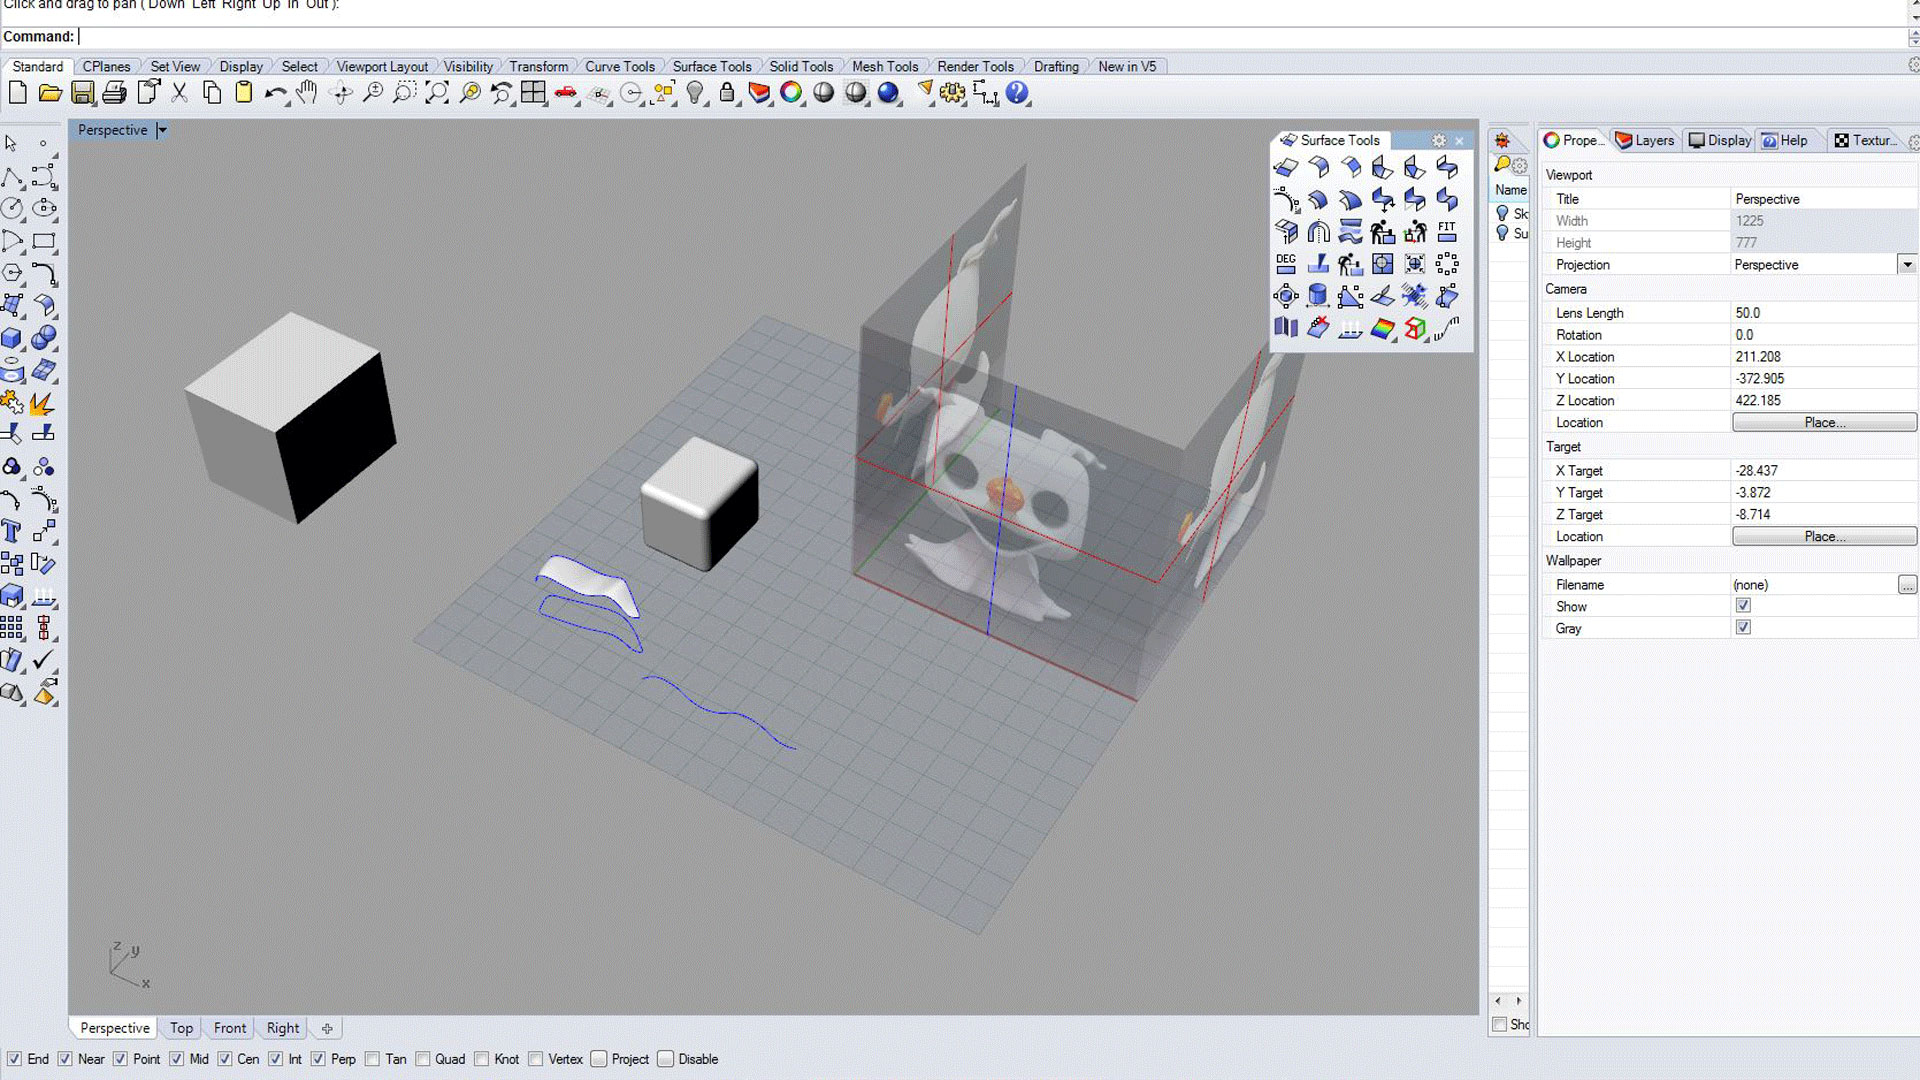
I attempted to model the head of the toy using a filletedge function, to see how close I could get just eyeballing and to test out modelling the shape. It’s not quite right, so I will be using information from my cast pieces that I will scan to be able to use a rail revolve function. 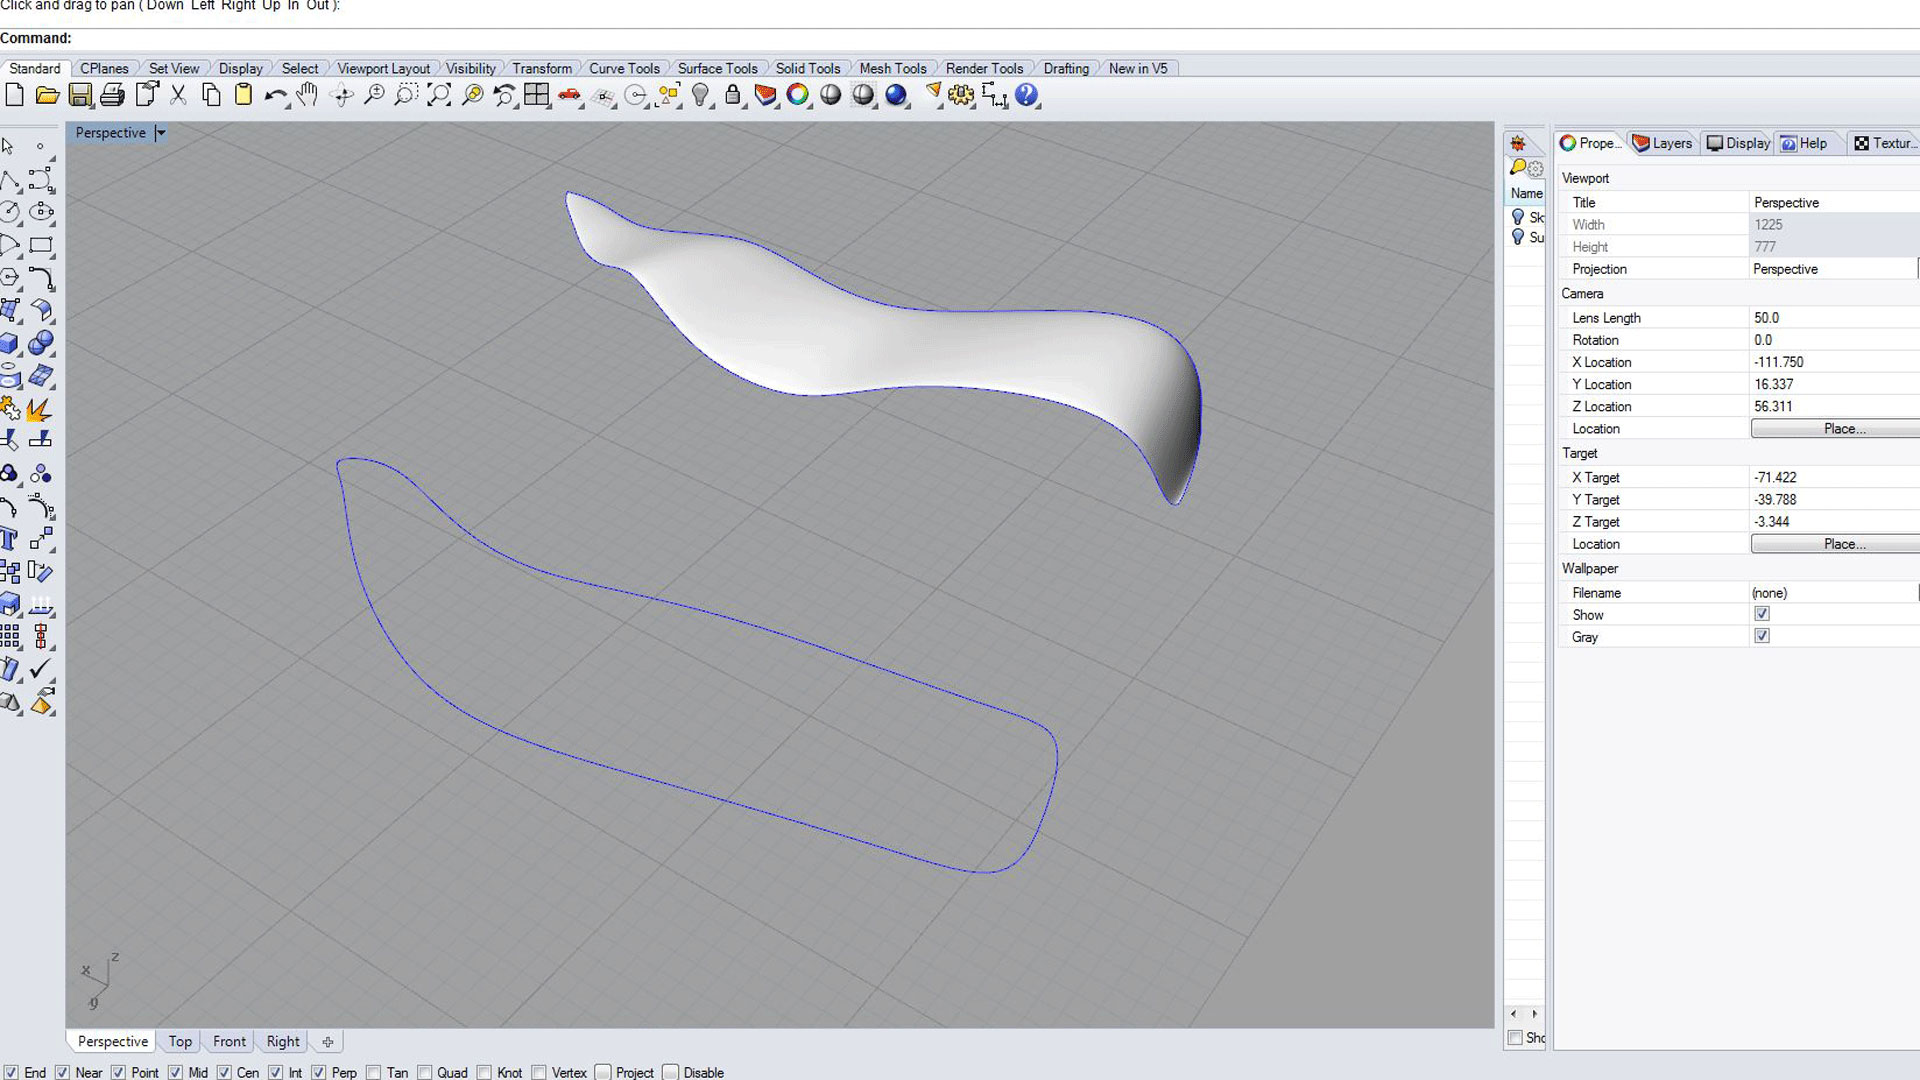
This is a test model of the toy’s ear that I made using a sweep2 function. I started with the shape of the ear from the top view, then broke the shape up into 3 discrete curves. The two side curves became the rails, and the short curve that attaches to his head became the curve that sweeps between them. I turned on the control points to adjust the curvature in the Z-axis, while maintaining the points where the curves meet. I used the sweep2 function and got the surface for the top of the ear. I will continue the shape by creating the bottom surface of the ear, and then lofting between the two to make it an actual shape. I will fillet the edges to soften them, and then attach the ears to the toys’ head.