Category Archives: week 10

Rendering in Photoshop: lots of layers

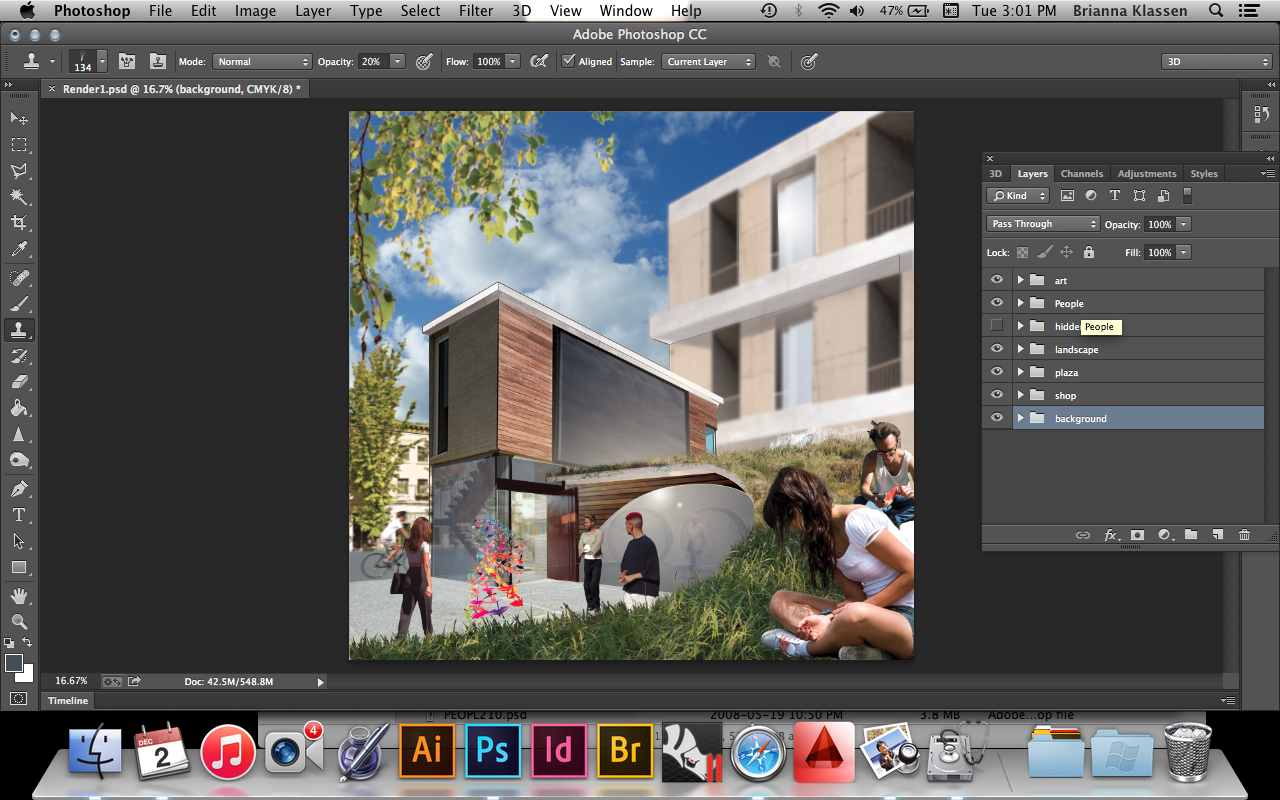
Due to my hard drive failure, I lost my rhino model, as well as my keyshot and V-ray software. As a result, I decided to get creative and try a different approach to my rendering style. Instead of building a model of my entire project and exporting a render, I created a 2-point perspective one drawing of my render position and photo-collaged on layers of materials, lighting and shading to create a dynamic scene. I knew I would need many layers (it turned out to be about 70), so I organized them into categories that described different aspects of the scene starting from the background and ending in the foreground.


Screen Shot 2014-12-02 at 2.56.26 PM


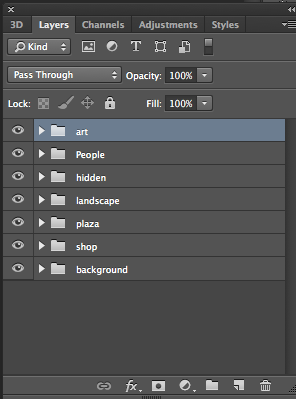
above: My layer groups on photoshop

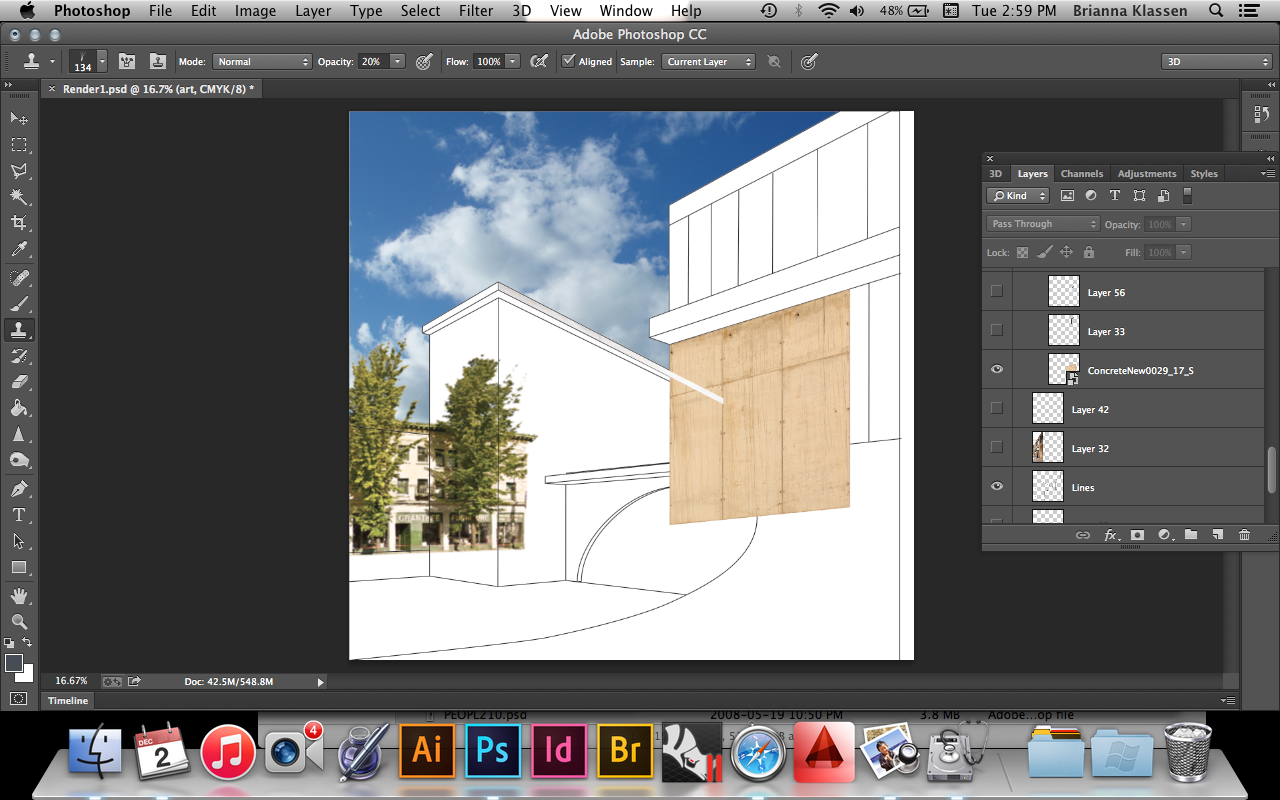
below: my original line drawing


Screen Shot 2014-12-02 at 2.58.03 PM


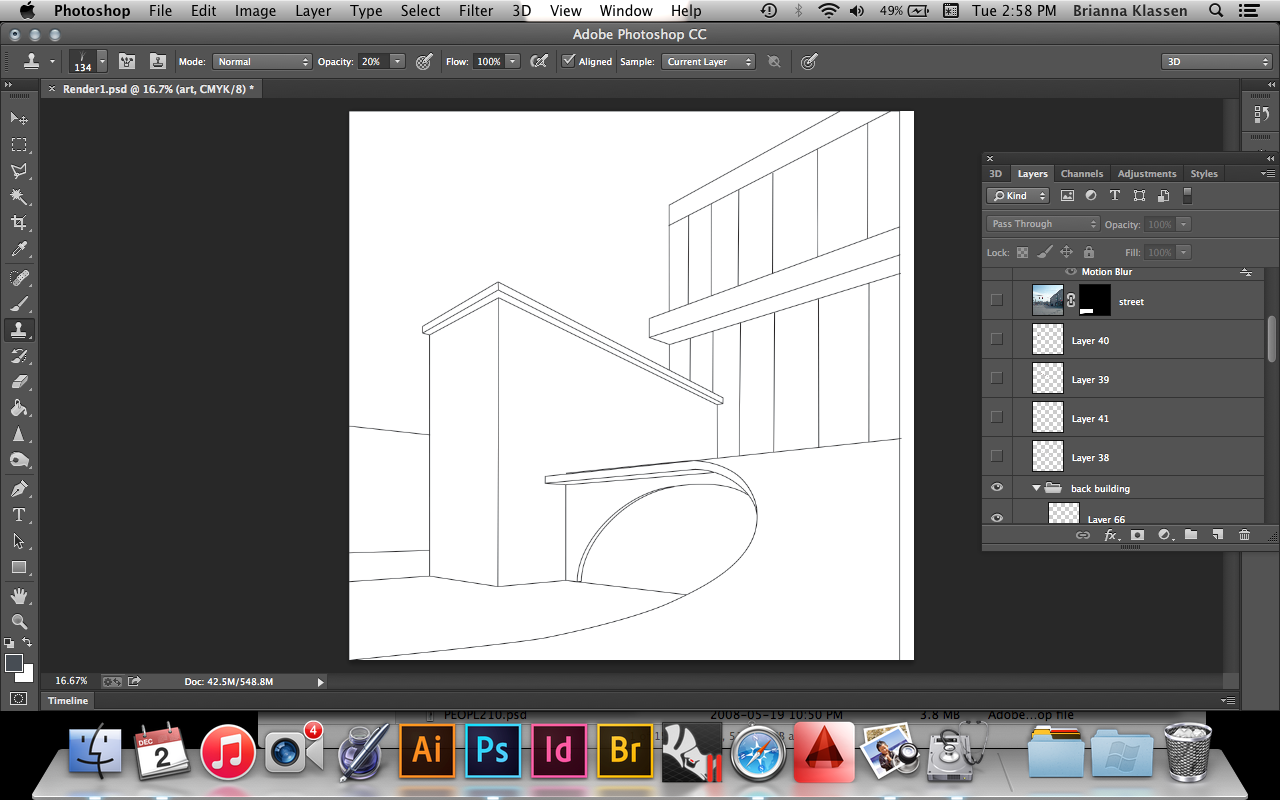
below: I used a sky image and a photo of the building across the street for the setting, and used the transform>perspective tool to form textures to my line drawing

Screen Shot 2014-12-02 at 2.59.02 PM


Screen Shot 2014-12-02 at 3.00.38 PM

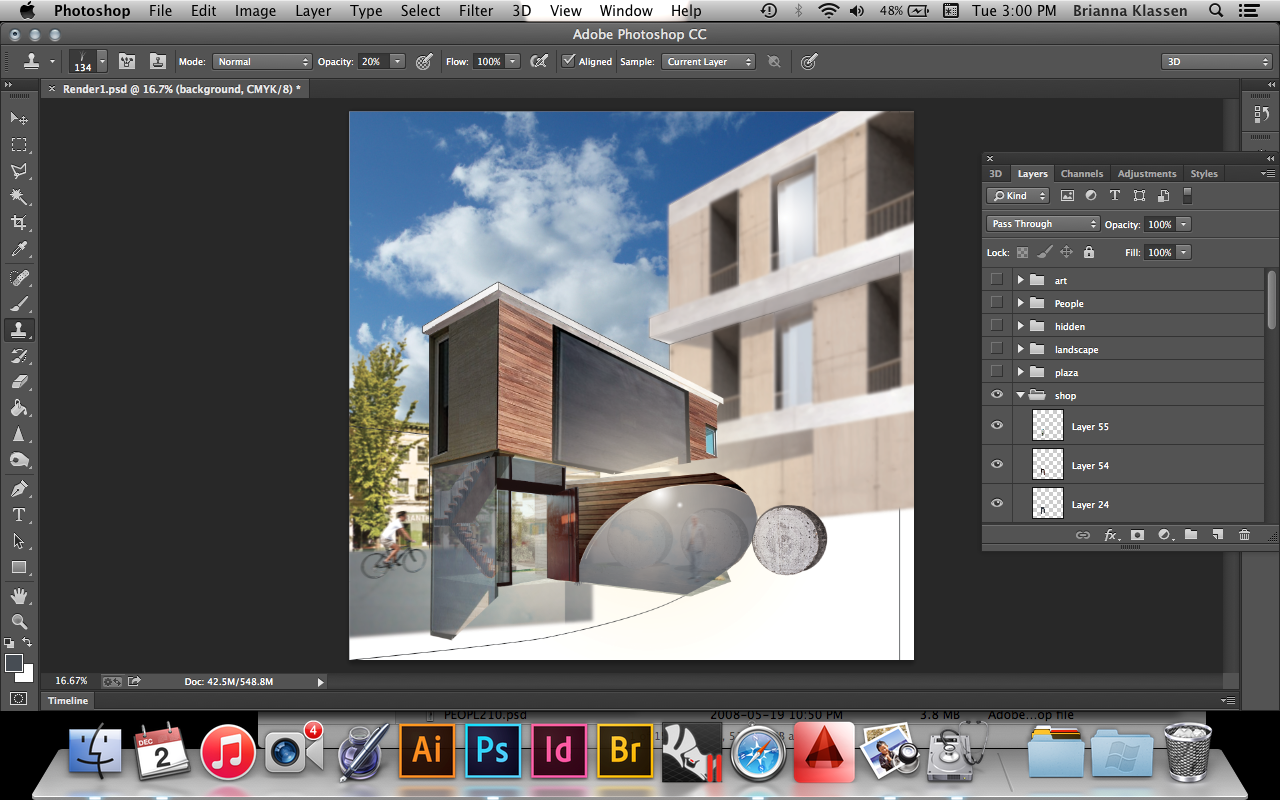
above: I used the gradient tool and various opacity changes to create the illusion of glass refection, transparency and sun flare. I used the gaussian blur to sharpen the focus on the mid-ground similar to a photograph.


Screen Shot 2014-12-02 at 3.00.57 PM

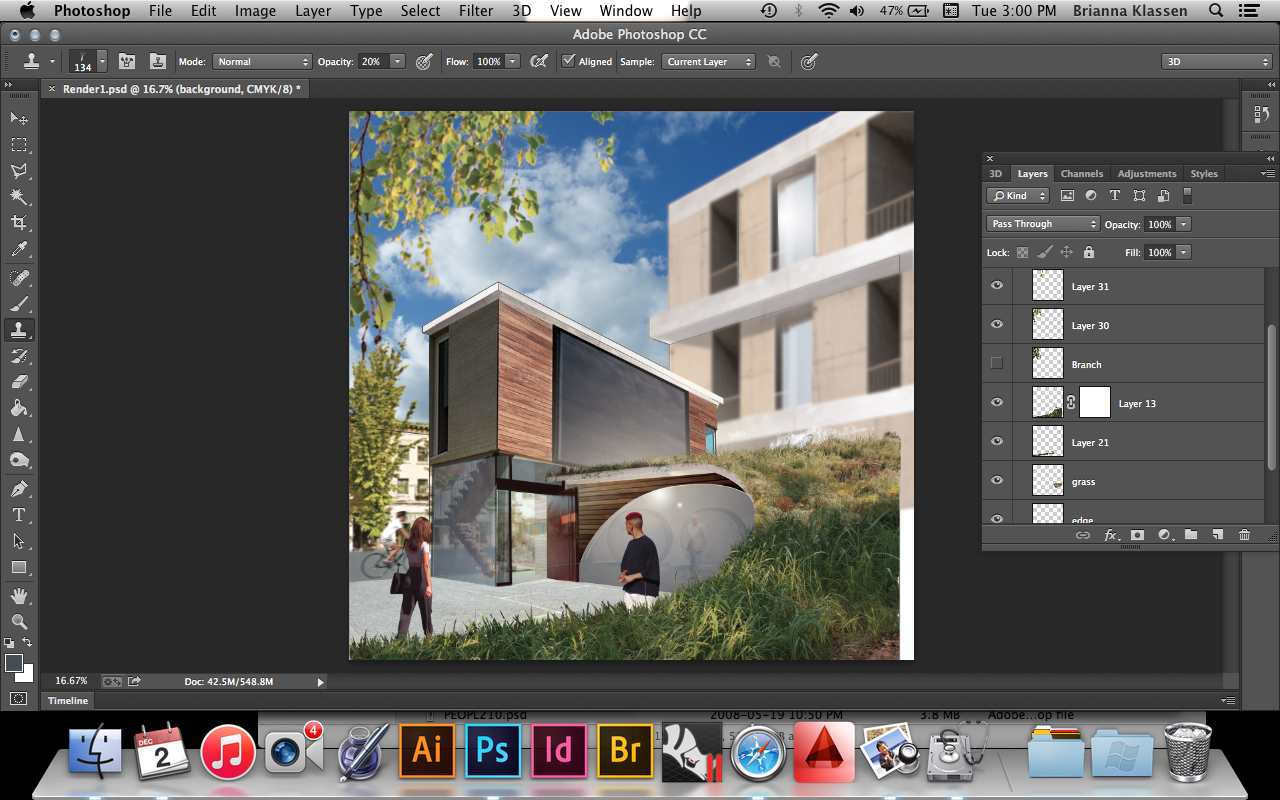
above: then I added people. I made sure that the sun that caused the sun glare on the glass hit the people at the same angle. I also added grass, and a foreground branch to frame the image. The man on the bicycle in the background has been motion blurred to give the effect of movement.

Below: The finished image, complete with an original art installation to give an example of the production of the art gallery.


Screen Shot 2014-12-02 at 3.01.09 PM

Finn the Human: Printing, Documentation, and KeyShot… (FINN)ALLY

(Finn)ally, the time has come! 3D printing, at last!

I printed using the clear filament and let me tell you… It’s good perhaps for test prints but I would never want to use this to hand in any final model! The second print with white filament has much better resolution even though the file was exactly the same.

In order to print my second model quicker than the first I detached the head and changed the body orientation. In the future I wouldn’t rotate the body- having the belly down meant a rougher print. Moving forward I will always try to orientate my model to have the least amount of struture material BUT keeping the bottom at the bottom so that the rough print is not visible.

KEYSHOT:

A really simple rendering tool! I enjoyed the selection of colours and materials available AND the edibility of those (saving them too).


(One tip I’ll leave here about the Tinkerine 3D Printers that we have access to… We should make proper model files BUT when printing with these printers you don’t have to close the surfaces! The pink lines are not the end of you!! The resolution of these machines is not precise enough to require that last step.)

Screen Shot 2014-11-17 at 12.05.51 PM                split finn