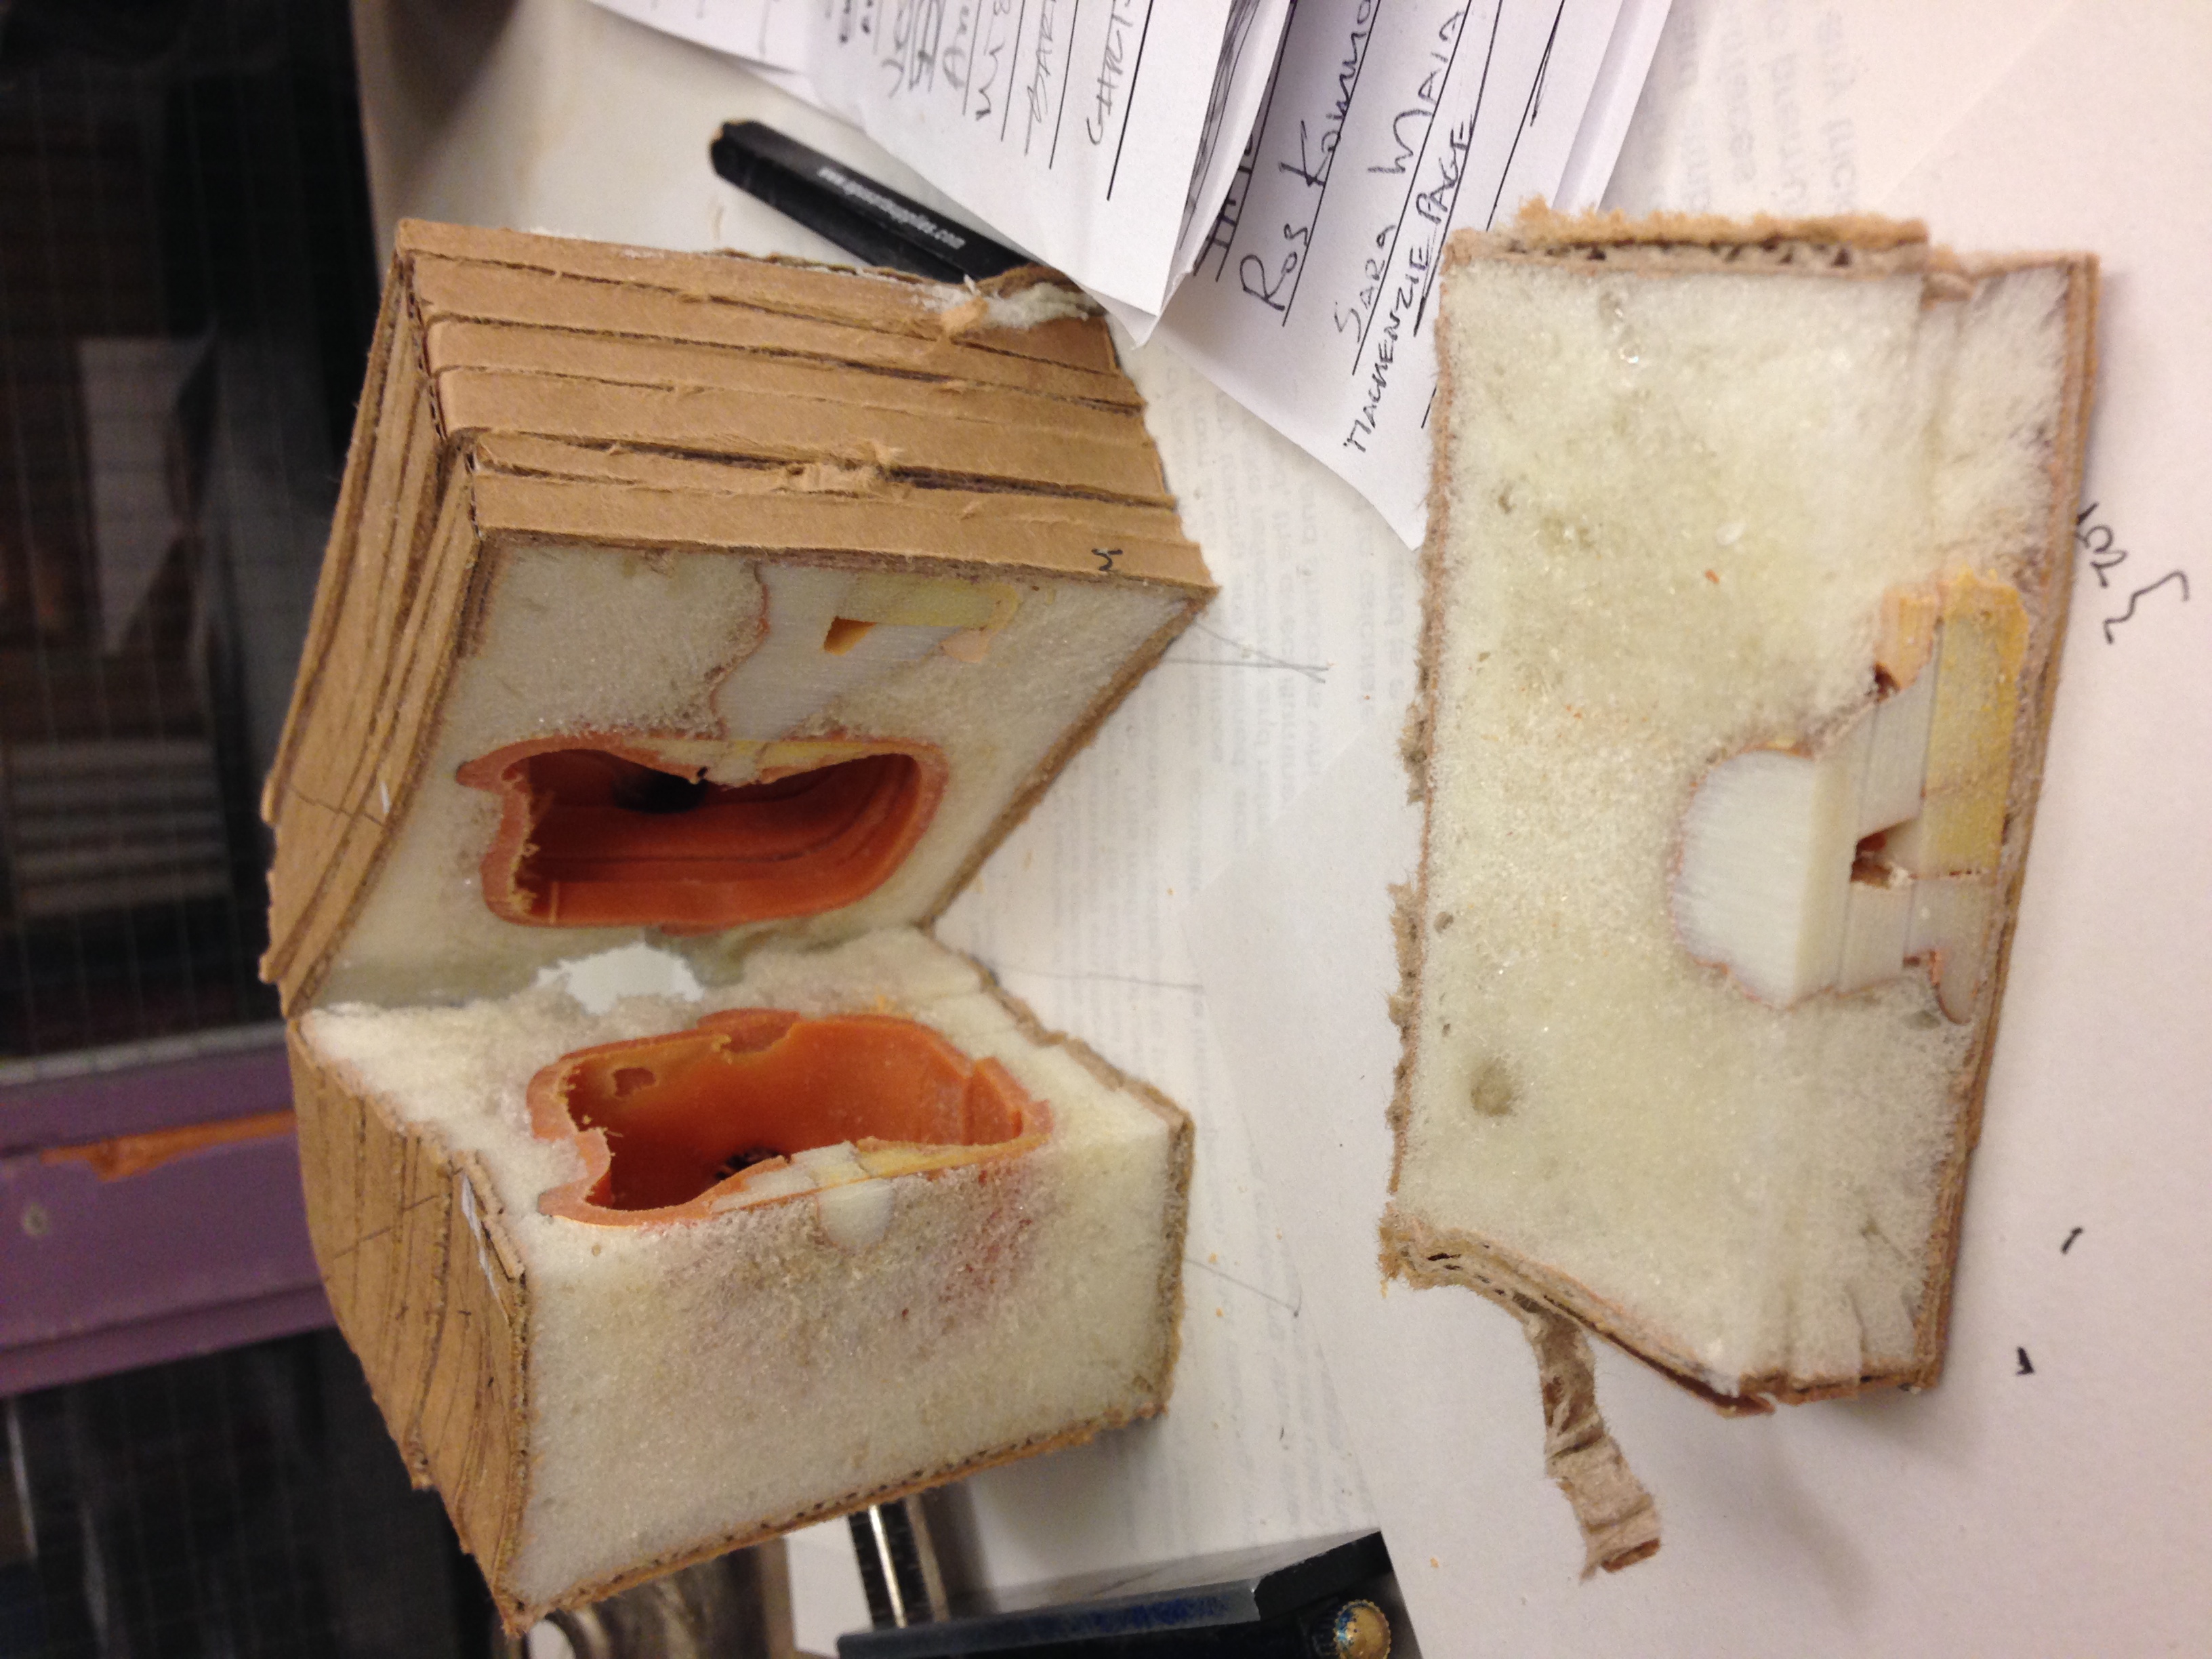
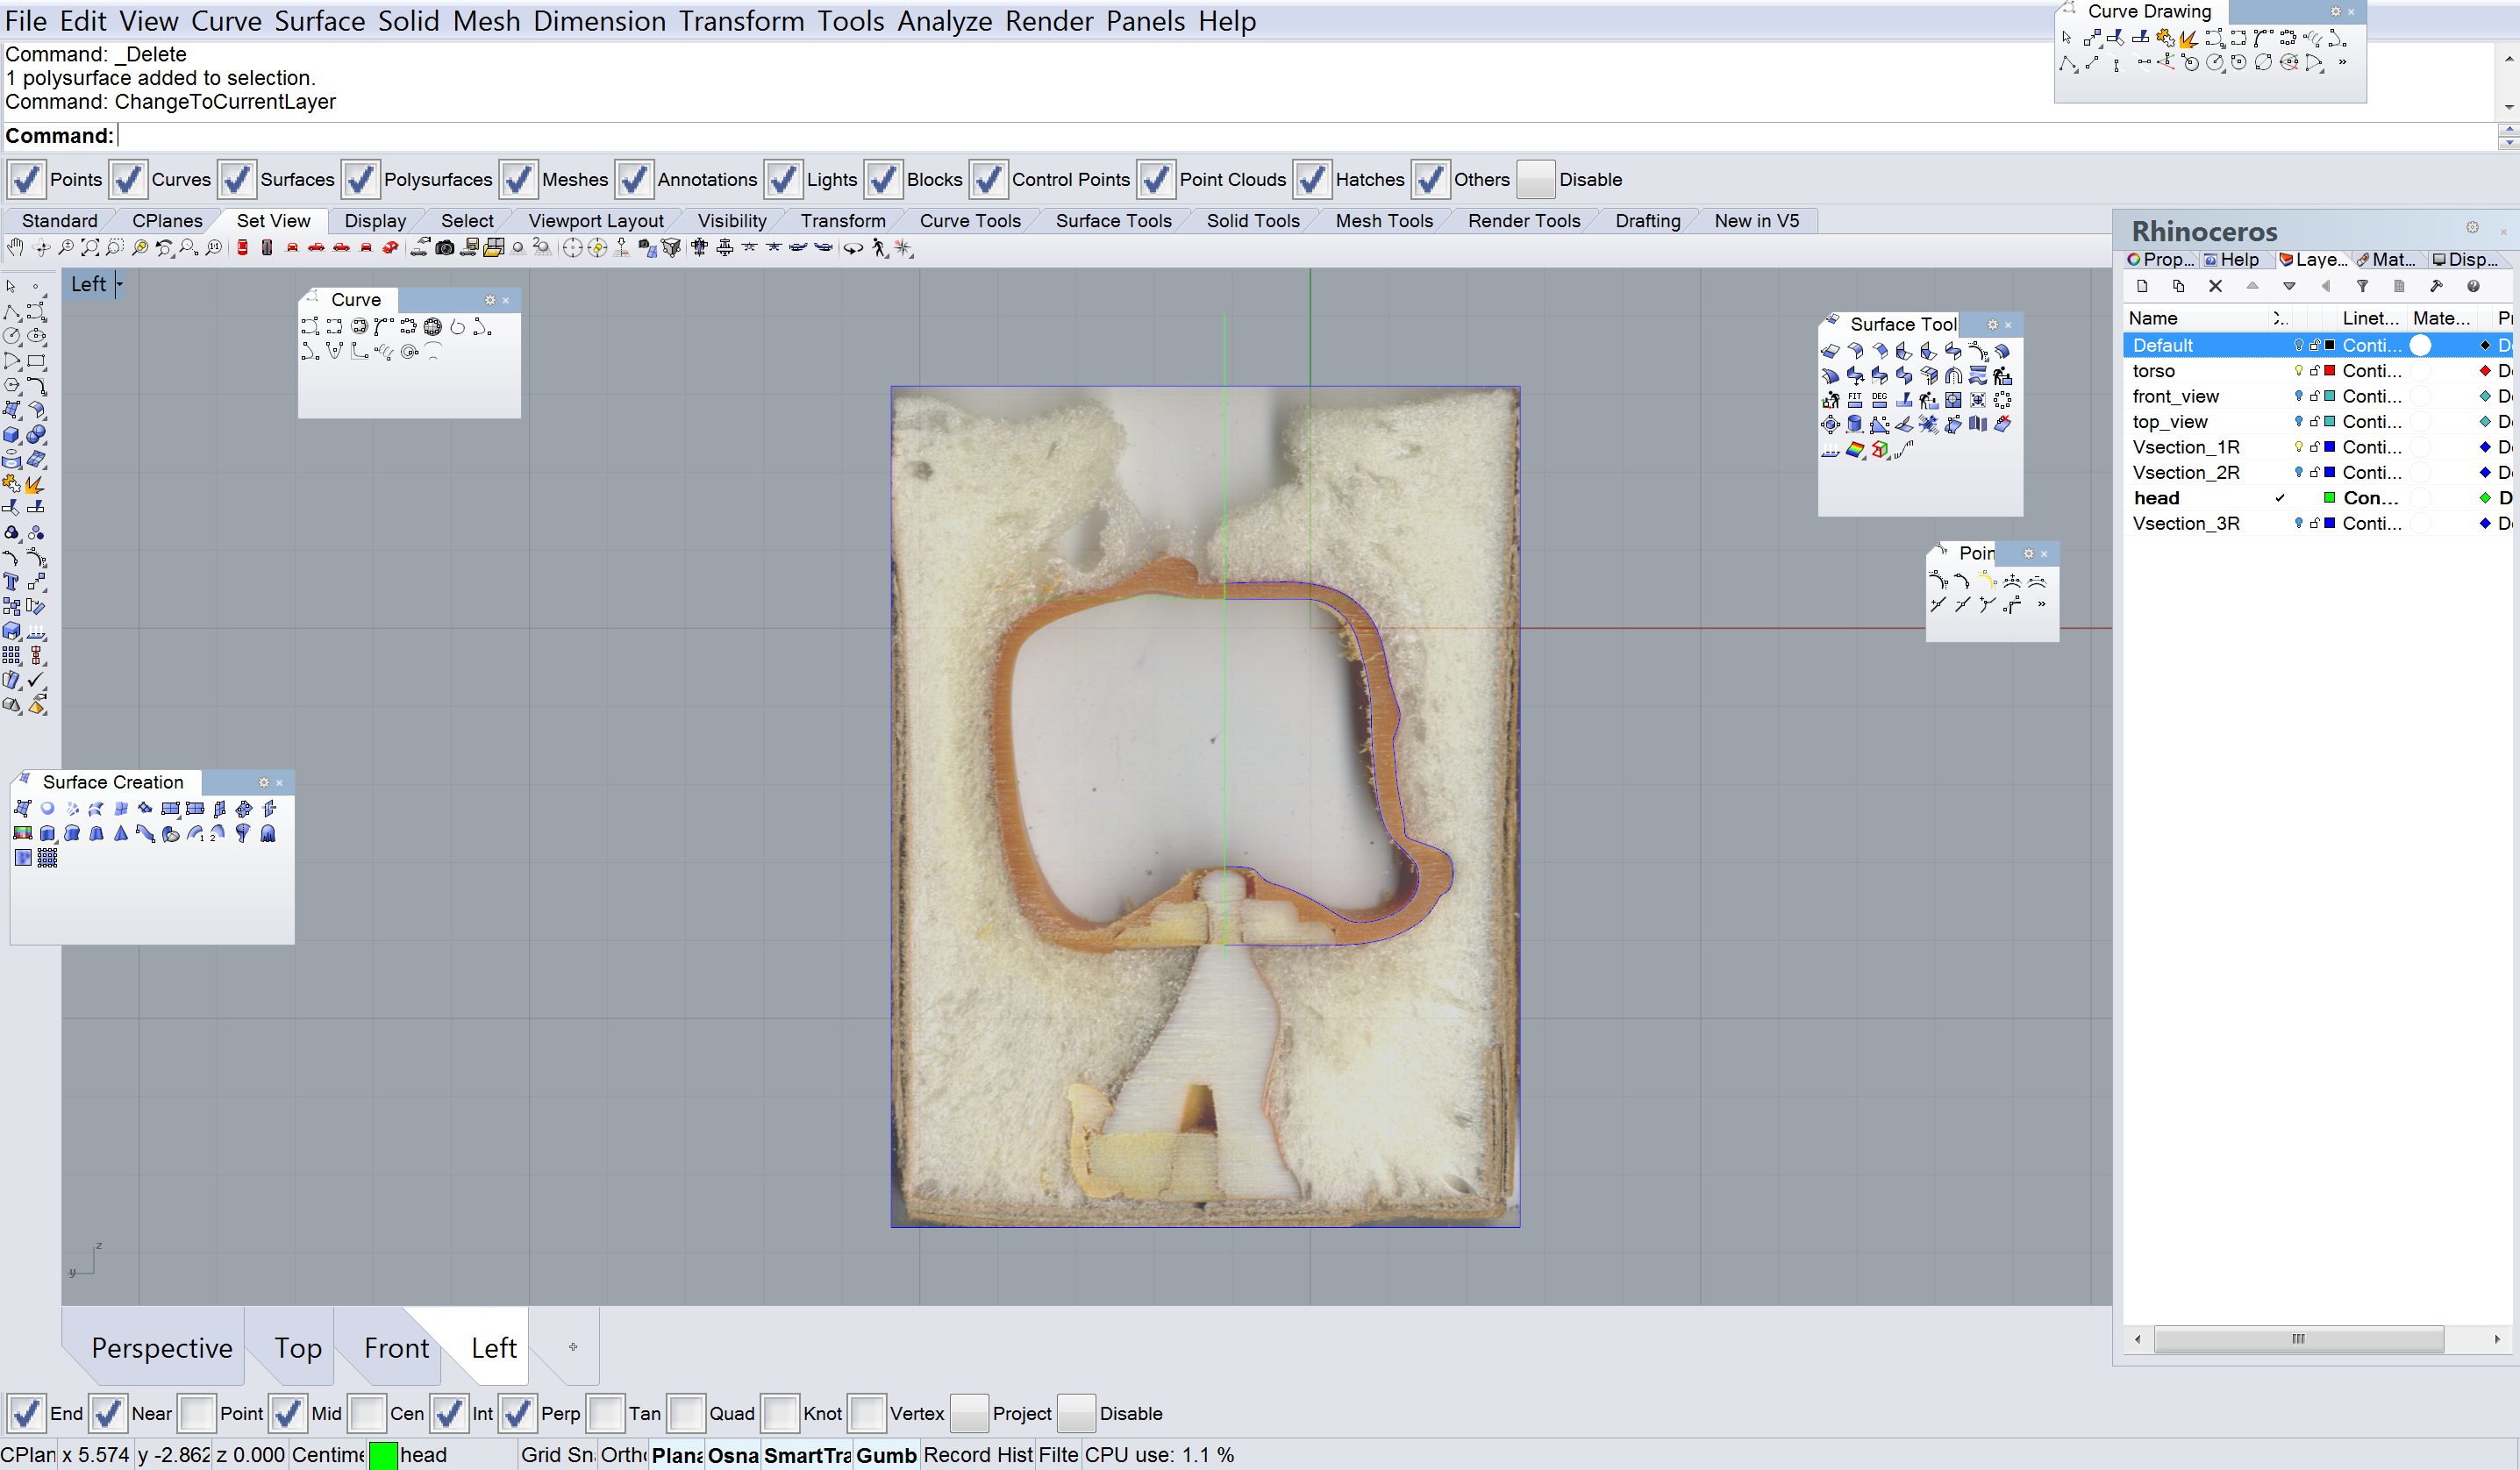
For this project, Jasmine and I have chosen to model Bambi. We began by casting our toy in a small cardboard box using spray foam. We then took it to the woodshop to be cut. We marked off our cut lines on the outside of the box, taking both horizontal and vertical sections.
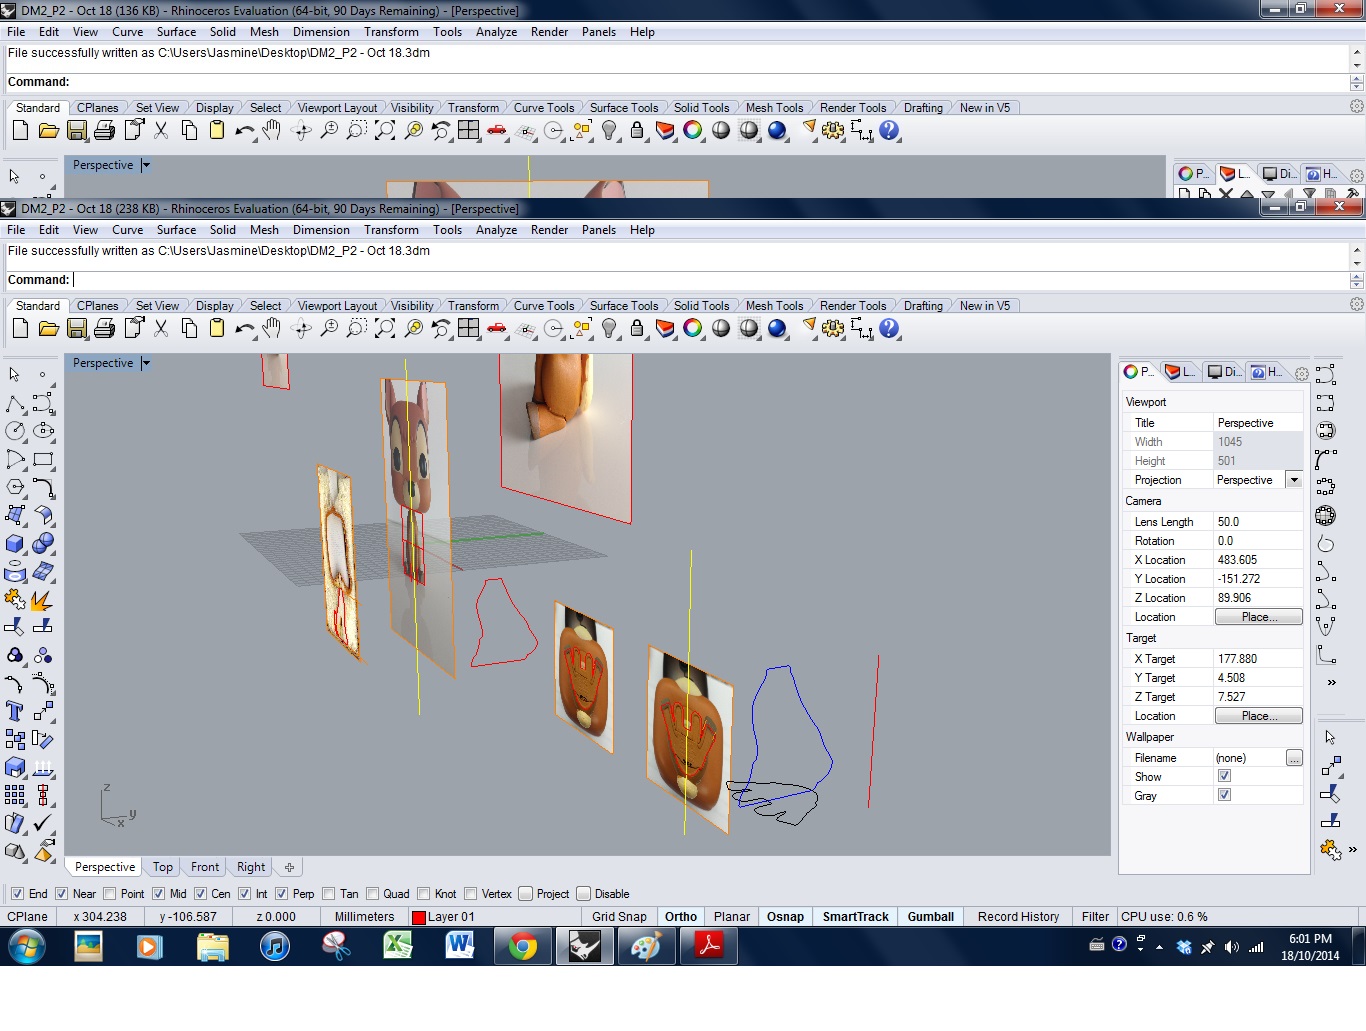
We then brought scanned images of our sections and orthographic photographs of the toy into Rhino to begin modelling. Scaling our images to the right sizes was challenging as our toy has very few flat edges, making it difficult to get accurate measurements. We tried to solve this problem by taking our photographs with a ruler for reference. However, some of our images sizes still seem to be off, so we may need to retake some of our photographs. After scaling our images, we began tracing them to get the general shape of the head and torso. Since our toy is fairly symmetrical, we drew a centre line to divide the toy into two halves. Once one half of the toy is modelled, we plan on mirroring the other half.
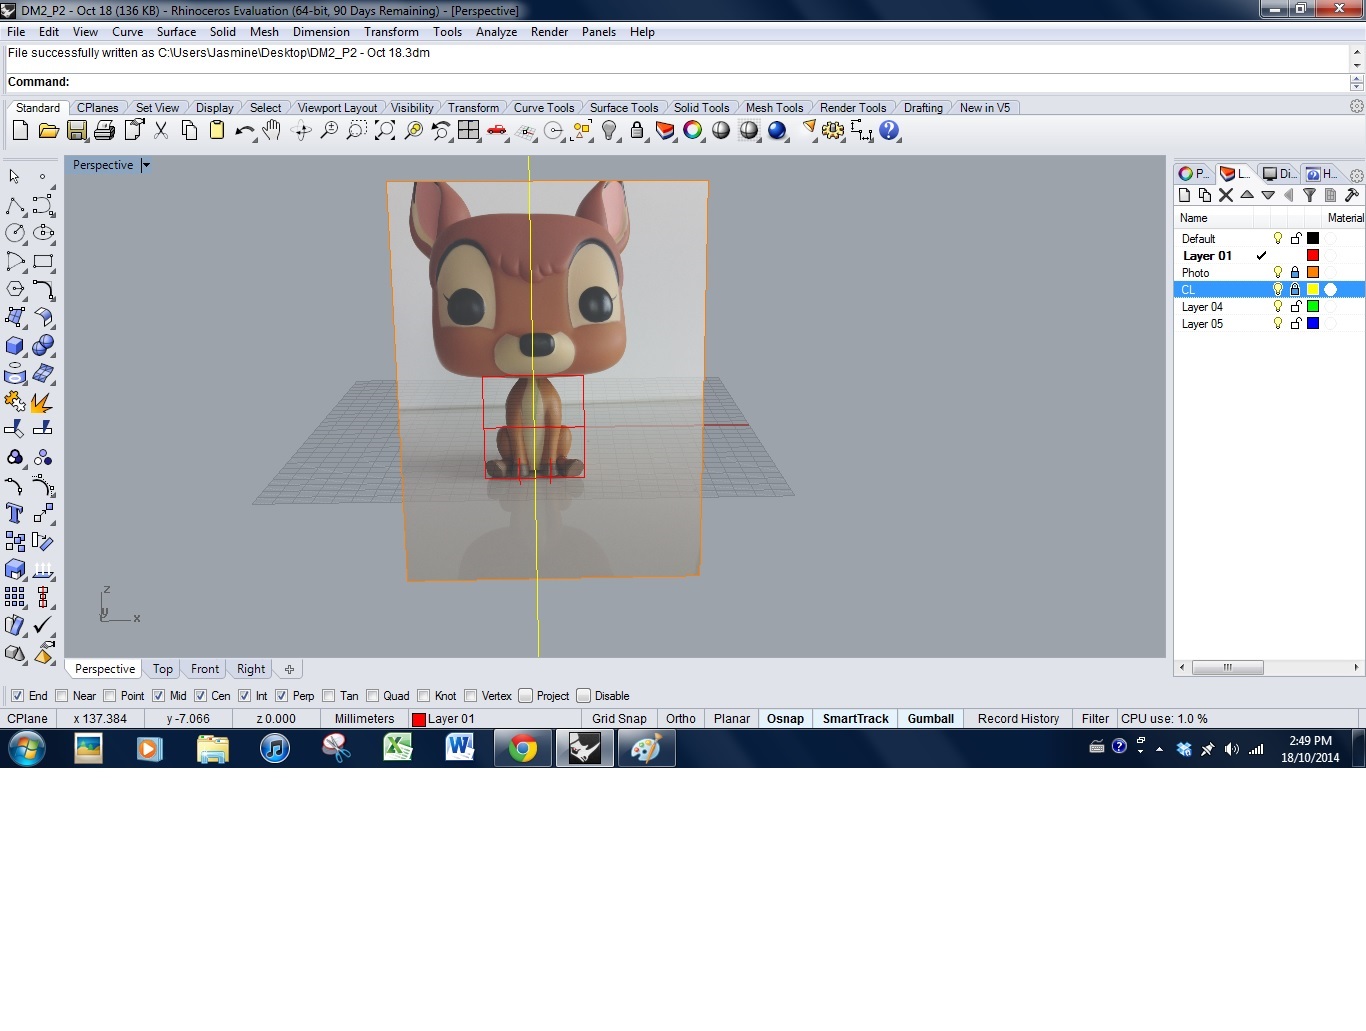
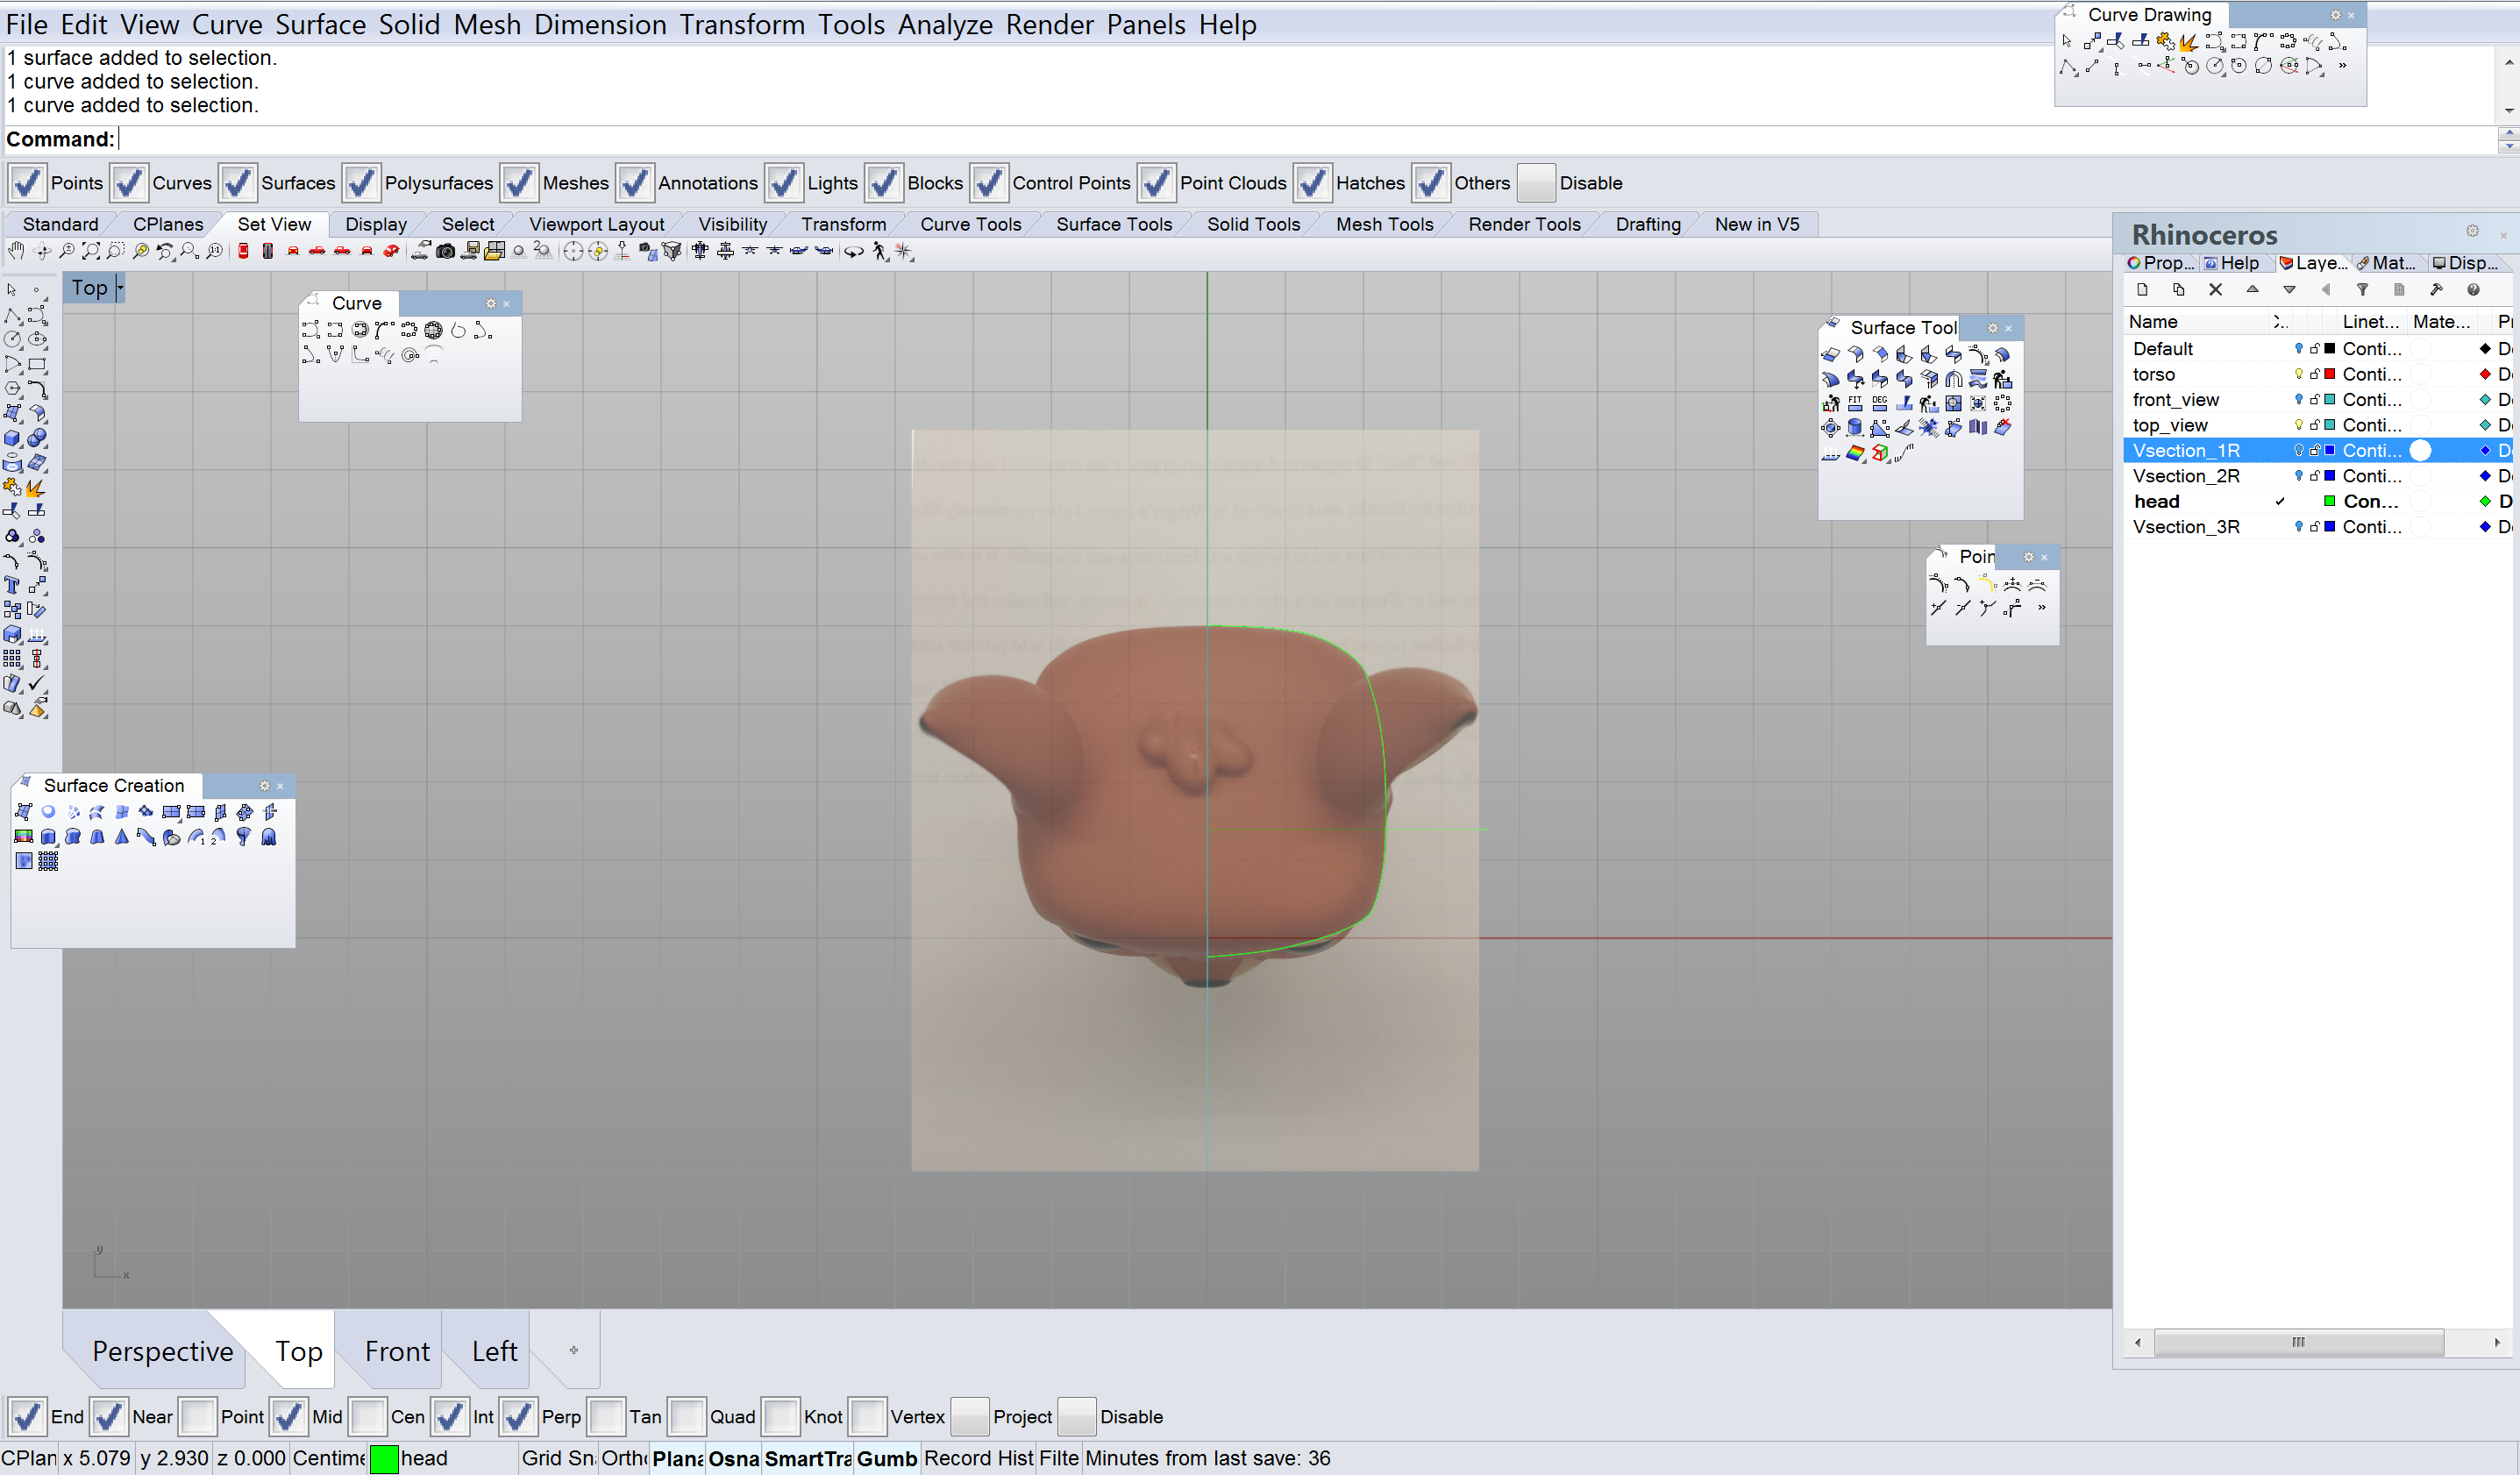
We then lined up the section slices with the photograph of the top view of Bambi’s head.
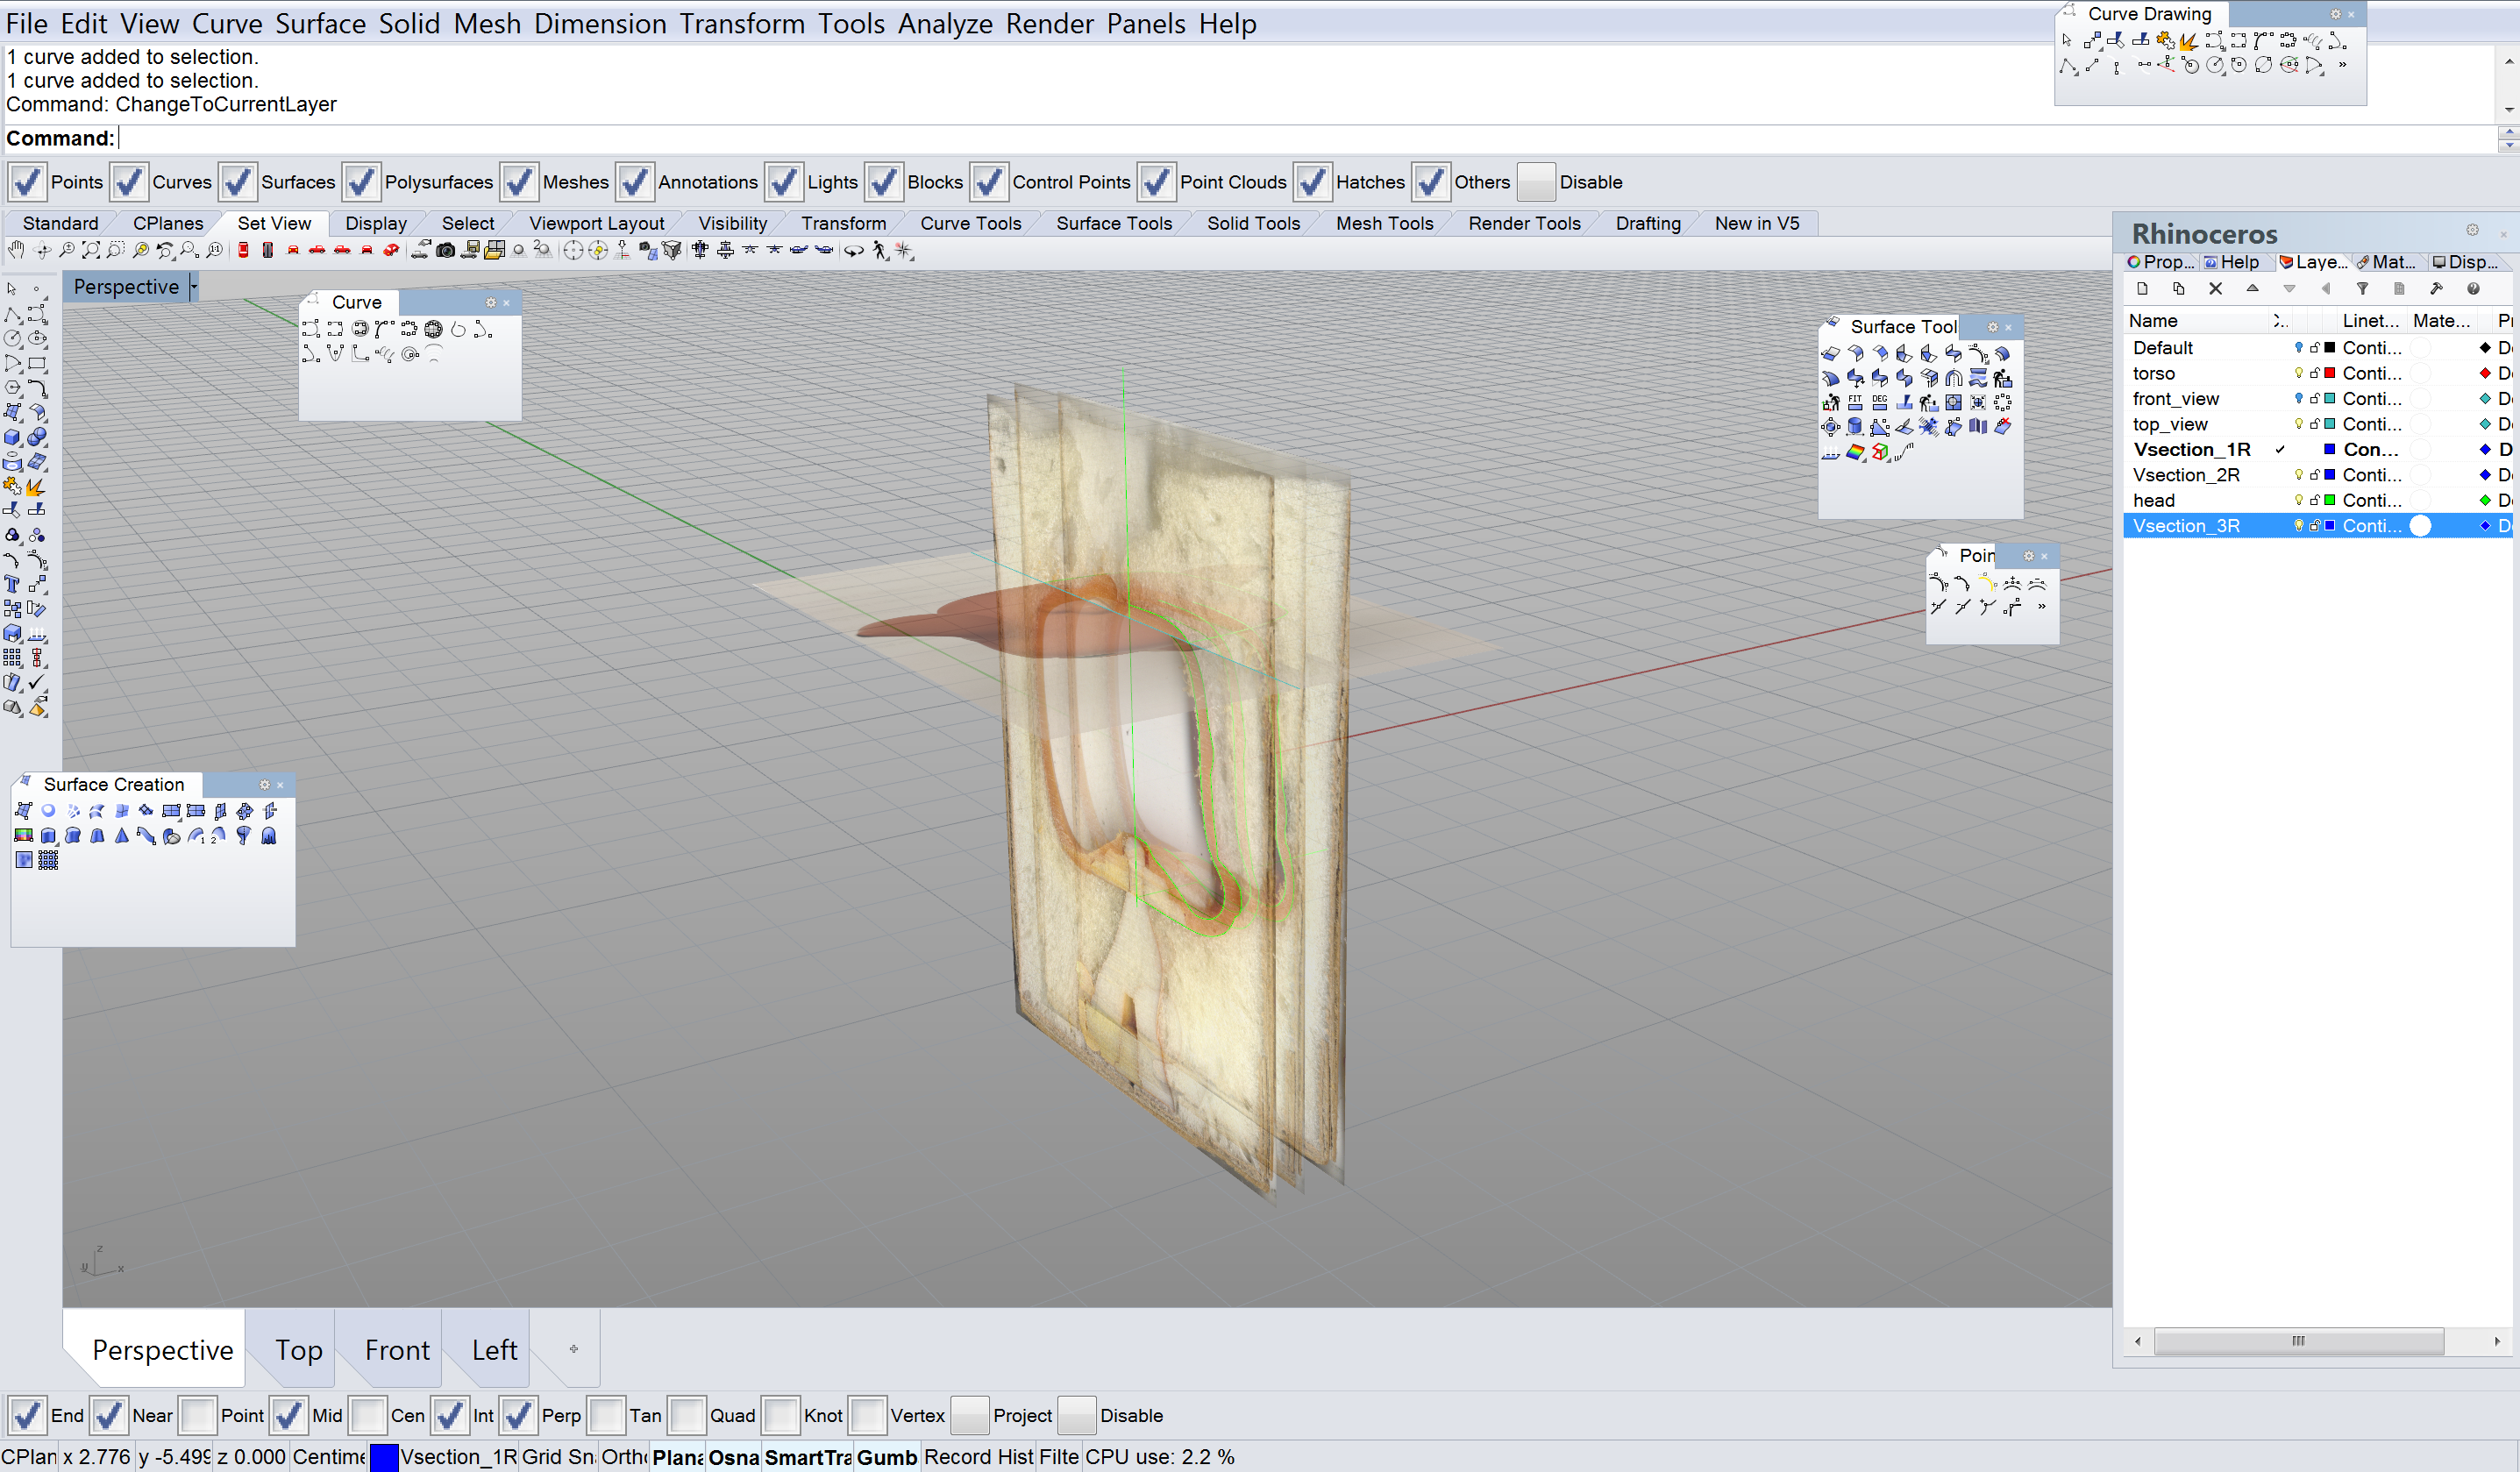
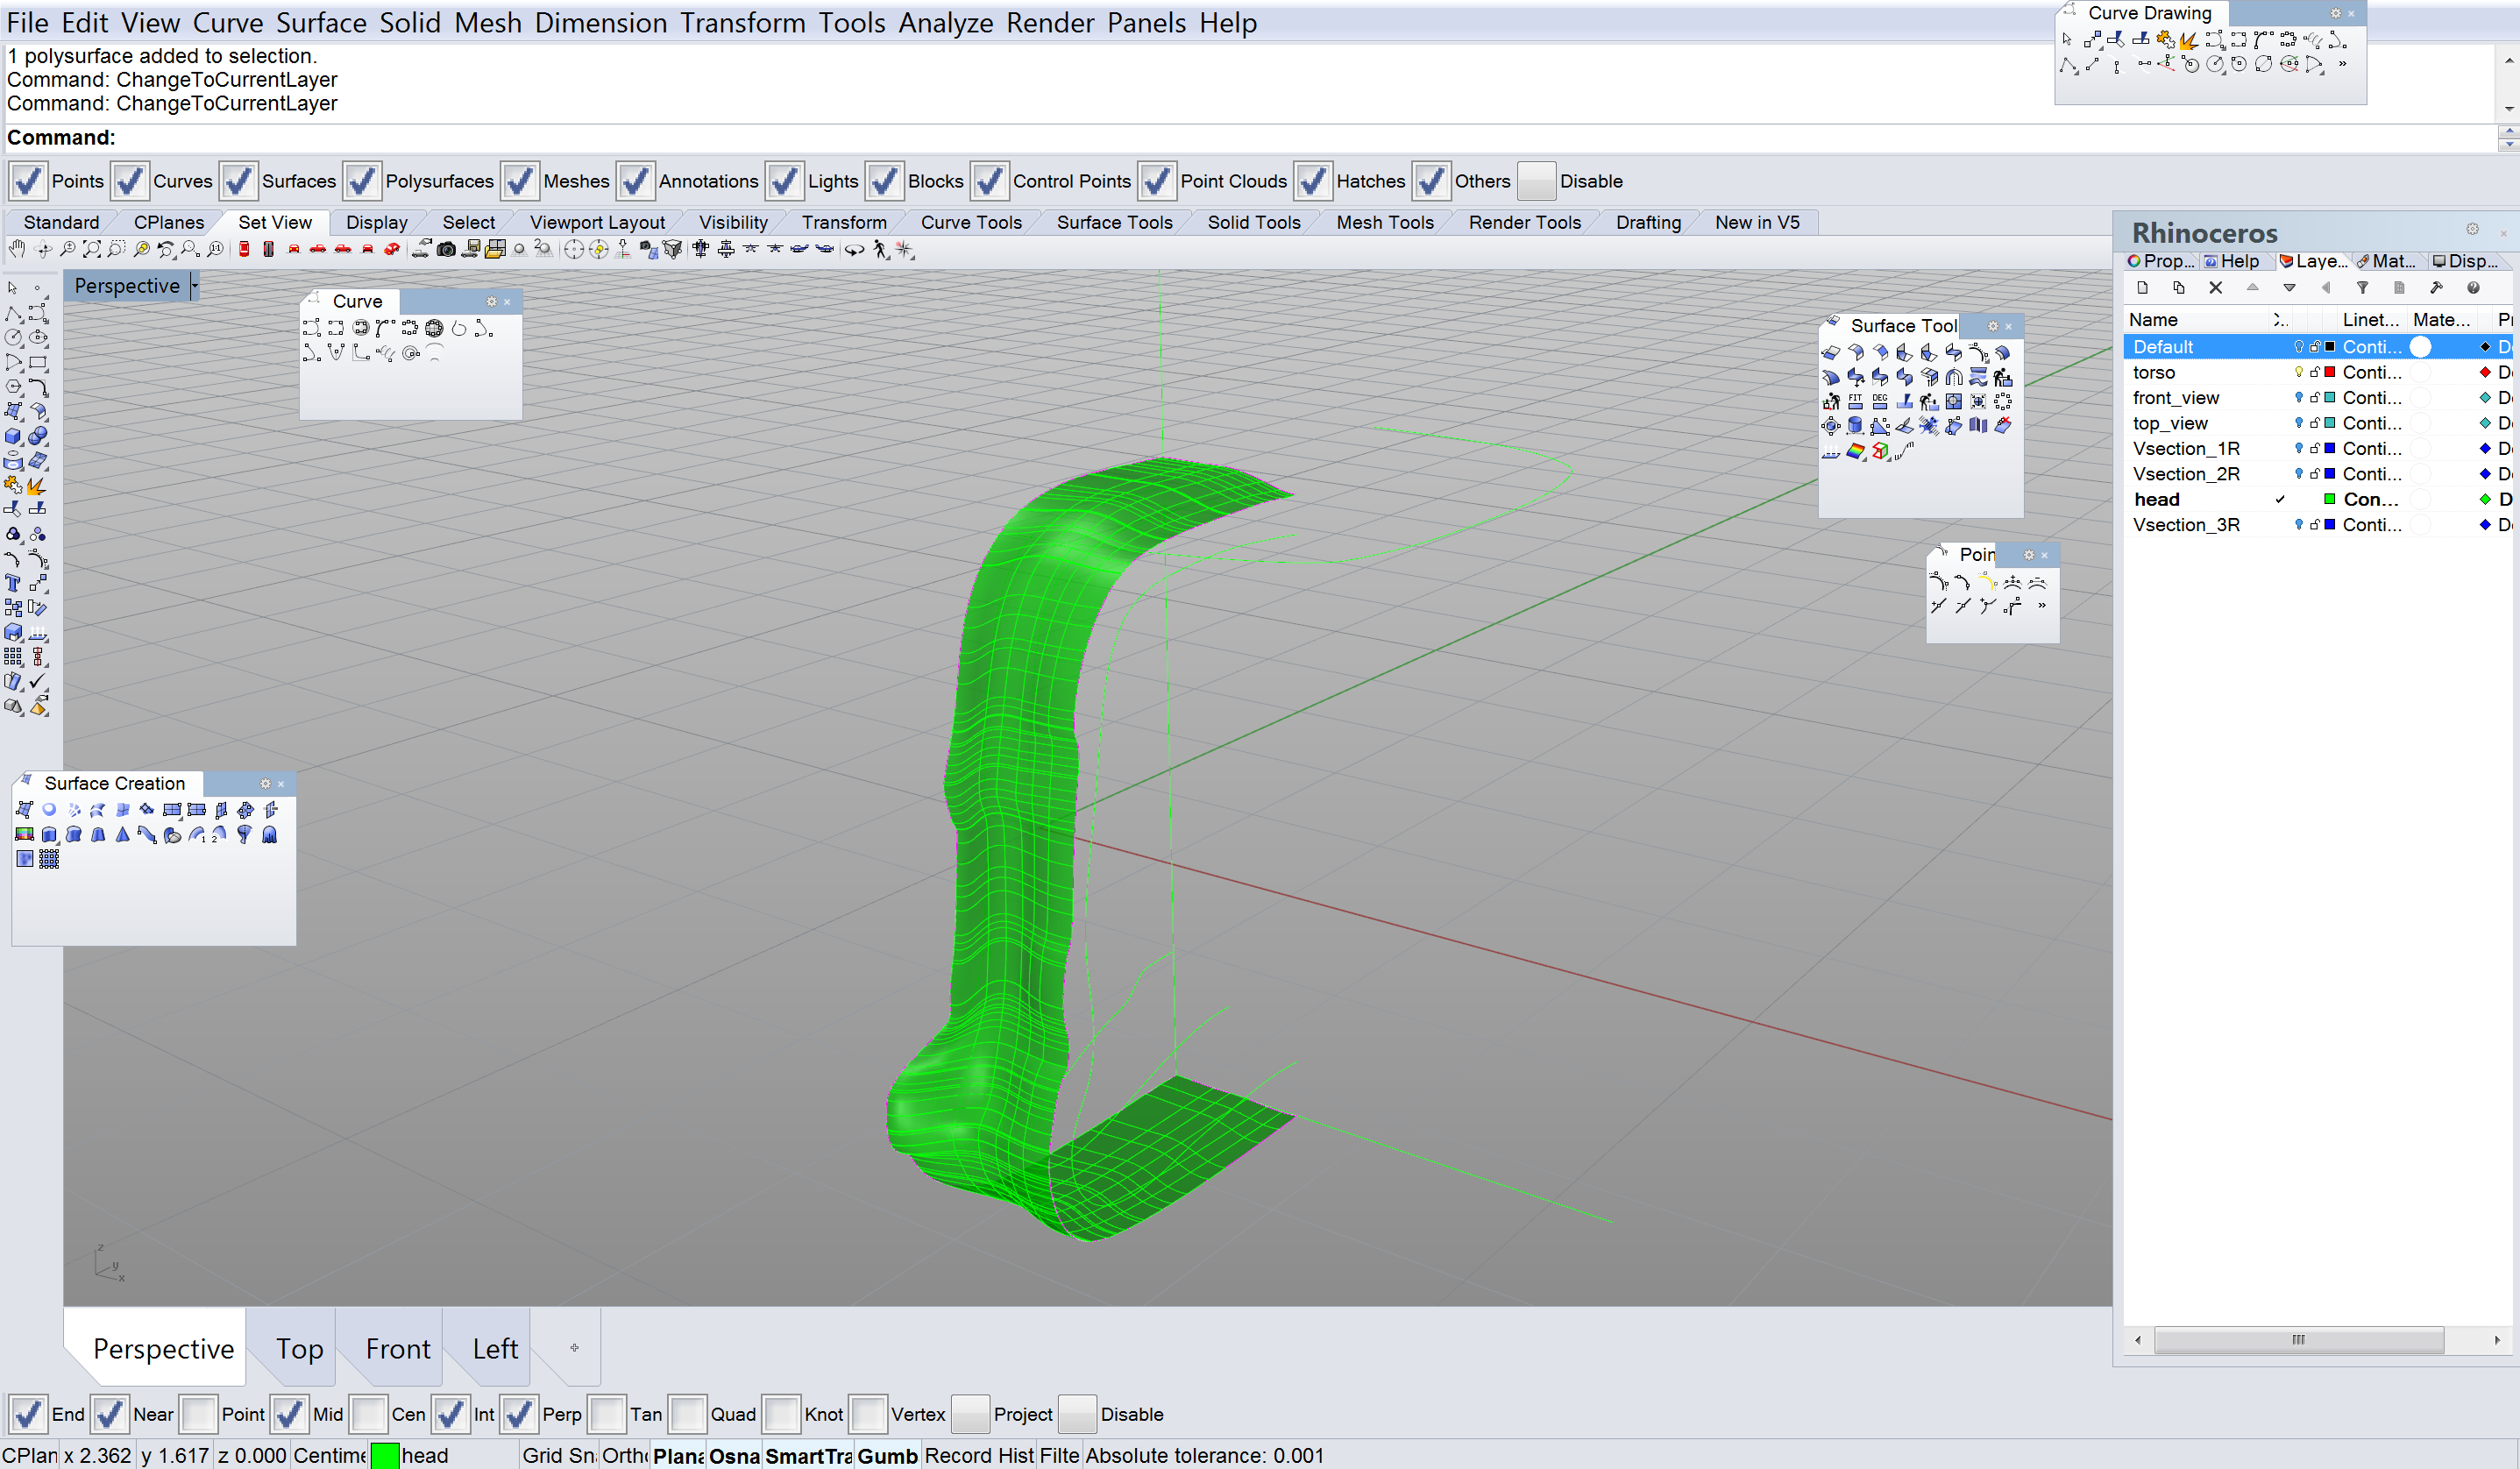
Using a curve traced from the top view as a rail, we used Sweep1 to begin modelling a portion of the head. We will trace out the rest of the sections of the head and will hopefully have the full shape of the head soon.