Darcy Keester + Luis Puente
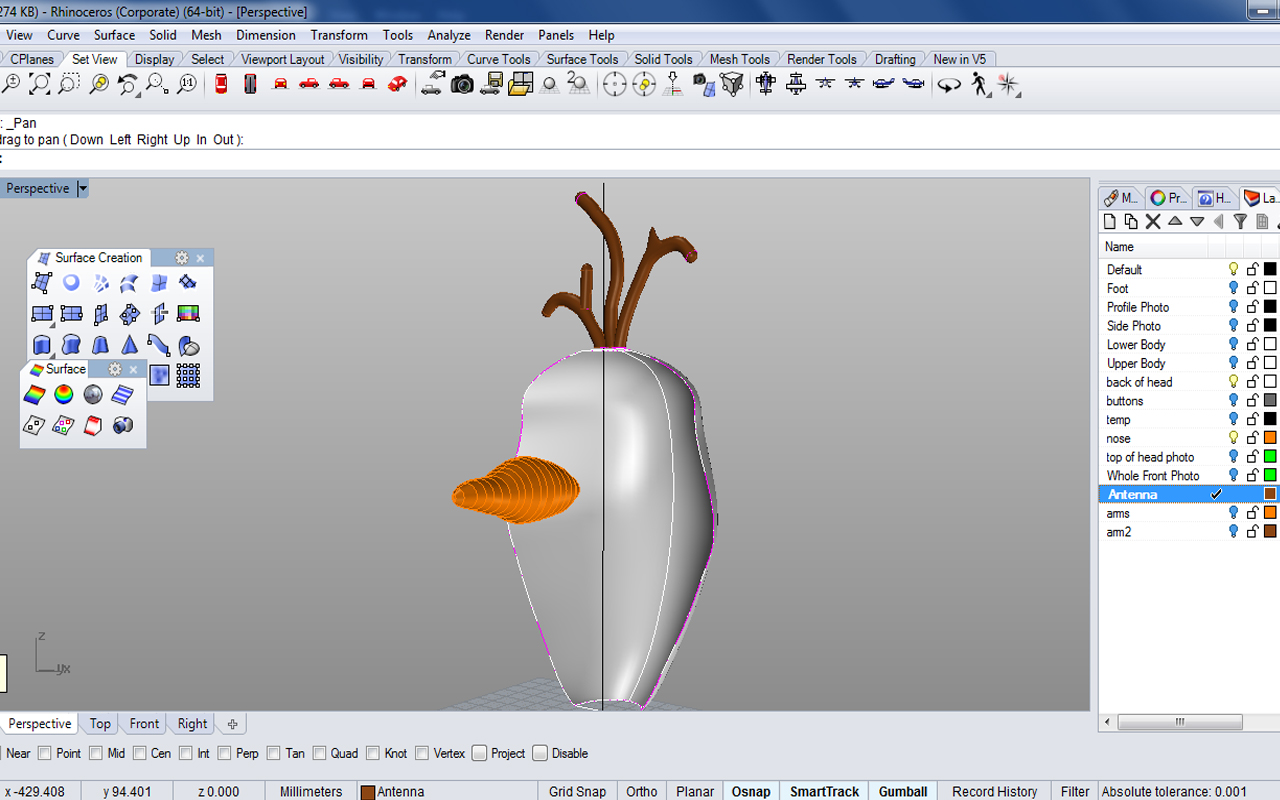
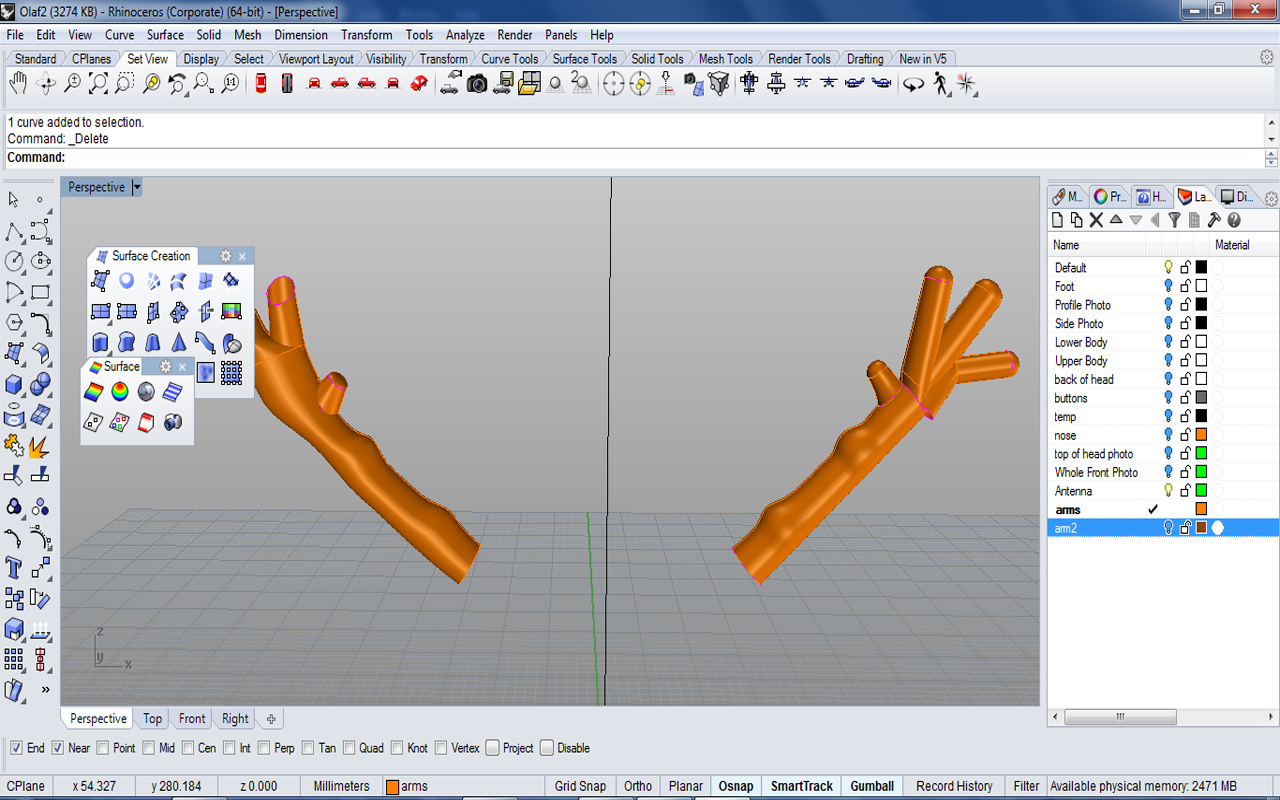
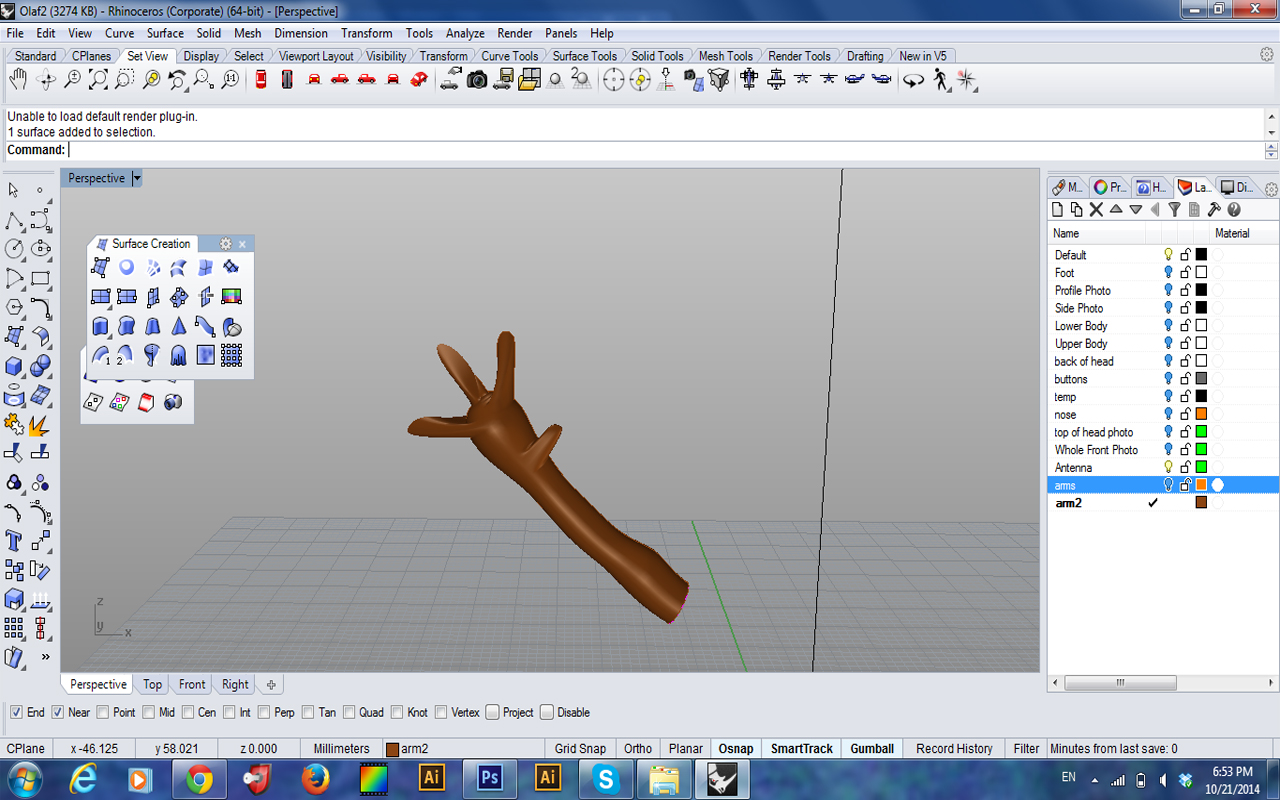
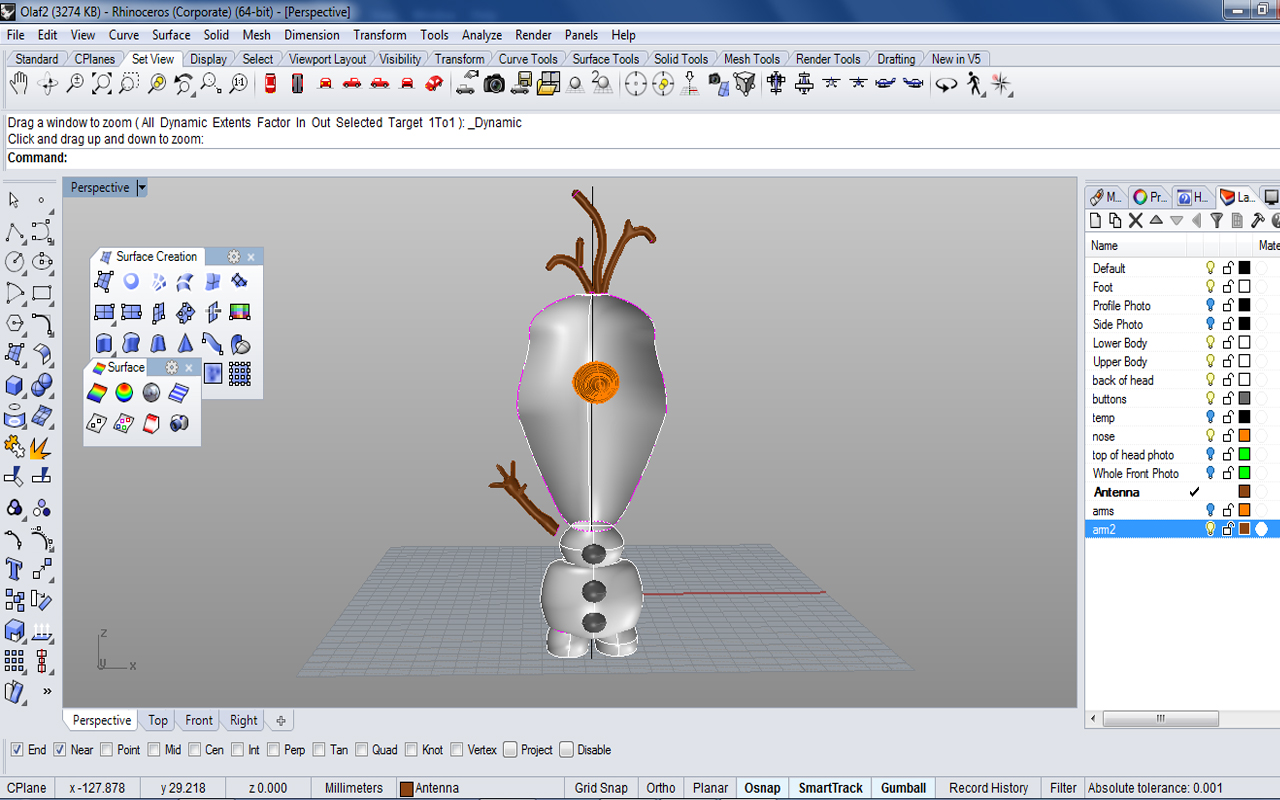
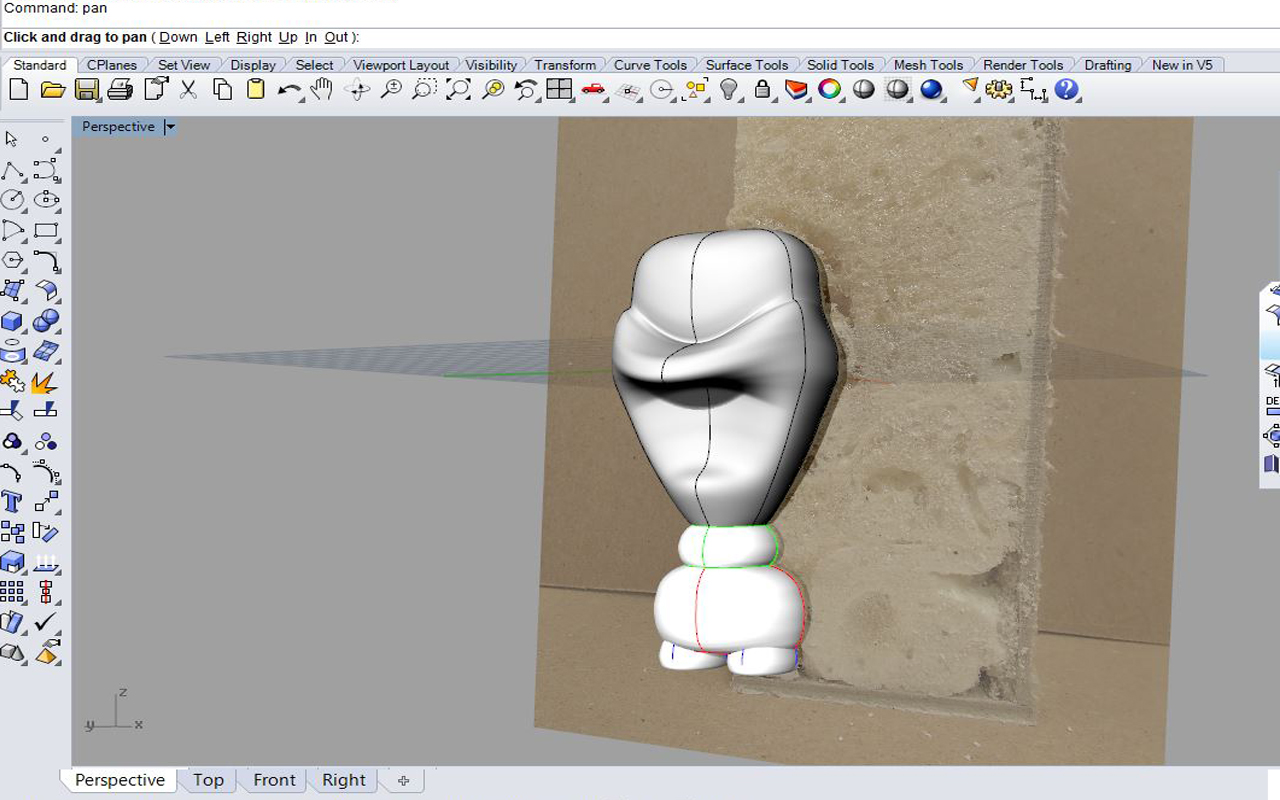
This past week we have tried to model all of the components of Olaf. We first worked on the body last week before realizing our photographs were not very accurate, so we scanned our pieces instead and re-modeled the body. Next we worked on some of the smaller details like the hairs, nose, and buttons (screenshots 1 and 4). Those were done using the sweep and loft commands. We also worked on the arms, which have turned out to be very tricky. Our first attempt used sweep to make the arm and then another sweep to make each finger, which as you can see from the screenshot (#2) below turned out looking not so great. In our next attempt we used only one sweep to get the arm then played with the control points to make each finger (screenshot 3). The trickiest part now is modelling his face. We made a first attempt, as seen below (screenshot 5), using a curve network with curves on the front, two sides, and two in between on his face. However, we decided we need more cuts to our model to more accurately make this part. So we are going to try two different methods of cutting it, since we already have scans of our cuts we figure we can do that to see which one works better. One method will be similar to the idea of getting those curves down his face, like our first attempt, and the other will be to make horizontal cuts along his head. Besides that our next step is to figure out how to put each piece together and how to make it “solid” so it can be printed.