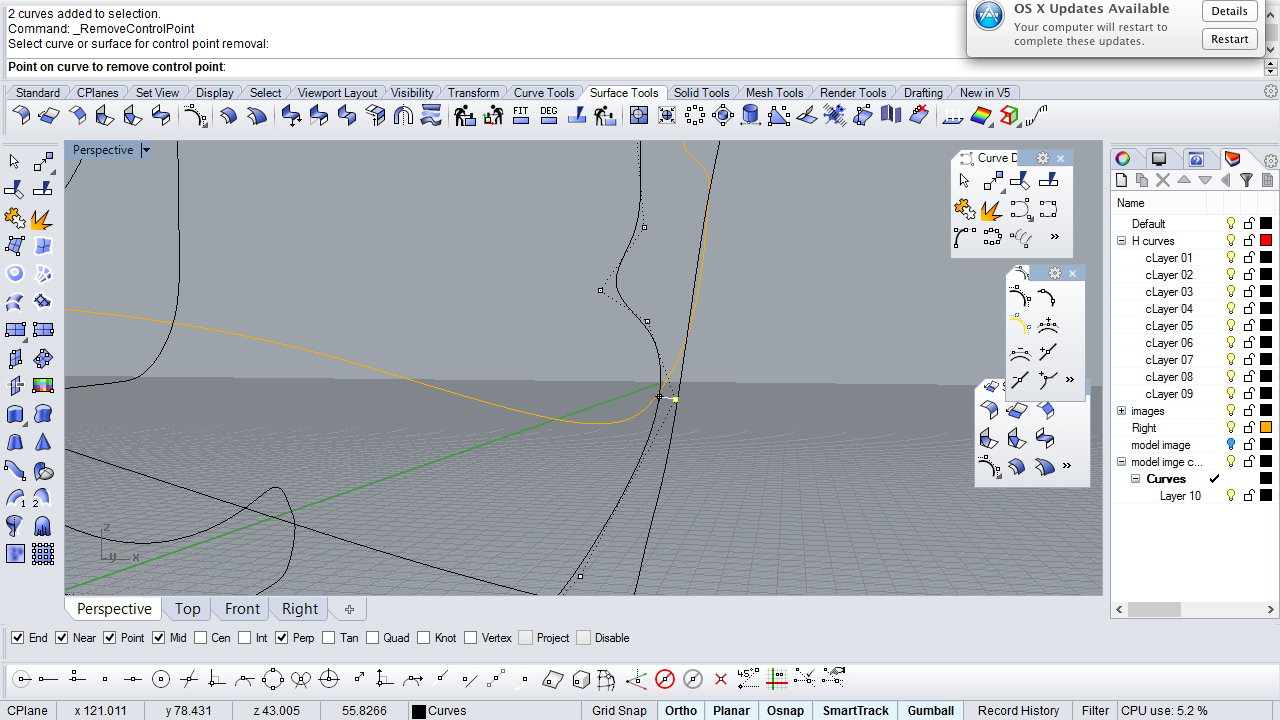
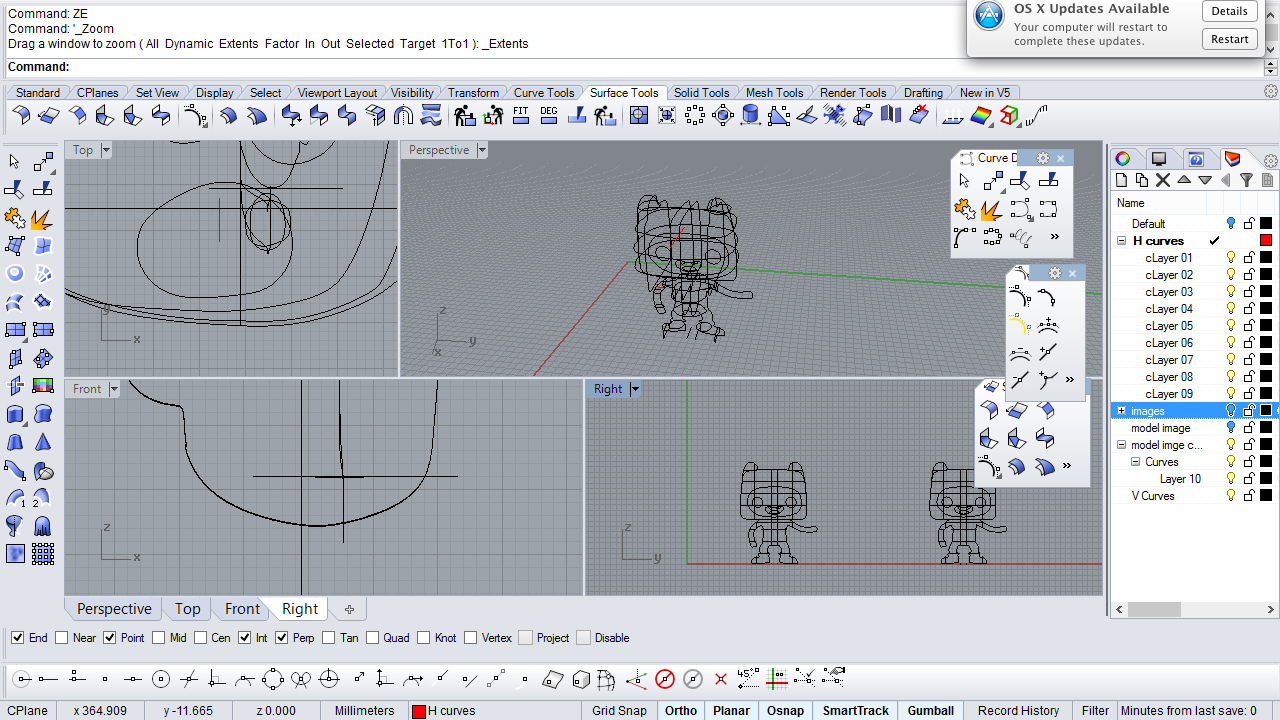
This week I gained a lot of practice with three aspects of digital modeling. The first was learning how to decide when to sculpt my form with control points and when to create more defined edges using boolean union. One challenge I came across that helped me understand the usefulness of control points was learning that our toy itself is so fragile that it caved in on itself during the slicing process and as a result, gave some inaccurate curves that needed to be eyeballed during the tracing process. I used control points with the o-snap on ‘point’ and ‘perpendicular’ to make sure that horizontal and vertical lines cmd in contact with each other so that the wireframe model aligned.
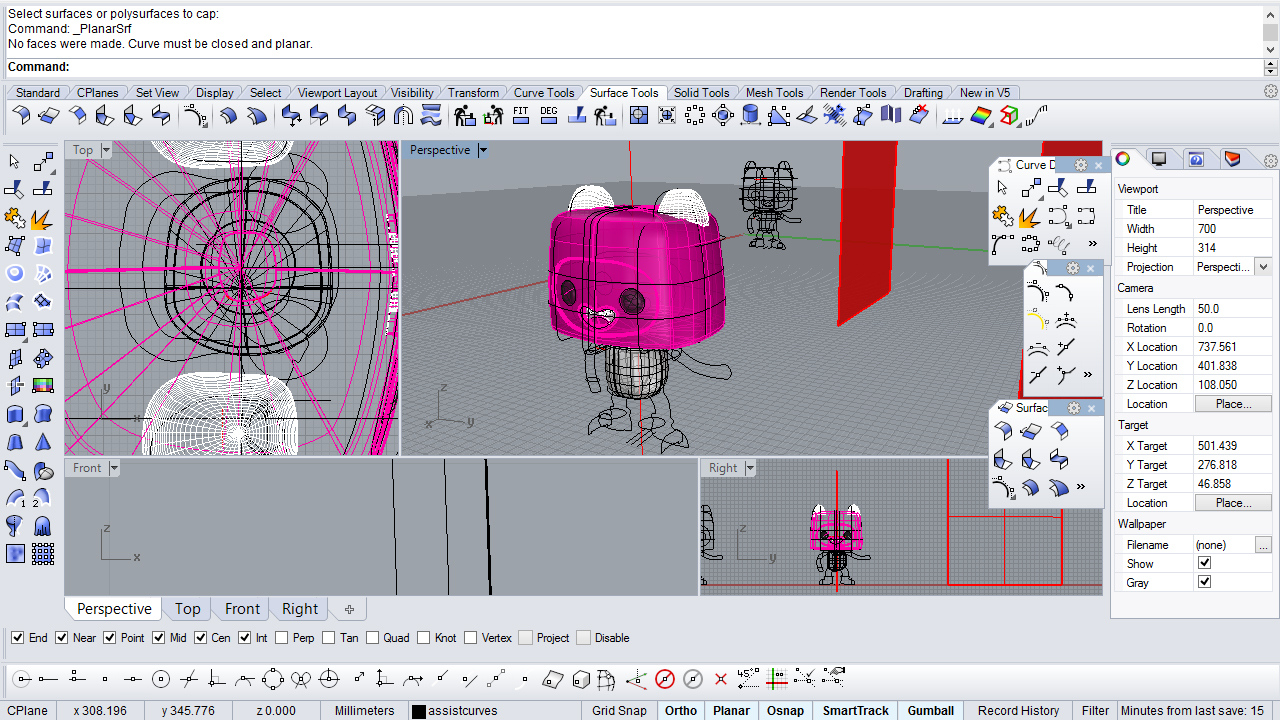
The boolean union command came up when it was time to attach the ears. I noticed that the ears on my model have a very defined edge at the head and I wanted this to happen in my 3D model as well. The second command I learned to master this week was rail revolve. I sculpted both the head and the ears using rail revolve and joined them using boolean union.
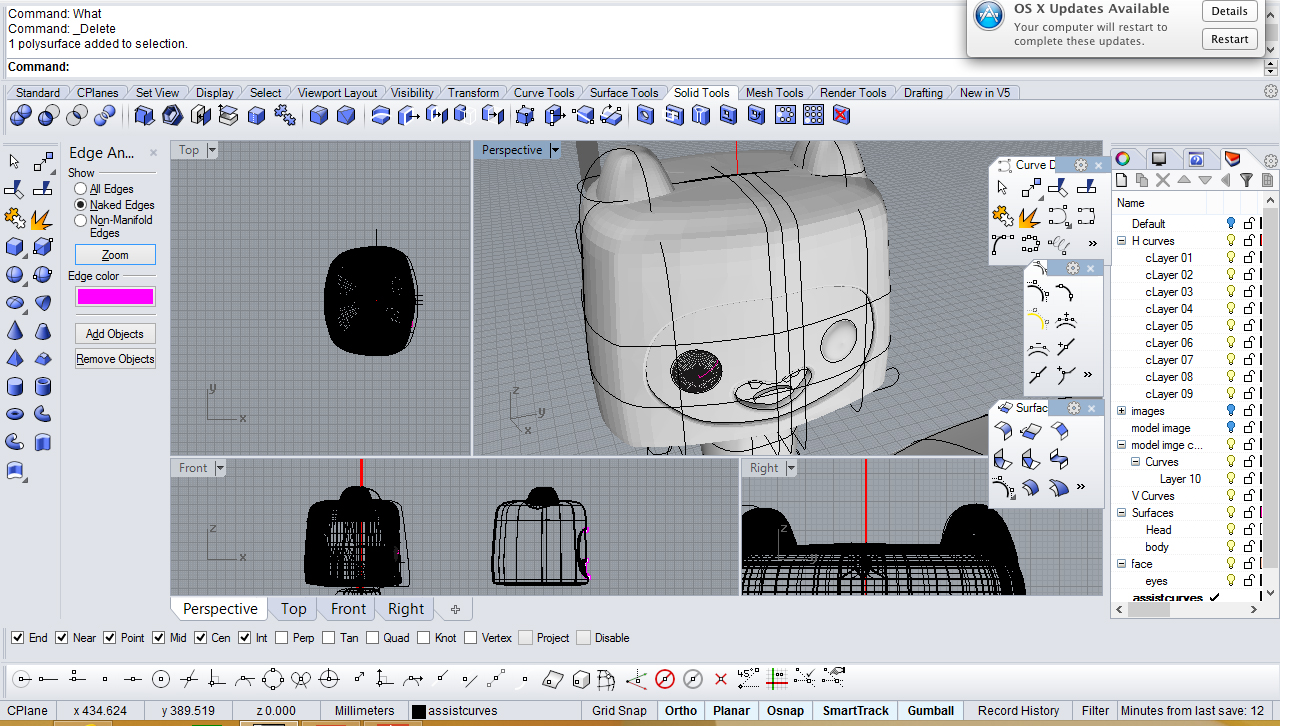
The final command I mastered this week was ‘project’. In order to sculpt the face, I projected the curves of the face onto the rail revolved head and created a variety of surfaces to form the teeth, tongue, lips and face. I used revolve to create eyes. In order to make these edges a bit smoother, I used the fillet edge command on each of the edges of the facial features. Unfortunately, due to problems with the fillet tool, I experienced a series of small holes in the face of my model. I experimented with making a mesh and filling the holes. This experiment was successful in closing the gaps and forming a solid, but created a ‘disco ball’ effect on my model, creating a series of flat surfaces rather than a smooth continuous surface. My current goal is to troubleshoot this issue and move on to the arms, legs, feet and backpack.


