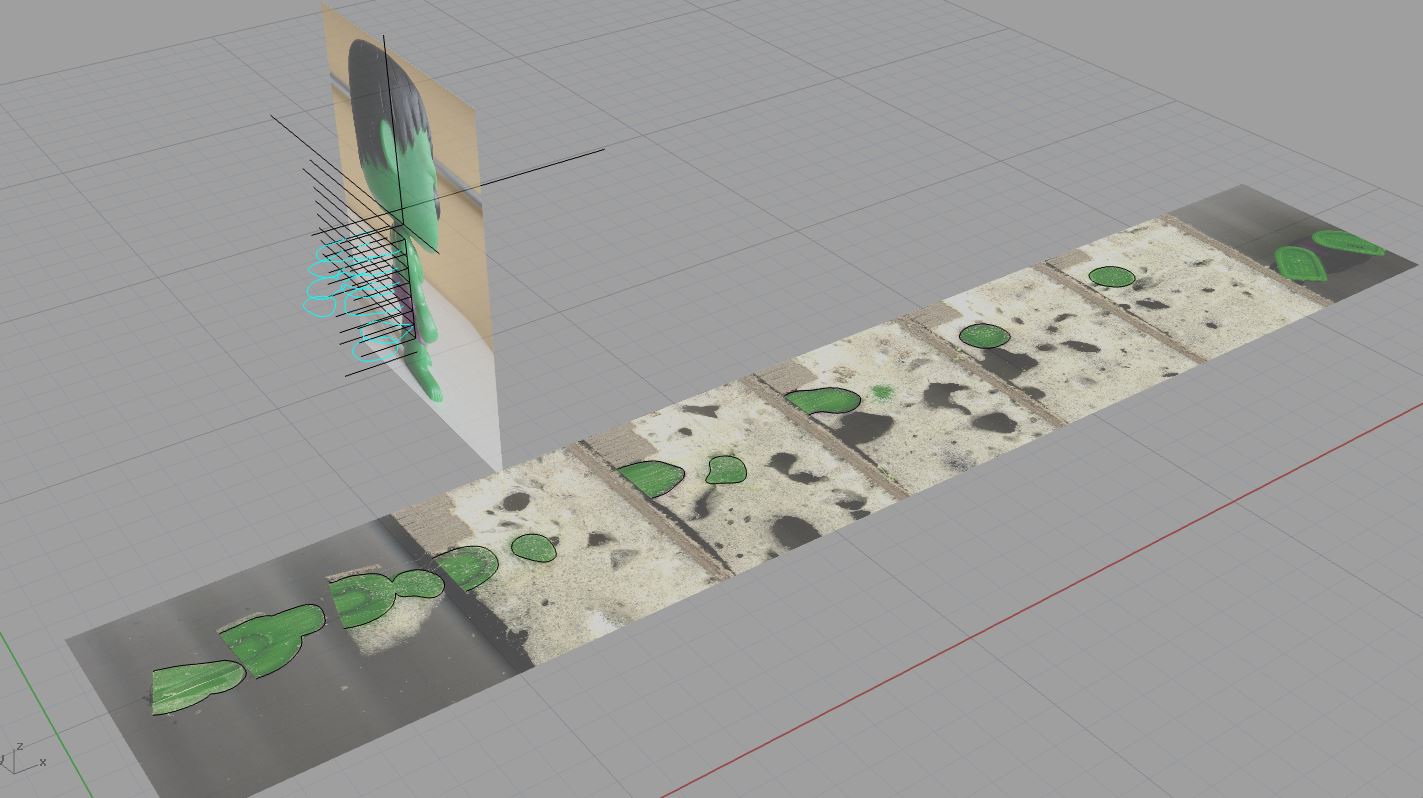
I began the construction of the head by experimenting with a variety of different methods to create curved surface from our section cuts. As seen below, I tried lofting, revolving and network surface. Although it is tricky to build the curves so you get any surface at all let alone an accurate representation, I had the best results from network surface. I continued to build my model from that technique.
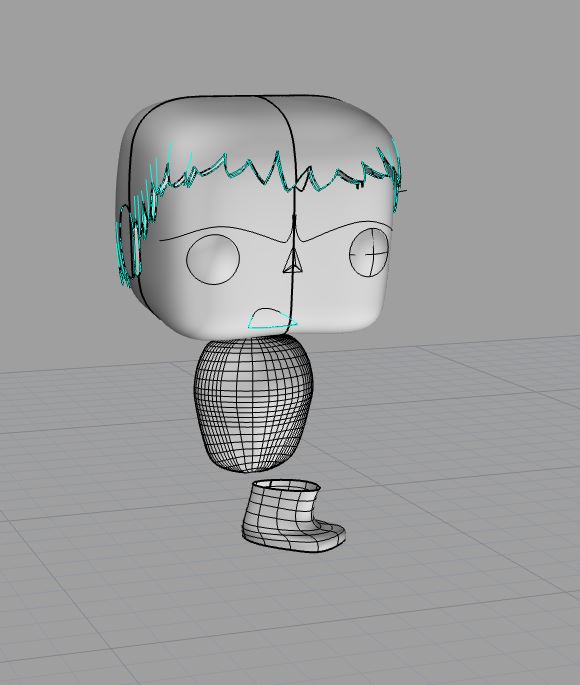
From my sections and elevations, I traced the image and projected the curves onto the surface of the head. Then I experimented with different ways to model the hair on his head. First I modeled every strand of hair using my new found tool, network surface. It created an appealing result because it really got the volume and shape of the hair. But I realized I was getting too detailed and was working on a scale that was too detailed to come across in the printed model. As a result, I used the projected lines to split the head into hair and face and scaled the face down to create the hair line. Then, I added the facial features using shapes.
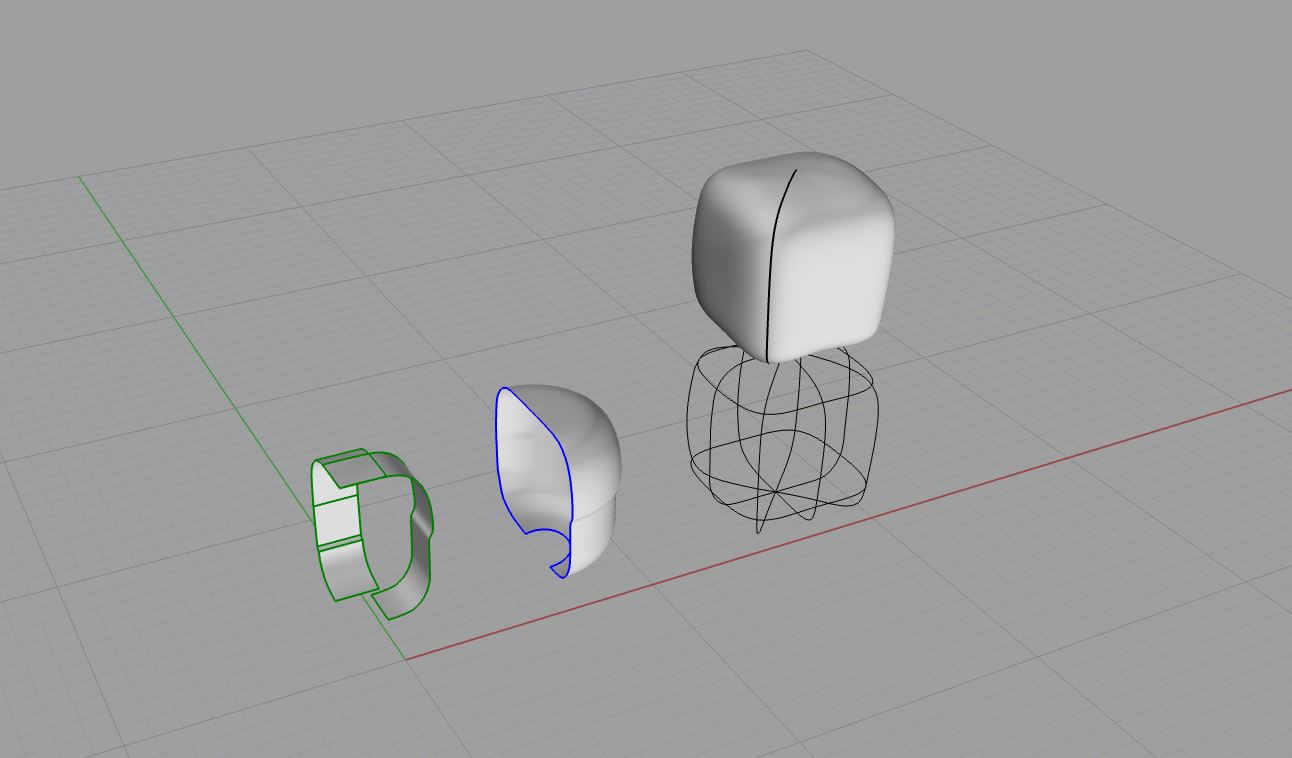

Continuing with more section cuts the team and I created, I was able to create the torso and the legs using Network Surface. The section cuts did not play a major role in my final product but it did help me make more sense of the shape I was making.