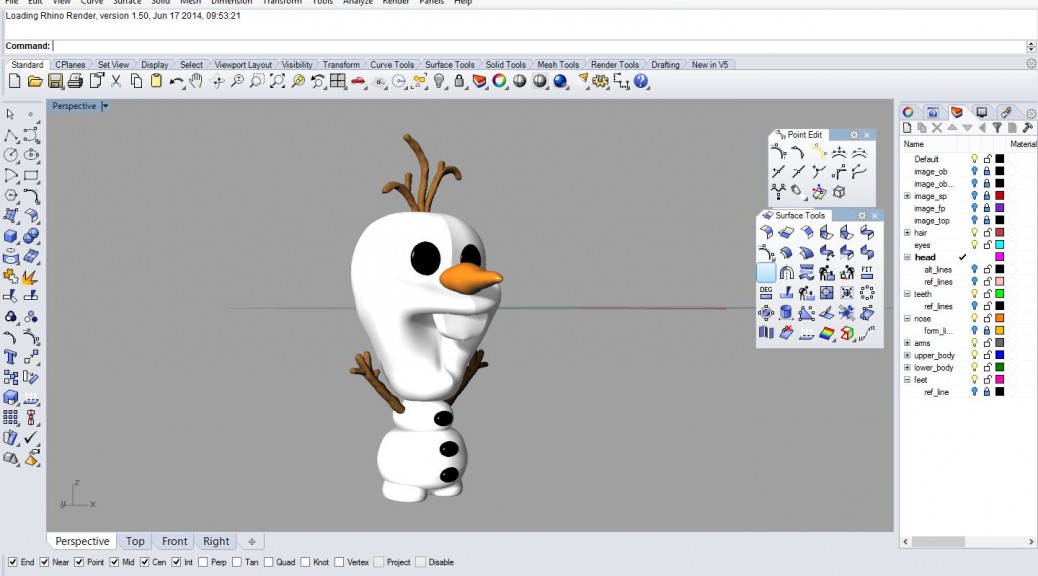
This week Darcy and I worked on modelling the face which required a variety of attempts and methods to accomplish. Using a curve network and then editing control points to shape the smile and correct the volume was one method. In order to get both sides of the face to be symmetrical, One half of the face was modified and then mirrored.
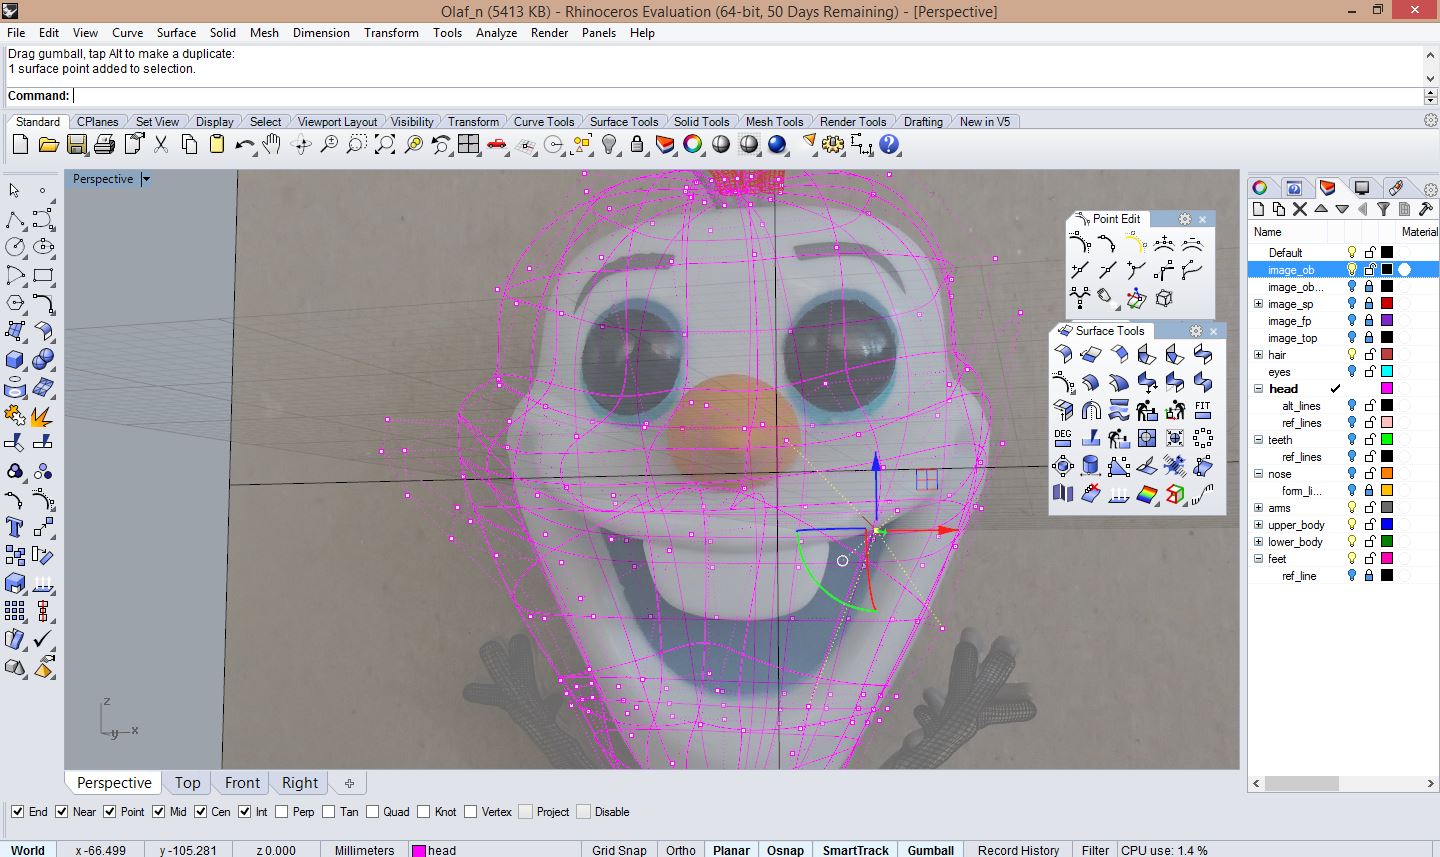
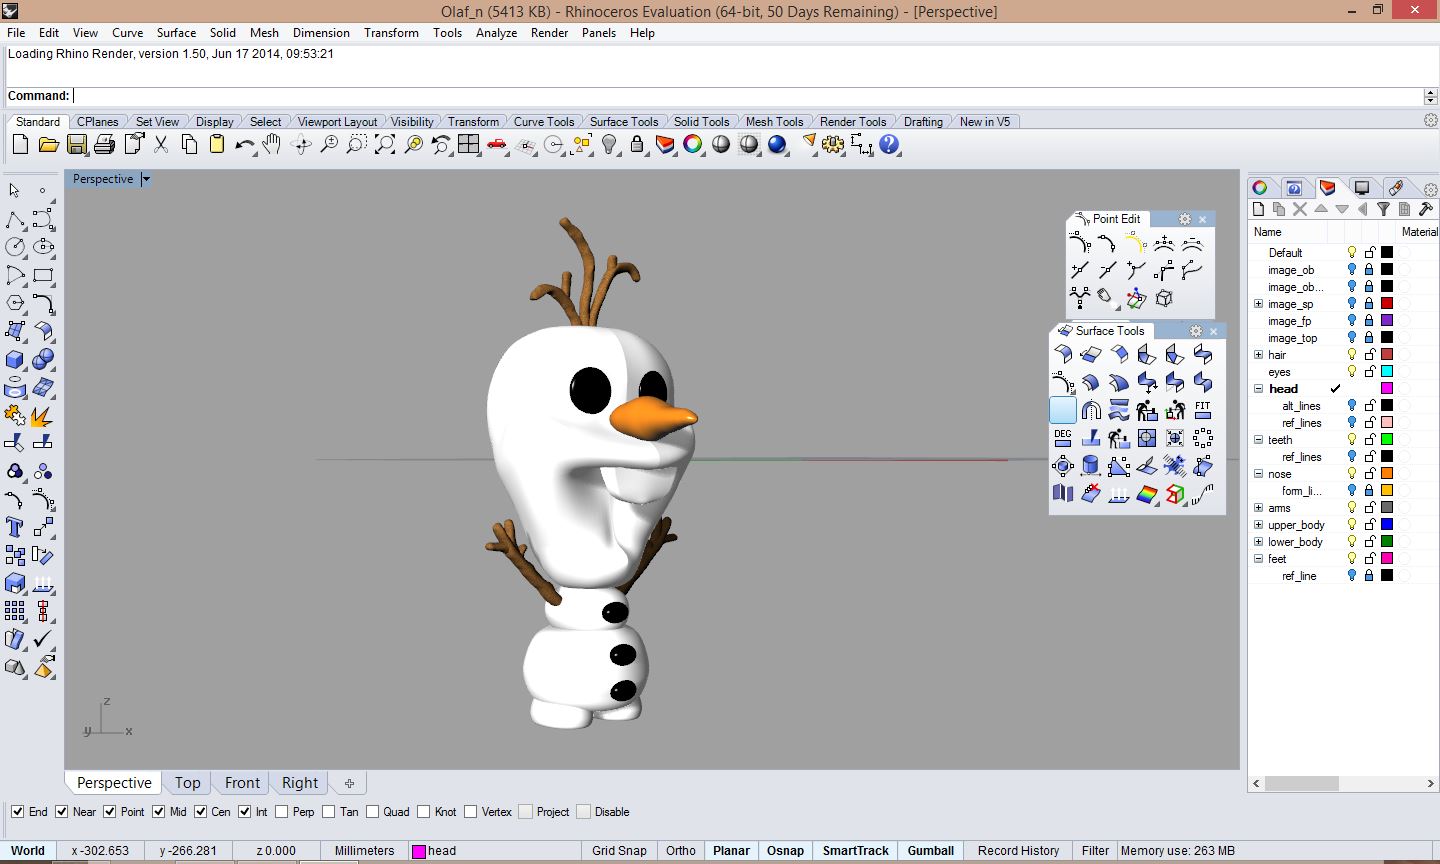
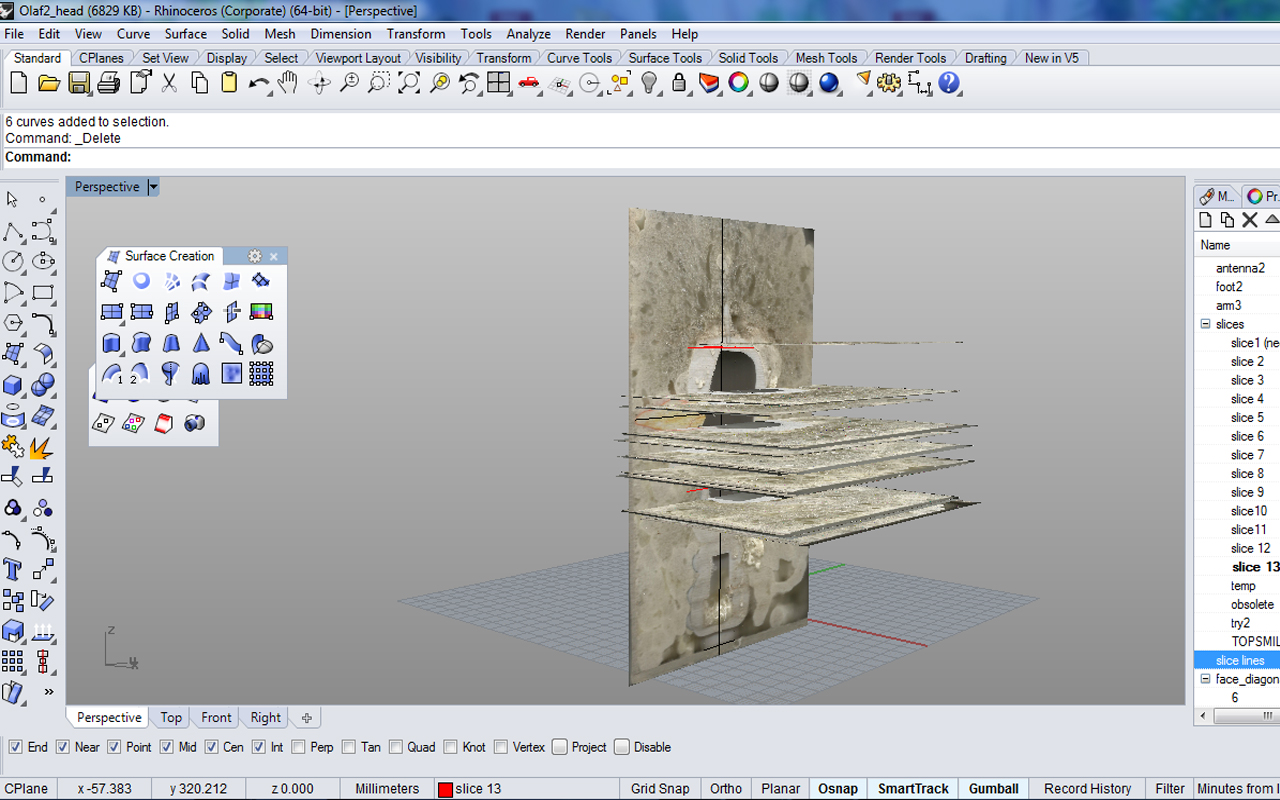
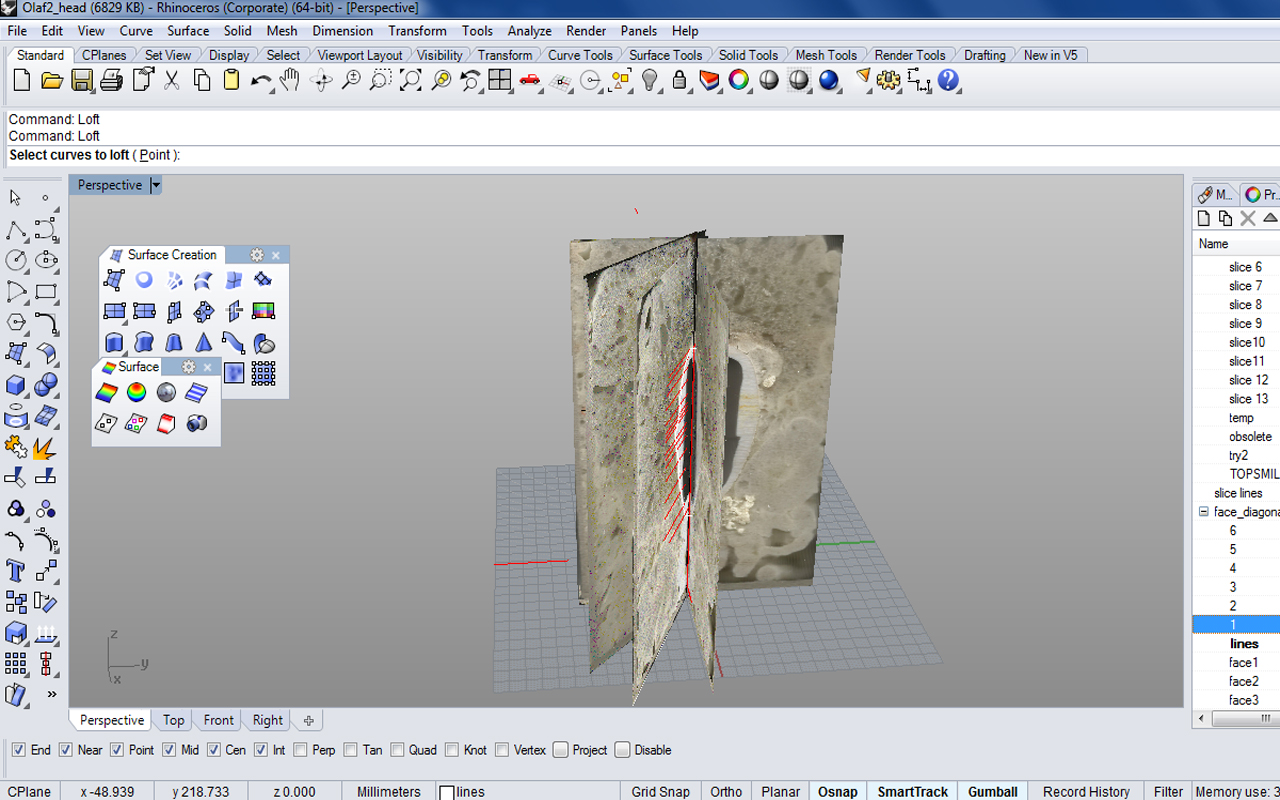
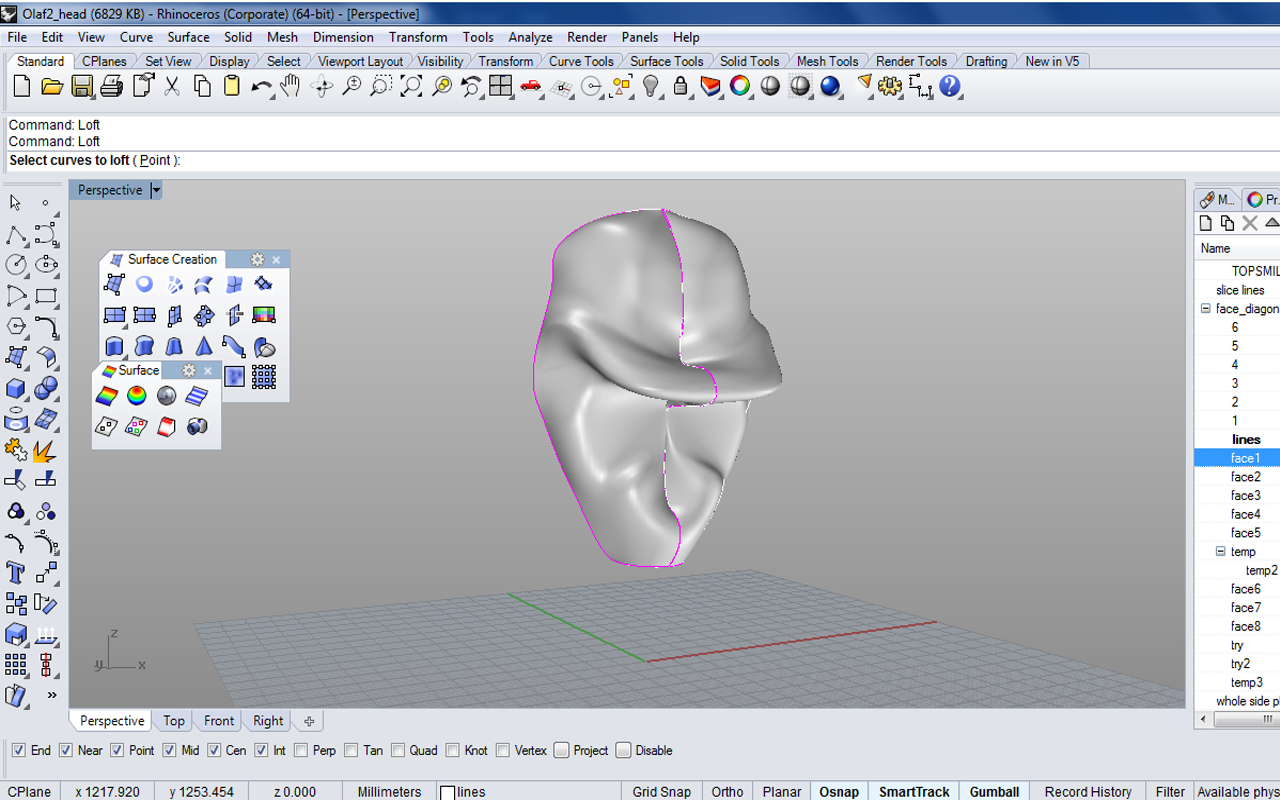
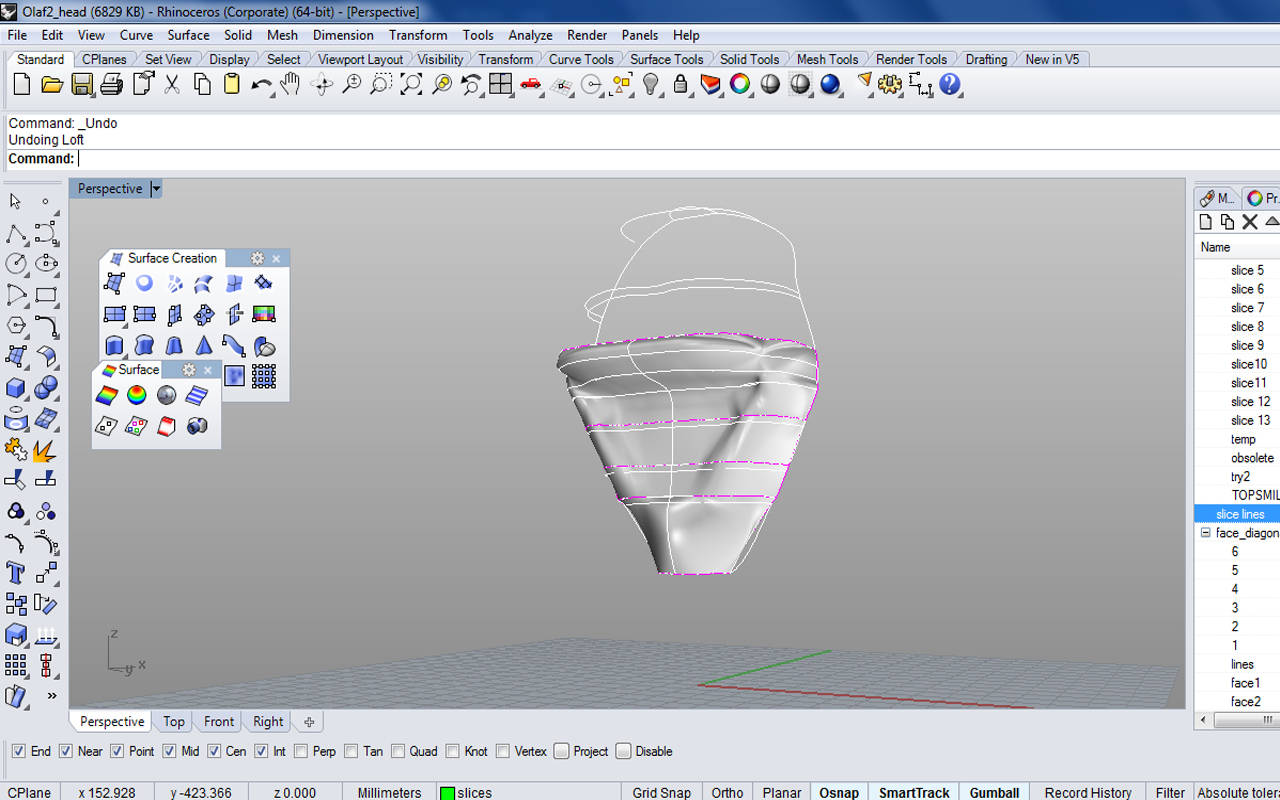
The other method was using horizontal slices at different heights and then lofting them together to produce the face volume. This made the bottom part of the face look good, but distorted the top half. Then we tried using vertical slices cut along diagonals of the face and creating a curve network from those. This produced a good top half of the face but distorted the bottom half. Next we tried putting those two together but couldn’t get them to connect properly.
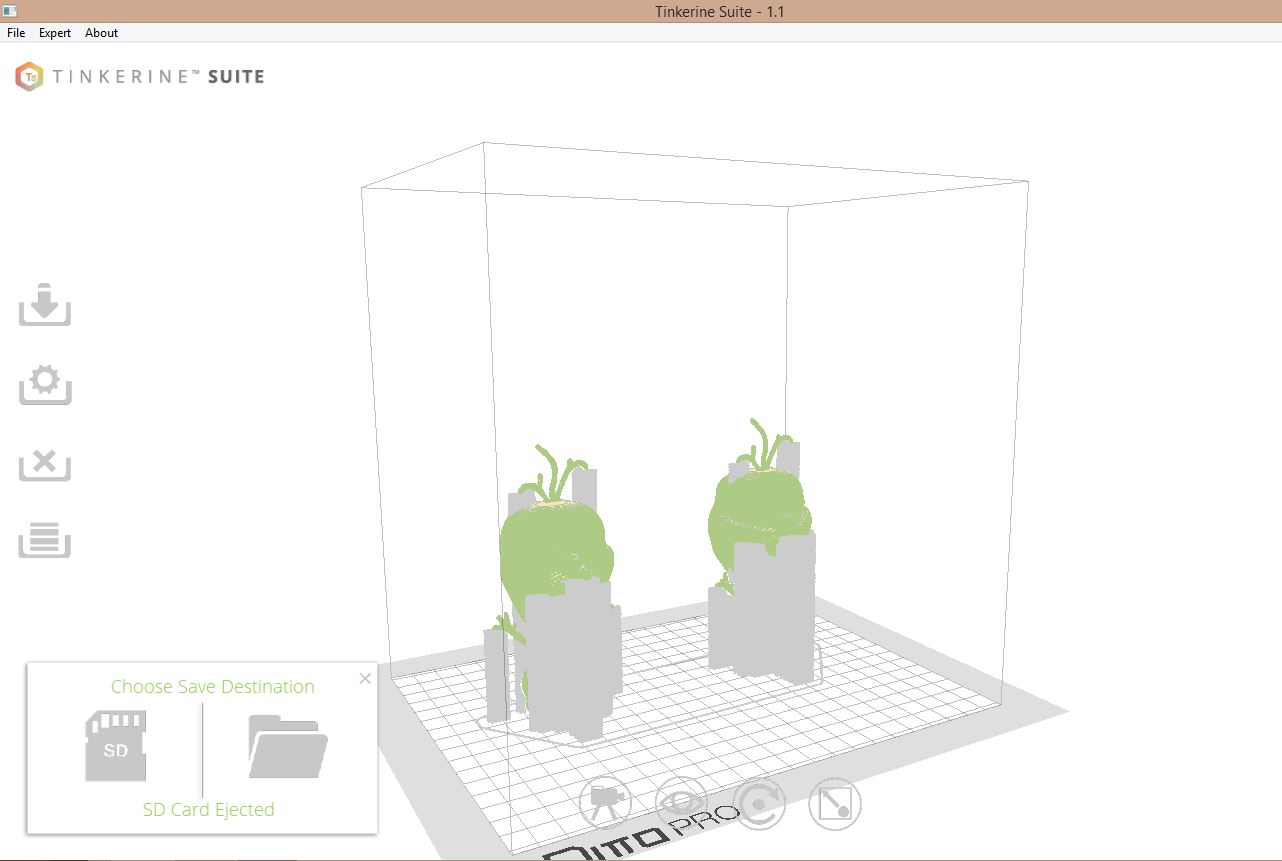
Once the face was completed, we created the eyes using distorted spheres, and the teeth with a curve network. After that we boolean union all the parts together to get ready for printing. We ran into some difficulties when trying to mesh the object which required repairing some shapes to eliminate naked edges and make it a closed solid and Andy helped us with manifold edges and how to fix them. Now we are ready for printing.