
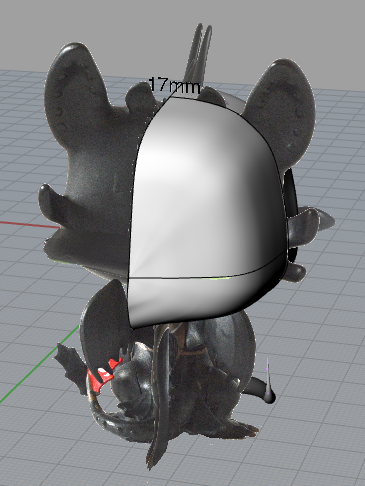
I started modelling by creating the head. To do this, I traced a photo of the model along the axis cutting directly through the face on the model (The front, horizontal line seen in below photo) on the right half of the model. I then traced the vertical axis so that it was cut in half by the horizontal axis. I traced one more line following the right side of the head, along the ears, down the side and to the bottom. I then used Network Surface and mirrored the object to create a whole head.
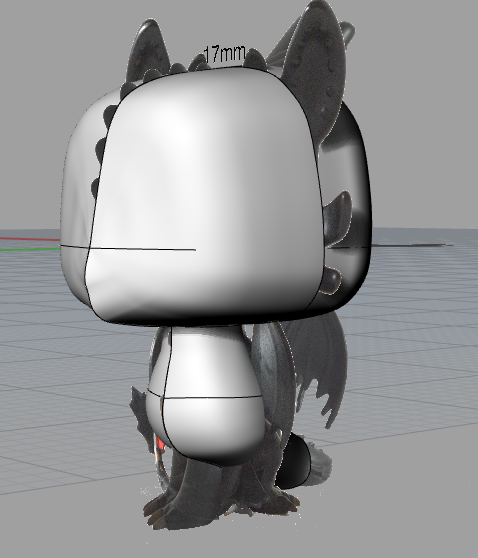
I created the body next. First I traced along the same vertical axis that divides the head along the ridge of spikes. I traced from the top left corner to the bottom right corner, and then the other side to create 2 rails. I then drew the shape of the body in 3 lines to create the curves of the right side. I then used Sweep2 to connect the 2 rails with the shape lines.
Afterwards, I created the tail by forming the shape with circles and lines and using the pipe command to connect them.

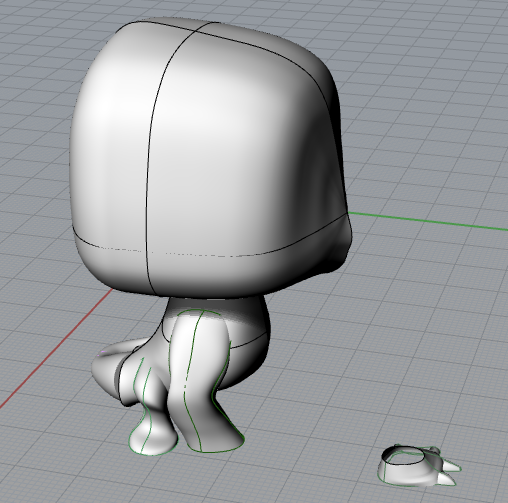
Next, I began to form the legs. I did this by creating 2 circles (one for the base of the foot and one for the shoulder joint), and then forming the exterior shape with curves and new work surfacing them. I have also started to form a foot with claws for the bottom of each leg.
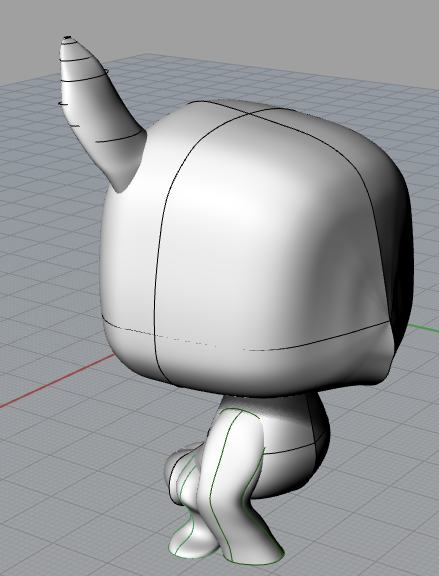
Next, I created the main ear. I did this by forming several circles in the shape of the ear and using Loft to connect them.
(Jen Bowen)