After a failed attempt with the first Hulk I made, Keara and I decided to team up to remake our models. We ended up remaking the whole model in rhino and I’m very happy with it! It was super helpful to be able to split up the pieces and tackle each one individually. We could then learn from each other and we were able to help each other problem solve when we ran into issues. We completed the model on Friday and then we joined the pieces on Saturday. The joining process surprisingly went smooth. The most difficult part to join was the shorts of the Hulk, but after remaking the bottom of the shorts it came together. It was now time to print!
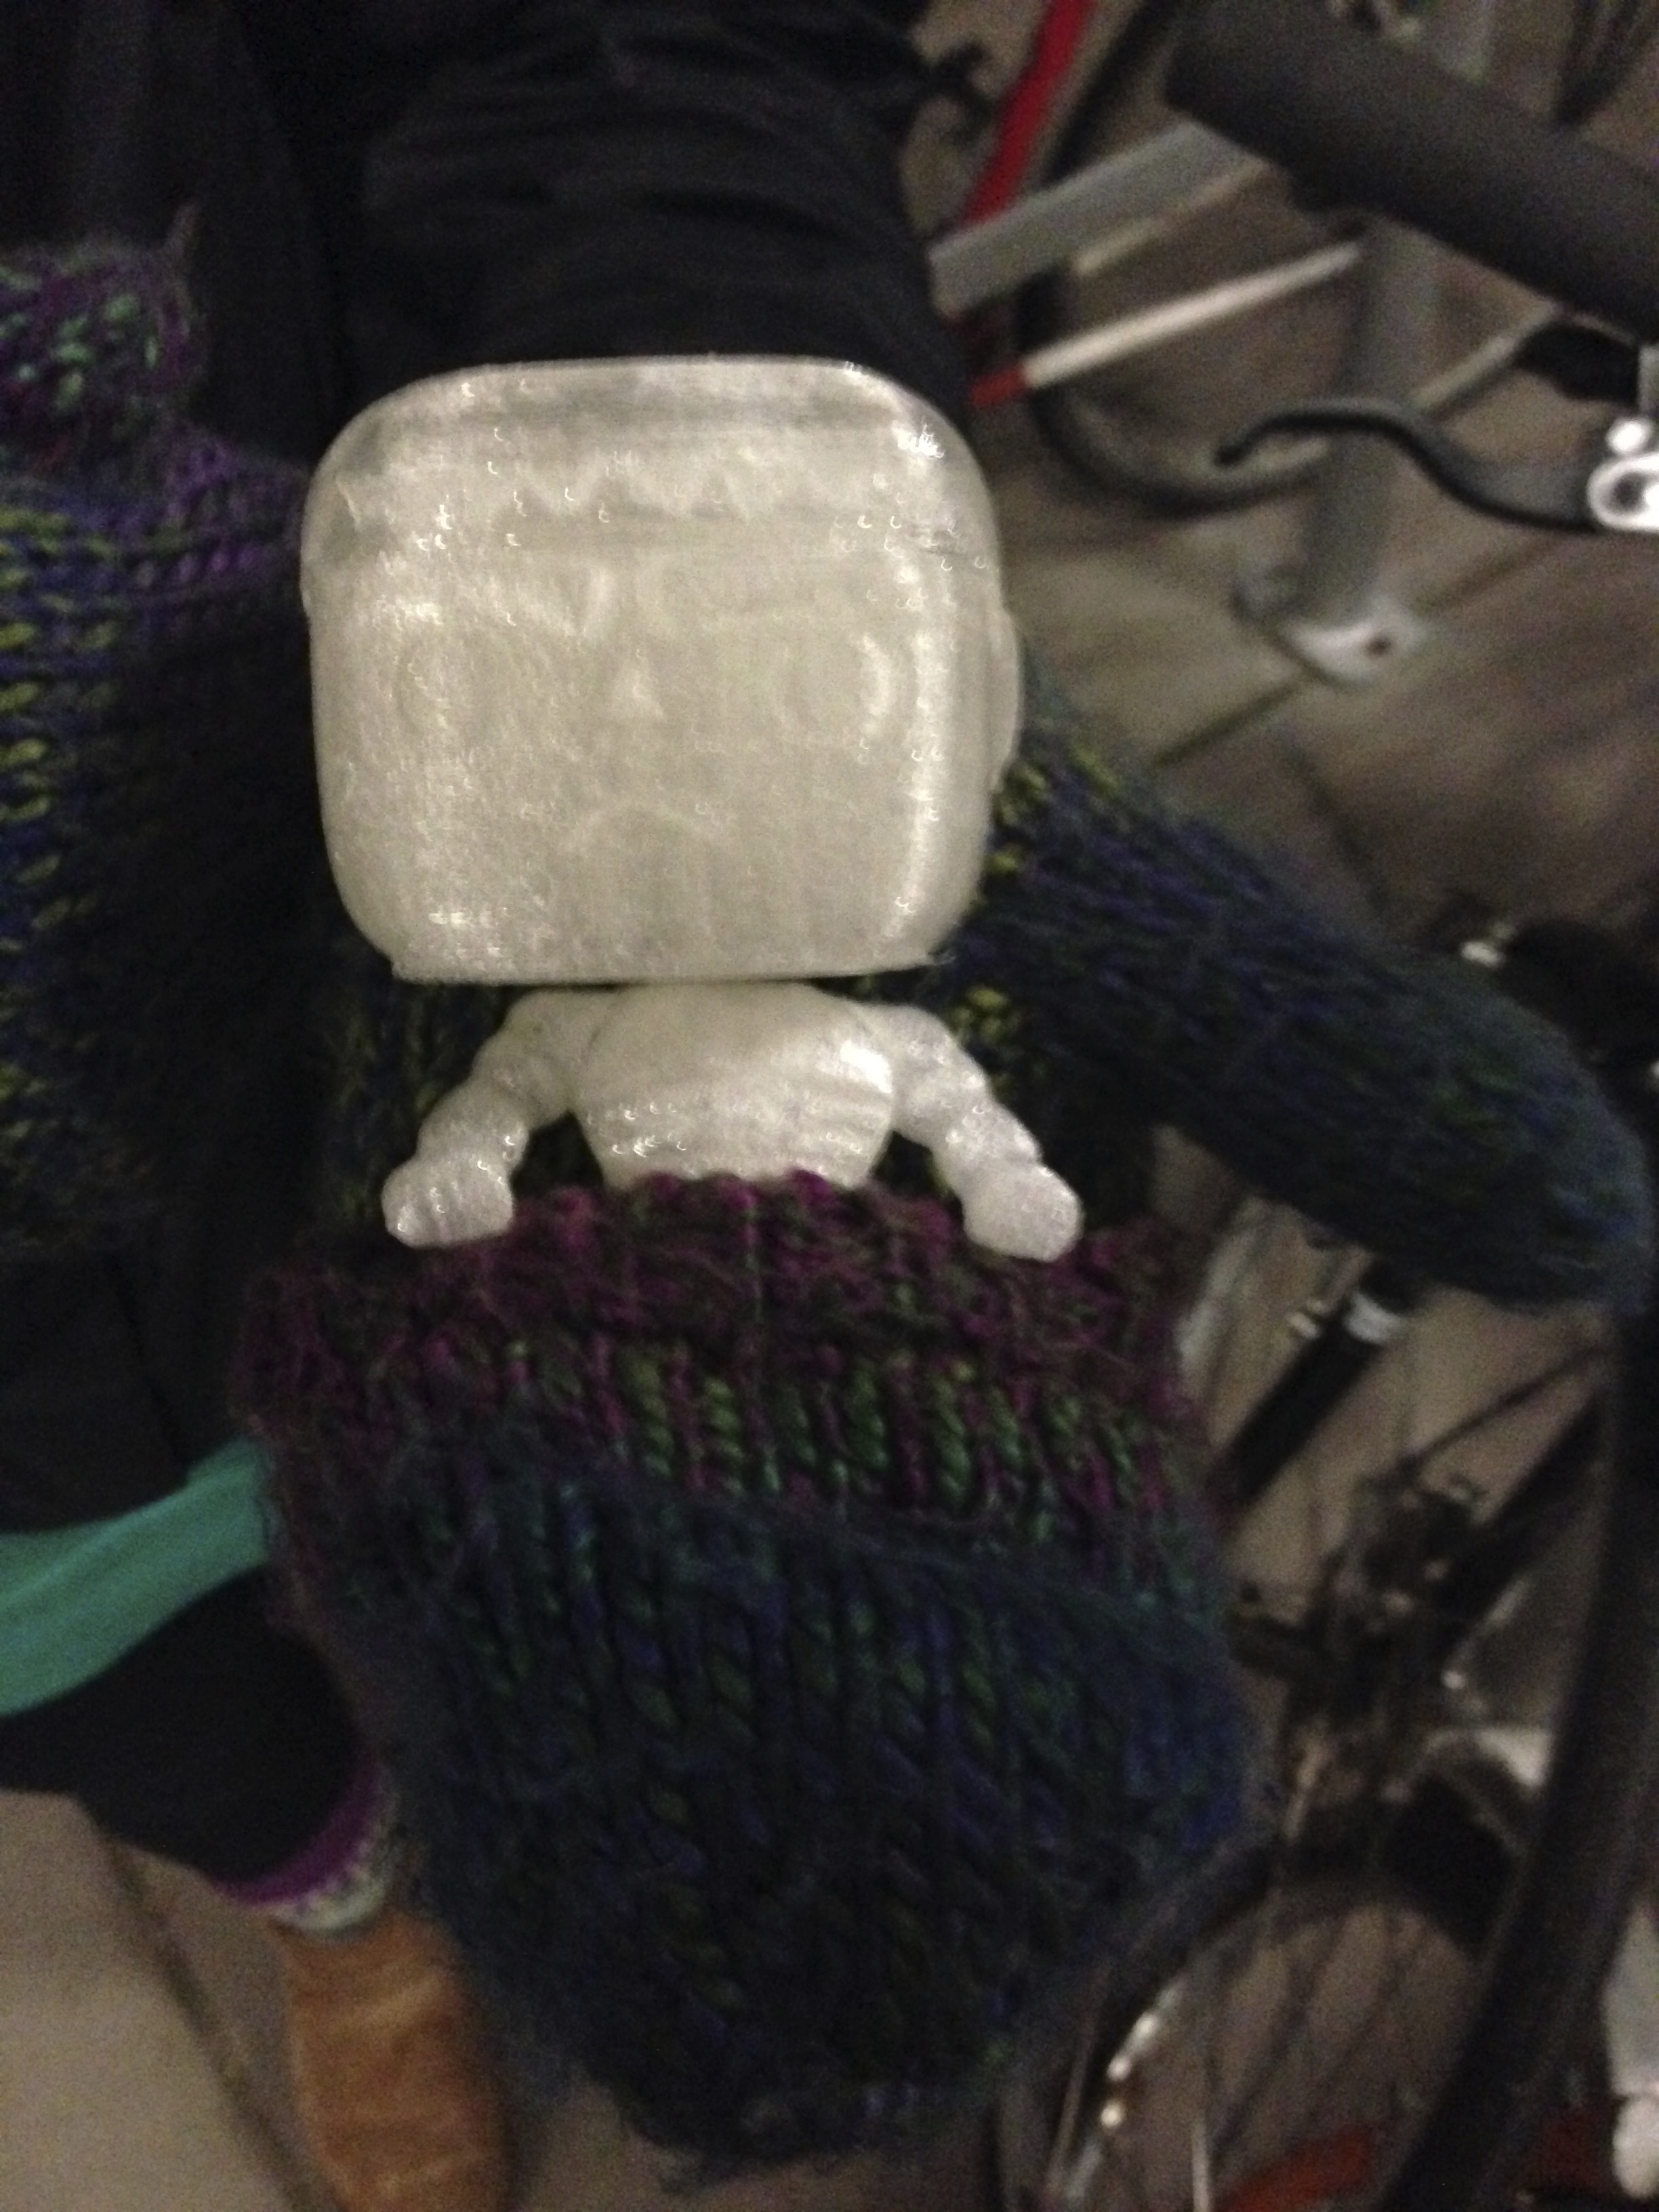
He’s watertight!
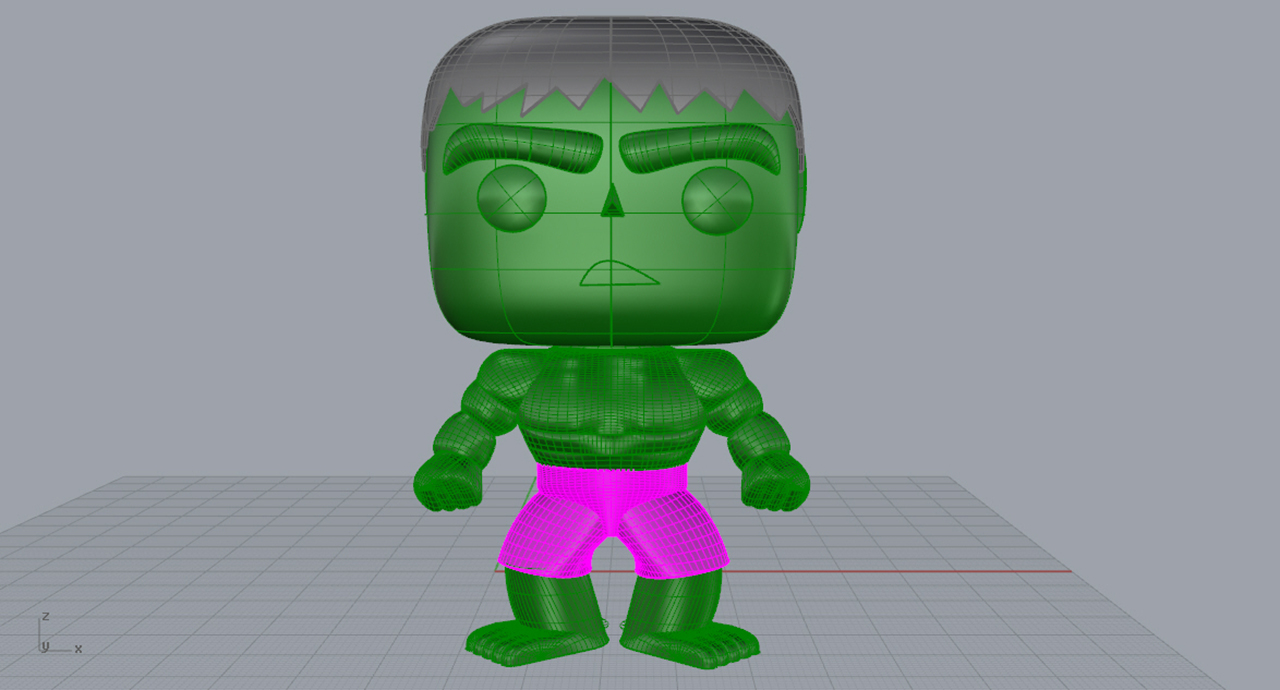
Ready to print
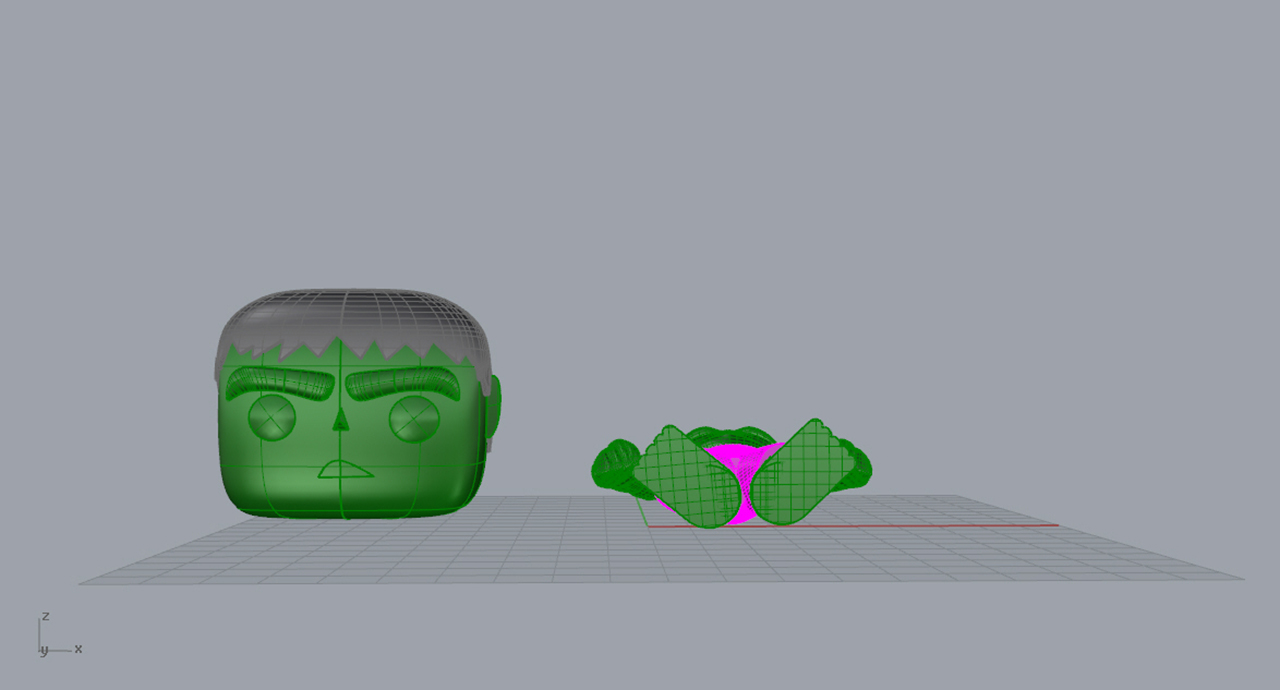
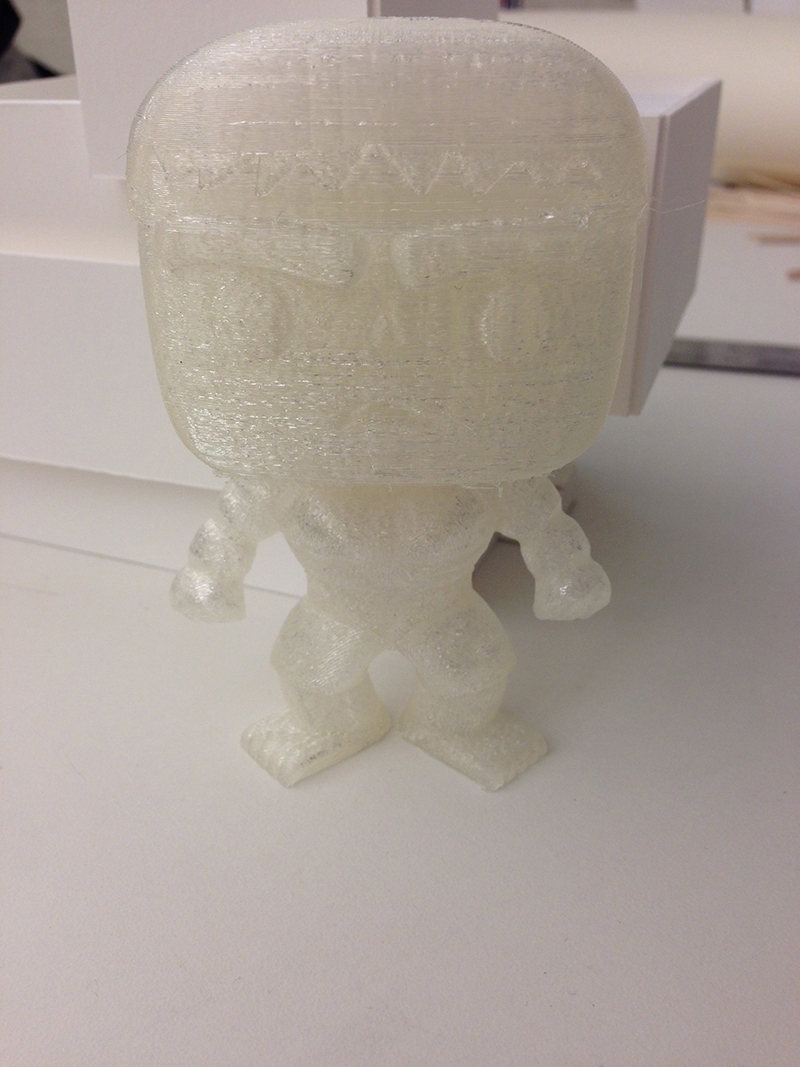
We went to Lassere to print and for the most part it went well. We first tried printing both Hulks together, however we realized as soon as it started that we would not get good results because the glue was cooling too much by the time it got to each piece. We decided to print each head and body individually, which ended up working much better. We set the body up to print horizontally with the front facing up. This created a much smoother front, as no support material covered it. However, the back did lose some detail because of the support material that was built under it. The head printed well with very little imperfections. Overall, I’m happy with the final product.
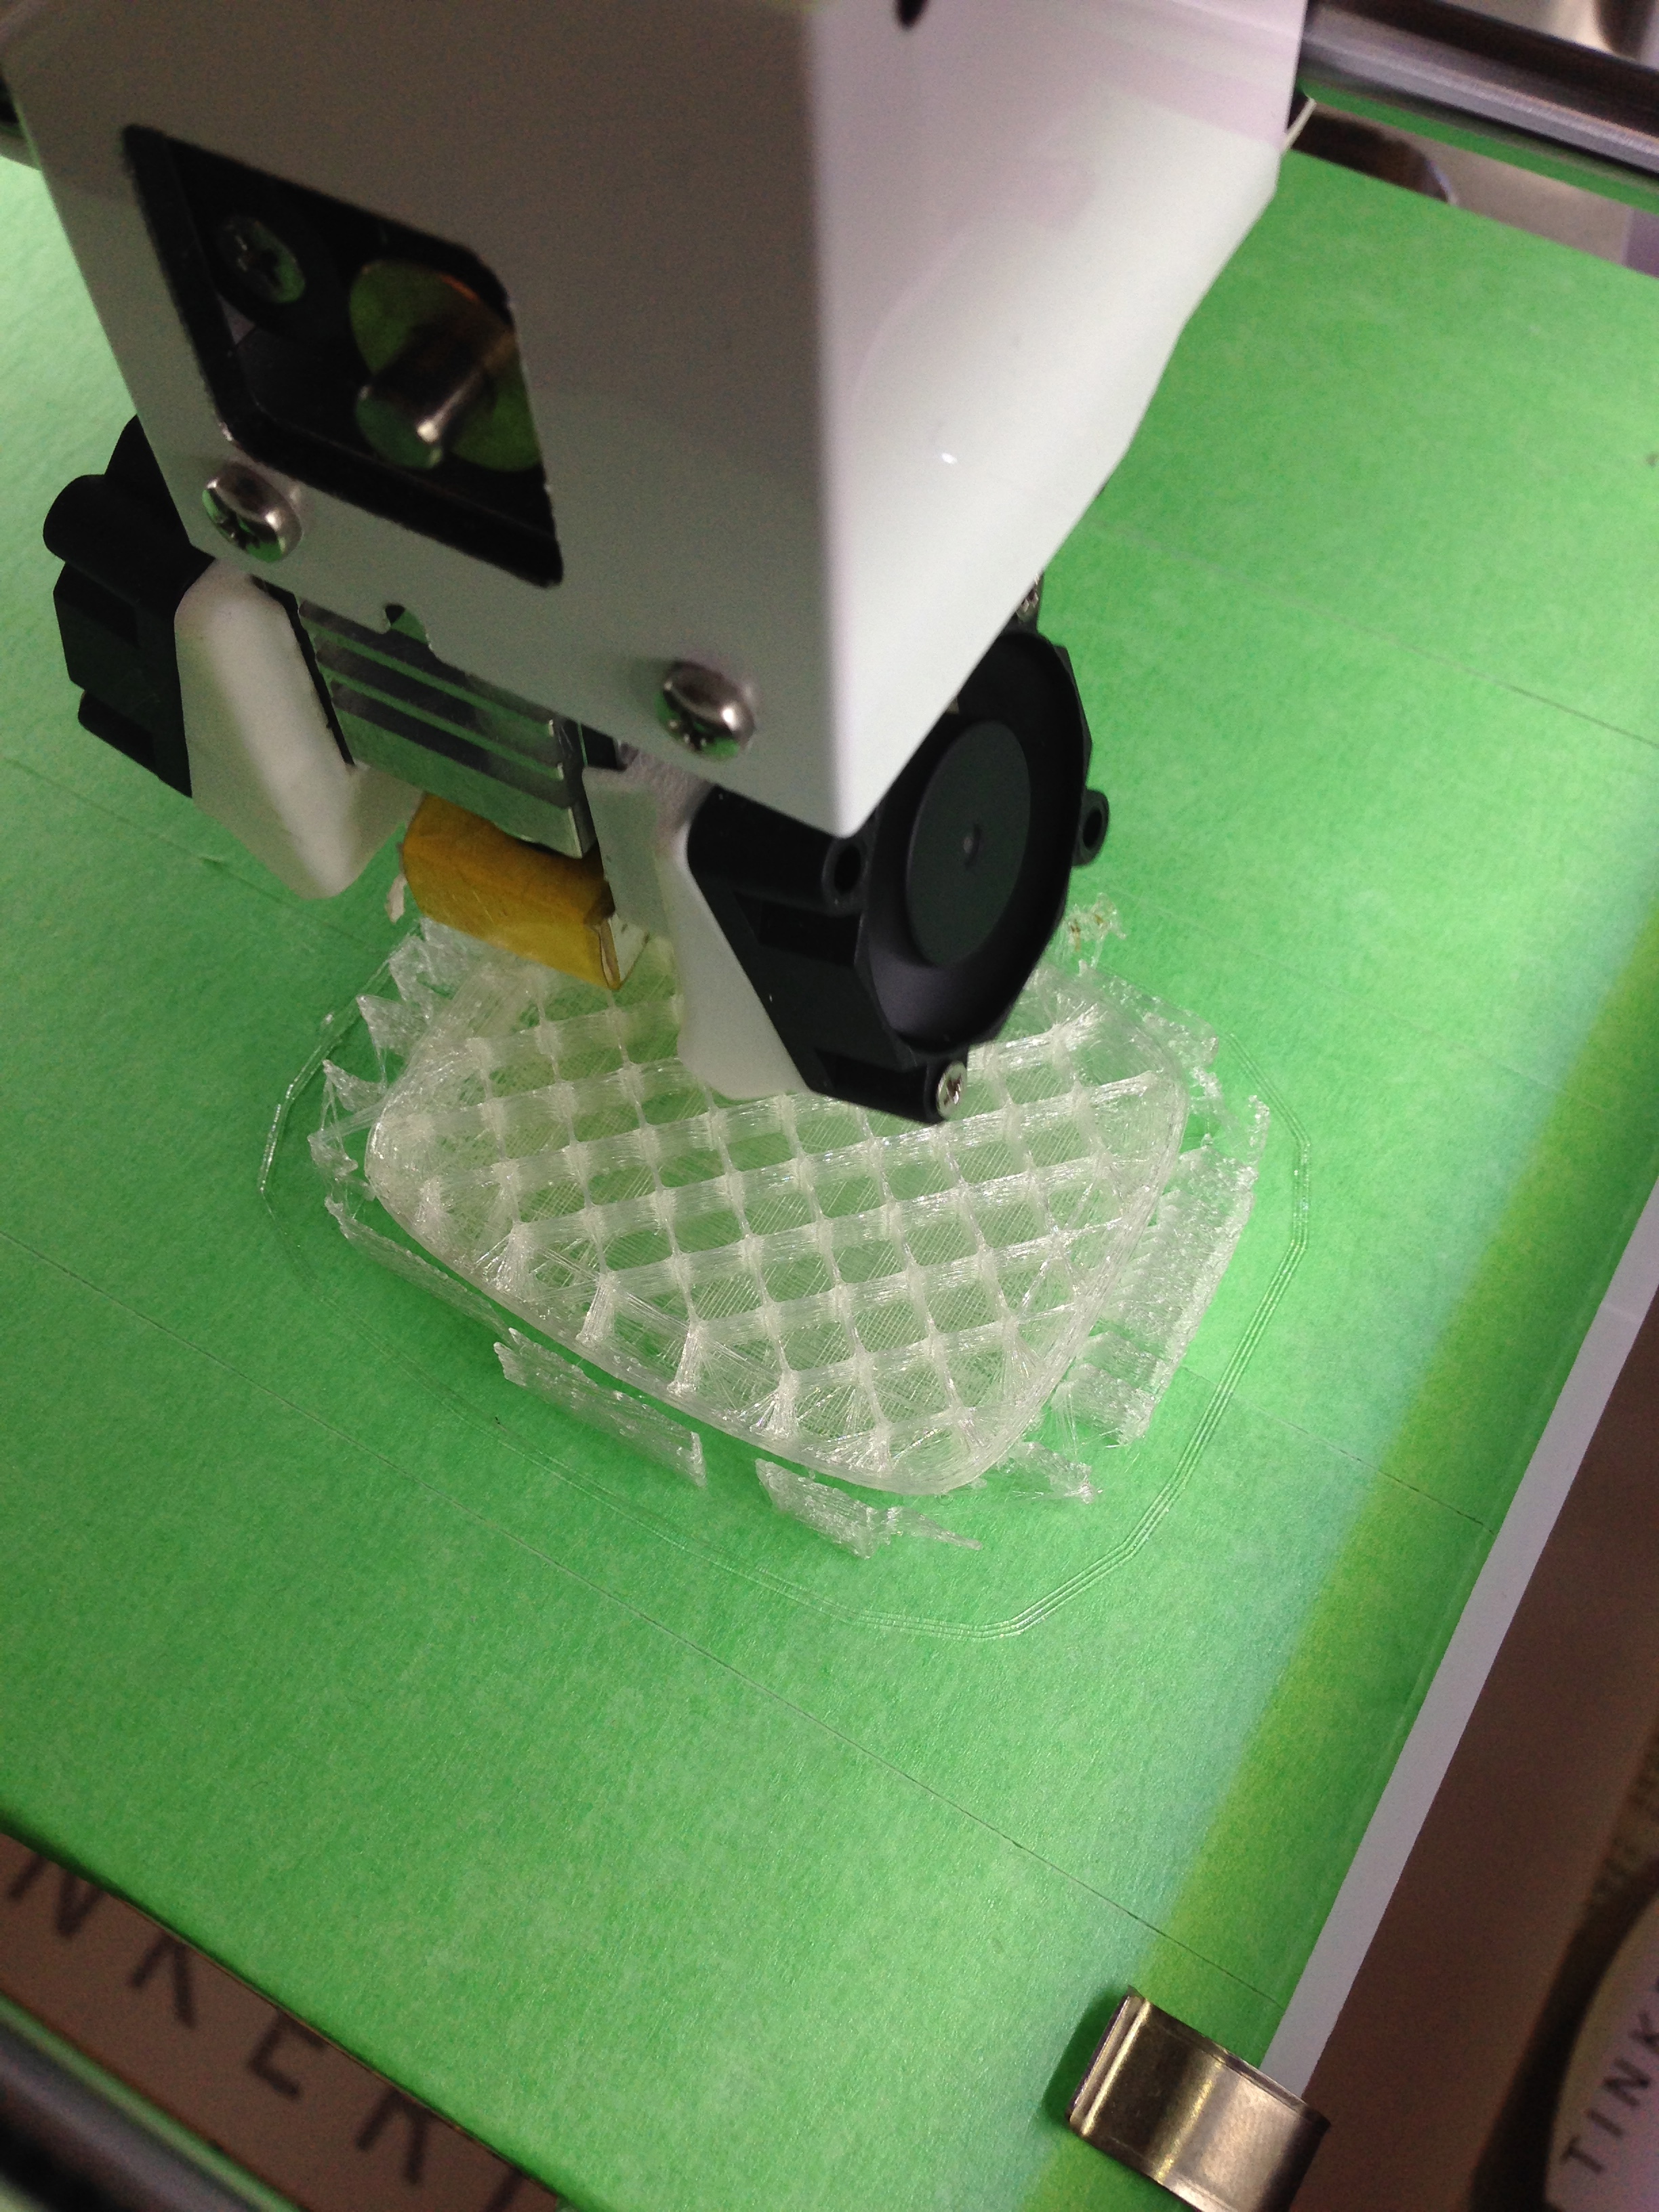 Printing the head
 Abs of steal