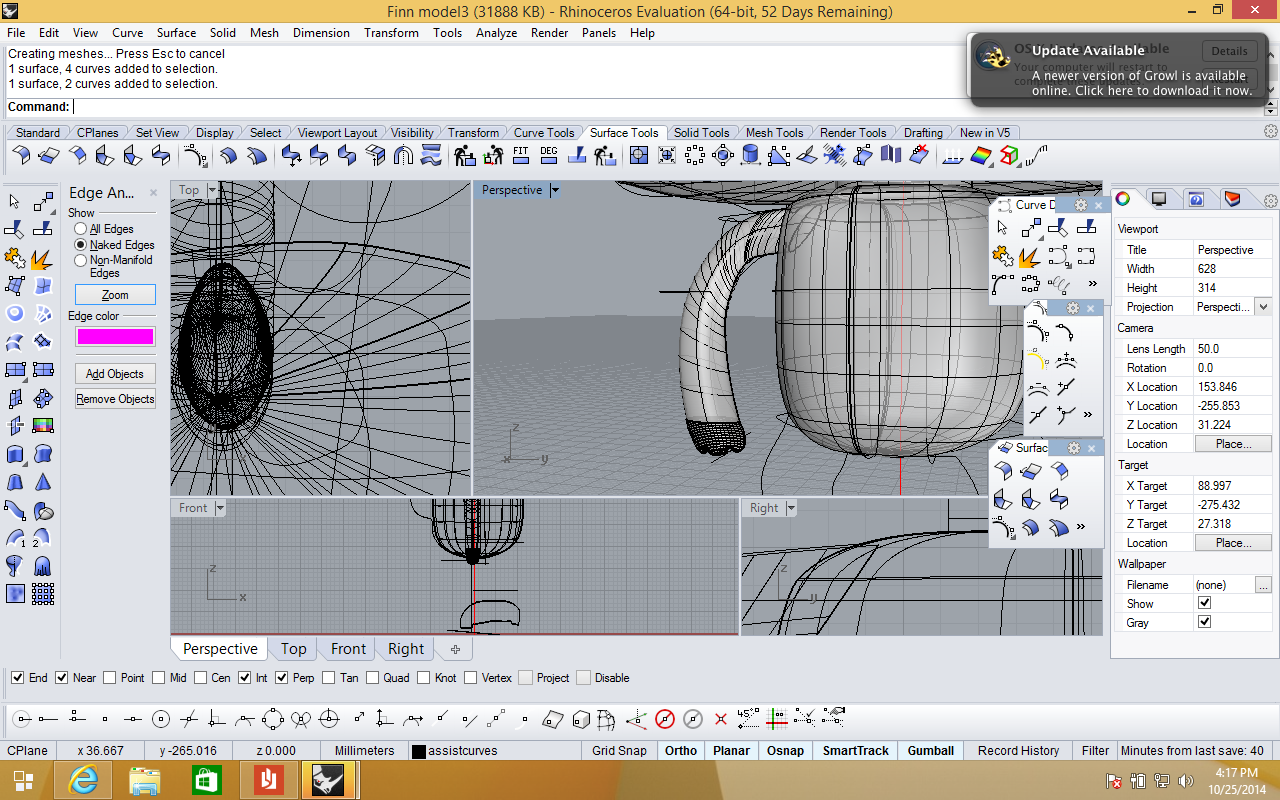
This week I put the finishing touches on my rhino model. My greatest challenge was learning some of the ways in which I can sweep over a surface and maintain a solid polysurface, as I did a lot of sweeping for the arms and legs. For the arms, I used sweep1, sweeping into the body to insure a strong connection. I closed the shoulder side using patch and the hand side using a mesh that was sculpted into the shape of a hand. For the fingers, I turned on control points on the mesh and sculpted the fingers using the physical model as a reference for estimating form.
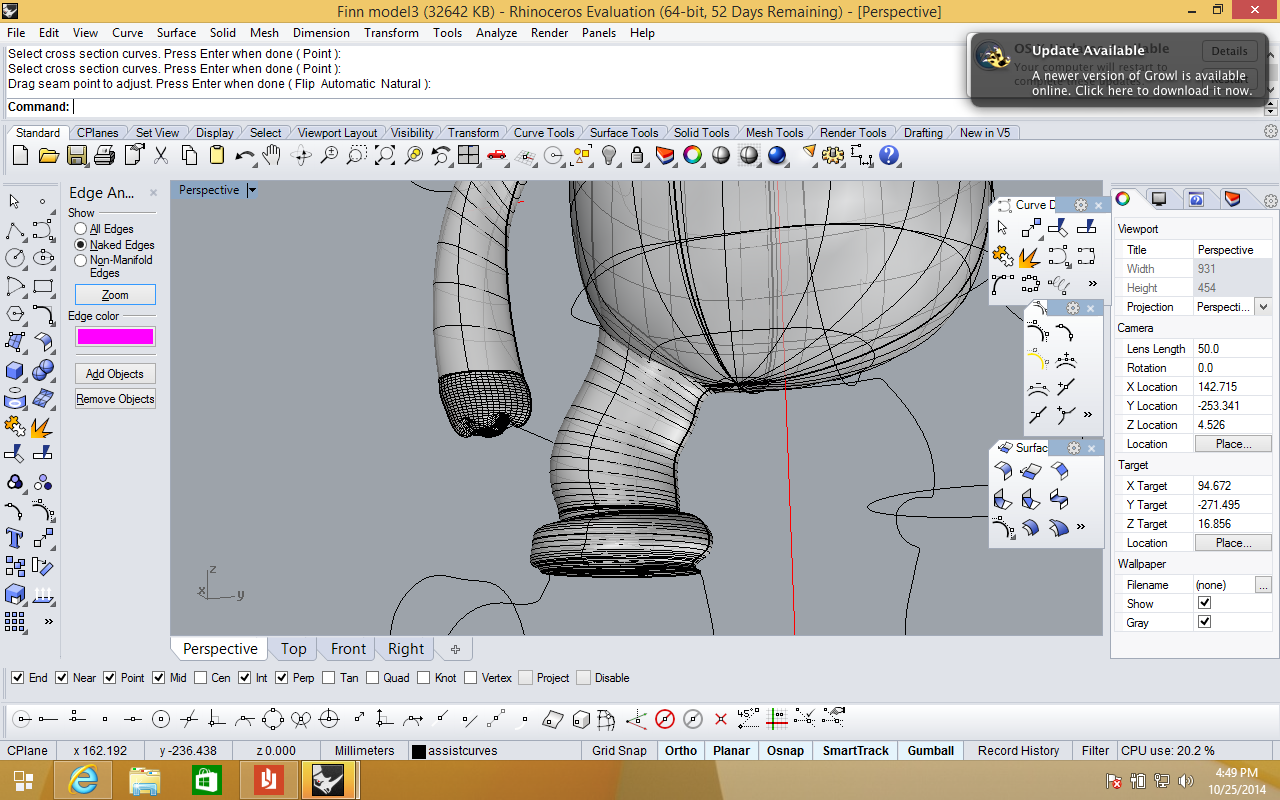
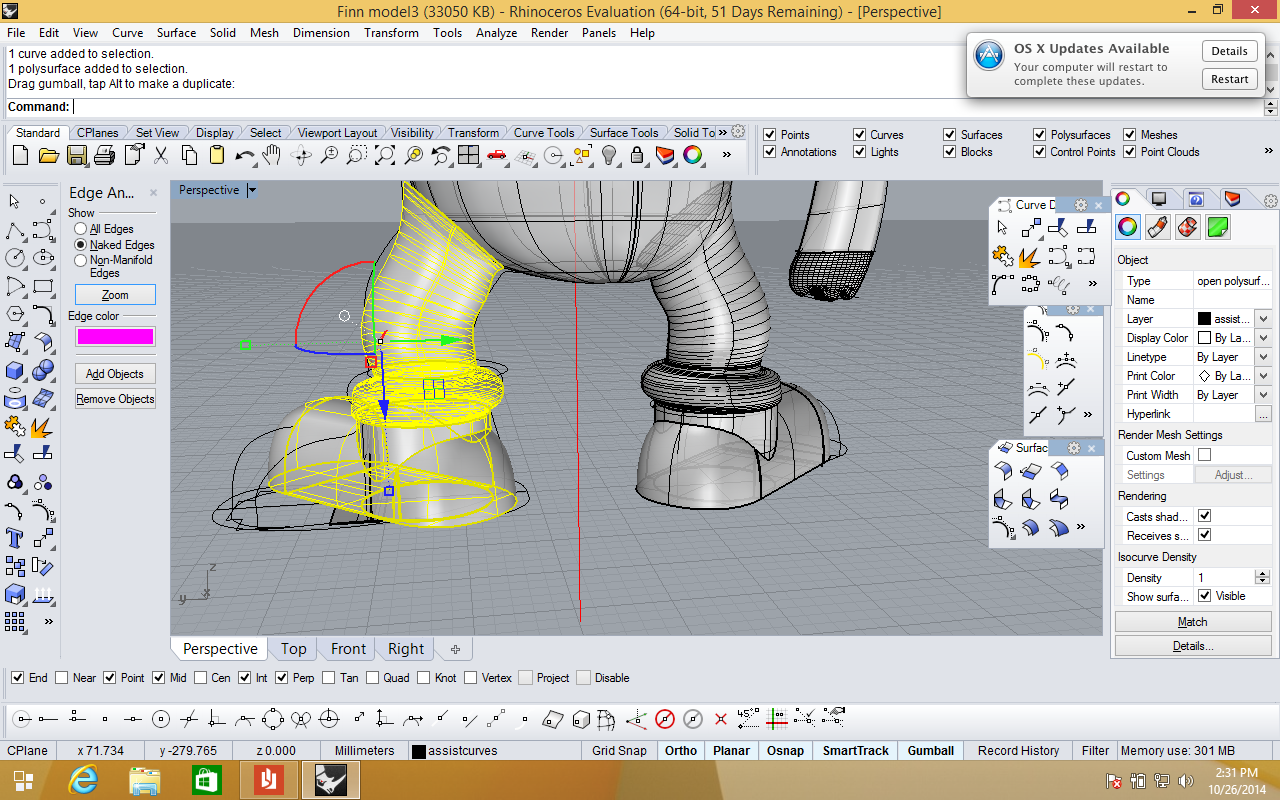
For the legs, I used sweep2, as the rails were sightly more coplex. I used several section lines to create the bulge of the sock before the shoe. A patch seals the connection between leg and body, and a simple edge extrusion insures a solid connection between the sock and the shoe.
While modelling the shoe I learned that it is much easier to create objects with vertices orientated along the X and Y axis, then rotate after the modelling is complete. This way, I was able to perform all of the snap commands necessary to form my shoe. I used rail revolve, extrude line, join and boolean union to make the leg into a solid polysurface. I also used sweep to create the backpack straps around the arms, and rail revolve and reflect to form the backpack.
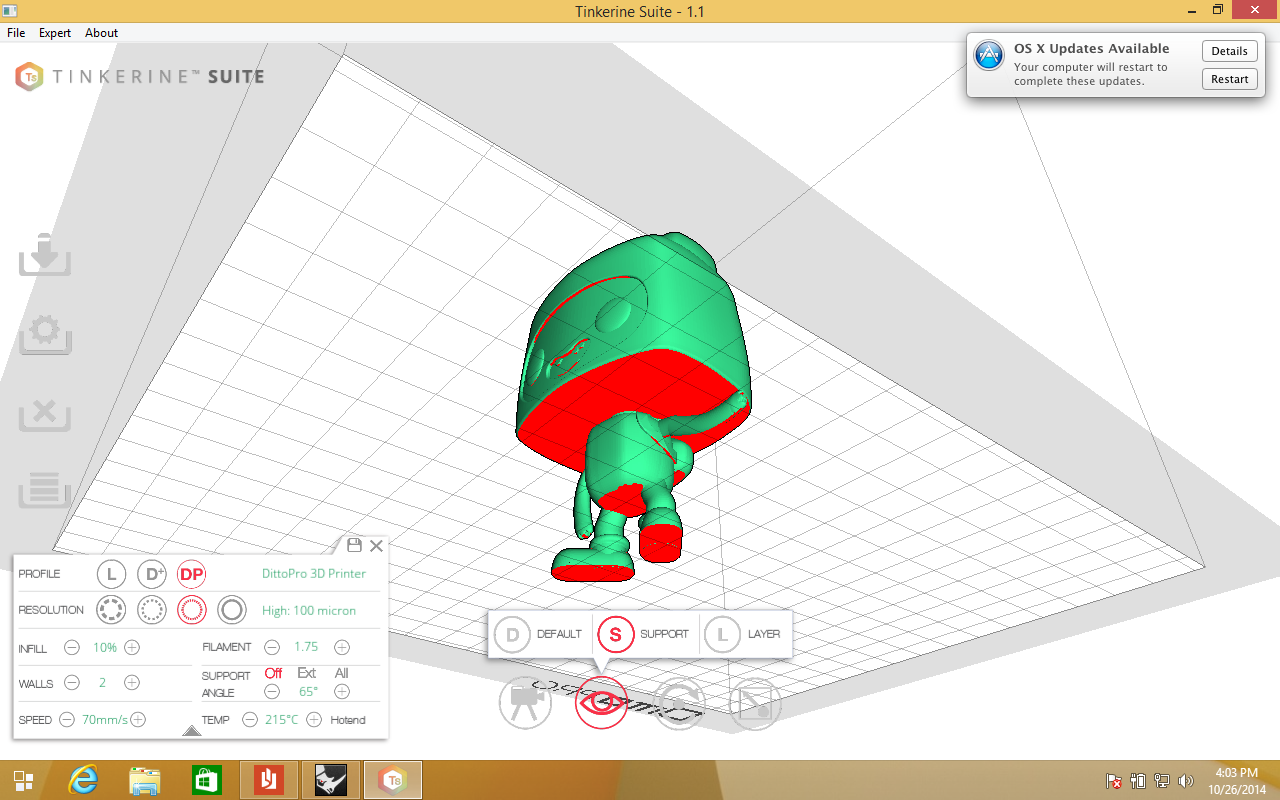
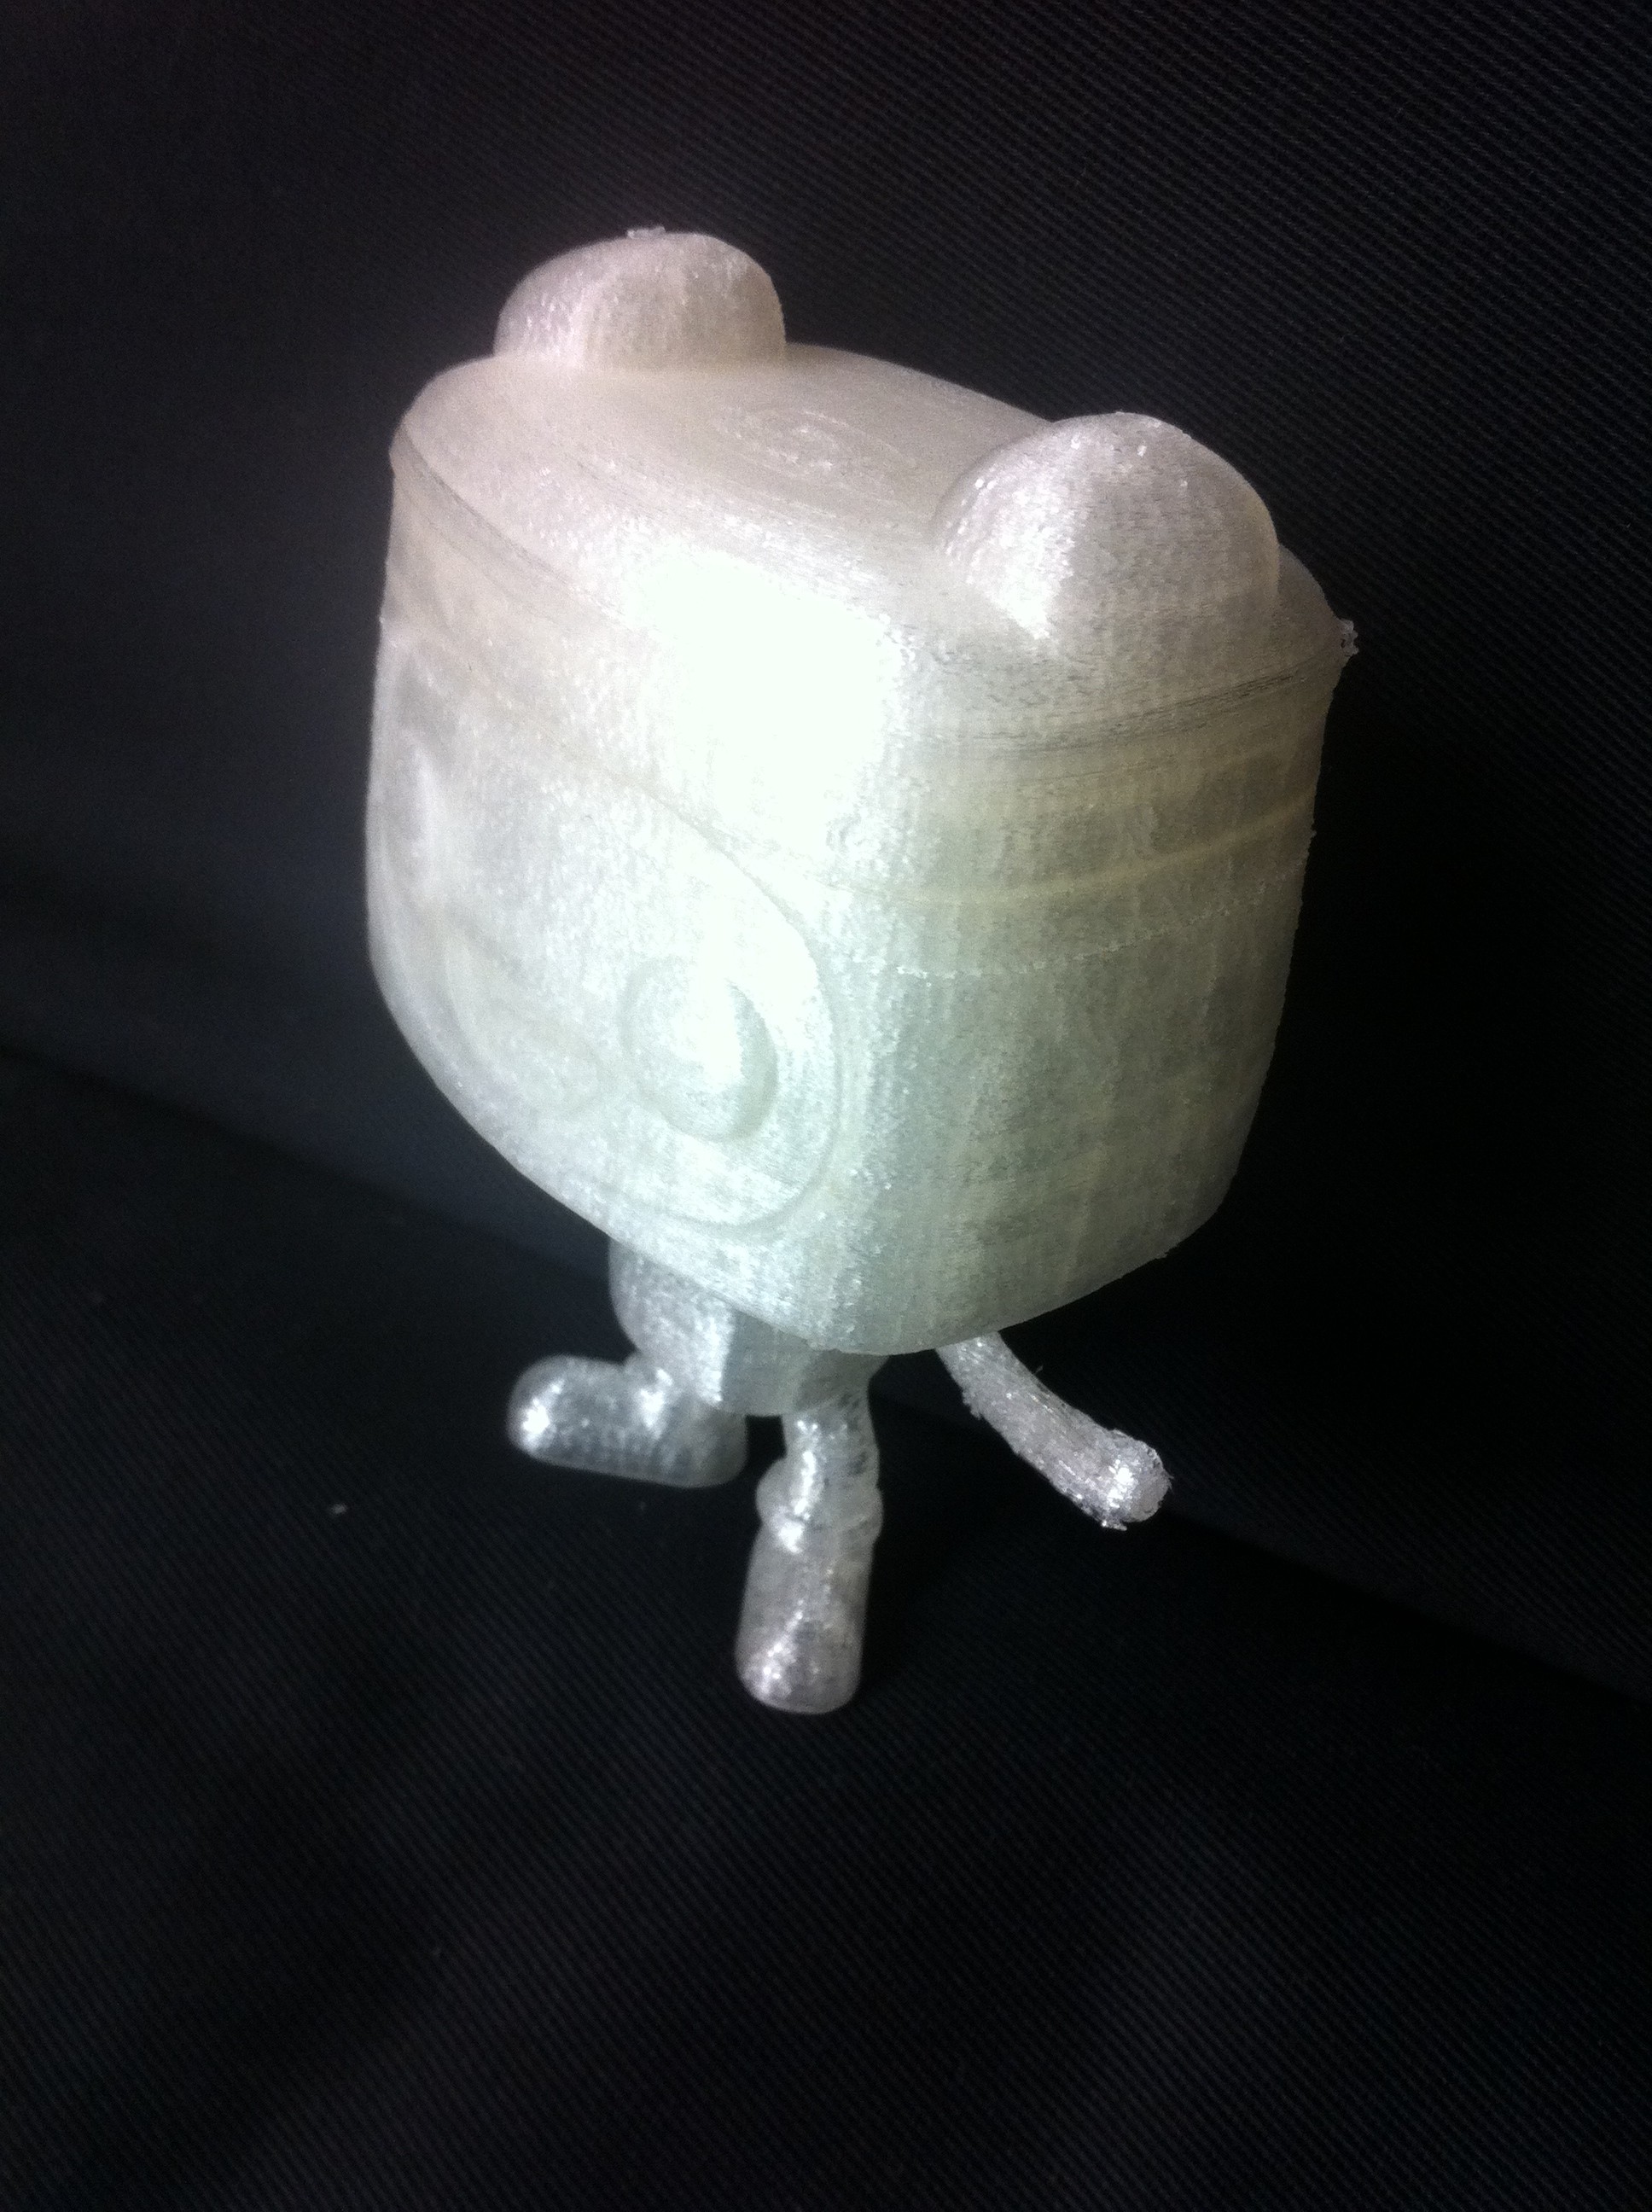
Finally my model was a closed, complete polysurface ready to export to the 3d printer. In tinkering, I experimented with infill and resolution settings until I finally got a perfect print. I ended up printing the head separate from the body, and attaching after the fact. This reduced both time and structure material required.
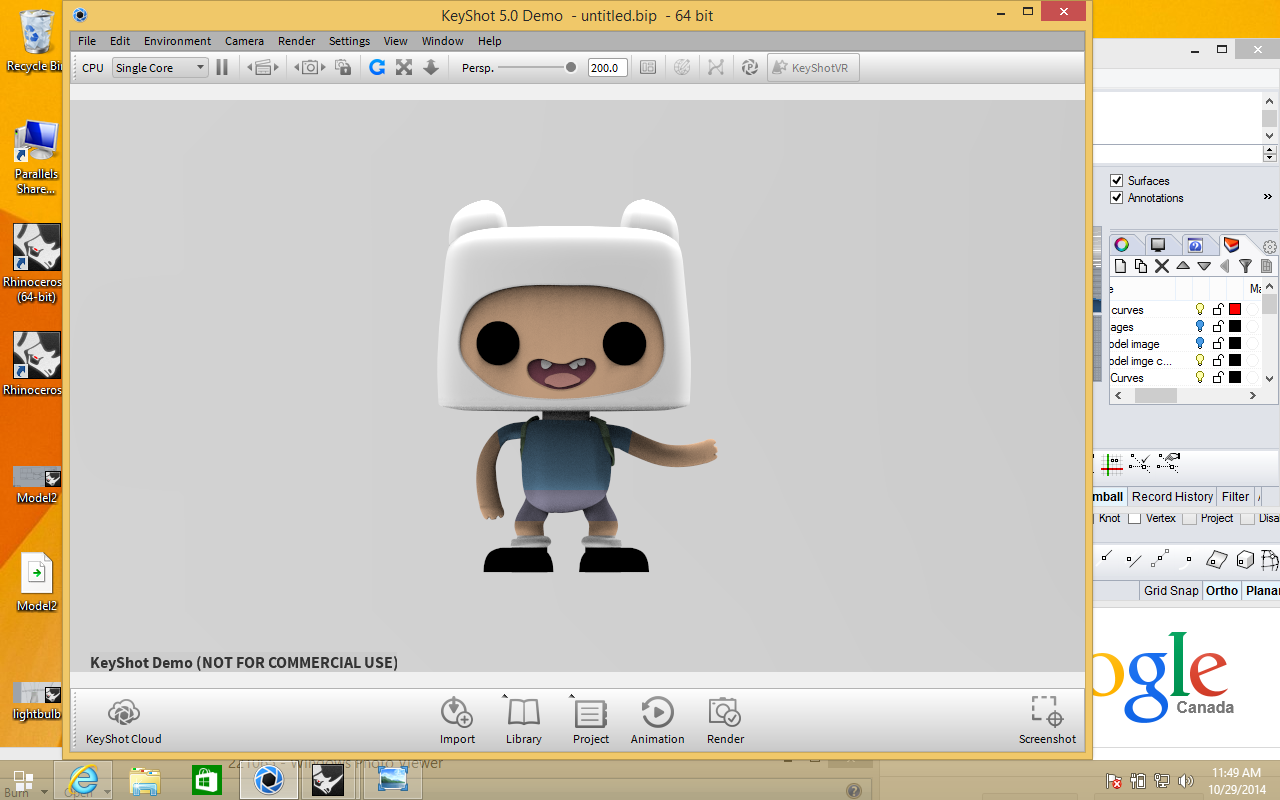
In a new Rhino file, I exploded my model and re-organized the layers based on the colour of my model. In keyshot, I exported the file and got a nice, solid render with accurate colouring.

