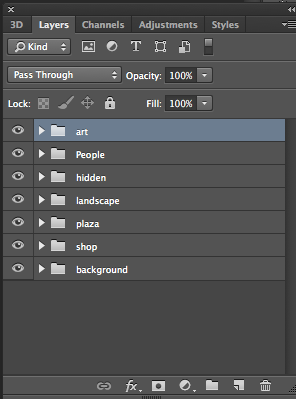
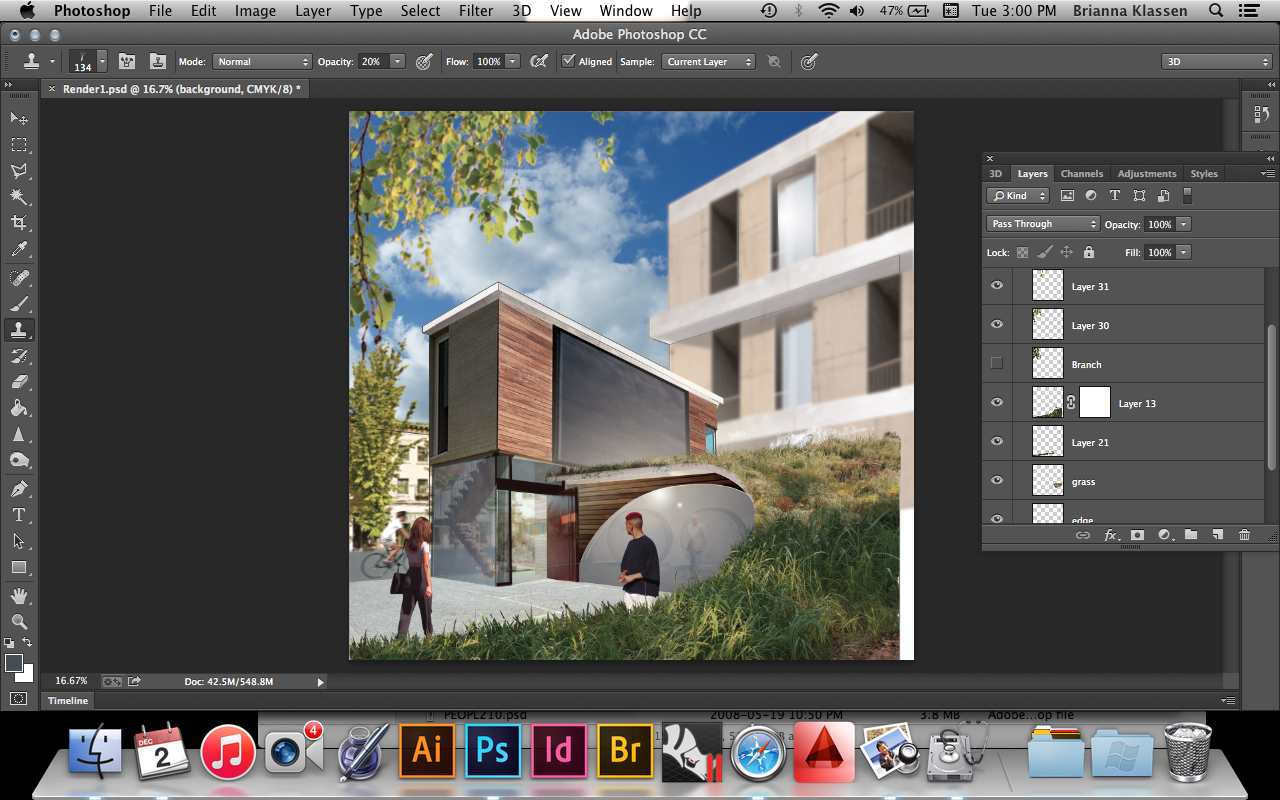
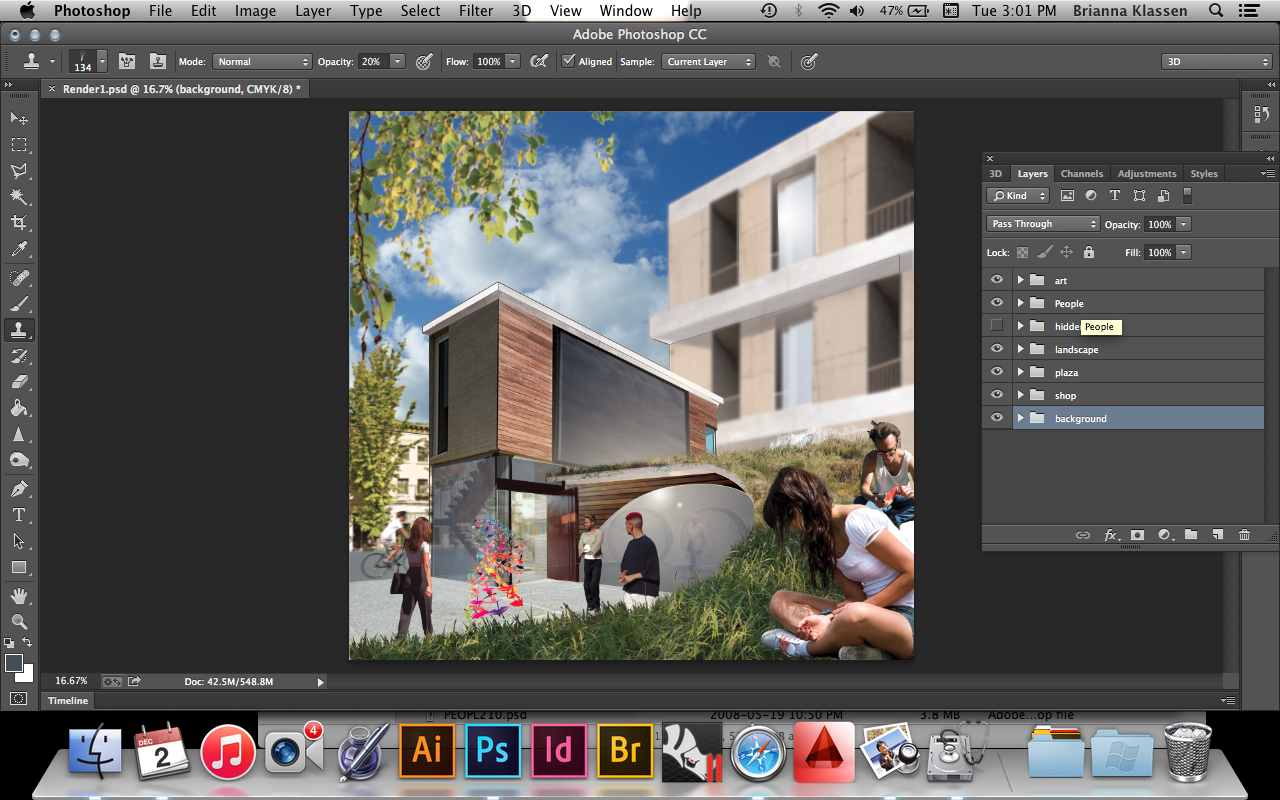
Due to my hard drive failure, I lost my rhino model, as well as my keyshot and V-ray software. As a result, I decided to get creative and try a different approach to my rendering style. Instead of building a model of my entire project and exporting a render, I created a 2-point perspective one drawing of my render position and photo-collaged on layers of materials, lighting and shading to create a dynamic scene. I knew I would need many layers (it turned out to be about 70), so I organized them into categories that described different aspects of the scene starting from the background and ending in the foreground.
above: My layer groups on photoshop
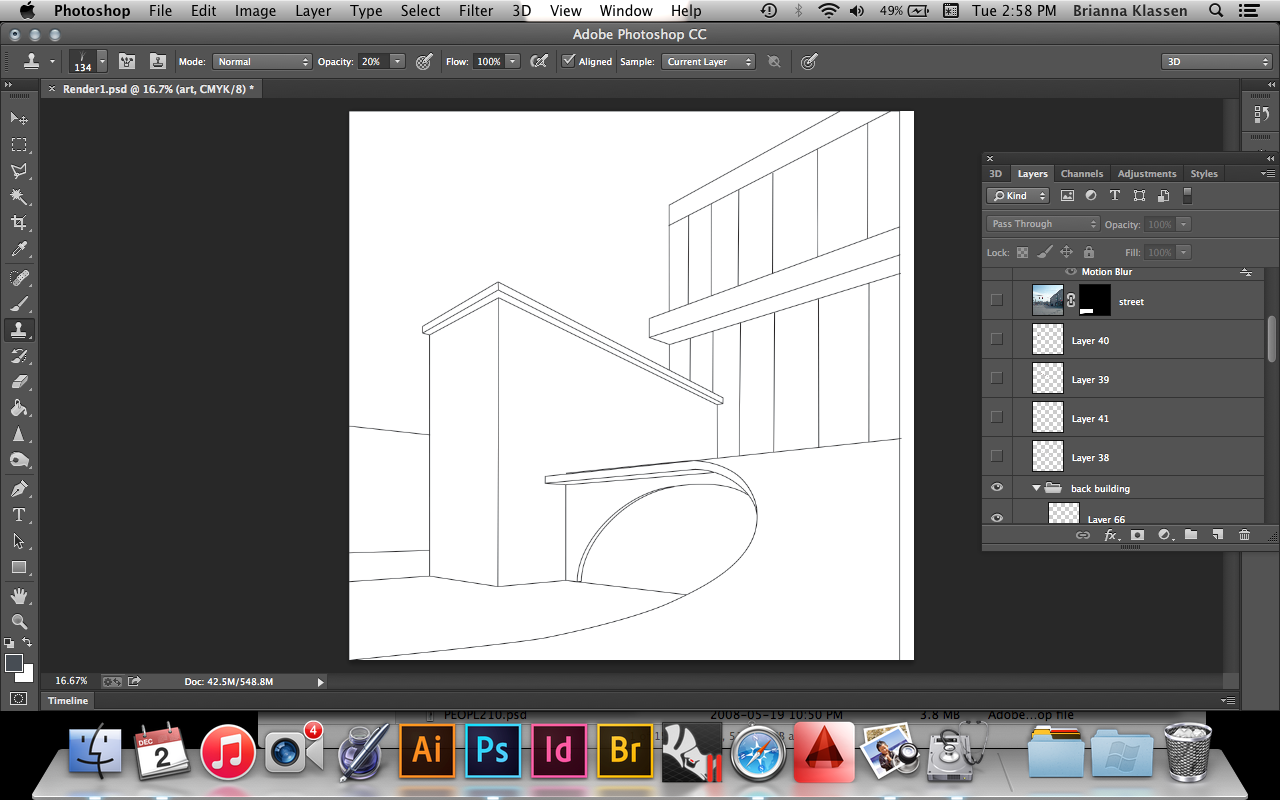
below: my original line drawing
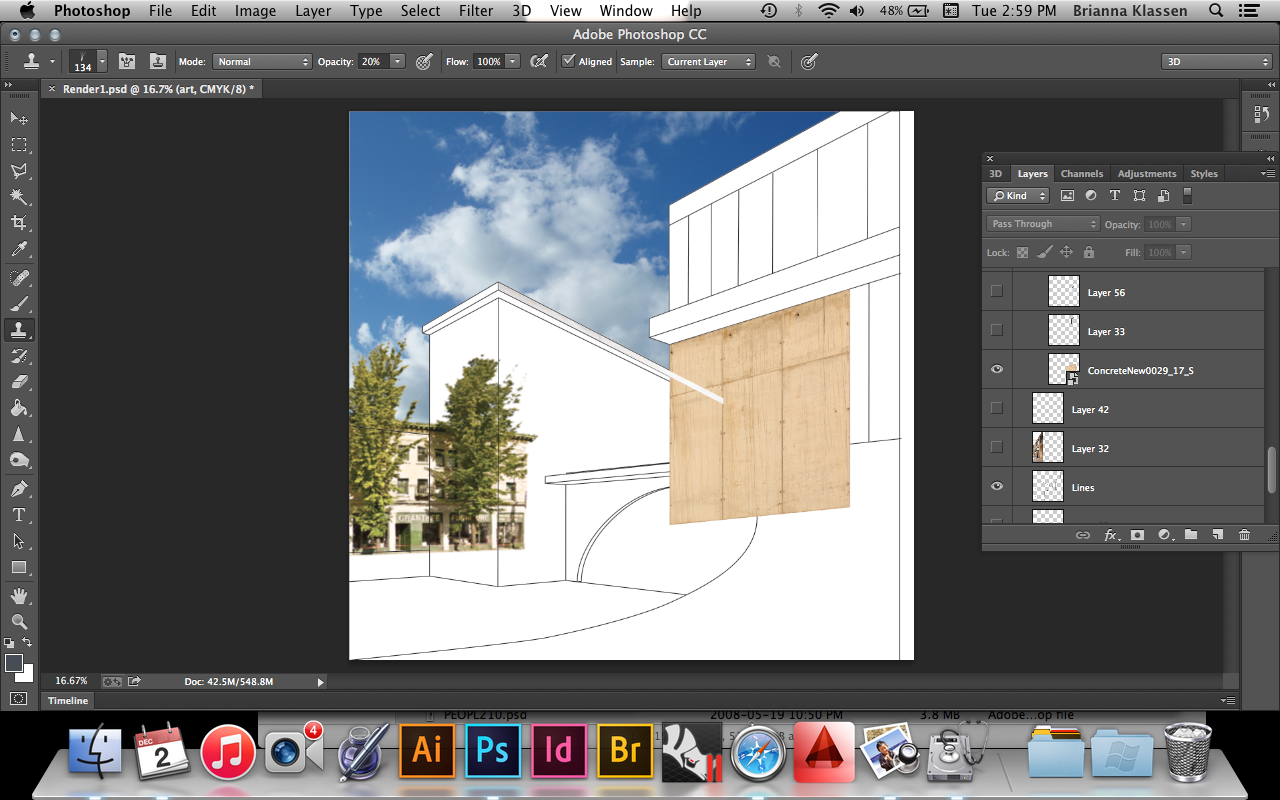
below: I used a sky image and a photo of the building across the street for the setting, and used the transform>perspective tool to form textures to my line drawing
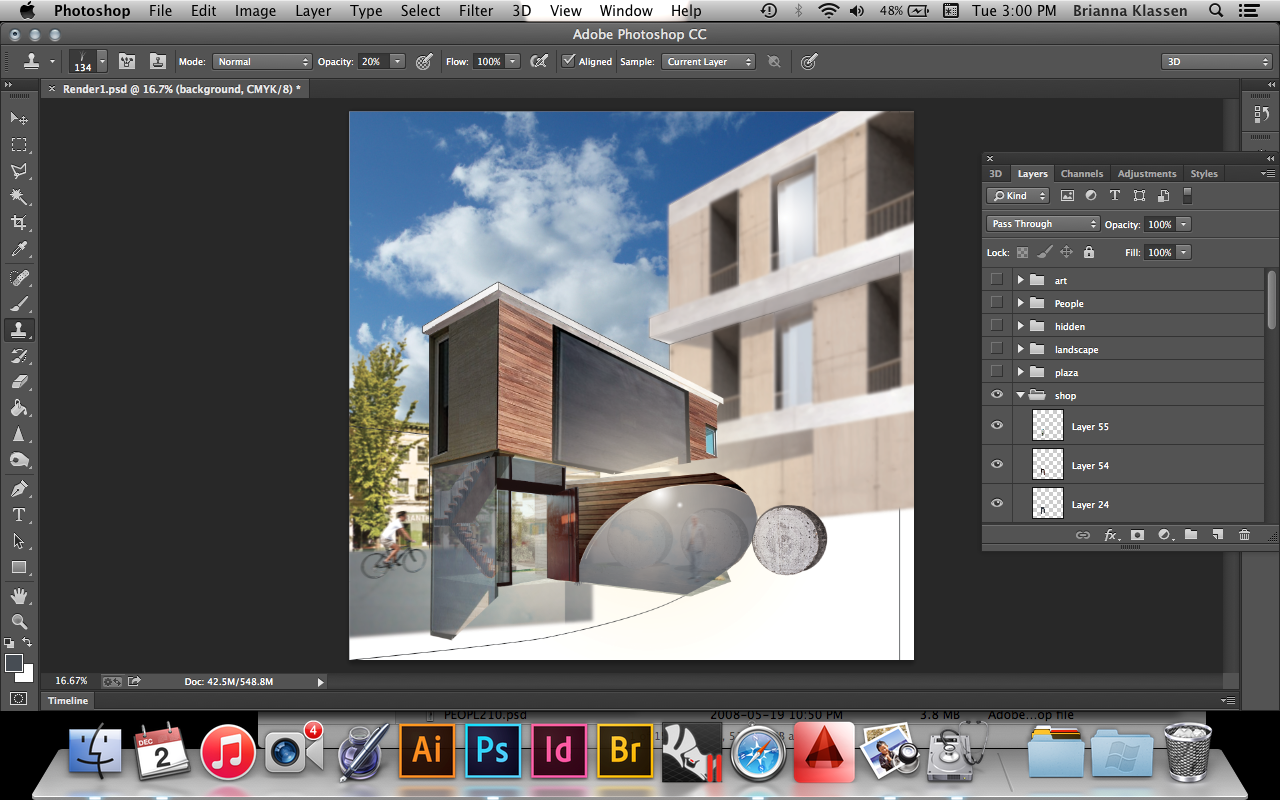
above: I used the gradient tool and various opacity changes to create the illusion of glass refection, transparency and sun flare. I used the gaussian blur to sharpen the focus on the mid-ground similar to a photograph.
above: then I added people. I made sure that the sun that caused the sun glare on the glass hit the people at the same angle. I also added grass, and a foreground branch to frame the image. The man on the bicycle in the background has been motion blurred to give the effect of movement.
Below: The finished image, complete with an original art installation to give an example of the production of the art gallery.

