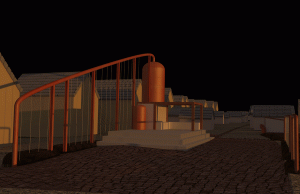
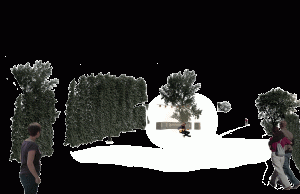
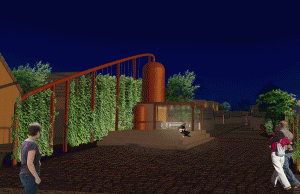
Below, you can see the basic steps that I took to transform the render right out of Rhino into my final product. I added people, plants, texturing on the cabinetry, and some extra lighting (seen as the white blobs that did not transfer well into GIF form).
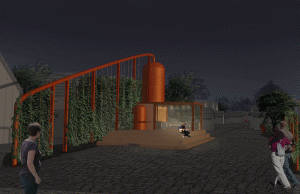
Then I added a sky, and made many adjustment layers, primarily hue and saturation. Above is the render without adjustments, and below you can see much of the hue/sat taken out of parts of the render that I don’t want people to focus on.
Then I did all of the same for render number two, and that’s that!


