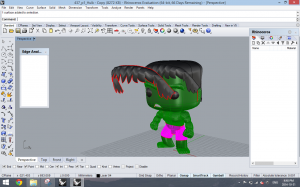
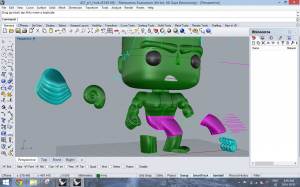
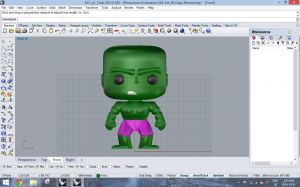
Finishing up the body – continuing to use my strategy of breaking up surfaces and segments then joining things together later as Hulk is not symmetrical at all points.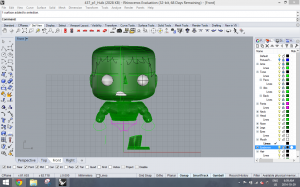
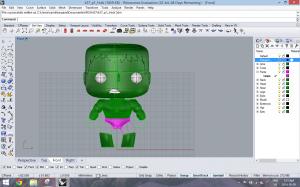
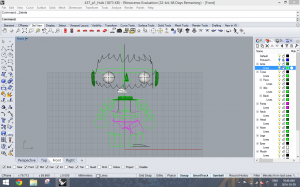
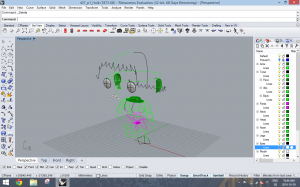
Lots of things continue to need refinement…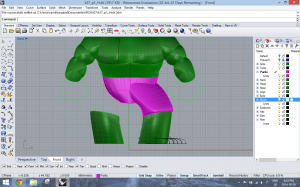
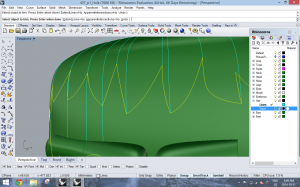
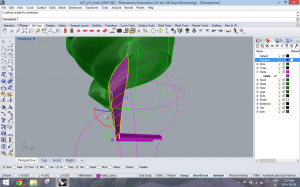
Successfully using Blend Surface after Tam’s recommendation!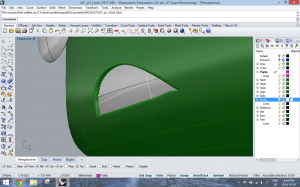
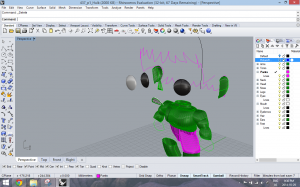
I definitely put off the fists as my last task as it was a hard one to conquer. Edward suggested sharing pieces among group members so the blue was created by Christina (below). Given the style of Hulk however, I thought it didn’t quite match which is the difficult part with having different techniques in Rhino I learned.
After an enlightening power-shower, I realized that given the scope of the project and seeing the 3D models already printed by peers… I realized many details are lost in print. I used this to my advantage and any harsh curves created from using the Pipe + round curve tool would actually work for me.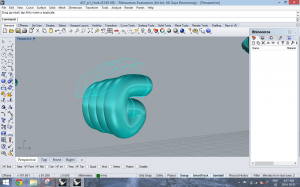
Last to take on – the hair. This was definitely the most frustrating part of the whole project because I was so close to finishing but the technique that my group members/partner used… just wasn’t working for me. They projected the curves traced of his hair in front and right view onto their heads, split, offset then finally capped it.
Mine was not splitting unfortunately so I had to seek other strategies…
Finally getting close to something… this was the best I could get (although I wasn’t happy with the result). Unfortunately, after my first print – the hair caused a lot of issues.