
This past week, Jasmine and I finished off the last few parts of our Rhino model. Using a combination of curve networks, loft, sweep, revolve, rail revolve, edge srf, cap, and boolean commands, we managed to complete Bambi’s eyes, hair, ears, tail, arms, and legs.
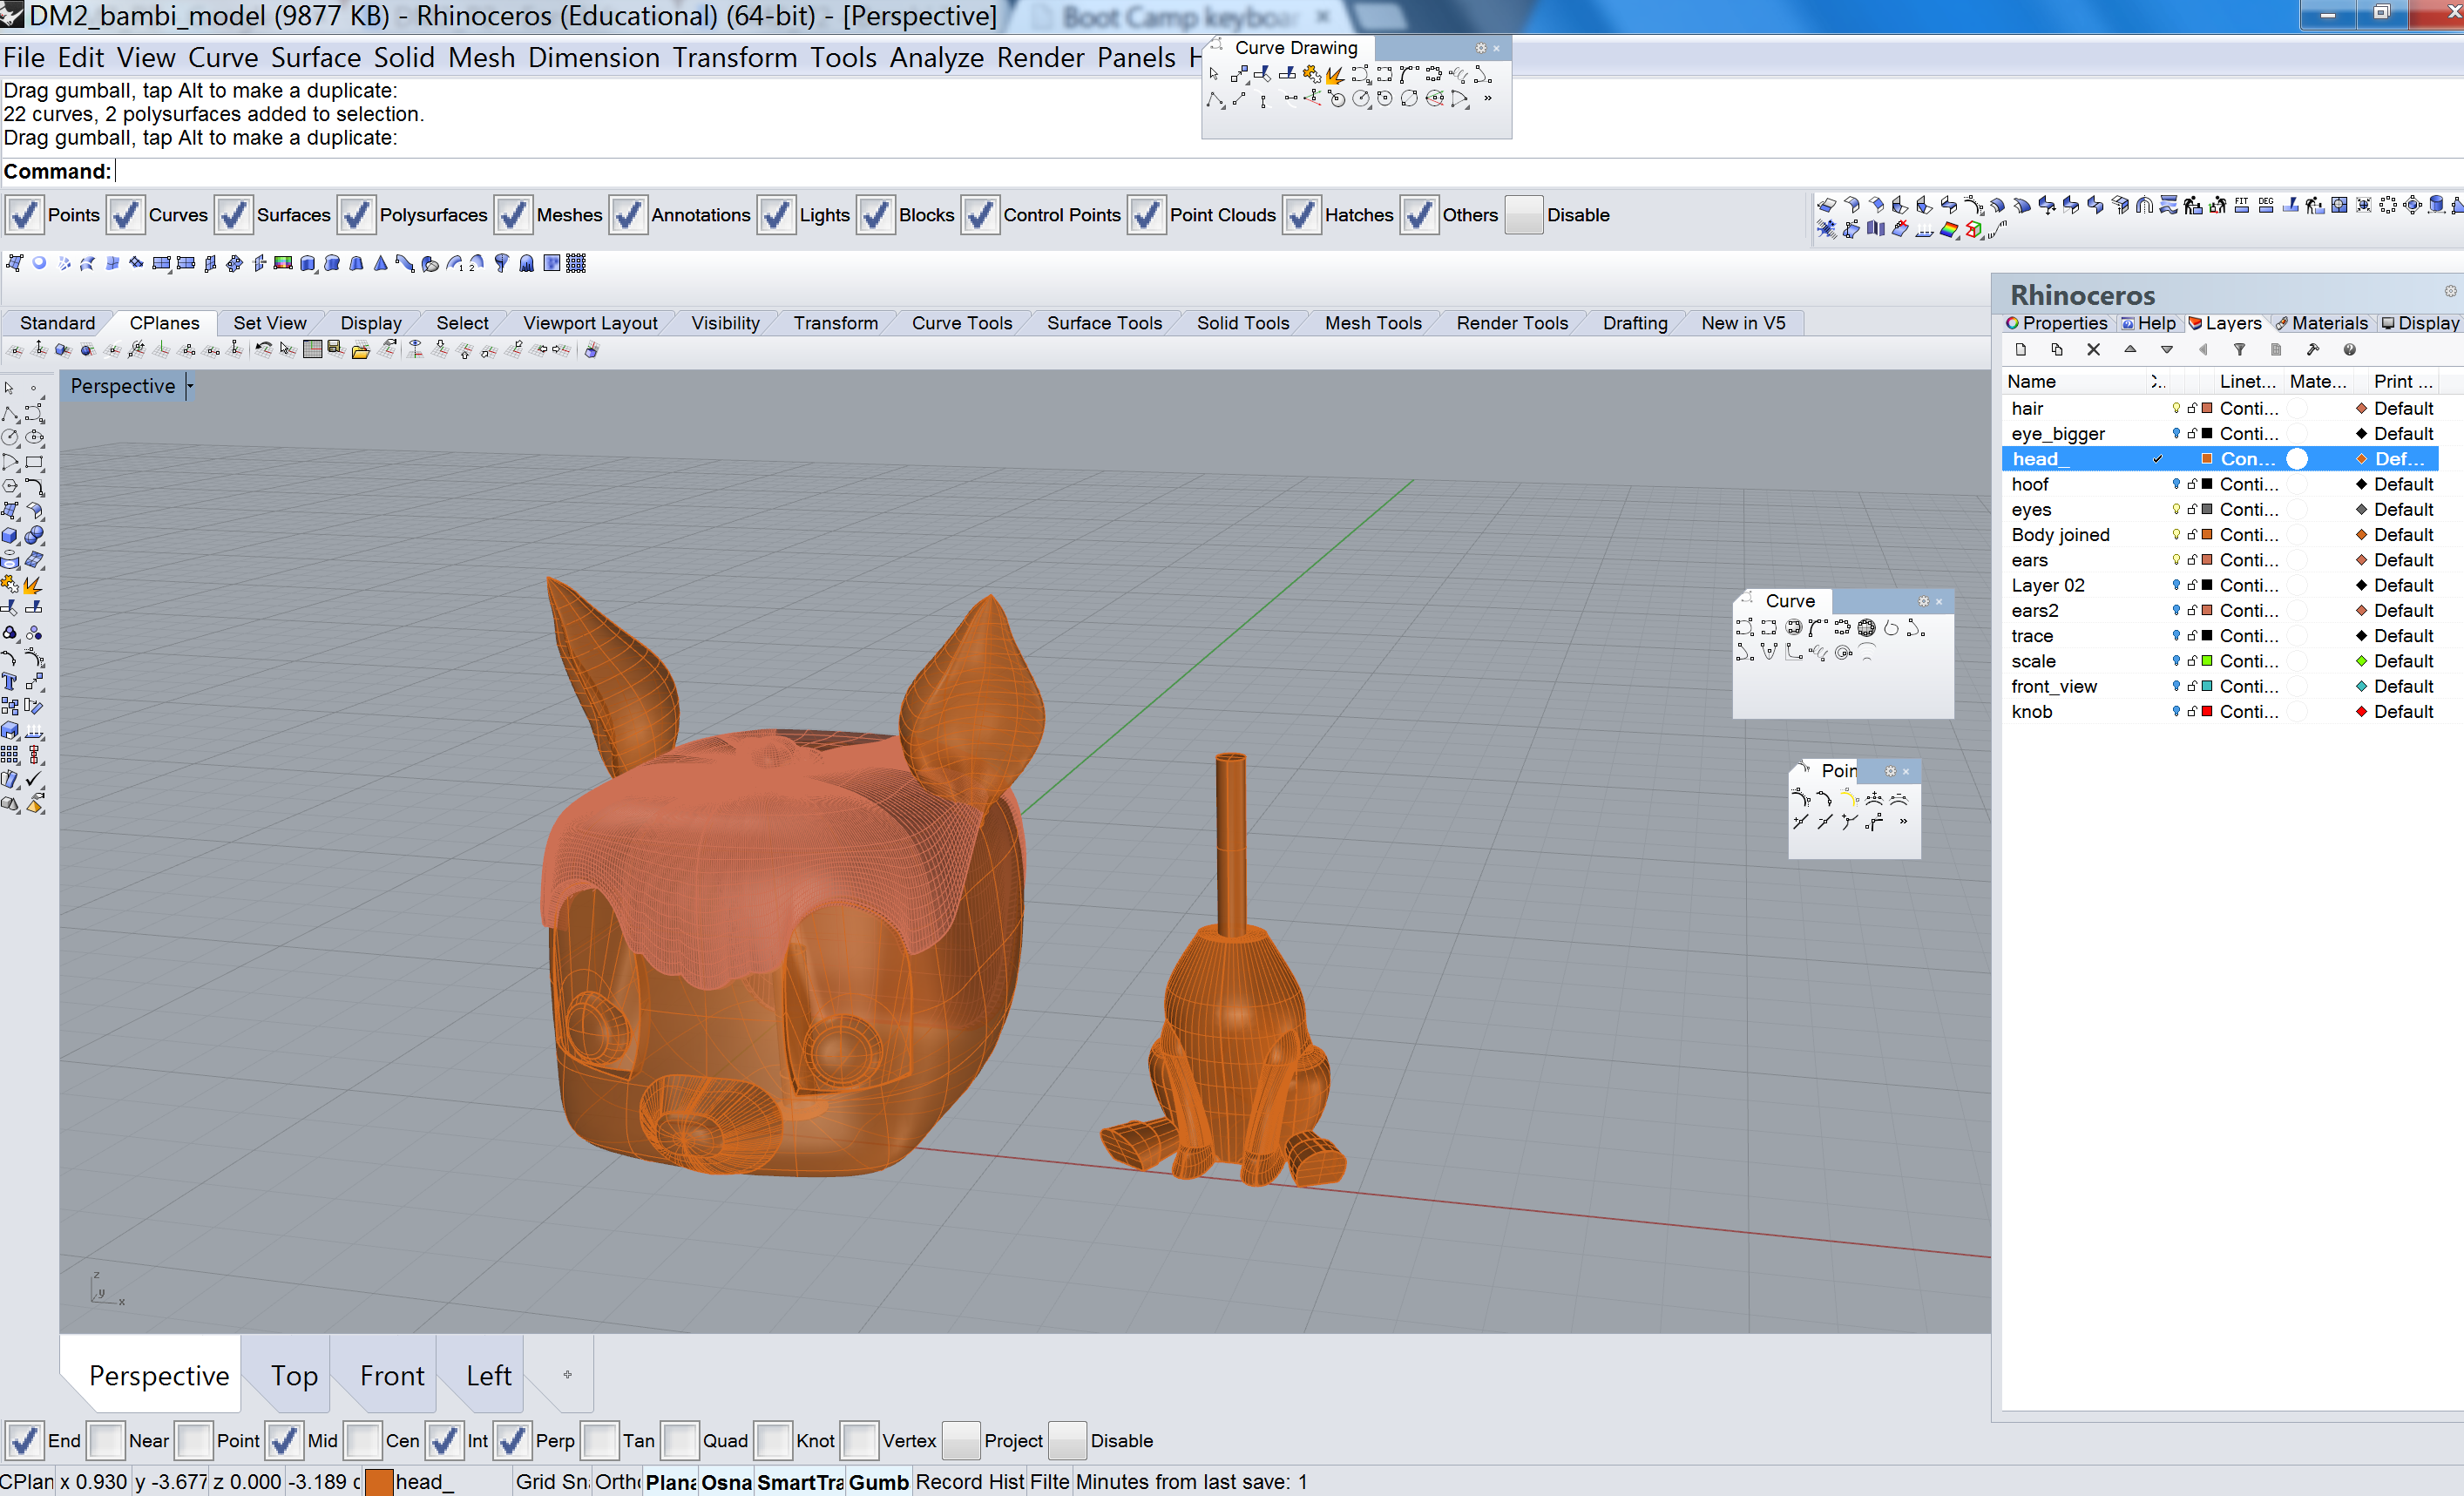
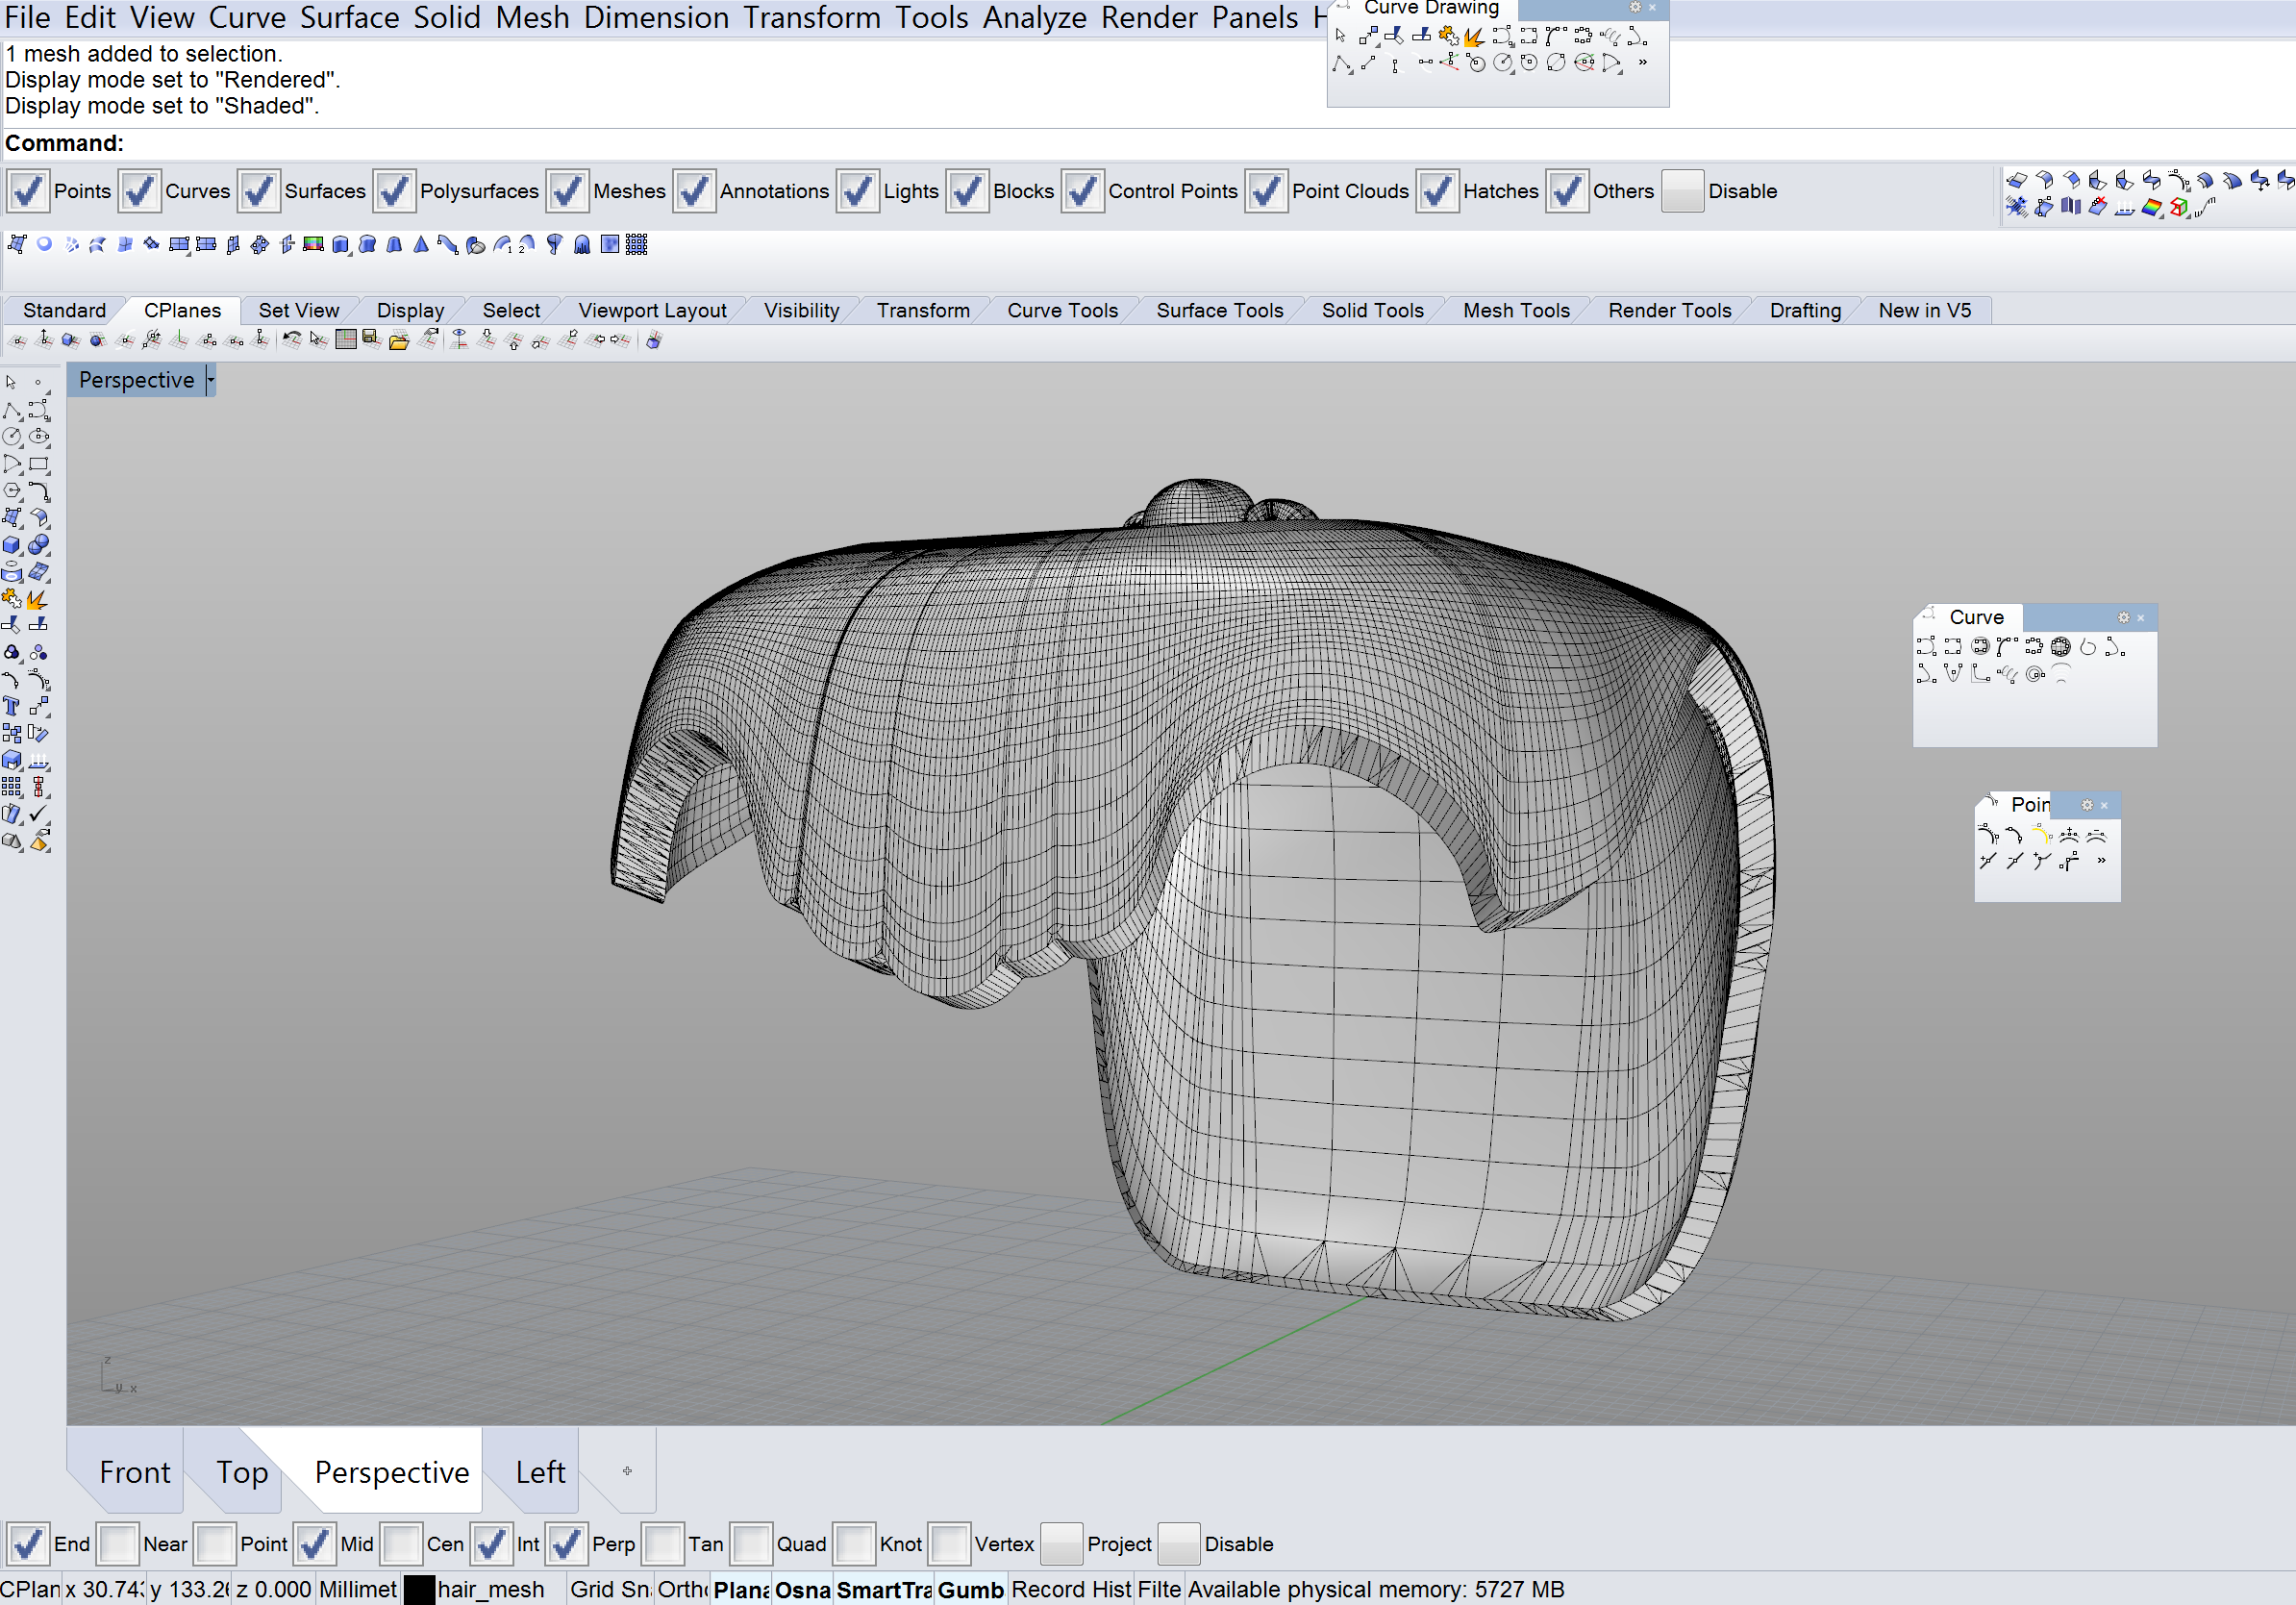
For the hair, we extracted iso curves from the main massing of the head and traced the general shape using photos of the front, side, and back views. We then used curve networks, and then extracted iso curves again. We then adjusted the new iso curves until we were fairly satisfied with the shape and used the curve network command again. Jasmine and I found out that different combinations of the iso curves yielded slightly different shapes, some smoother than others. This process took many tries until we each achieved a shape that resembled the smooth surfaces of Bambi’s hair. After that, we offset the hair and lofted between the two surfaces.
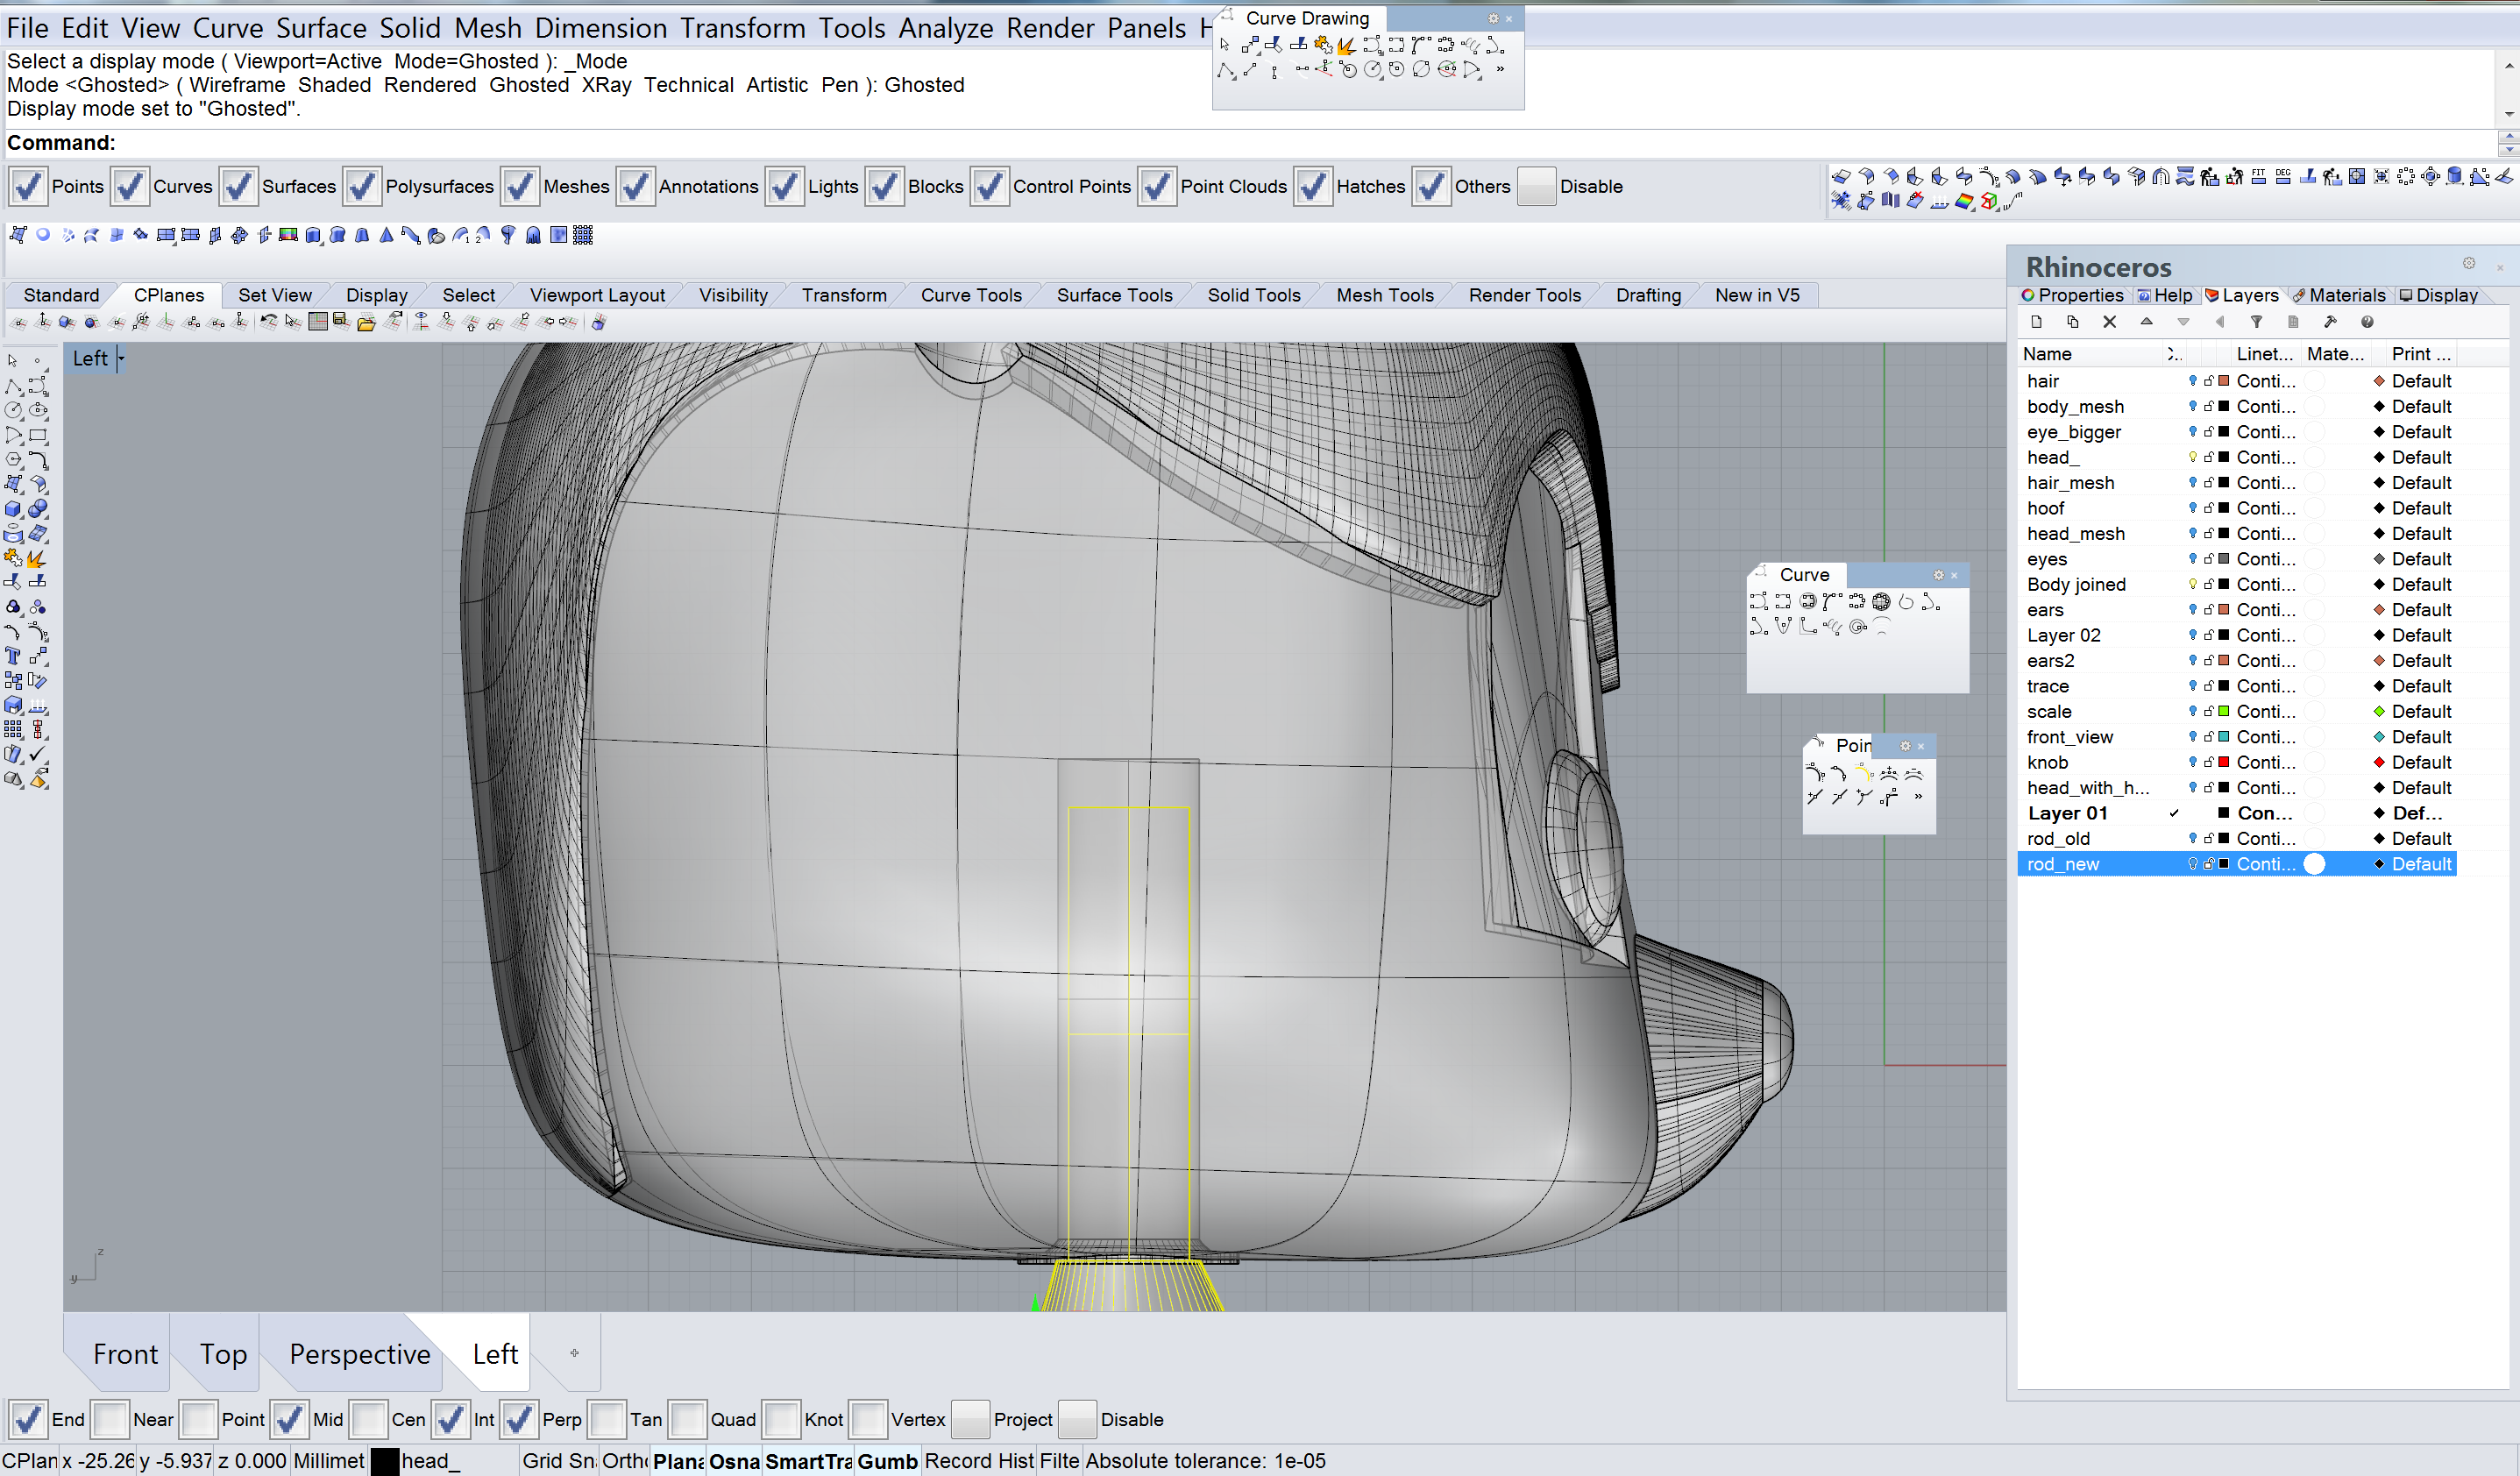
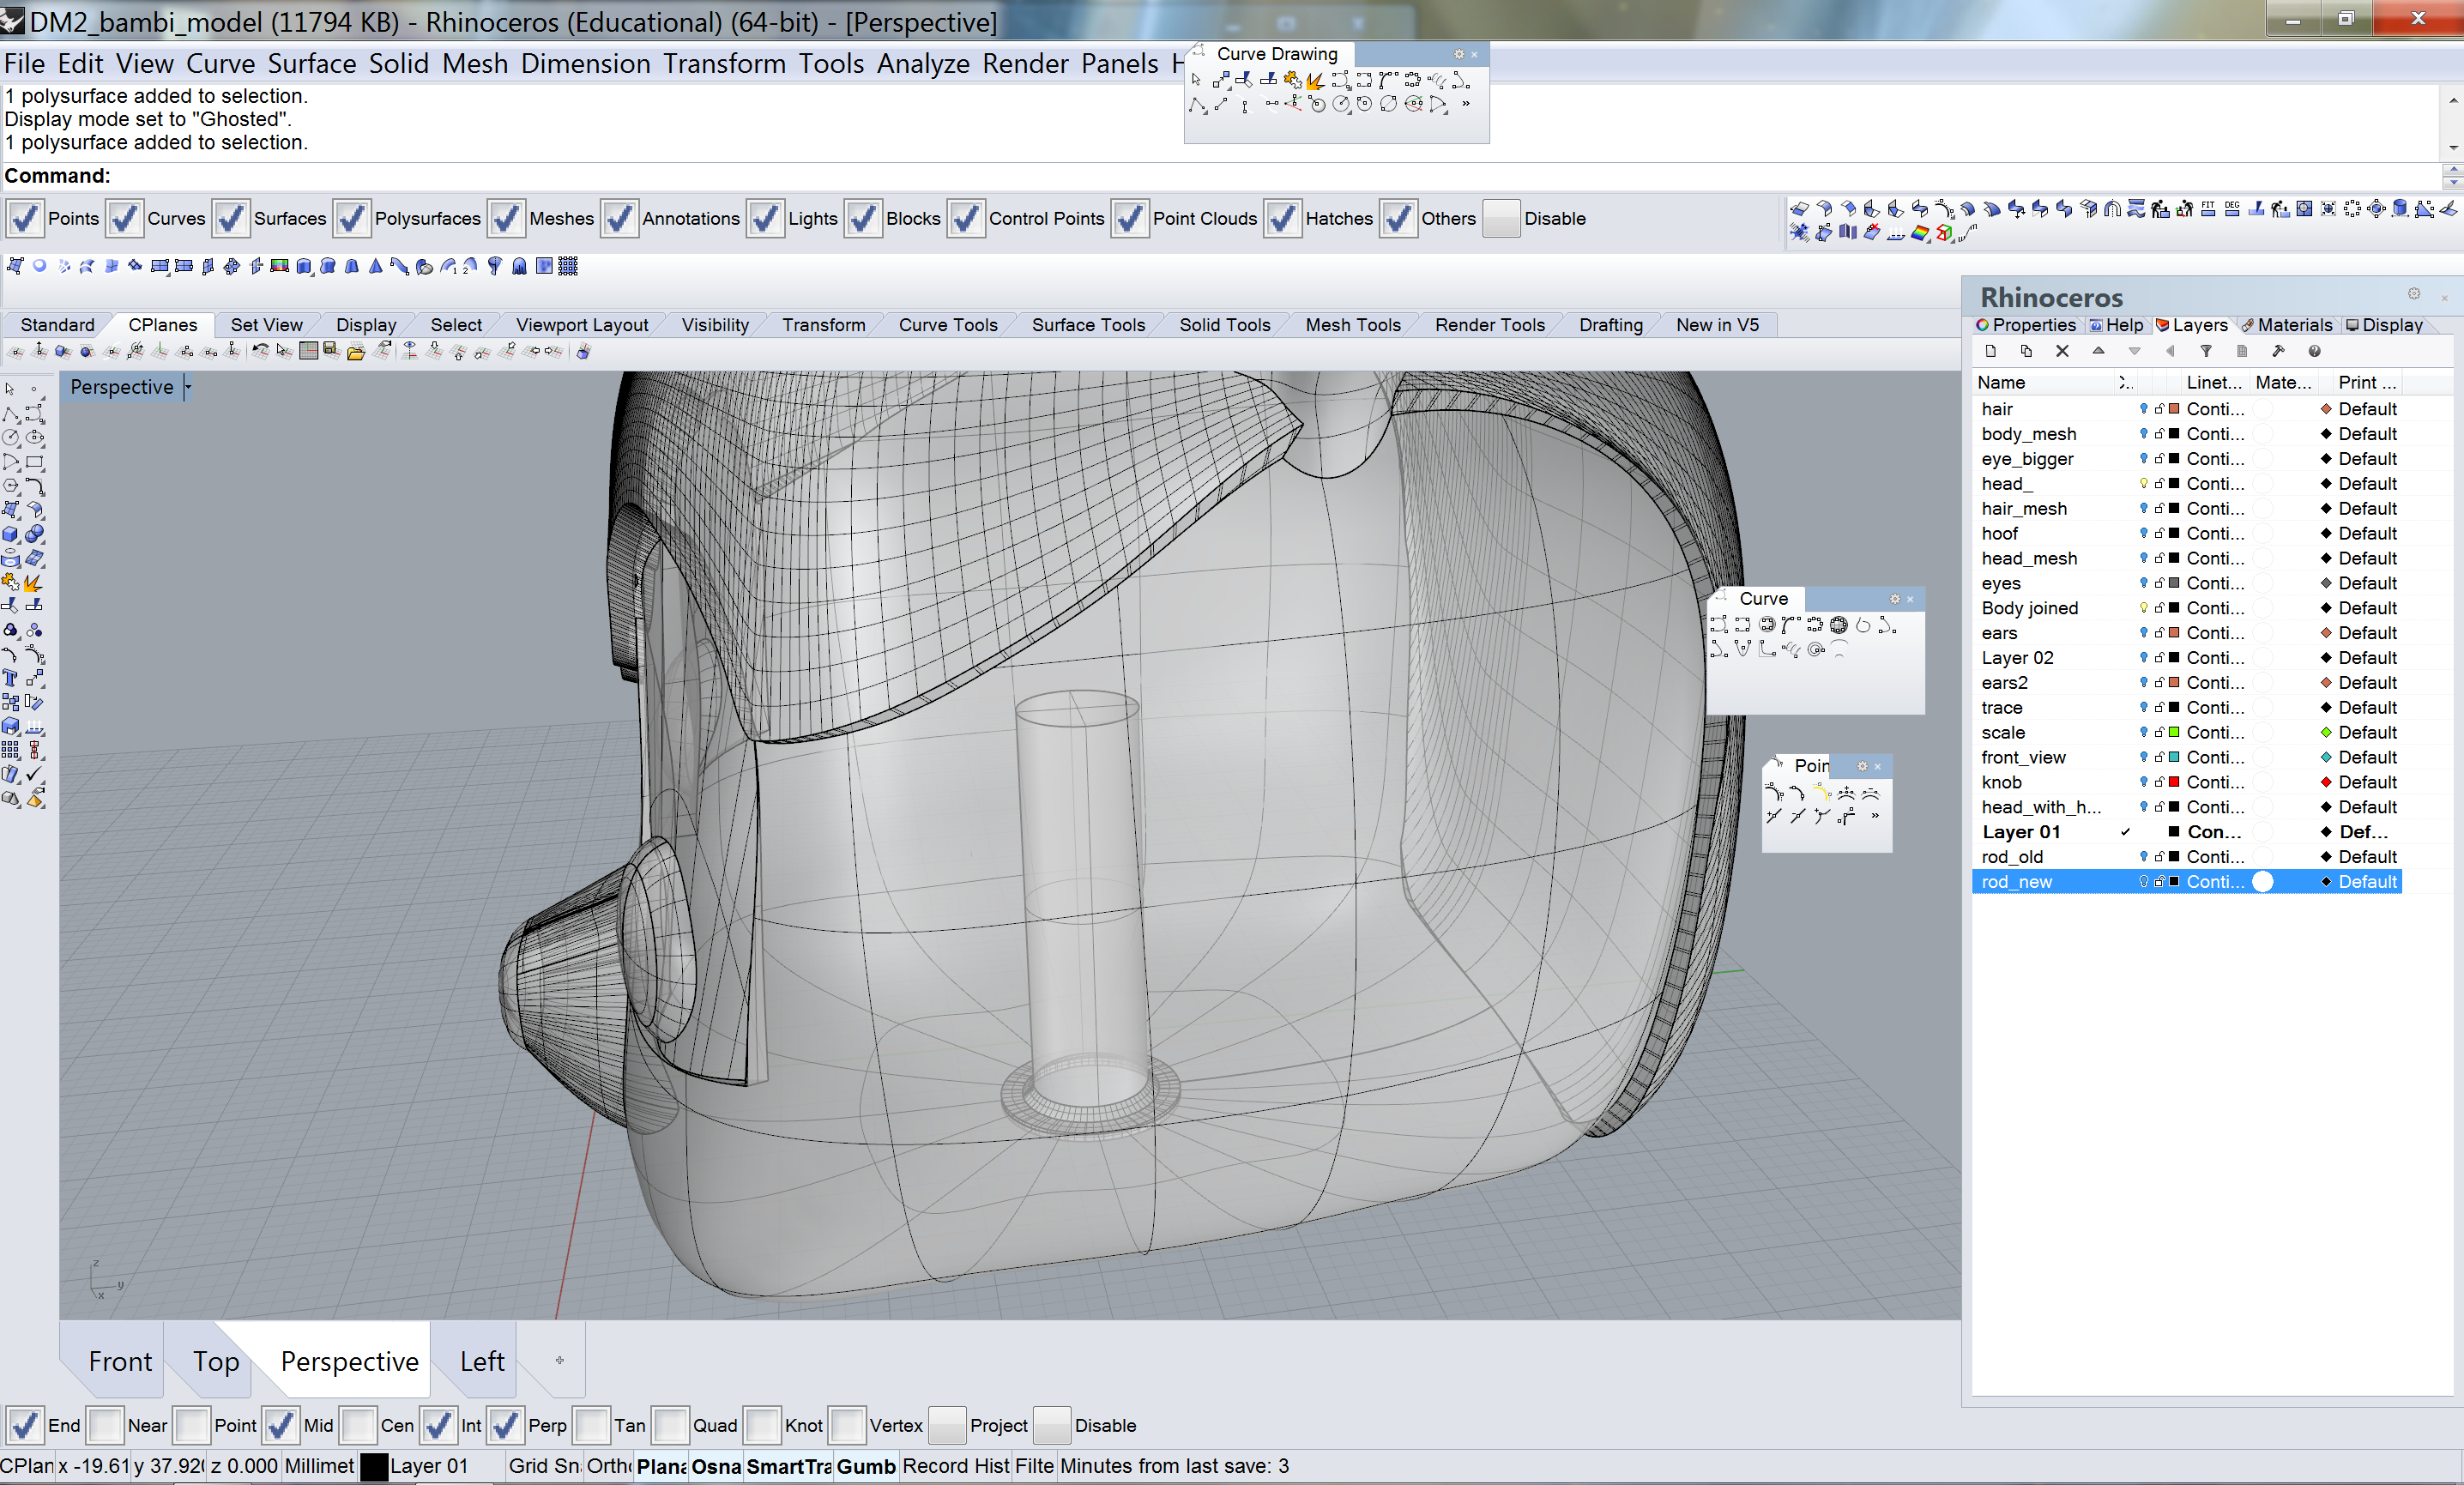
In our last blog post, Jasmine mentioned that we were trying to make the heads of our models turn. We decided to simplify the original “knob”-like turning mechanism in the toy to a basic cylinder. Using an offset of 0.5 mm, we created a cylindrical void inside the head which would allow the neck to turn. After discussing with some classmates, Jasmine and I were careful to leave more empty space above the rod in case we wouldn’t be able to remove all the support material after 3D printing.
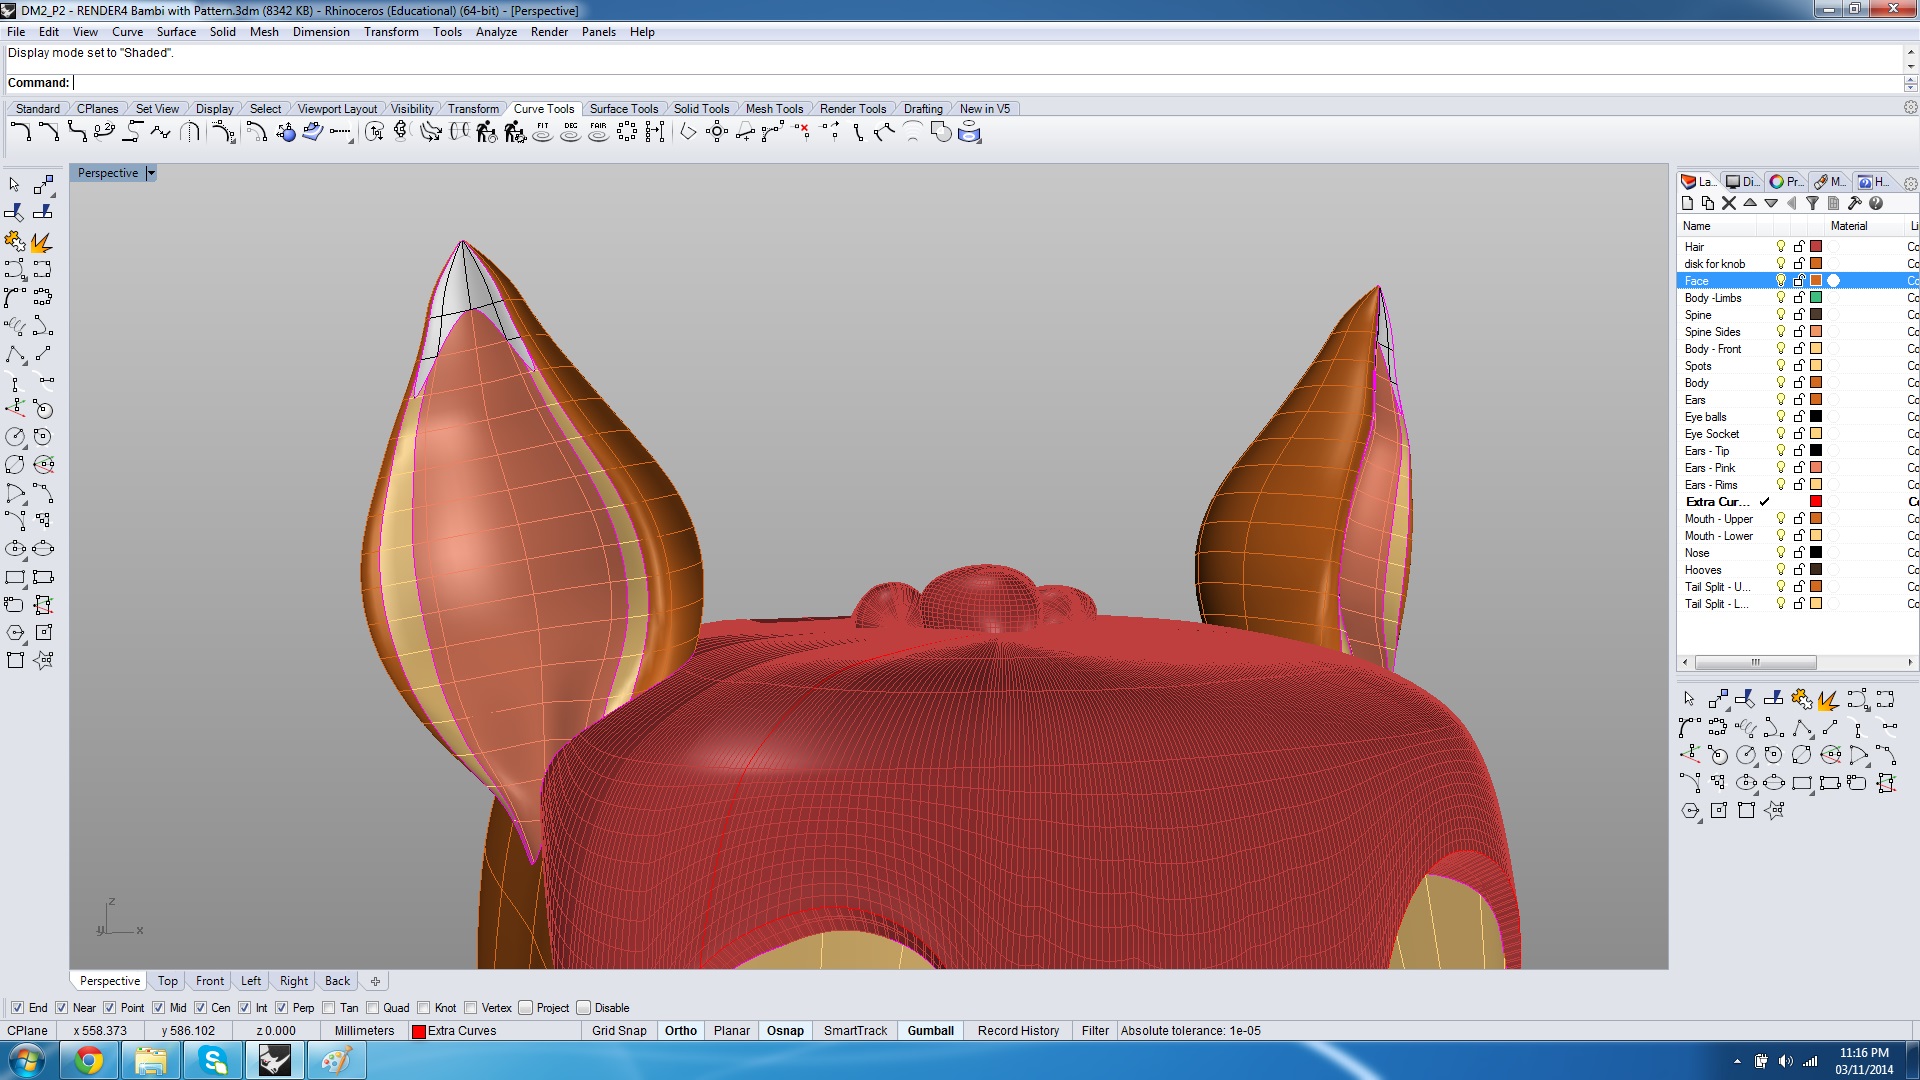
For the ears, we traced one section to get the profile curve, rail revolved, and lofted. Similar to the process for creating the hair, we extracted iso curves from this new shape, manually adjusted them, and then lofted again to generate a more precise form of the ear.
After making sure that our model was properly joined/booleaned and free of nasty naked edges, we were ready to prepare our file for 3D printing.
Our first printing job took about 2 minutes… Due to scaling problems, we ended up printing our model 10 times too small. We soon realized that Tinkerine had taken our model (drawn in centimetres) and changed the units to millimetres. We made the adjustments and proceeded to print again.
We had hoped to print our model in white, but due to temperature issues, and the spool tangling within itself (which happens when the spool is too large to fit on the back of the printer), our second print was a failure to say the least.
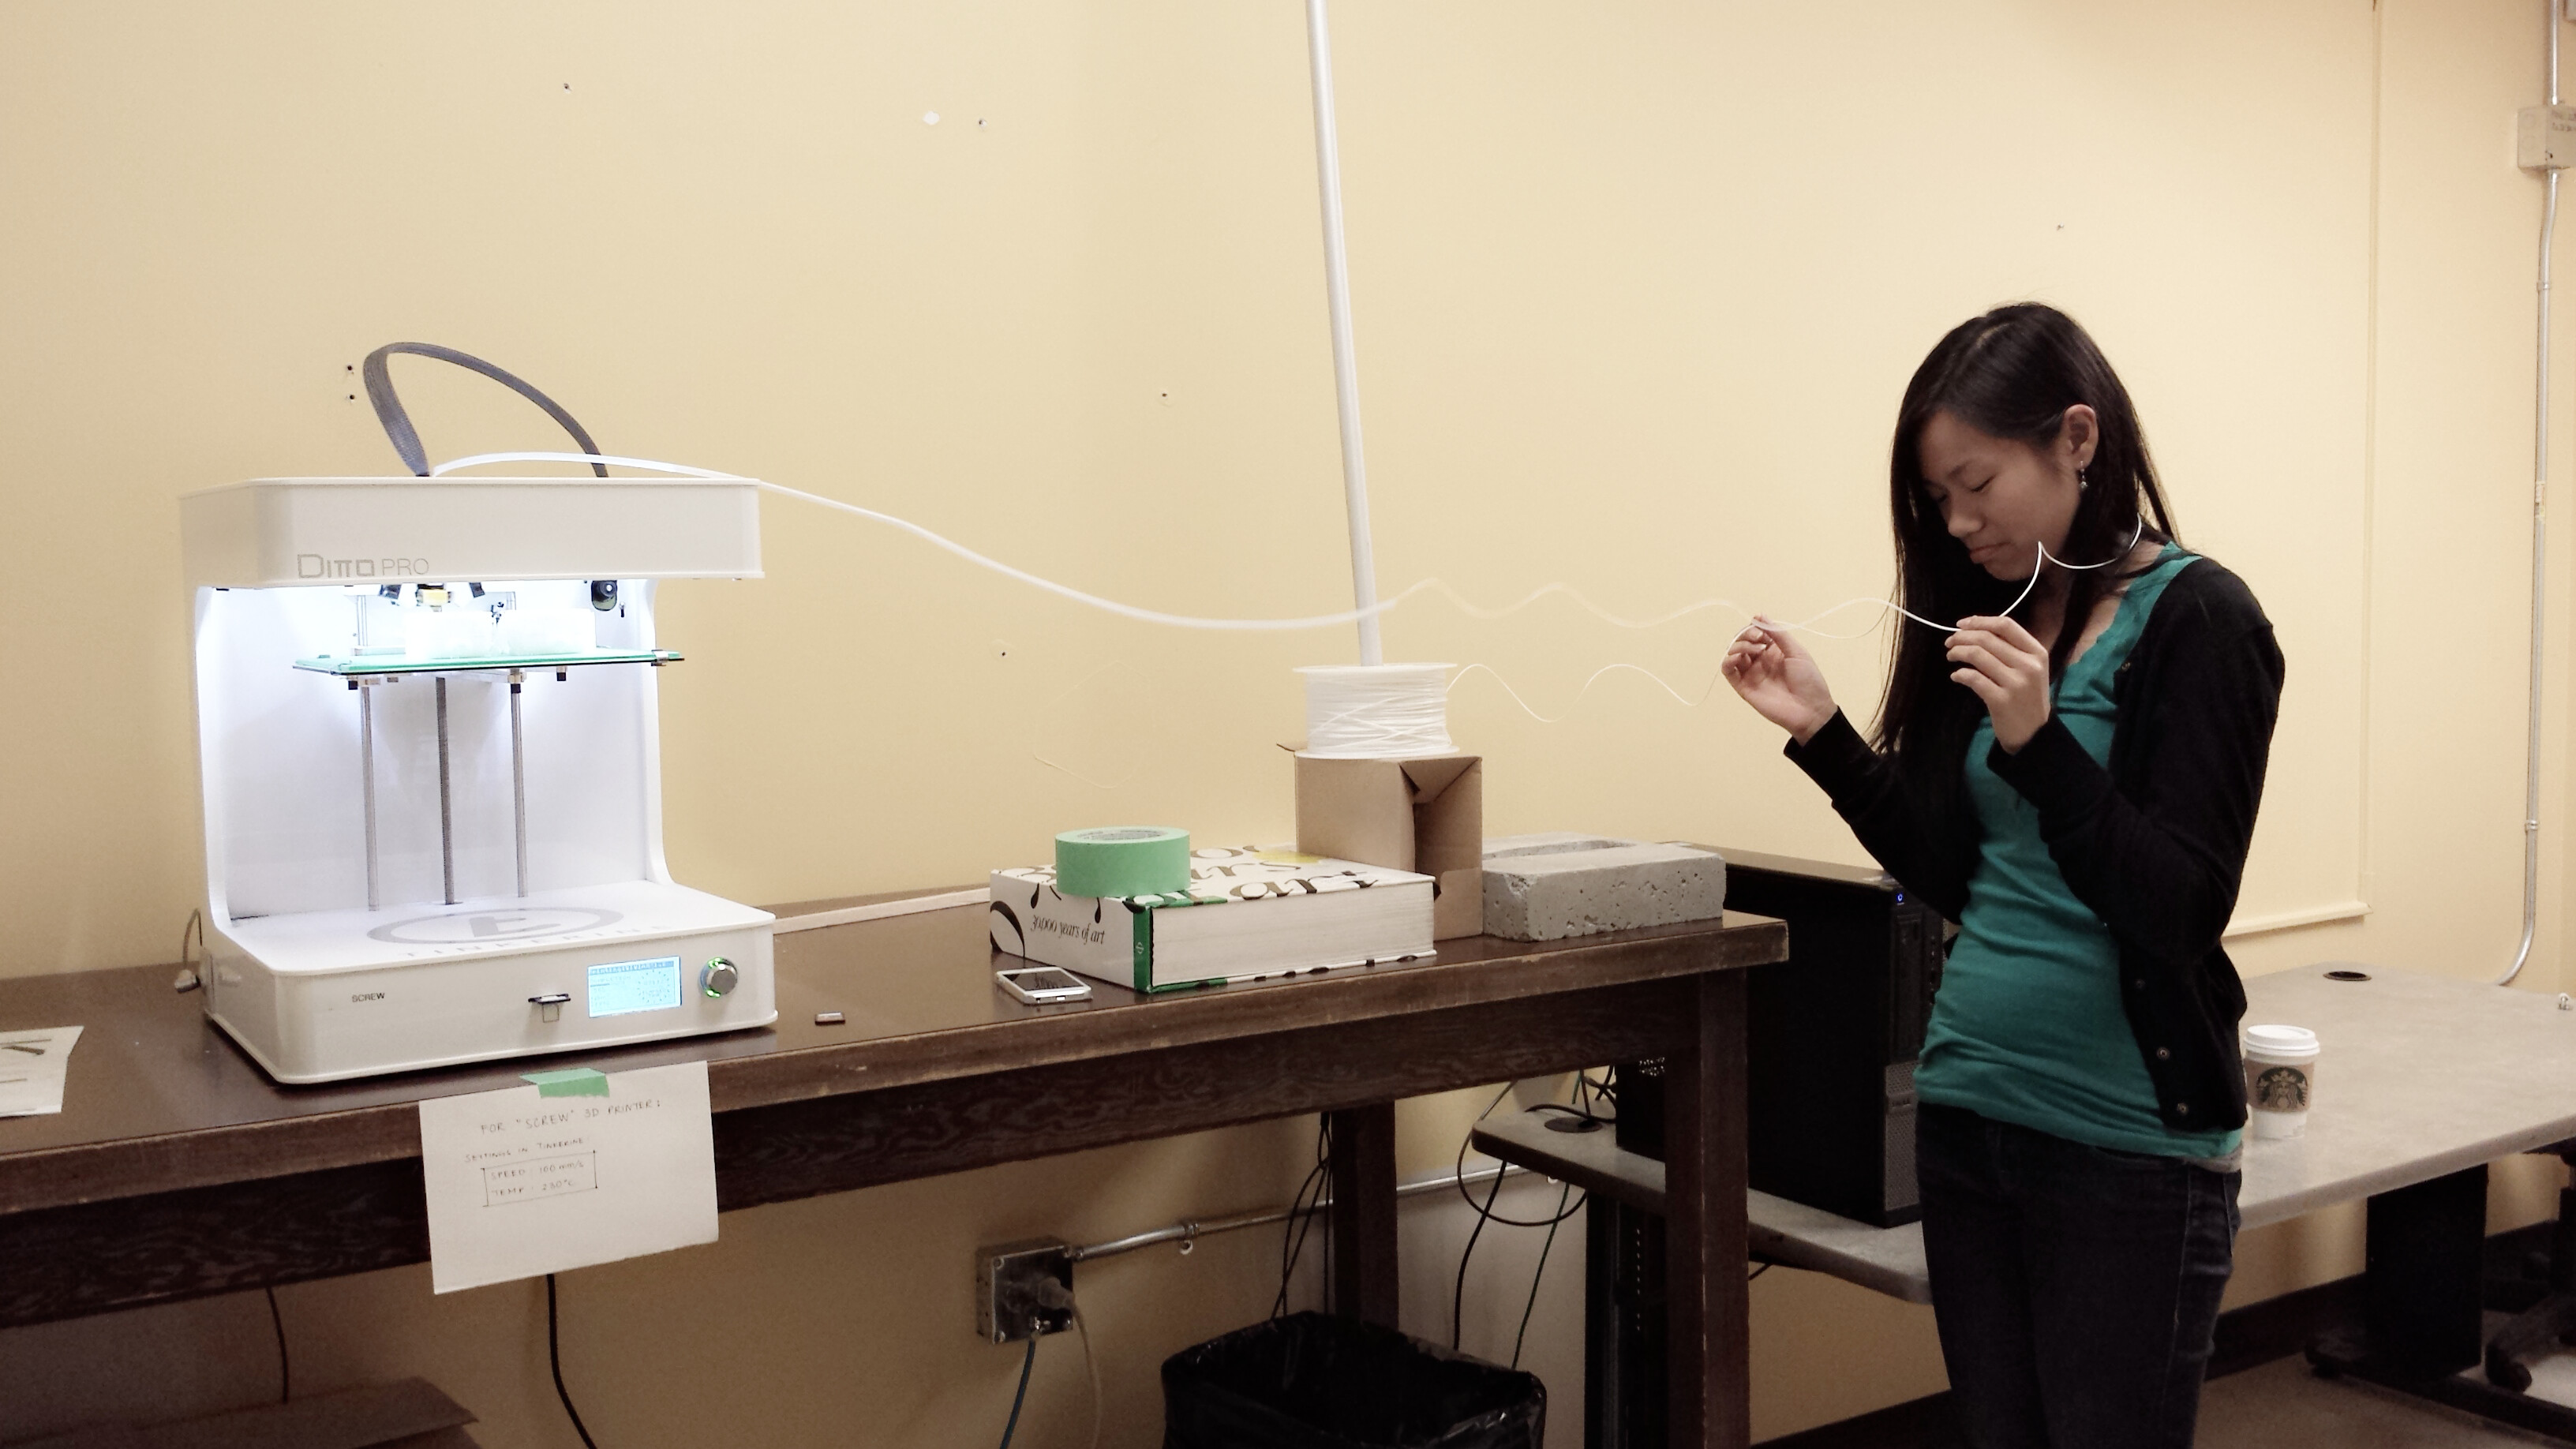
For 10 hours, we watched our print job while manually untangling the filament as best as we could.
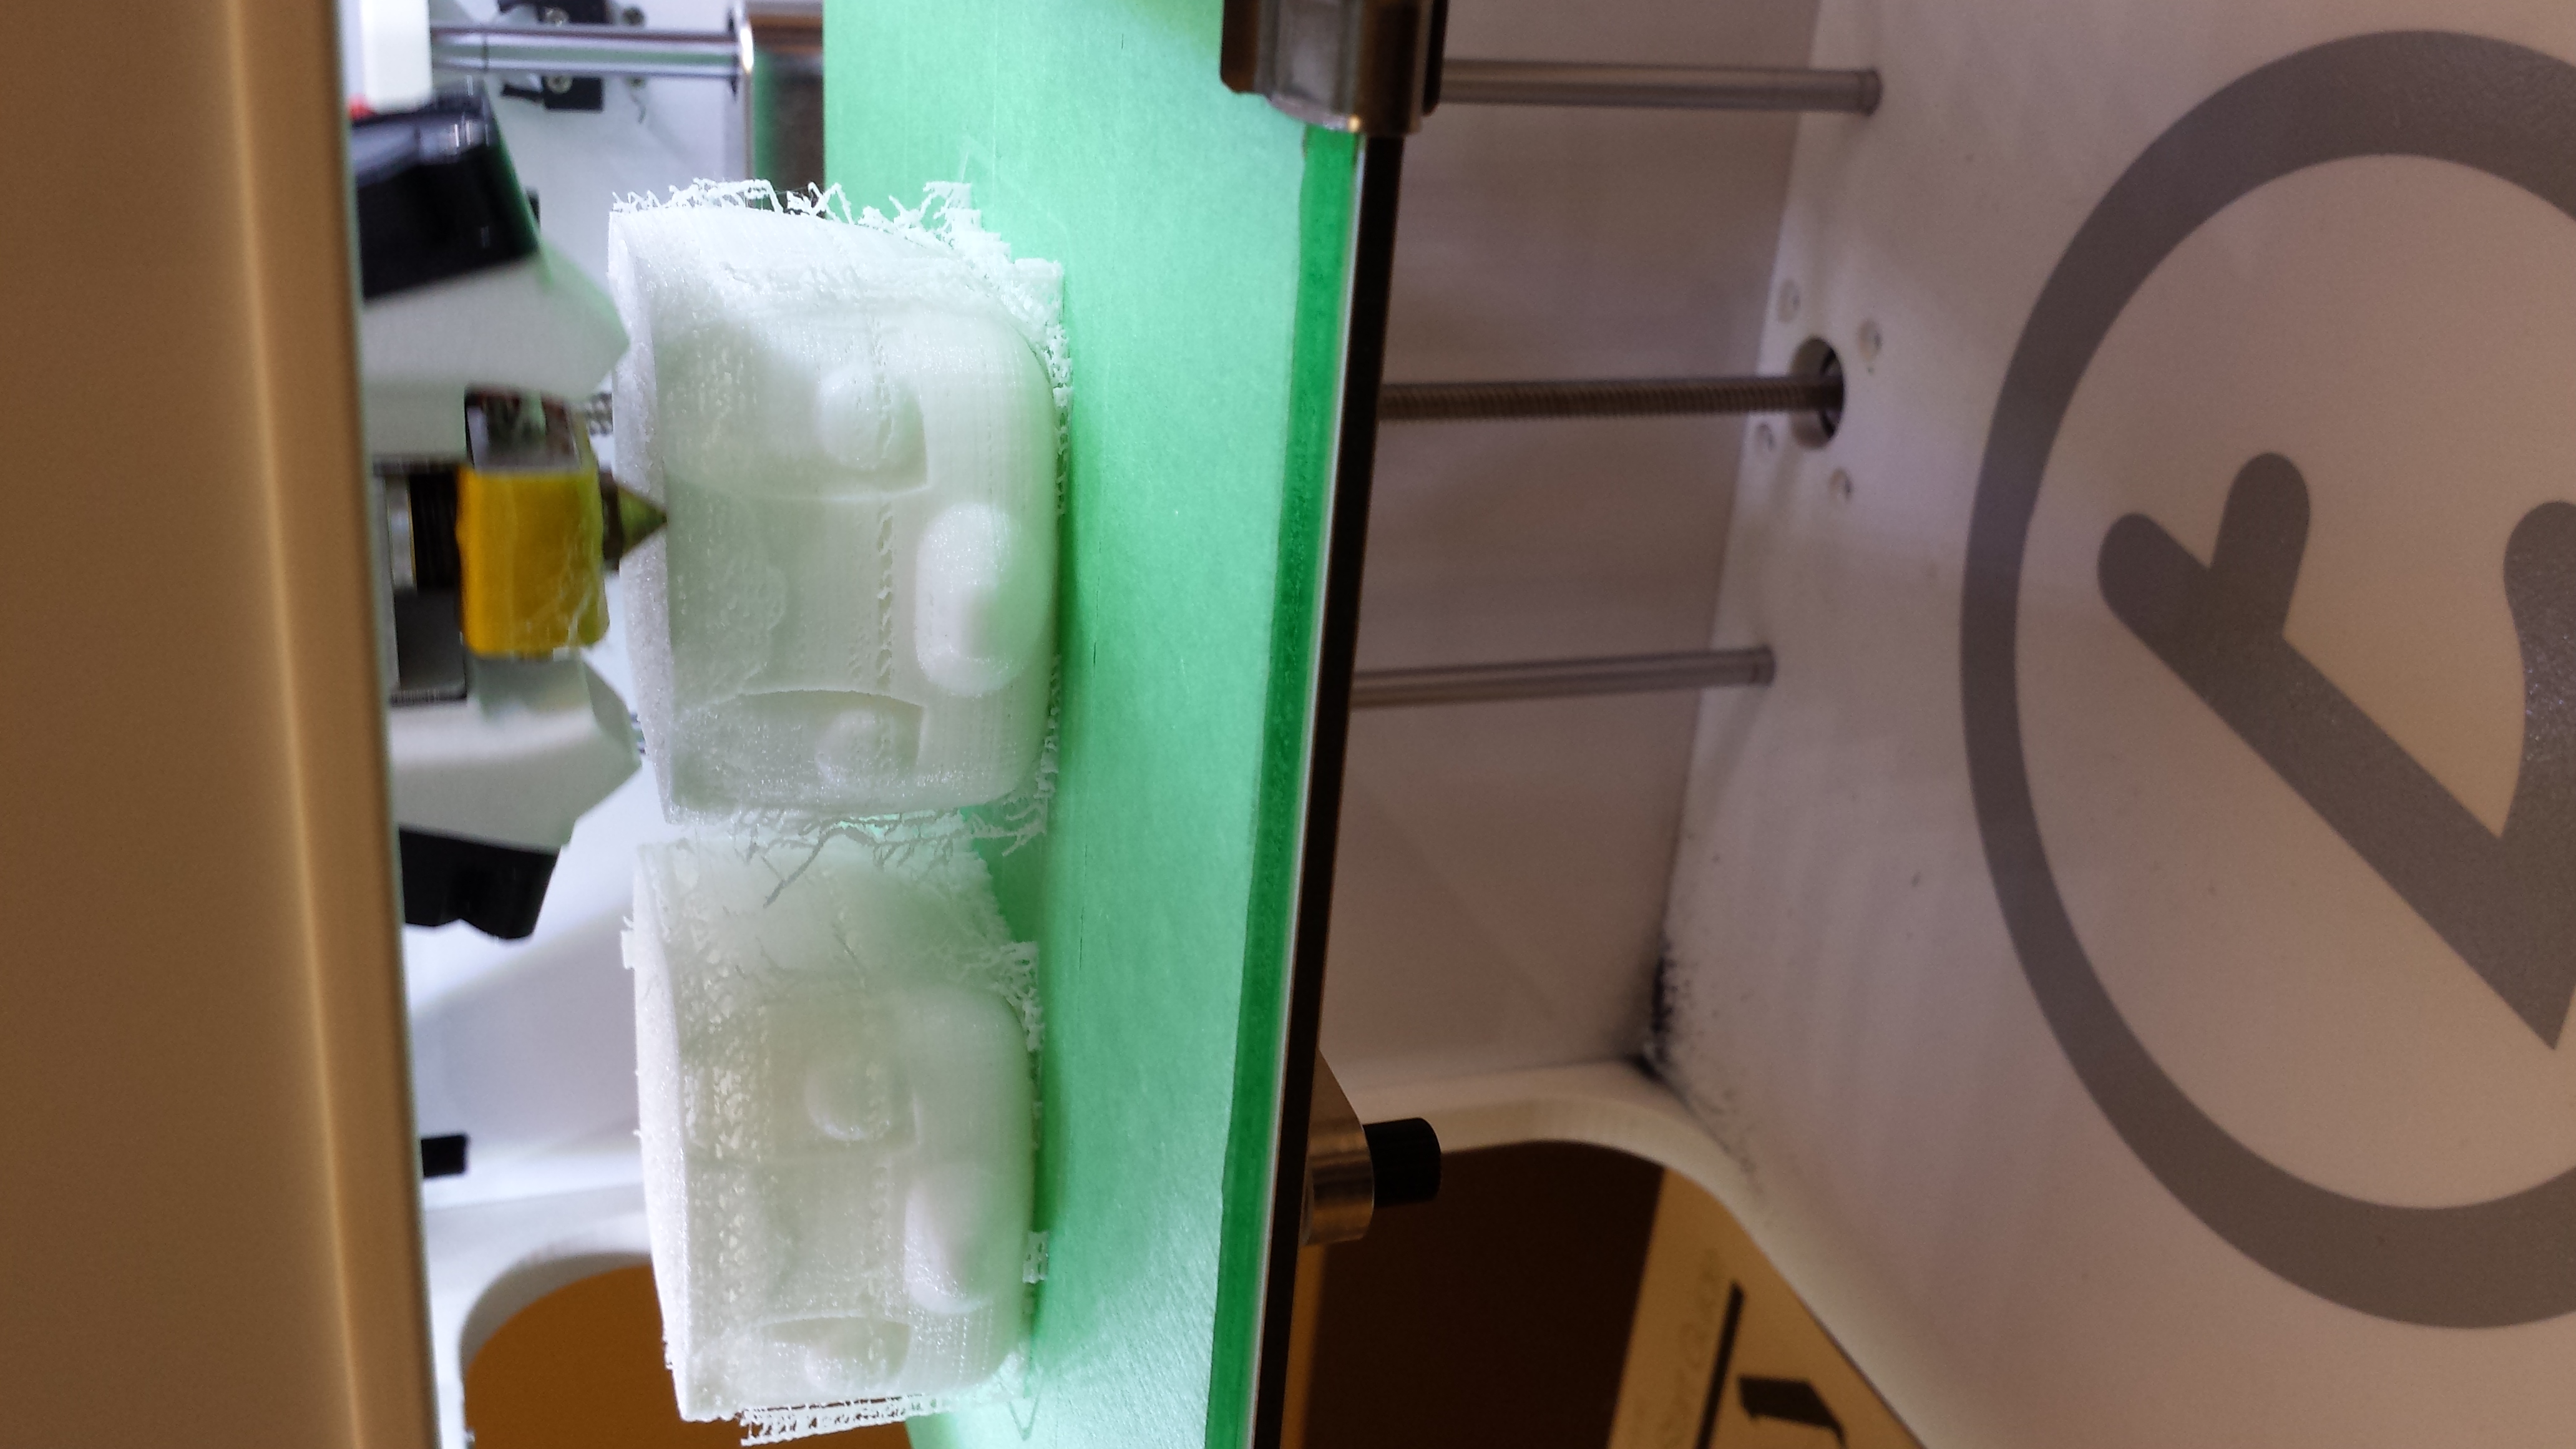
An open window and other temperature issues caused breaks and gaping holes in our model. Another lesson we learned was not to leave a print job unattended. After a frustrating 10 hours, we went home for the last 5 hours of our print jobs for some much needed sleep. Unfortunately, when we arrived at school the next morning, just when we thought things couldn’t get any worse, we discovered the following scene.
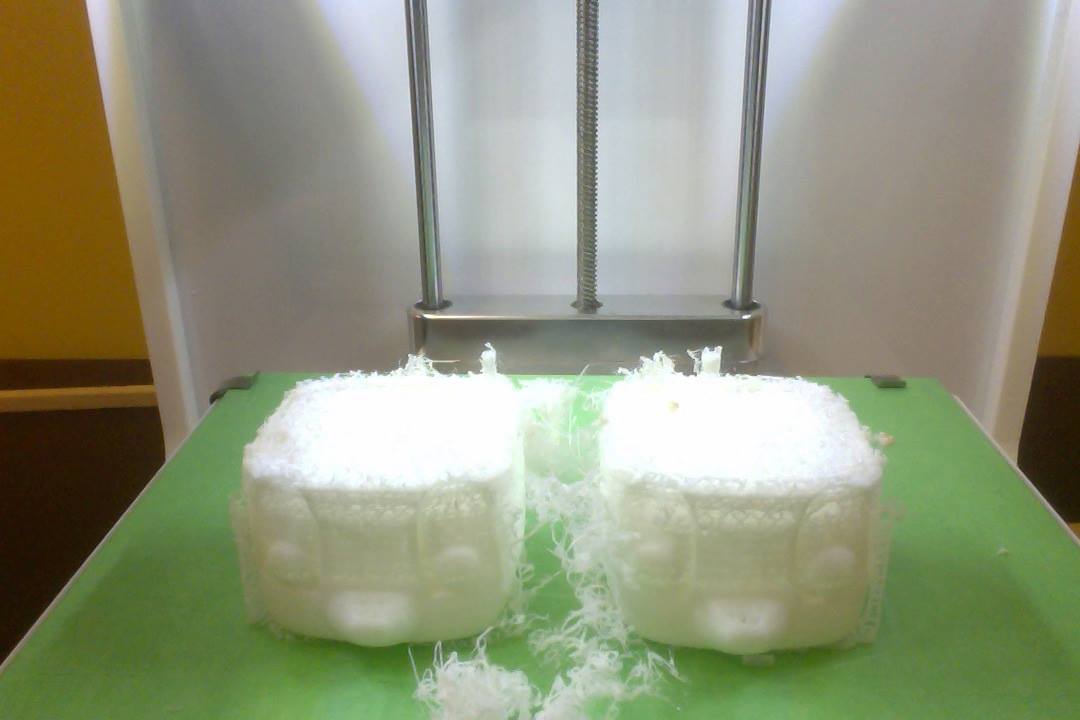
Without anybody to untangle and help move the spool along, the filament seemed to have stopped feeding into the machine, leaving our model incomplete.
Our third attempt was much more successful. This time, we decided to split our files onto two separate printers and opted for the clear filament. This time, there were no temperature issues and the print job went smoothly and fairly quickly, taking just under 3 hours. 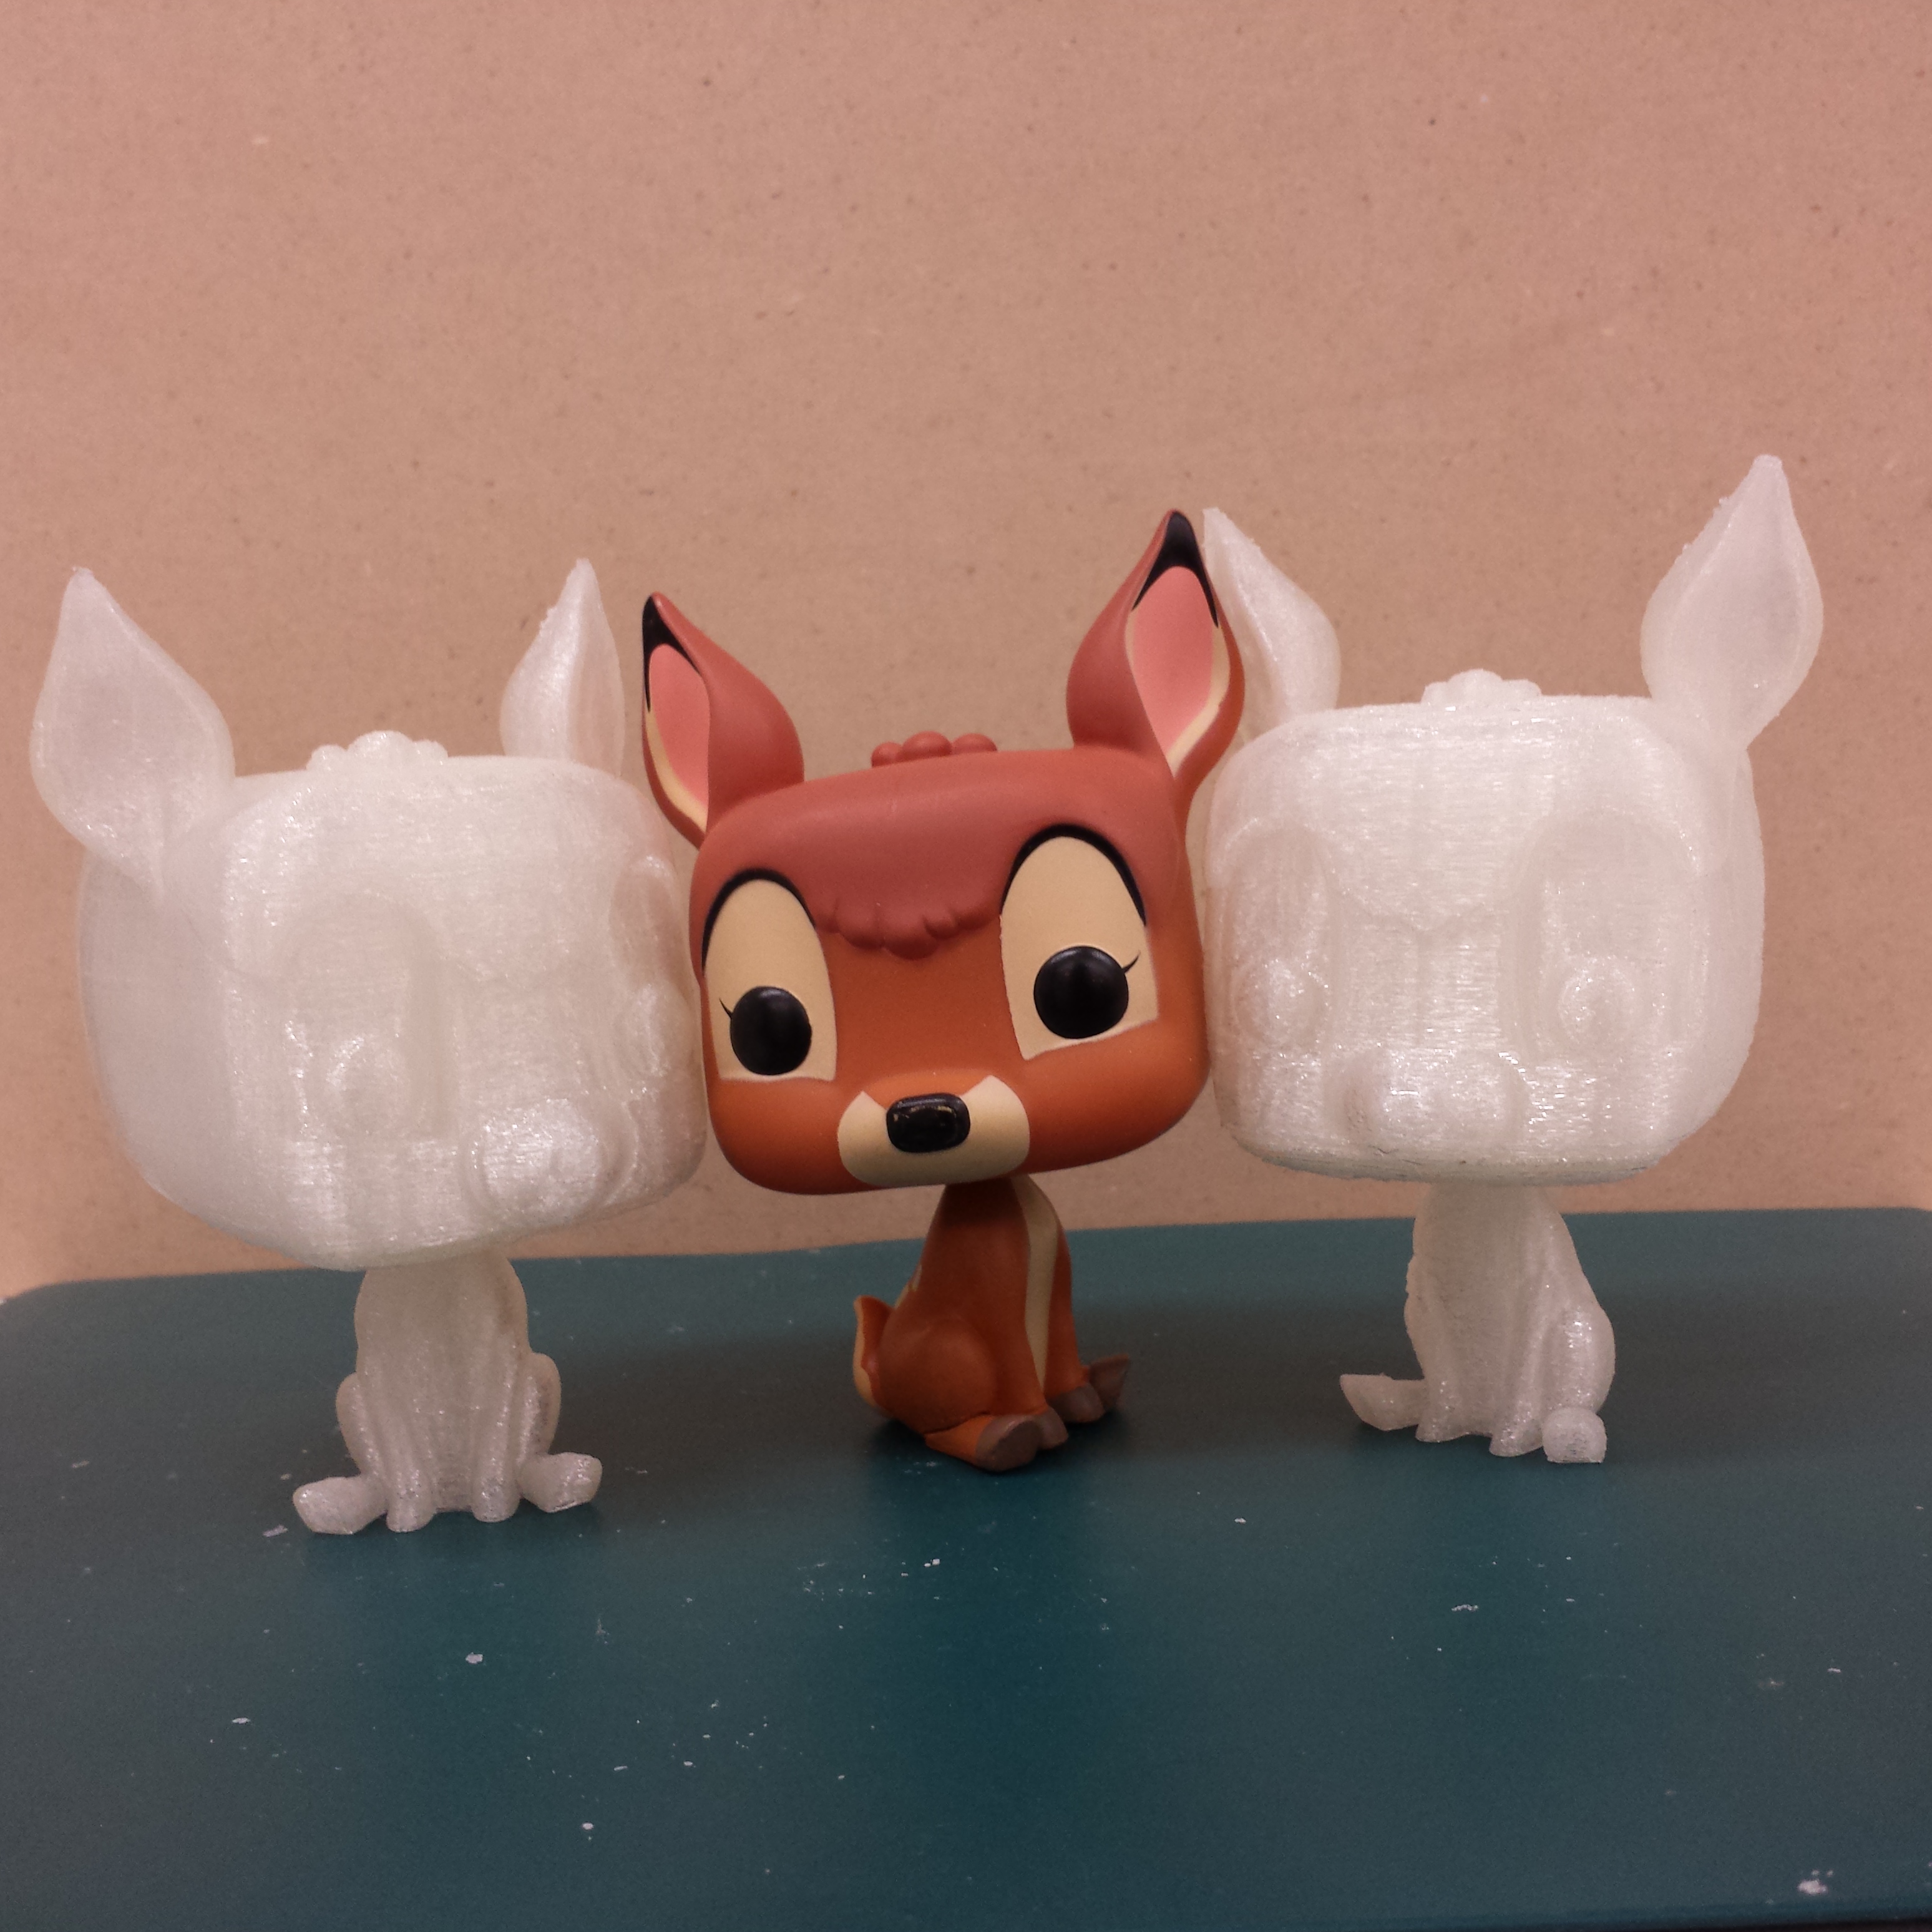
Overall, Jasmine and I are happy with the results. The neck connection worked out well, and the heads were able to turn! It was indeed a happy ending to what seemed like a dreadful beginning.