All posts by avdh

The Final Products

Overall, I am very happy with the final products. I wanted to create renderings that told the story, were fun, and more stylistic than photo realistic. The part that I am most happy about it the pencil sketch textures that I used on the wood pillars. This made them stand out, but not be too overwhelming. Originally, I was also going to show brick in my “Chocolate Lab” rendering, however after putting a brick texture in the image, it took too much attention away form the people and the wood columns. I think that I made the right decision because the materiality and story I was trying to portray came through more successfully by not using too many textures.

I am also happy with the “Hidden in the Fabric” night scene. However, I did have difficulties with how to collage that surrounding buildings. I did not want to draw people’s eyes to the surrounding buildings but I also had to make them have the same style as the rest of the rending. In the end, I decided to use a light grey texture on the buildings. I think it was the right choice, but if I would do it again I would continue to experiment with how to best represent the surrounding buildings in this render. Overall, my goal was to bring attention to the refuge space and to portray a sense of protection and warmth through using the lighting in this night scene.

Rendering Process: Sketch-Up and Photoshop

So far, the process has been fairly smooth. My experience in Sketch-up has really helped me be able to create the rendering scenes that I want. It is the photoshop part that has definitely been more difficult and time consuming, as this is my first time using photoshop. I have watched a lot of youtube videos to learn how to do photo collages and it has been really helpful. The tools that have been the most helpful for me have been creating clipping masks and using the clone stamp tool. For lighting, I have been using curves and blurs.

For my “Hidden in the Fabric” render it is important that I have the right lighting and am able to create the mood I want for the night scene. For the “Refuge” and “Chocolate Lab” I want more of my time to be spent on showing the materiality of the wood columns, but I also don’t want to take away attention from the programming that takes place in each space. My goal is to create renders that are well crafted, tell the story, and simplistic.

Rendering Dilemma

The biggest question that I’ve had trouble with is, what work flow and programs should I use to create my renderings? I have gone back and forth on this question a lot. On one hand I would like to use Sketch-up because I have a lot of experience with it, and on the other I would like to try Rhino, because after creating the Hulk, I know I could easily model in this program. My second question is, will I photo collage in photoshop or also use keyshot?

In order to help answer my own questions, I have decided to experiment using all of these approaches. I have modelled my building both in Sketch-up and Rhino and I have rendered one using the photo collage technique and the other using Keyshot. After this experimenting, I have decided that I am going to use Sketch-up and then photo collage the image in photoshop. I am much happier with the atmosphere I was able to create in my test images using these techniques, than using rhino and Keyshot. Rhino and Keyshot did a good job, but it was almost too realistic for what I was wanting. By using Sketch-up and photoshop I am confident that I can create the lighting and more fantastical experience that I am going for. I guess we’ll find out!

Choosing the Scene

The first step that I’m taking with our final renders is choosing what story I want to tell. For my final project, I am designing a chocolate shop for women facing adversity to find work and refuge within. This Chocolaterie will provide spaces for reflection, creativity, and the community. I want one of my renders to show the inward looking space of the refuge and the other to show the outward looking cafe and community space. I think these experiences/scenes define my project well and I hope that I can use them to tell the story. The next step is choosing what methods I want to use to make the renders!

3D printing… The digital birthing process

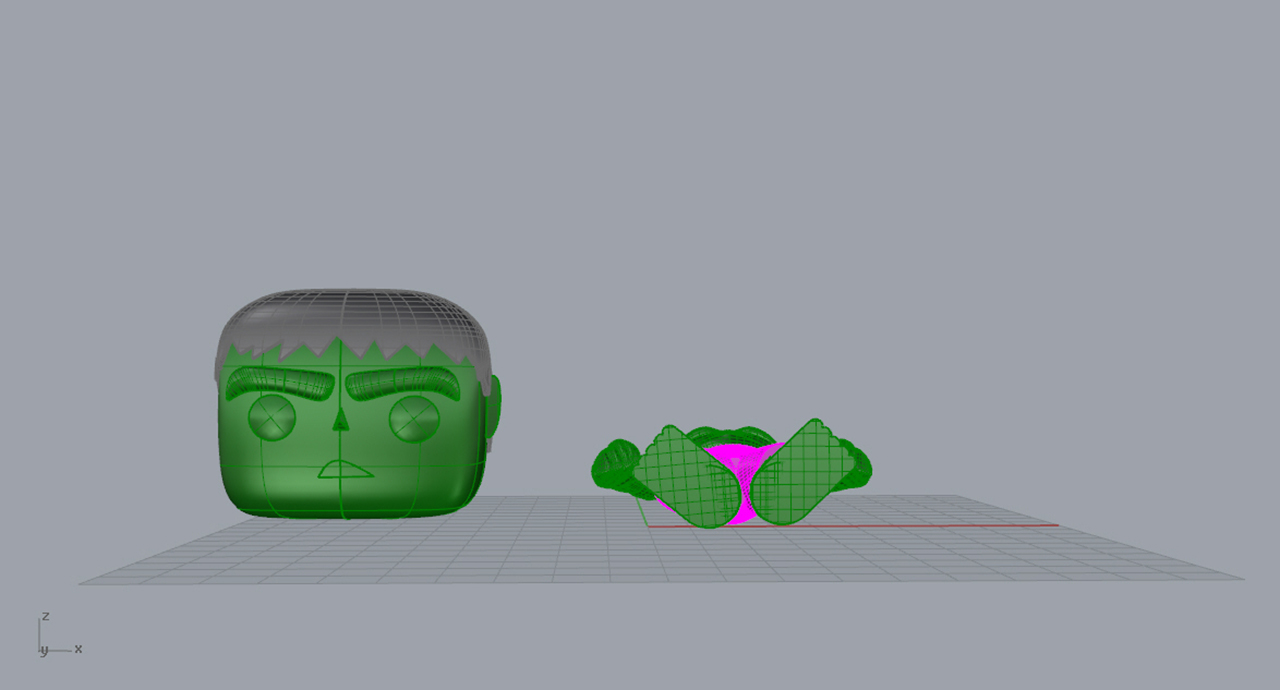
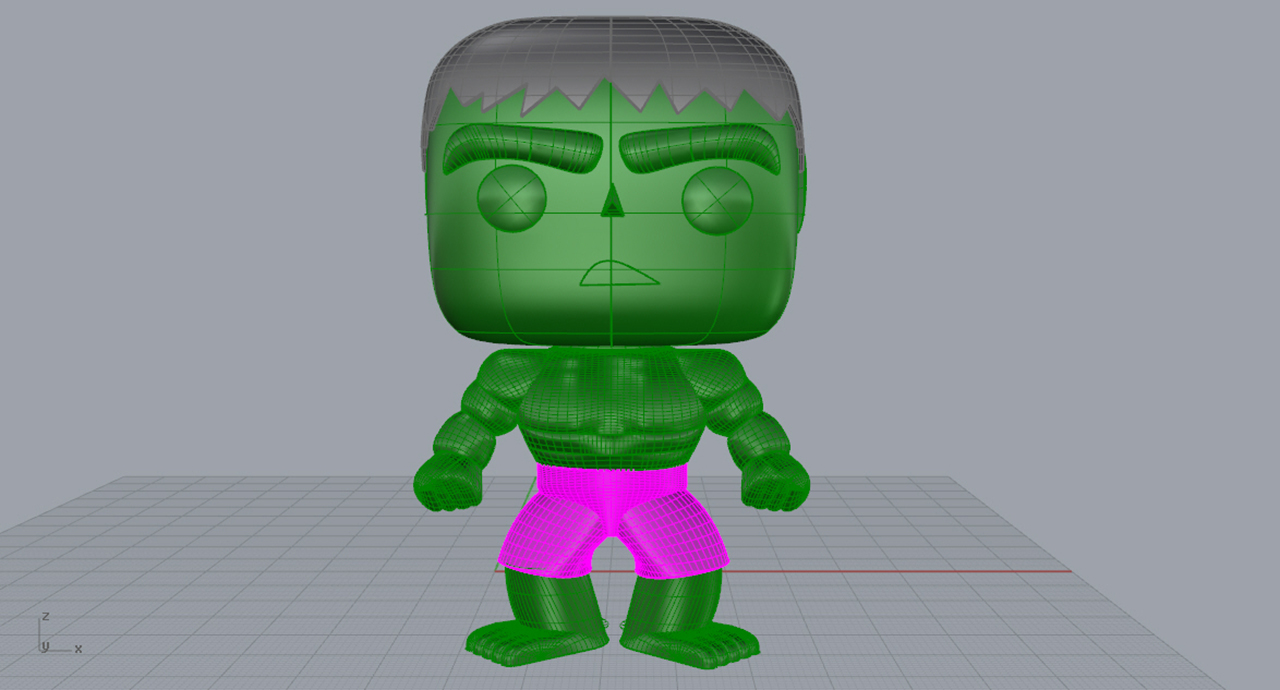
After a failed attempt with the first Hulk I made, Keara and I decided to team up to remake our models. We ended up remaking the whole model in rhino and I’m very happy with it! It was super helpful to be able to split up the pieces and tackle each one individually. We could then learn from each other and we were able to help each other problem solve when we ran into issues. We completed the model on Friday and then we joined the pieces on Saturday. The joining process surprisingly went smooth. The most difficult part to join was the shorts of the Hulk, but after remaking the bottom of the shorts it came together. It was now time to print!

Final Hulk
H
e’s watertight!

print ready
Ready to print

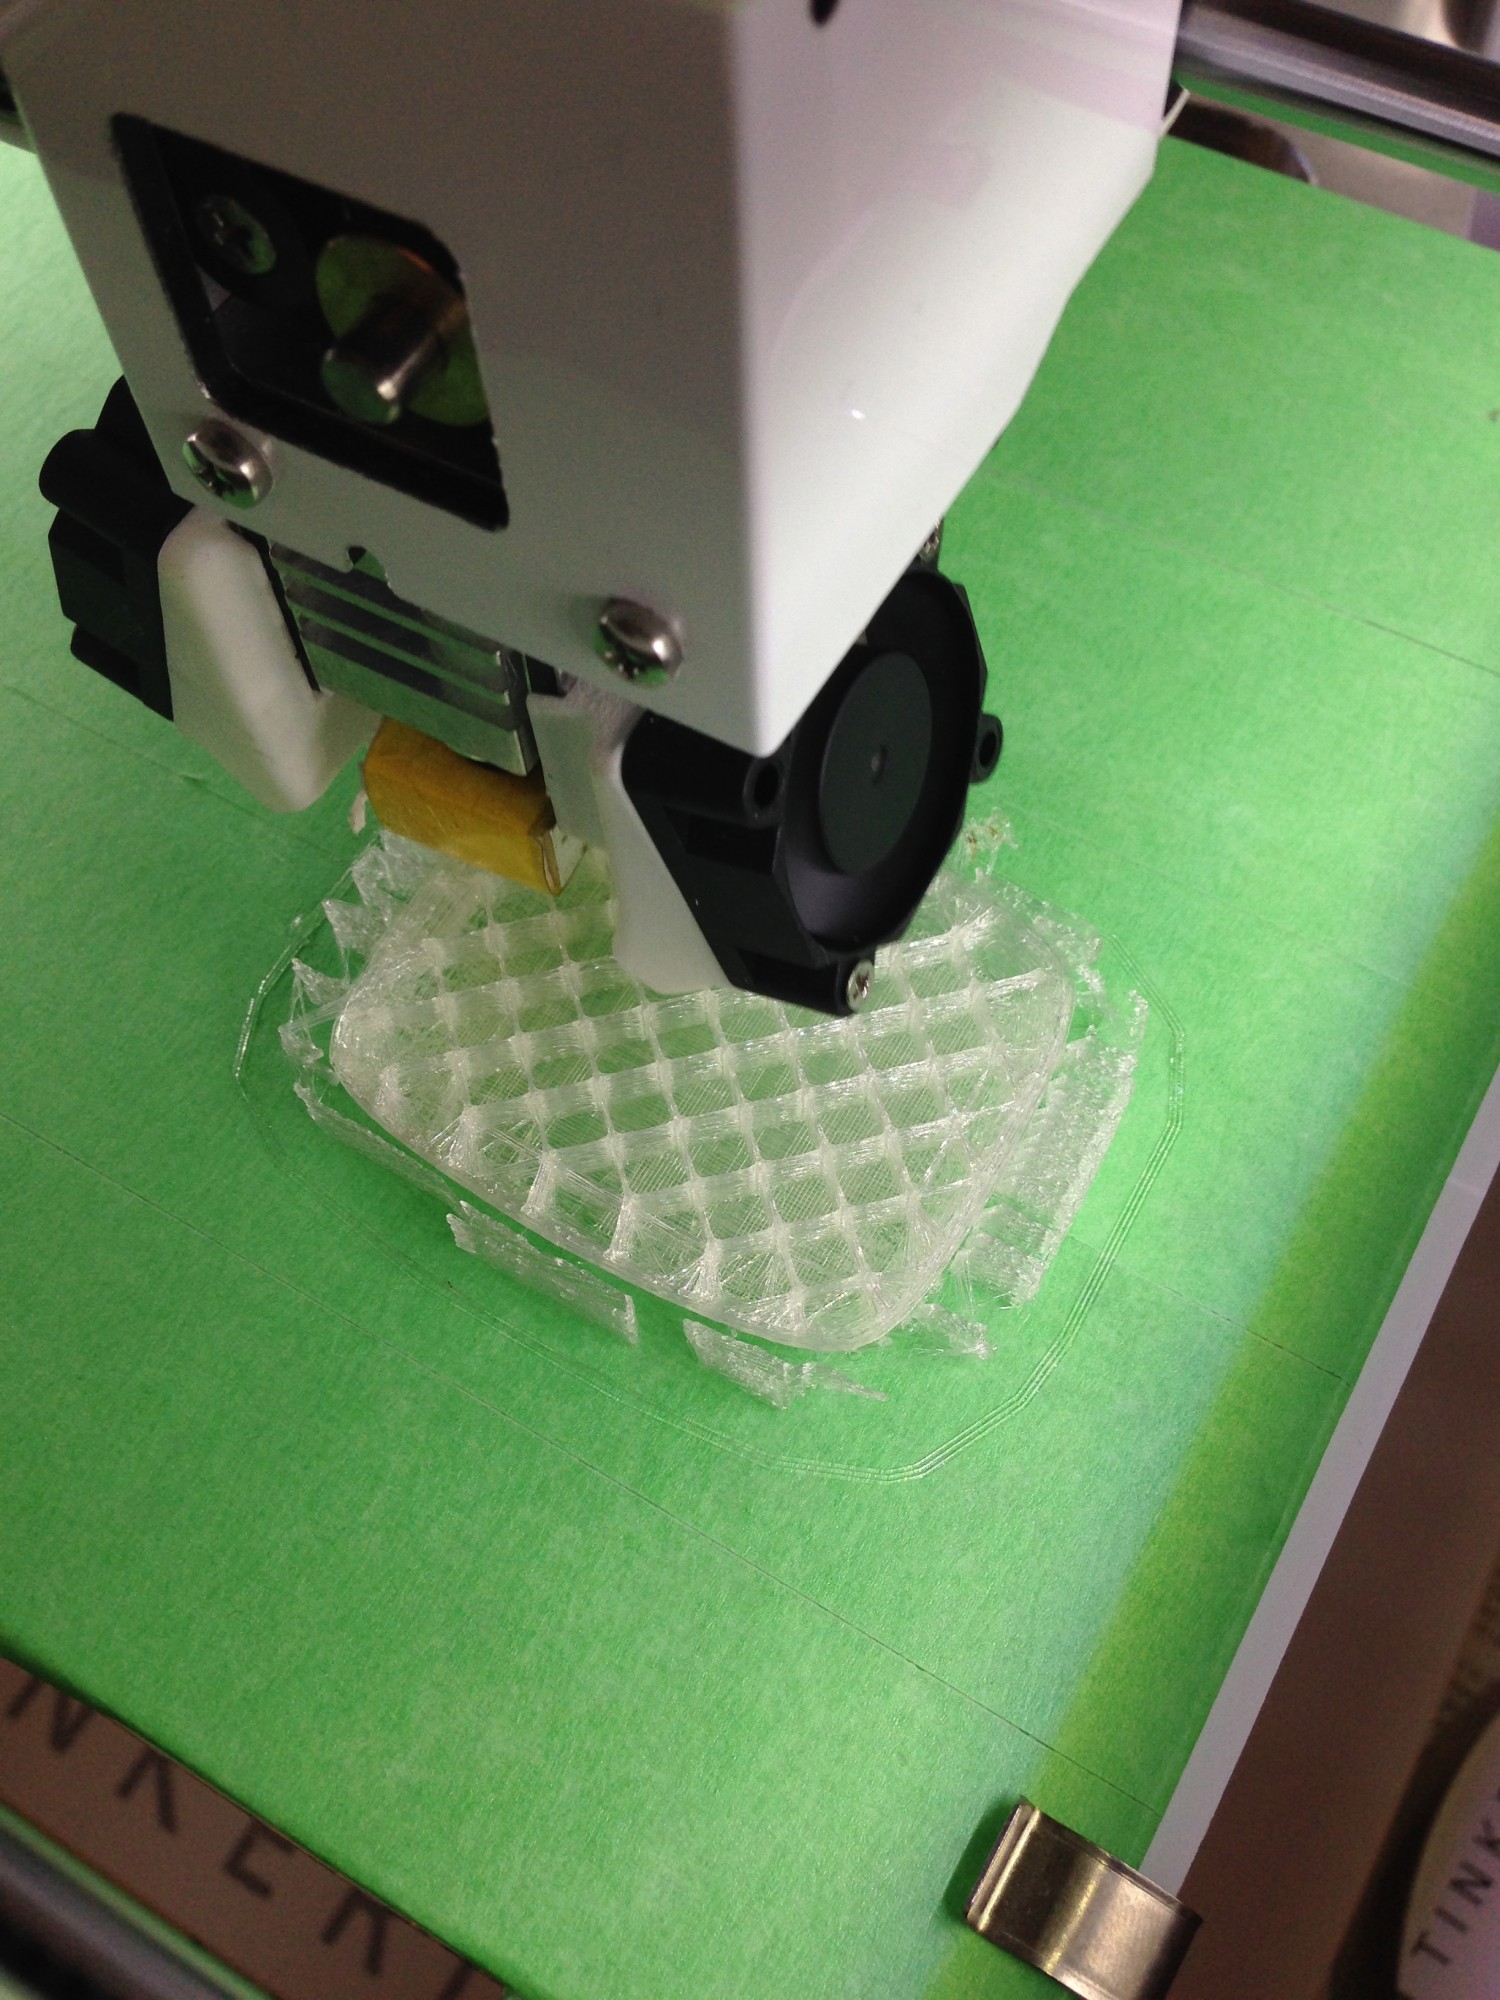
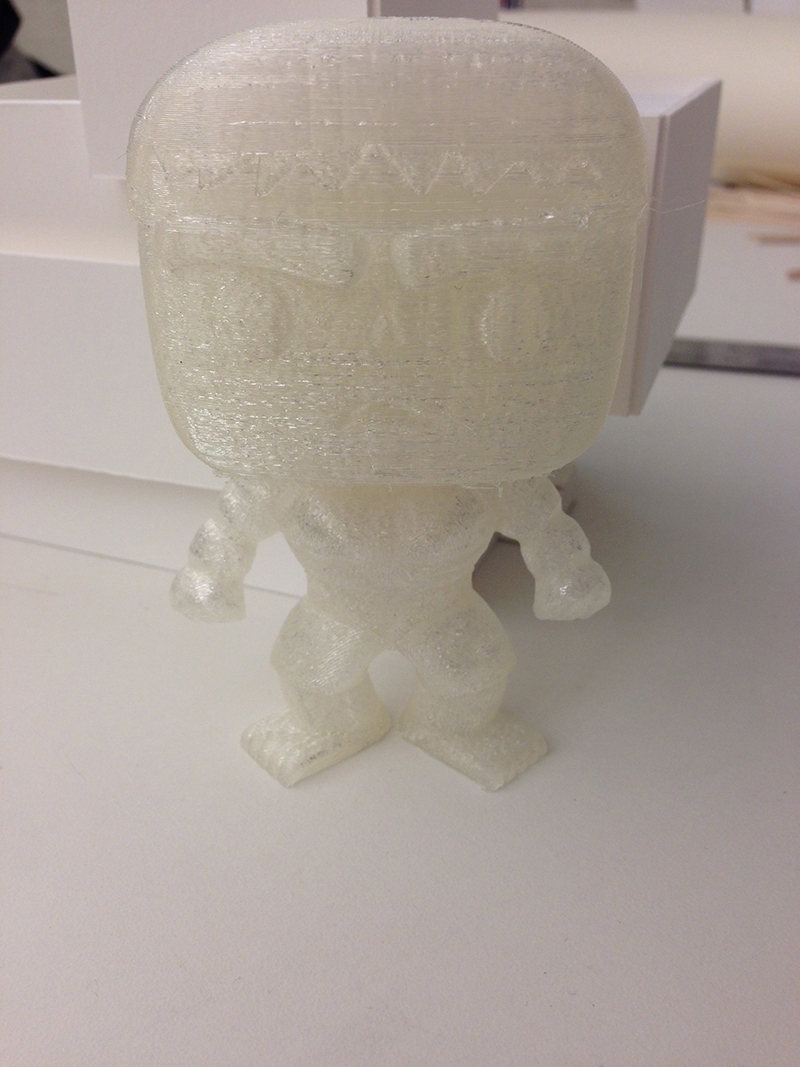
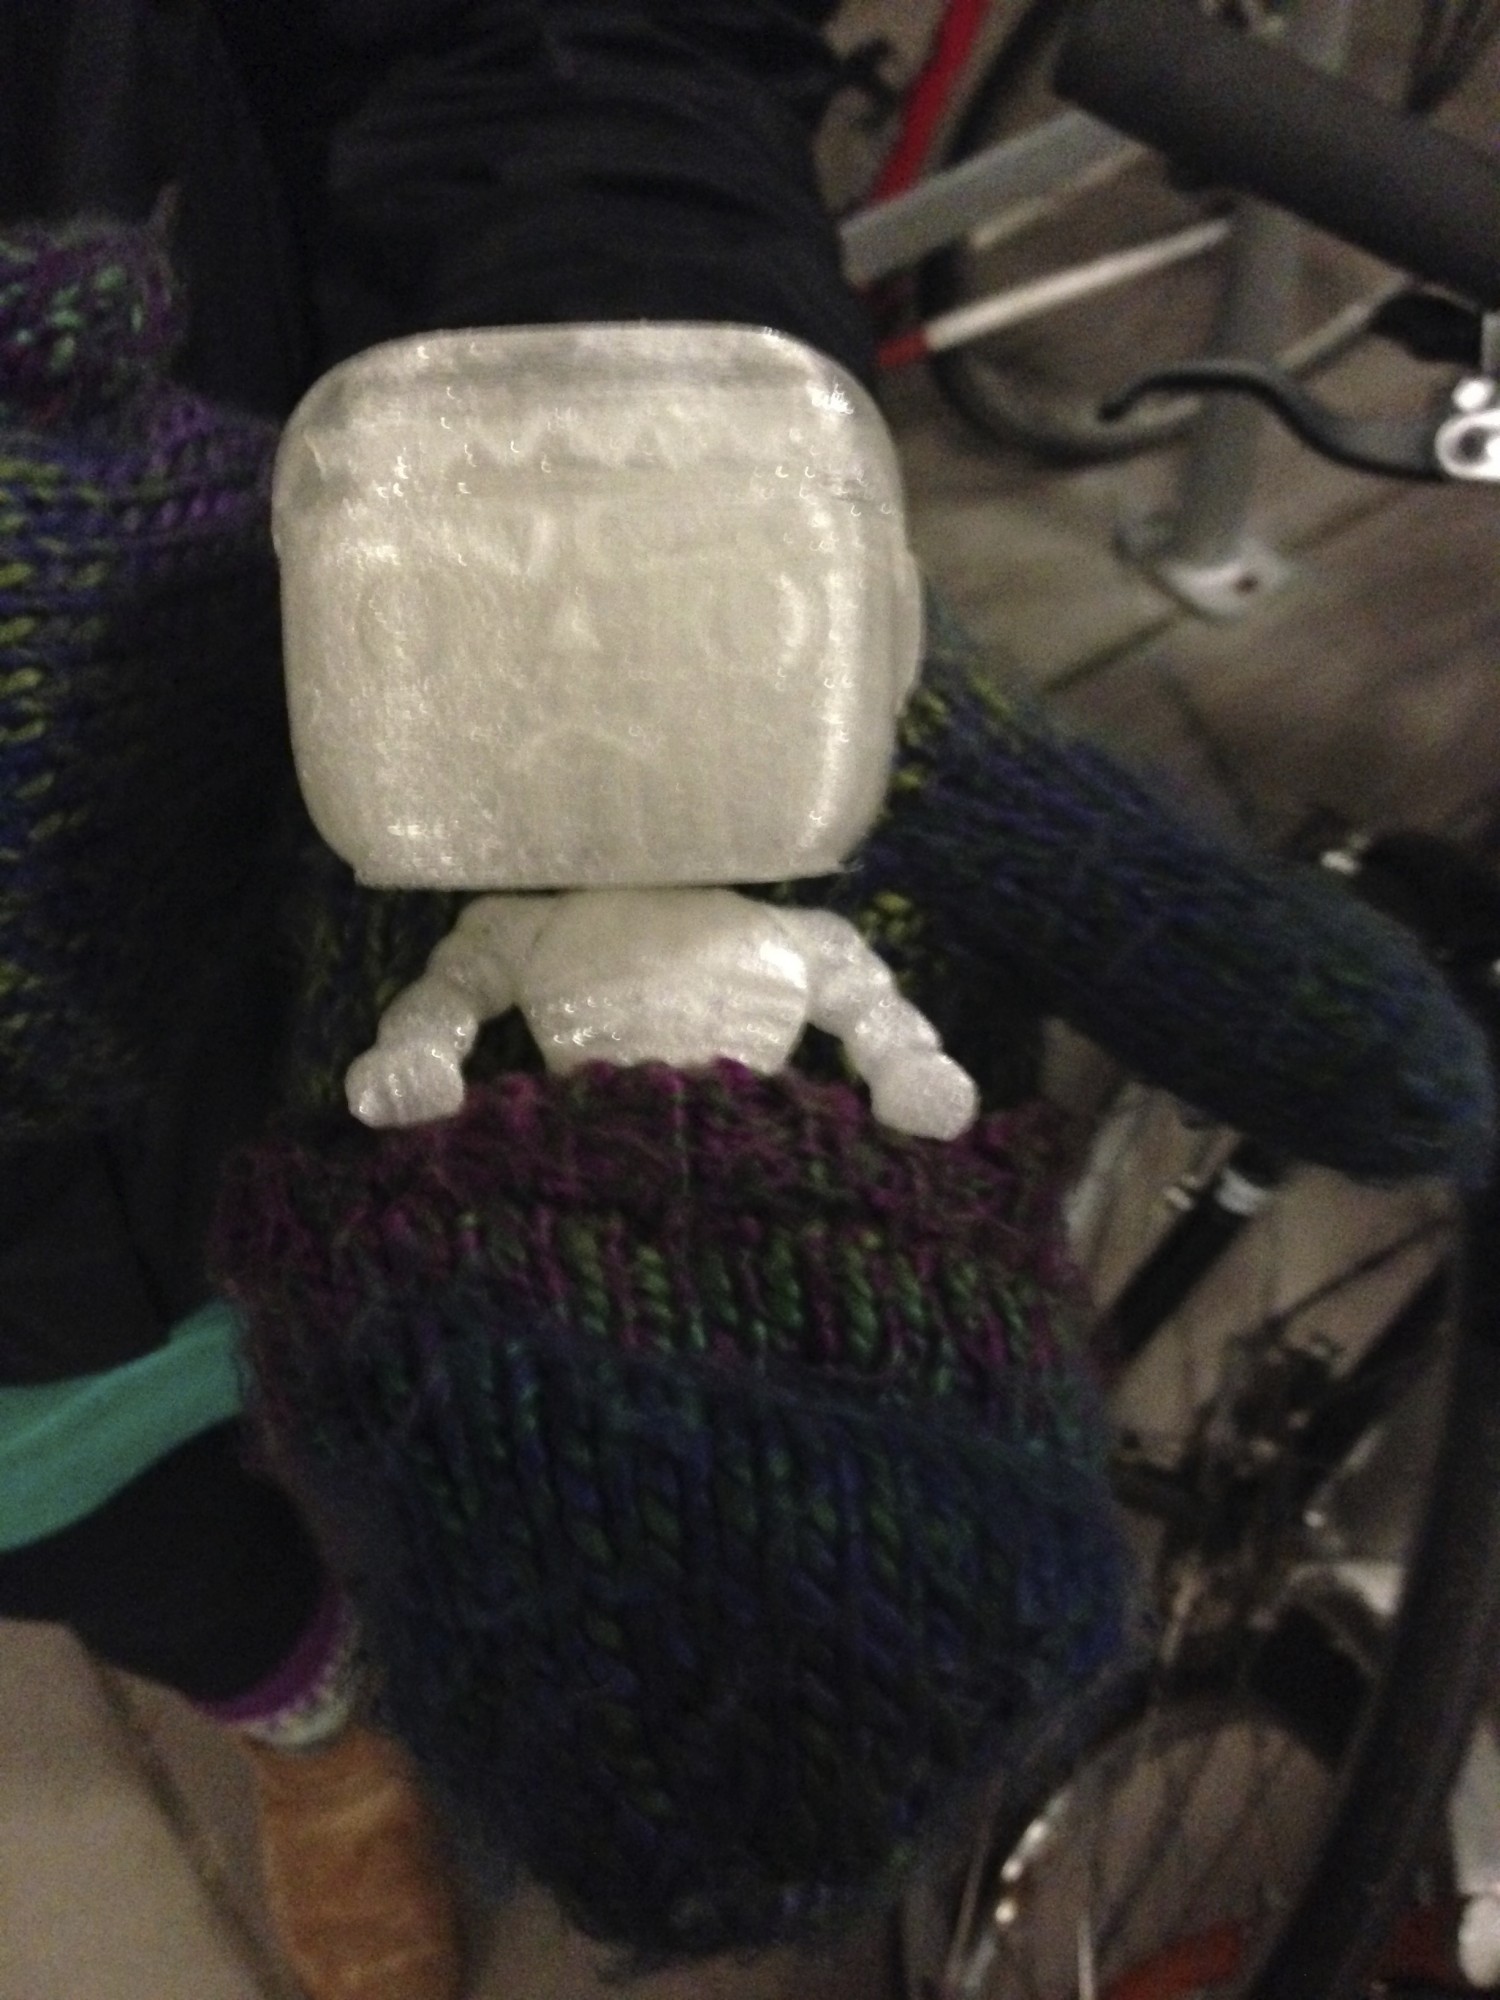
We went to Lassere to print and for the most part it went well. We first tried printing both Hulks together, however we realized as soon as it started that we would not get good results because the glue was cooling too much by the time it got to each piece. We decided to print each head and body individually, which ended up working much better. We set the body up to print horizontally with the front facing up. This created a much smoother front, as no support material covered it. However, the back did lose some detail because of the support material that was built under it. The head printed well with very little imperfections. Overall, I’m happy with the final product.

head printingPrinting the head

hulk1Abs of steal

IMG_9154

The Incredible Hulk’s head making process

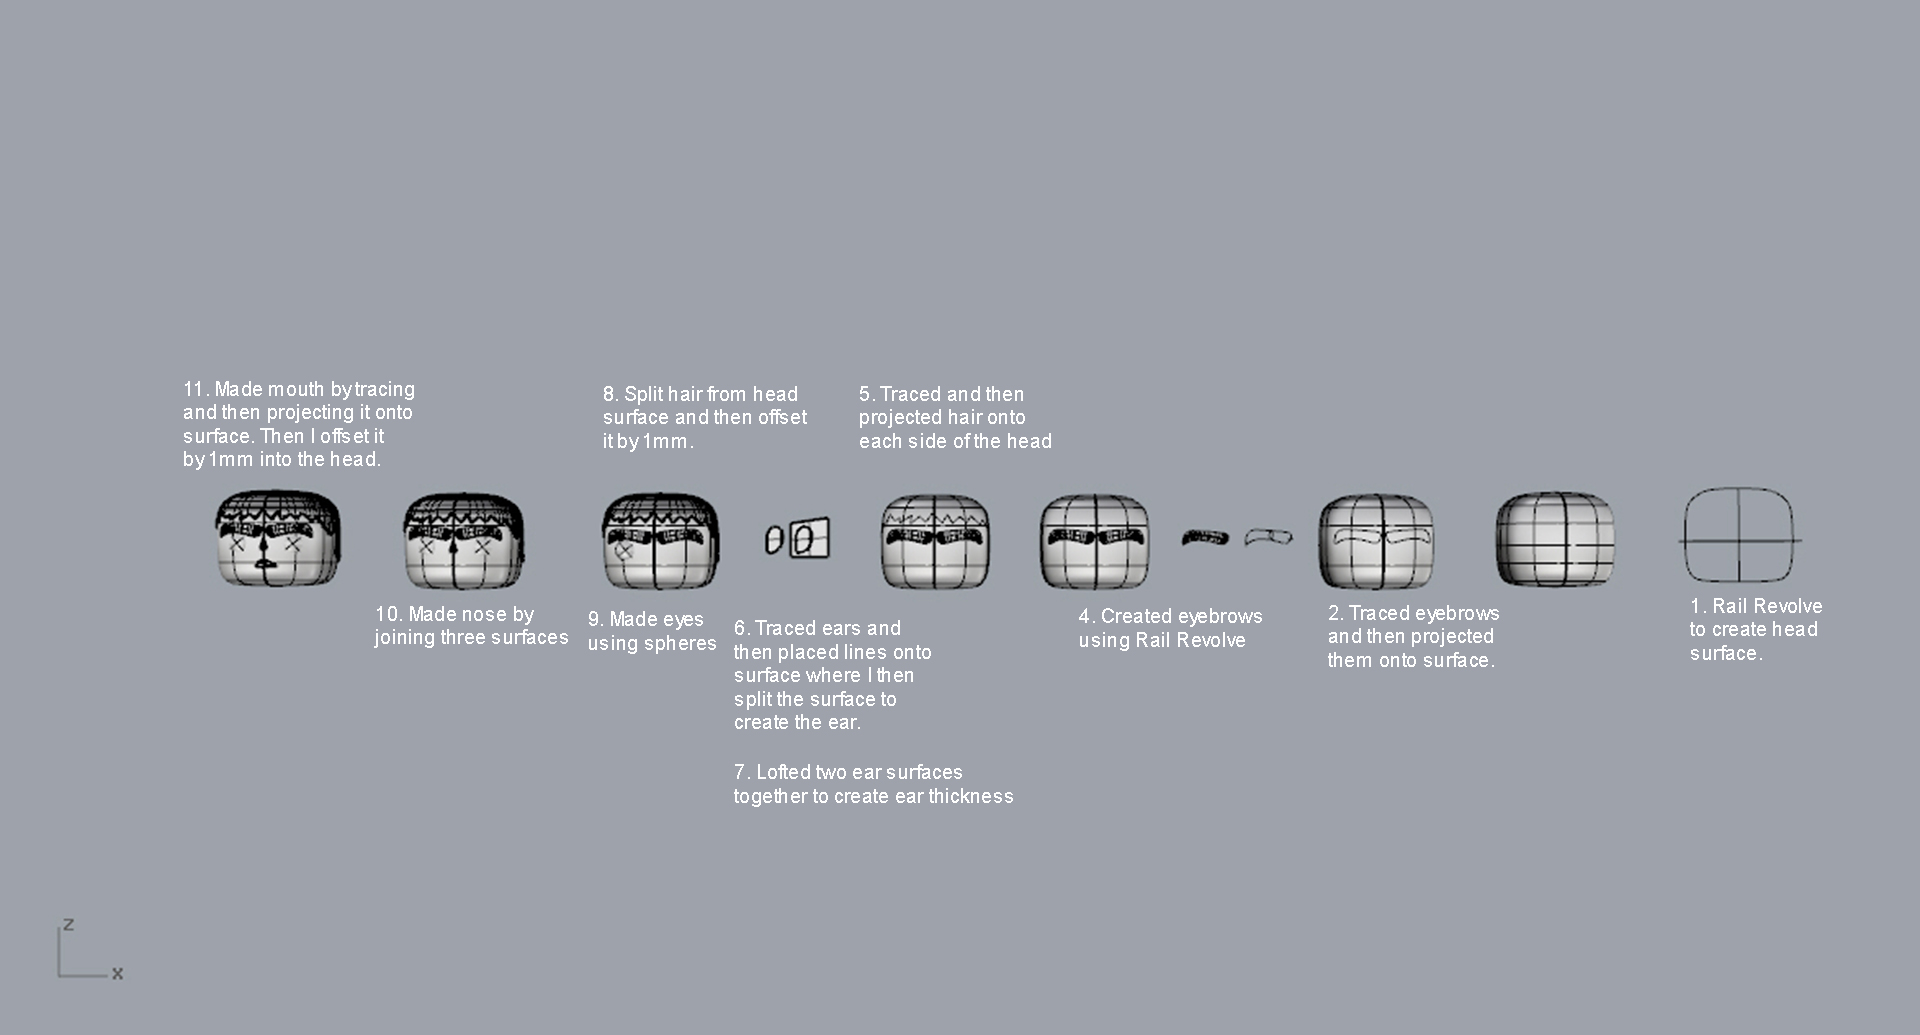
The first head I tried to make was way more complicated than it had to be and it did not work out (I made it using a bunch of different lines and then lofting them together). The solution was using three simple lines and then the “rail revolve” command.

Once I made the head I could then add the hair, eyebrows, ears, eye, nose, and mouth. Check out the image I attached to see the whole process!

Head process

Those are some nice looking eyebrows

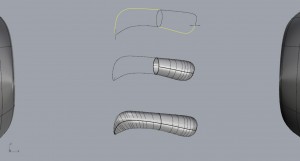
So I’m pretty proud of Mr. Hulk’s eyebrows. I spent many hours trying to figure these brows out and I finally go it! For the first attempt, I traced the eyebrows and then I created a bunch of curved lines that ran perpendicular to the outline of the brow. I lofted these together and it worked, but it didn’t have the fluidity I wanted, it once again looked choppy. I then spent some time playing with the “rail revolve” tool. I didn’t think it would work, but by manipulating the traced brow in a certain way it eventually did!

The process:In order to get the curve in the eyebrow that our hulk model has, I projected the traced brow line onto the head. Then I created a circle in the middle of the brow (I had to make sure it was intersecting the lines on each side) and split the brow in half. I needed to have the circle in order to use the “rail revolve” tool. Once I split it in half, I then split it into quarters by drawing a line through two points on the brow. Now I had two open lines that were running from the circle on each side, which meant I could now use the rail revolve tool. It worked perfectly! I then joined the surface together and I had a perfectly smooth eyebrow. The best part is that when I actually figured out how to do it, it only took a minute to do.

eyebrows
Eyebrow making process

Learning from Trial and Error

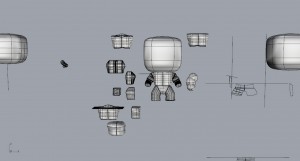
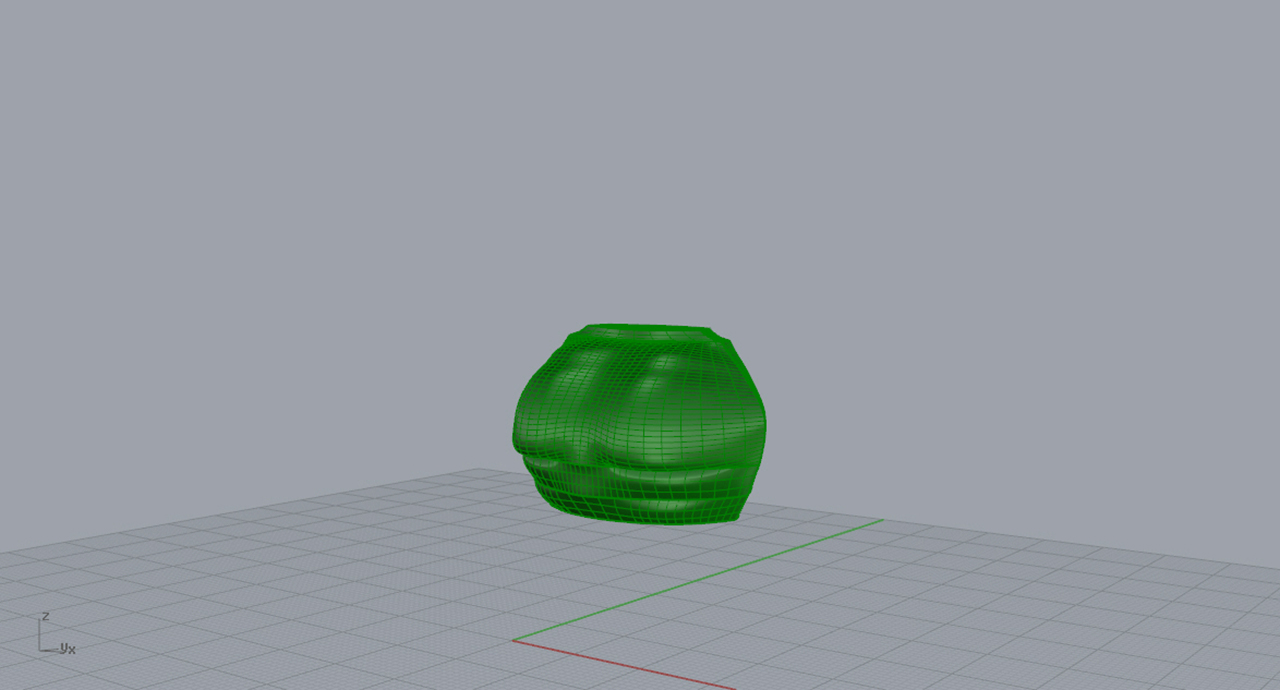
For the first two weeks of this project, I spent my time trying many different things to create the “incredible” Hulk’s body. The most difficult part was creating surfaces with muscular definition, as the hulk is very ripped. In the end, I ended up with a Hulk that I wasn’t happy with and a handful of different torsos, legs, arms and heads that I built using different methods. After realizing this approach was not going to work and observing other peoples’ models, I decided I needed to try using techniques that were much simpler. On the bright side, I learned a lot more about how to use rhino by trying all of these different methods.

First Hulk
First attempt at the Hulk. Lots of attempts at the chest!

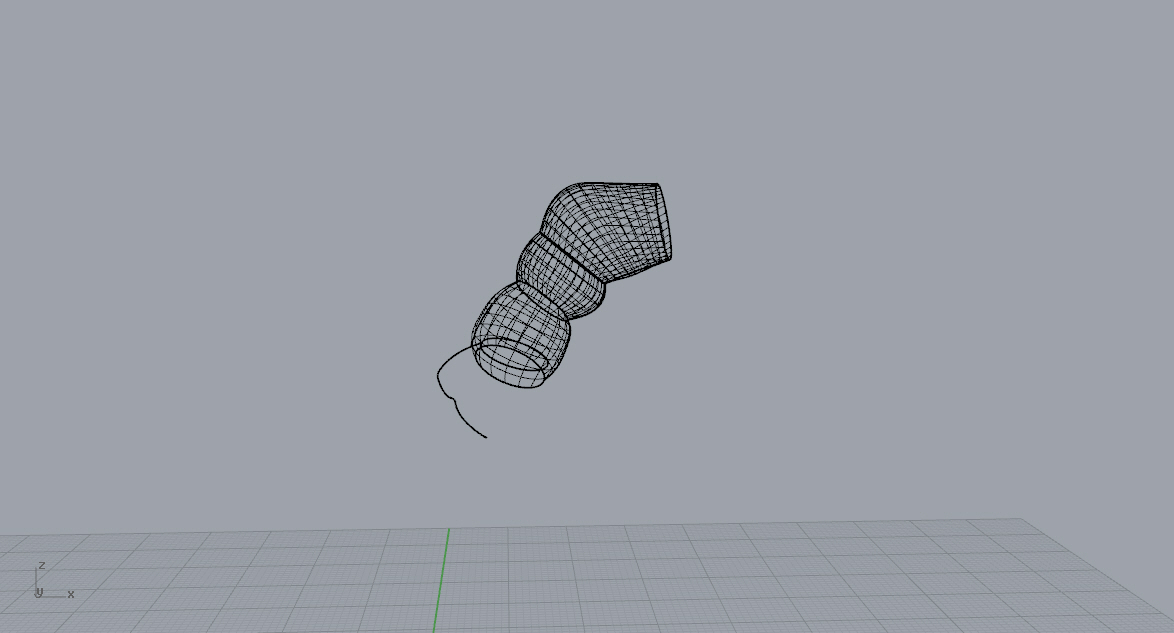
The arms: The first method I tried was putting spheres together. This was an easy method that definitely did not work. I also tried the command “sweep 2” and “rail revolve” to make the individual arm muscles and then I pulled them together. This looked better, but still wasn’t great.

The solution was using curve network surfaces to create each muscle! This created the best result. Using curve networks also ended up being the solution to create the legs. Yay!

Good arm
Curve network arm

Techniques to building the chest: The first way I tried to build the chest was through lofting vertical lines together. This created a surface that looked “blocky.” Then I thought it might work better if I lofted together horizontal lines. I was wrong. Then I tried using “rail revolve” to create a basic shape and then played with the control points. Once again this did not work. Keara was able to figure out how to make the torso in a way that made the muscles look really good. She used lines that were well positioned to create definition and then created a curve network. I once again learned that taking time to really think about how the lines come together creates a more simple and better result. We now have a beautiful looking chest!
Good chest