All posts by brianna

Render #2: An Indoor scene at Twilight

For my second rendered image, I wanted to take two new challenges: First,  creating a scene at twilight, and second, adding an artistic flare to the image. My scene is of the interior of an art studio, so I wanted to illuminate the ‘art’ of the render by putting in some lighting and mood filters. My main strategy was to learn more about layer settings, and experiment with the various lighting and colour effects they can offer a render. Screen Shot 2014-12-02 at 3.18.14 PM

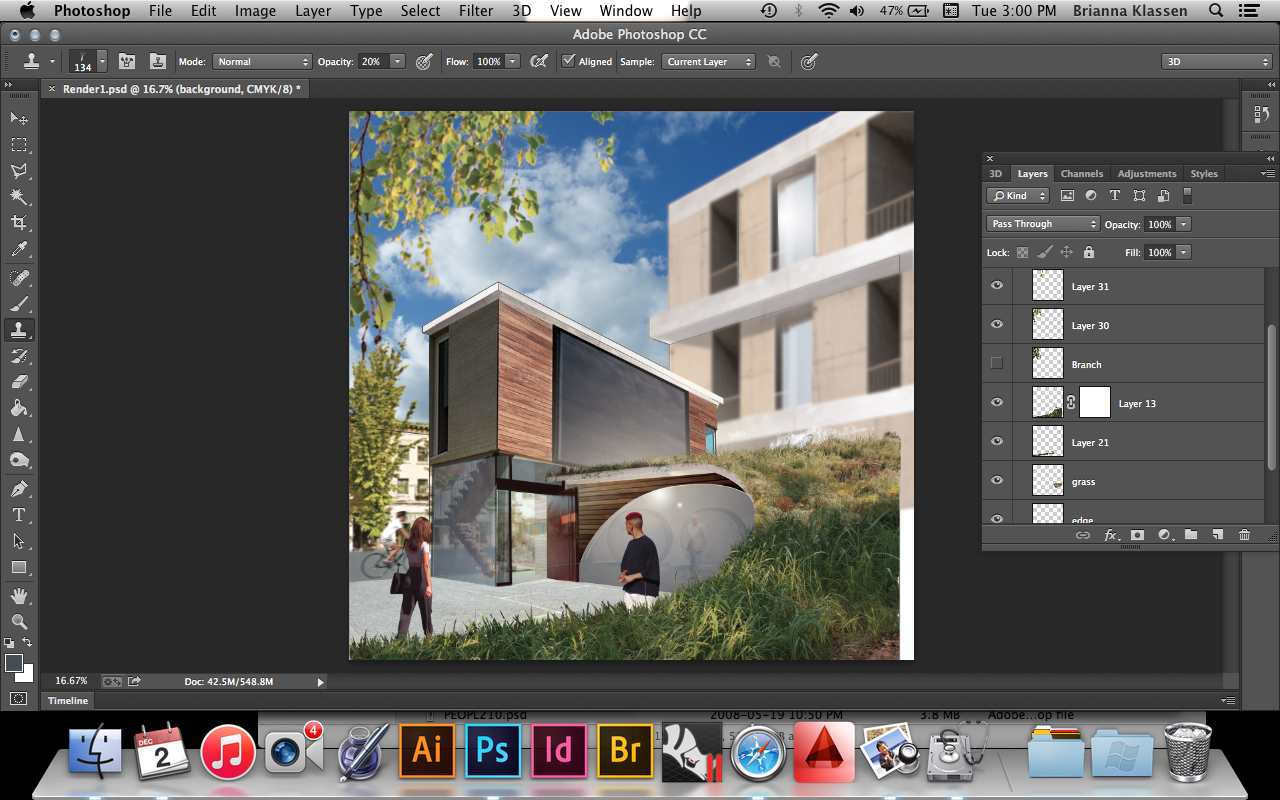
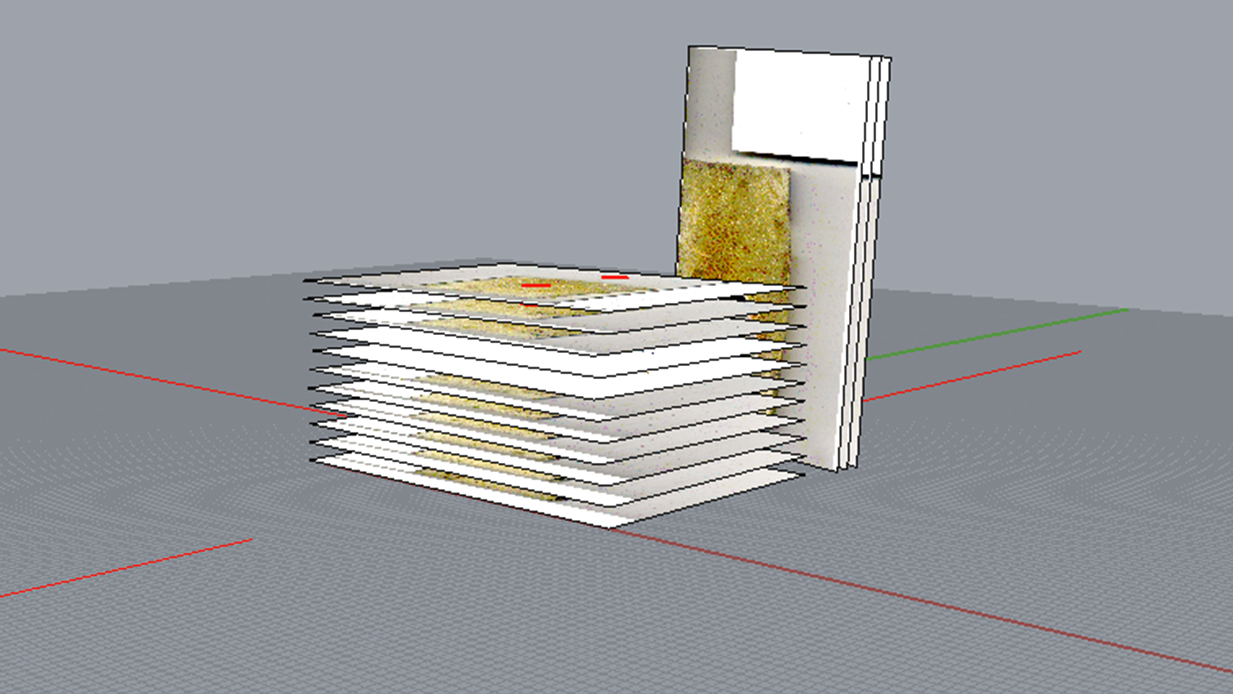
Above: using a soft brush of a light hue of colour, I was able to create lighting effects using the ‘linear dodge’ setting on photoshop, which creates a lighting mood from the painted colour.  I also experimented with the overlay, screen, and soft light layer settings to simulate interior lighting and reflections/refractions. Following are the before and after images showing the differences in the lighting effect:Screen Shot 2014-12-02 at 3.24.24 PM

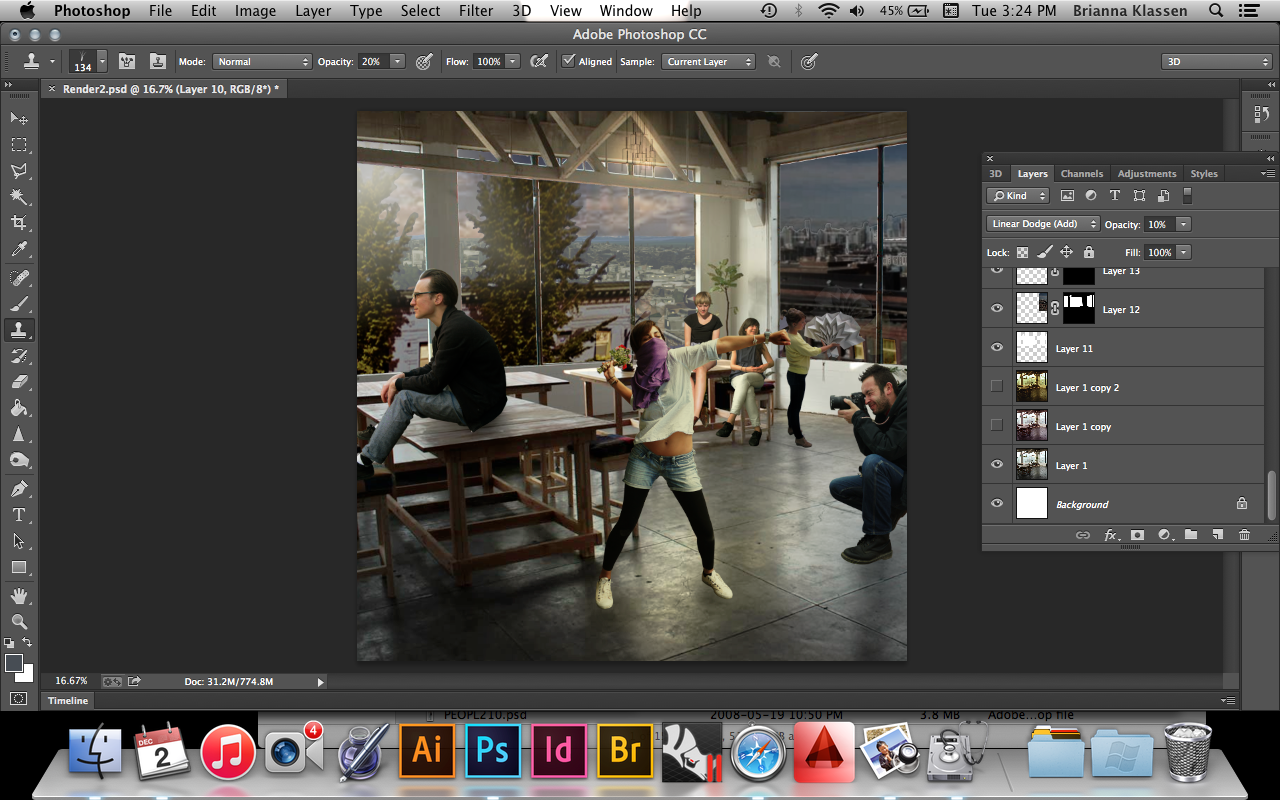
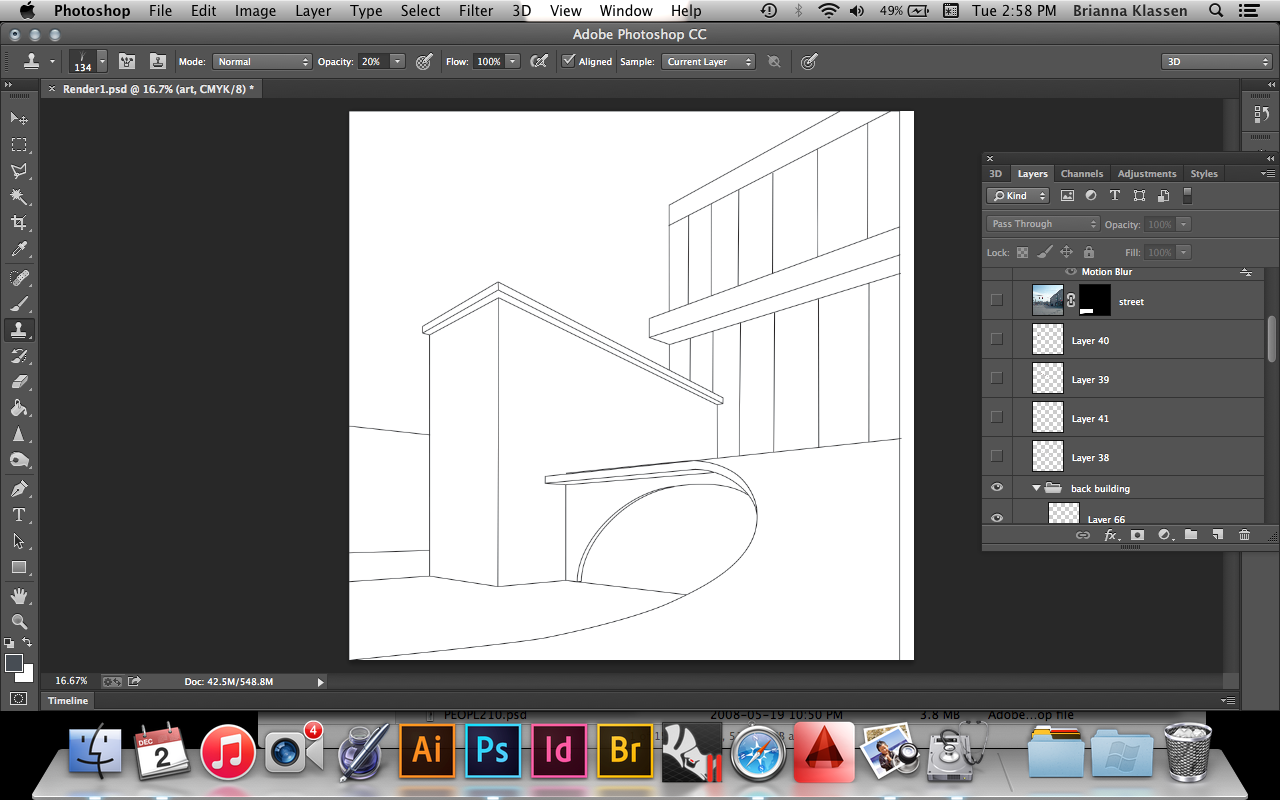
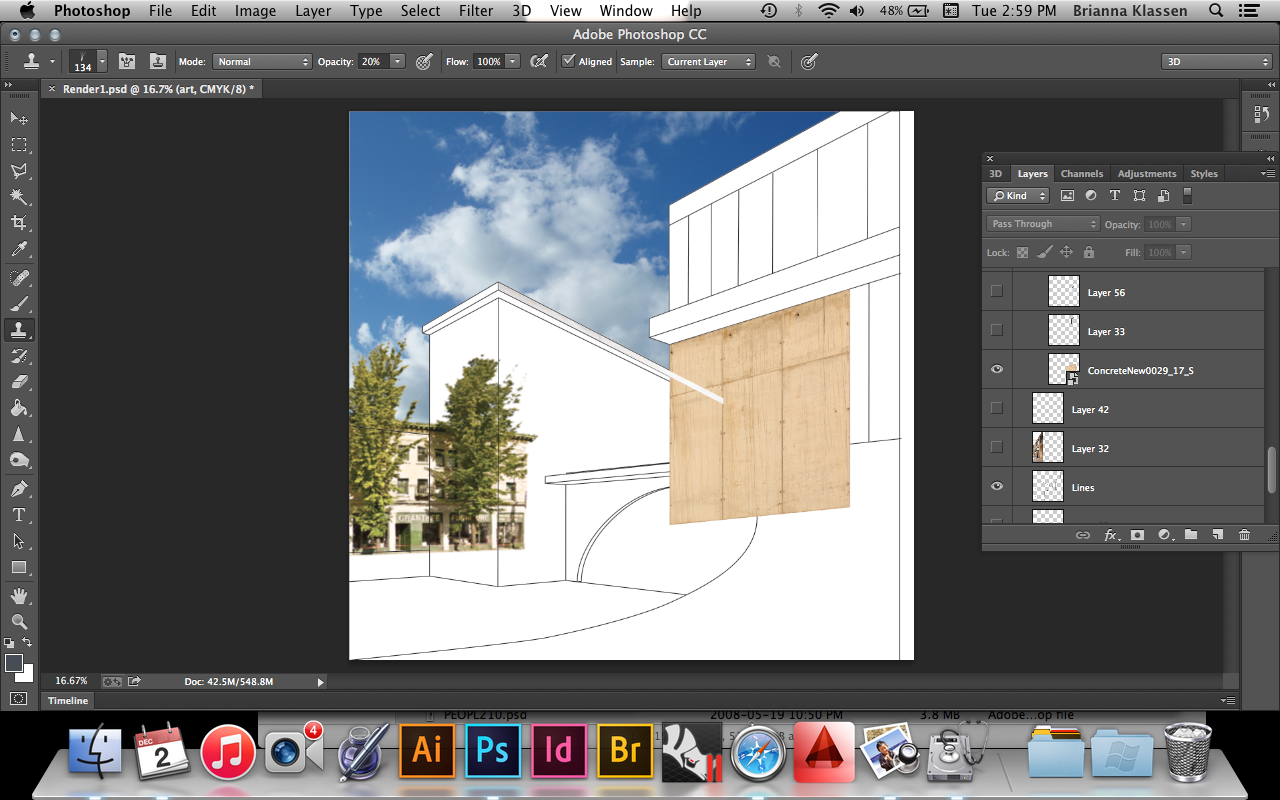
Above: before colour effects

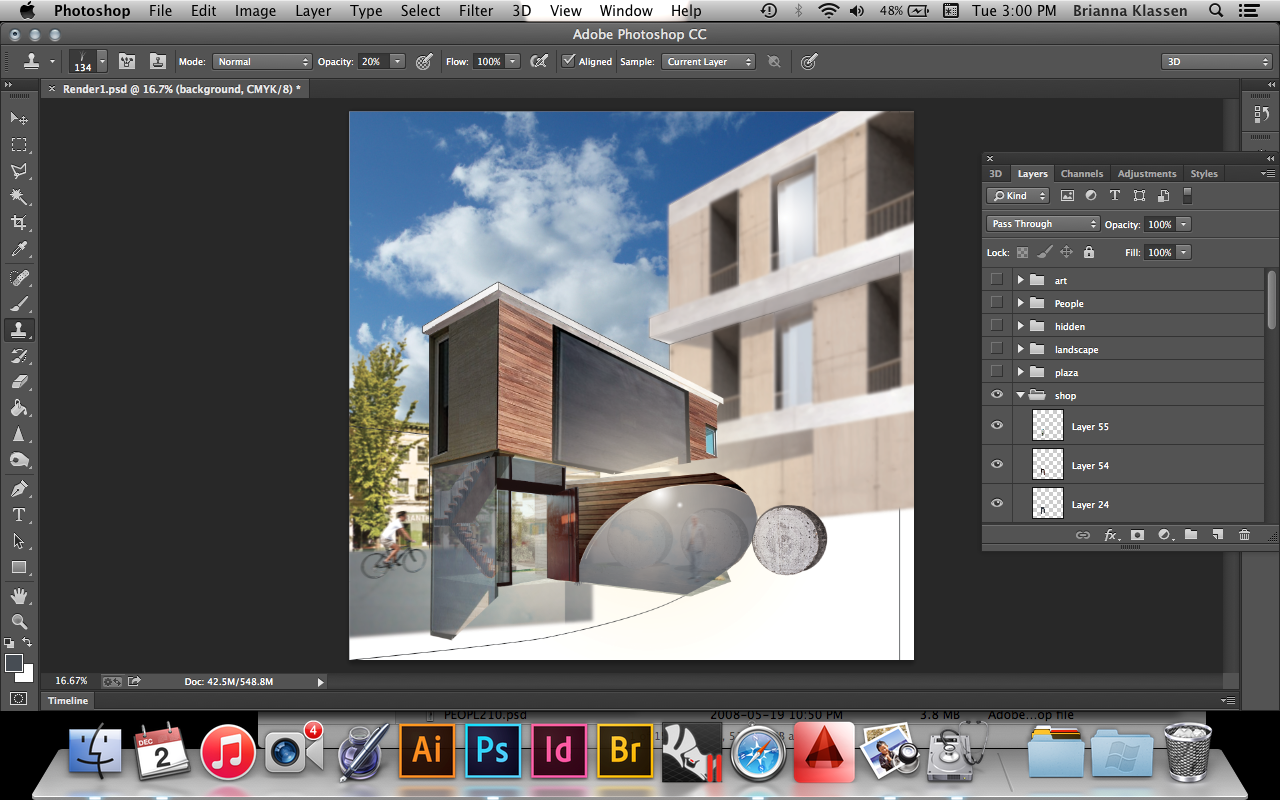
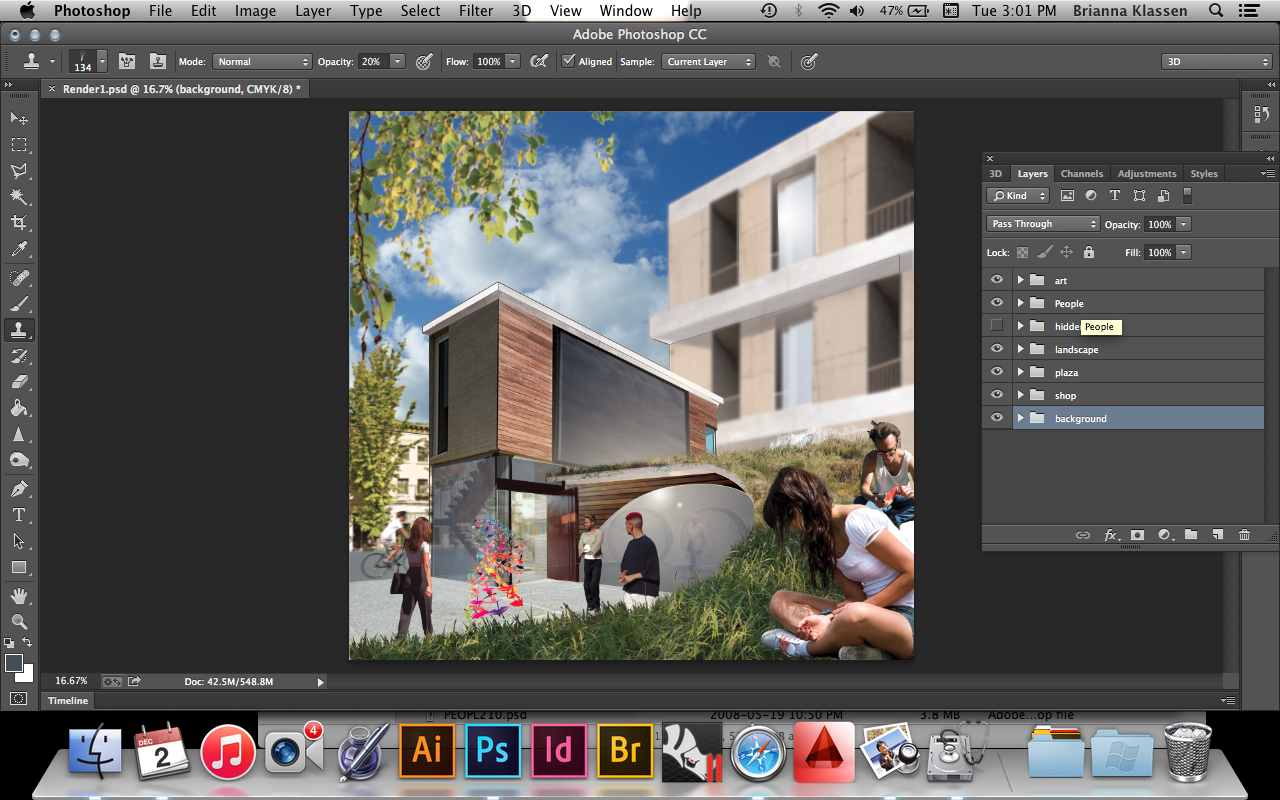
Below: after colour effects

Screen Shot 2014-12-02 at 3.24.48 PM


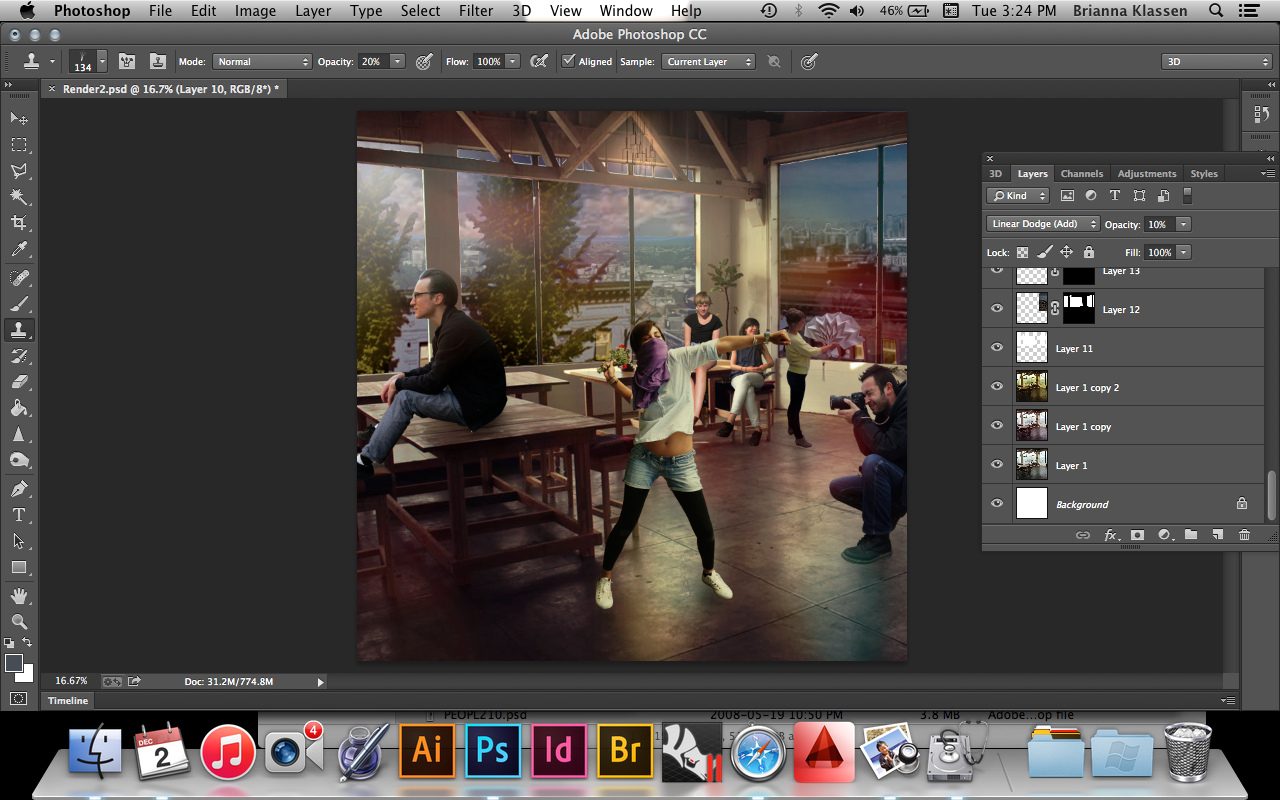
In order to create the illusion of twilight, I used the curves function to distort the amount of black and white input from the light and dark elements of the collage. After applying this to the background buildings, a few additions of orange light to the windows make the city appear to be at dusk as well.


Screen Shot 2014-12-02 at 3.26.45 PM


Rendering in Photoshop: lots of layers

Due to my hard drive failure, I lost my rhino model, as well as my keyshot and V-ray software. As a result, I decided to get creative and try a different approach to my rendering style. Instead of building a model of my entire project and exporting a render, I created a 2-point perspective one drawing of my render position and photo-collaged on layers of materials, lighting and shading to create a dynamic scene. I knew I would need many layers (it turned out to be about 70), so I organized them into categories that described different aspects of the scene starting from the background and ending in the foreground.


Screen Shot 2014-12-02 at 2.56.26 PM


above: My layer groups on photoshop

below: my original line drawing


Screen Shot 2014-12-02 at 2.58.03 PM


below: I used a sky image and a photo of the building across the street for the setting, and used the transform>perspective tool to form textures to my line drawing

Screen Shot 2014-12-02 at 2.59.02 PM


Screen Shot 2014-12-02 at 3.00.38 PM

above: I used the gradient tool and various opacity changes to create the illusion of glass refection, transparency and sun flare. I used the gaussian blur to sharpen the focus on the mid-ground similar to a photograph.


Screen Shot 2014-12-02 at 3.00.57 PM

above: then I added people. I made sure that the sun that caused the sun glare on the glass hit the people at the same angle. I also added grass, and a foreground branch to frame the image. The man on the bicycle in the background has been motion blurred to give the effect of movement.

Below: The finished image, complete with an original art installation to give an example of the production of the art gallery.


Screen Shot 2014-12-02 at 3.01.09 PM

Finishing Finn


Hands


This week I put the finishing touches on my rhino model. My greatest challenge was learning some of the ways in which I can sweep over a surface and maintain a solid polysurface, as I did a lot of sweeping for the arms and legs. For the arms, I used sweep1, sweeping into the body to insure a strong connection. I closed the shoulder side using patch and the hand side using a mesh that was sculpted into the shape of a hand. For the fingers, I turned on control points on the mesh and sculpted the fingers using the physical model as a reference for estimating form.


Legs


For the legs, I used sweep2, as the rails were sightly more coplex. I used several section lines to create the bulge of the sock before the shoe. A patch seals the connection between leg and body, and a simple edge extrusion insures a solid connection between the sock and the shoe.


Leg Rotated


While modelling the shoe I learned that it is much easier to create objects with vertices orientated along the X and Y axis, then rotate after the modelling is complete. This way, I was able to perform all of the snap commands necessary to form my shoe. I used rail revolve, extrude line, join and boolean union to make the leg into a solid polysurface. I also used sweep to create the backpack straps around the arms, and rail revolve and reflect to form the backpack.


Tinkerline


Finally my model was a closed, complete polysurface ready to export to the 3d printer. In tinkering, I experimented with infill and resolution settings until I finally got a perfect print. I ended up printing the head separate from the body, and attaching after the fact. This reduced both time and structure material required.

Screen Shot 2014-10-29 at 11.49.43 AM

In a new Rhino file, I exploded my model and re-organized the layers based on the colour of my model. In keyshot, I exported the file and got a nice, solid render with accurate colouring.

3D Print


Finn: Adding Surfaces

This week I gained a lot of practice with three aspects of digital modeling. The first was learning how to decide when to sculpt my form with control points and when to create more defined edges using boolean union. One challenge I came across that helped me understand the usefulness of control points was learning that our toy itself is so fragile that it caved in on itself during the slicing process and as a result, gave some inaccurate curves that needed to be eyeballed during the tracing process. I used control points with the o-snap on ‘point’ and ‘perpendicular’ to make sure that horizontal and vertical lines cmd in contact with each other so that the wireframe model aligned.

Documentation5

The boolean union command came up when it was time to attach the ears. I noticed that the ears on my model have a very defined edge at the head and I wanted this to happen in my 3D model as well. The second command I learned to master this week was rail revolve. I sculpted both the head and the ears using rail revolve and joined them using boolean union.

documentation6

Documentation7

The final command I mastered this week was ‘project’. In order to sculpt the face, I projected the curves of the face onto the rail revolved head and created a variety of surfaces to form the teeth, tongue, lips and face. I used revolve to create eyes. In order to make these edges a bit smoother, I used the fillet edge command on each of the edges of the facial features.  Unfortunately, due to problems with the fillet tool, I experienced a series of small holes in the face of my model. I experimented with making a mesh and filling the holes. This experiment was successful in closing the gaps and forming a solid, but created a ‘disco ball’ effect on my model, creating a series of flat surfaces rather than a smooth continuous surface. My current goal is to troubleshoot this issue and move on to the arms, legs, feet and backpack.

documentation4

First steps of Finn Model

For our modelling project, my partner and I have chosen a toy that is nearly symmetrical except for its arms. In order to create a precise and realistic 3d model of Finn, we  have used a strategy in which we make horizontal cuts on the left side of the model where the arm is turned down, and vertical cuts on the right side where the arm is turned away. Our vision was to be able to use mirroring to extrapolate the information to form the model as a whole.

After using a scanner to get precise images of the cuts, I used a straight line in Rhino to line up all of the slices based on the position of each cut line. At this point, I ran into some problems. After tracing the edges of each section and positioning them in 3D space, I realized that my dimensions were way off. After consulting Andy, I realized that something had gone wrong with my scaling and the two different sets of cuts were not at the correct scale. I spent an hour or so measuring the real slices and scaling the picture frames accordingly, but so far the results are still slightly off. Still, I have the basic wireframe for the character that I can see taking shape.

documentation1Documentation3

Documentation2