All posts by camillesquivel

Hulk: Finishing the Body + Adding Details

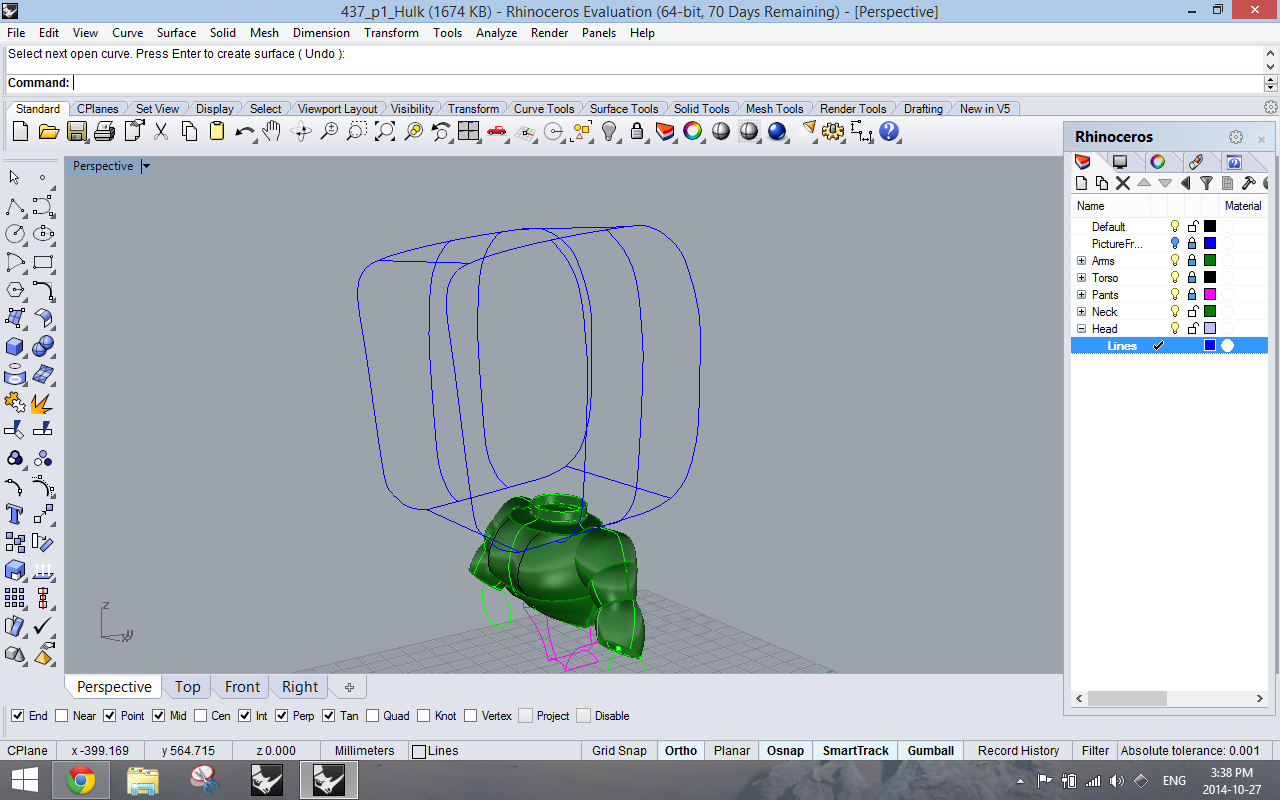
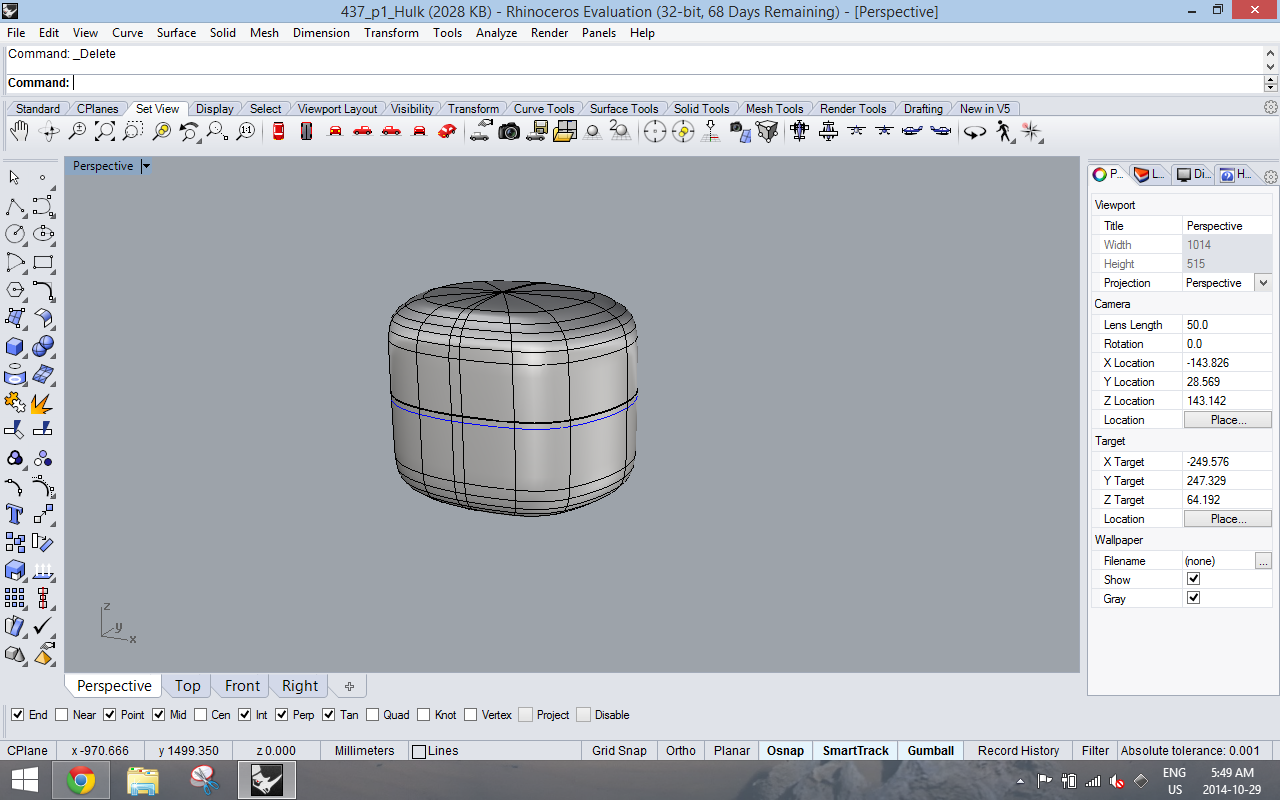
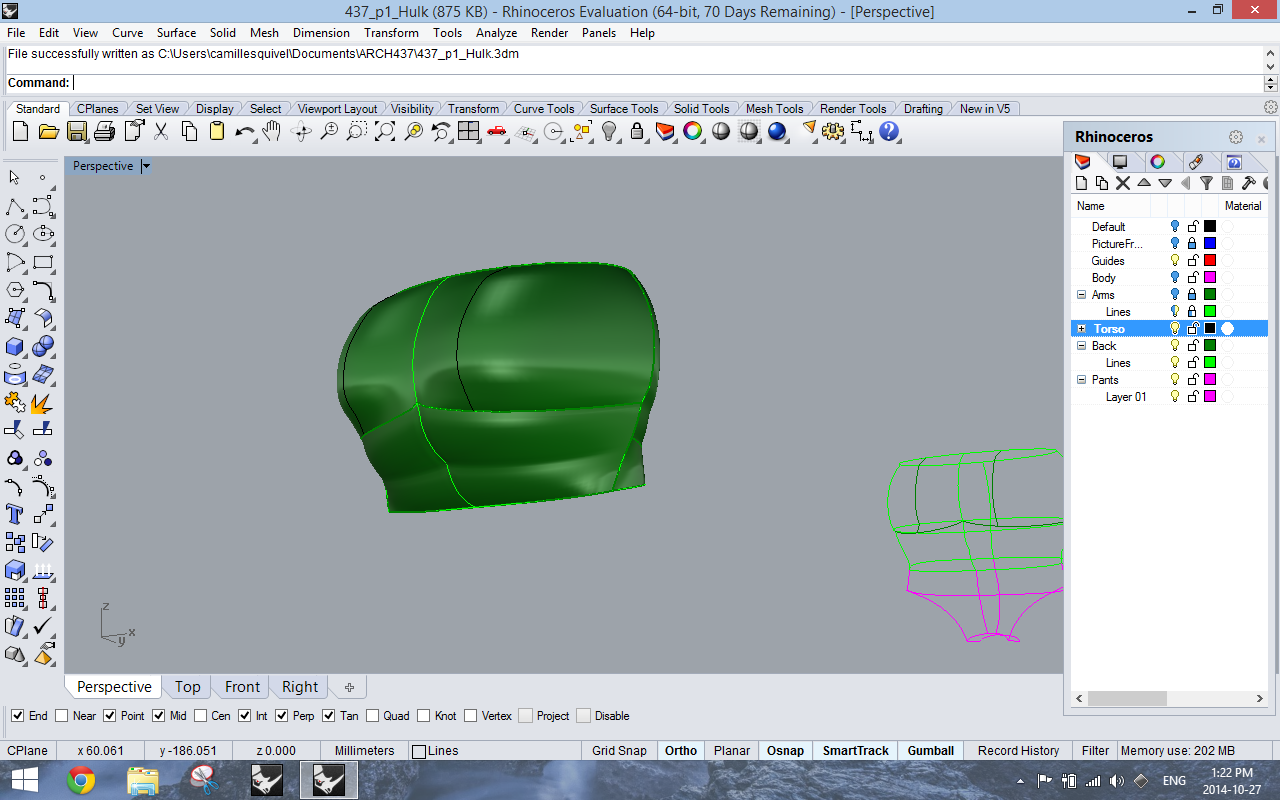
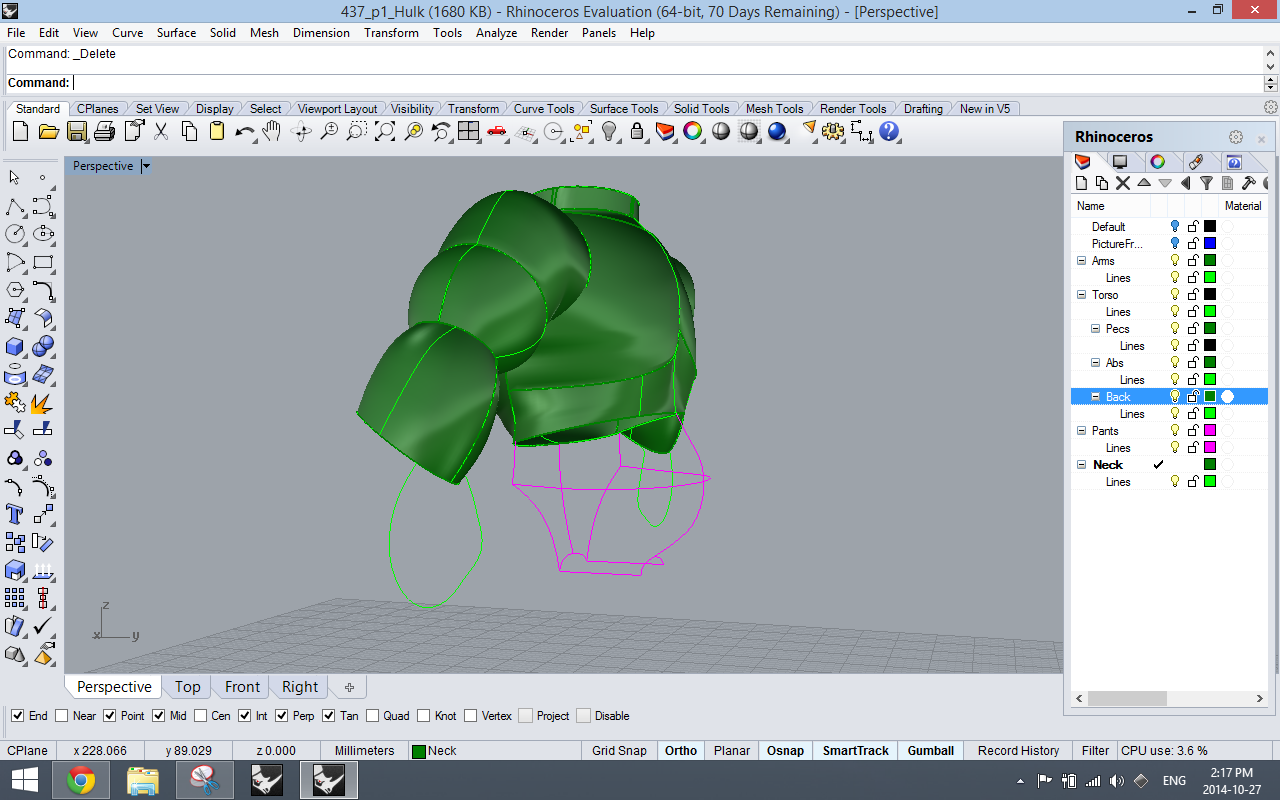
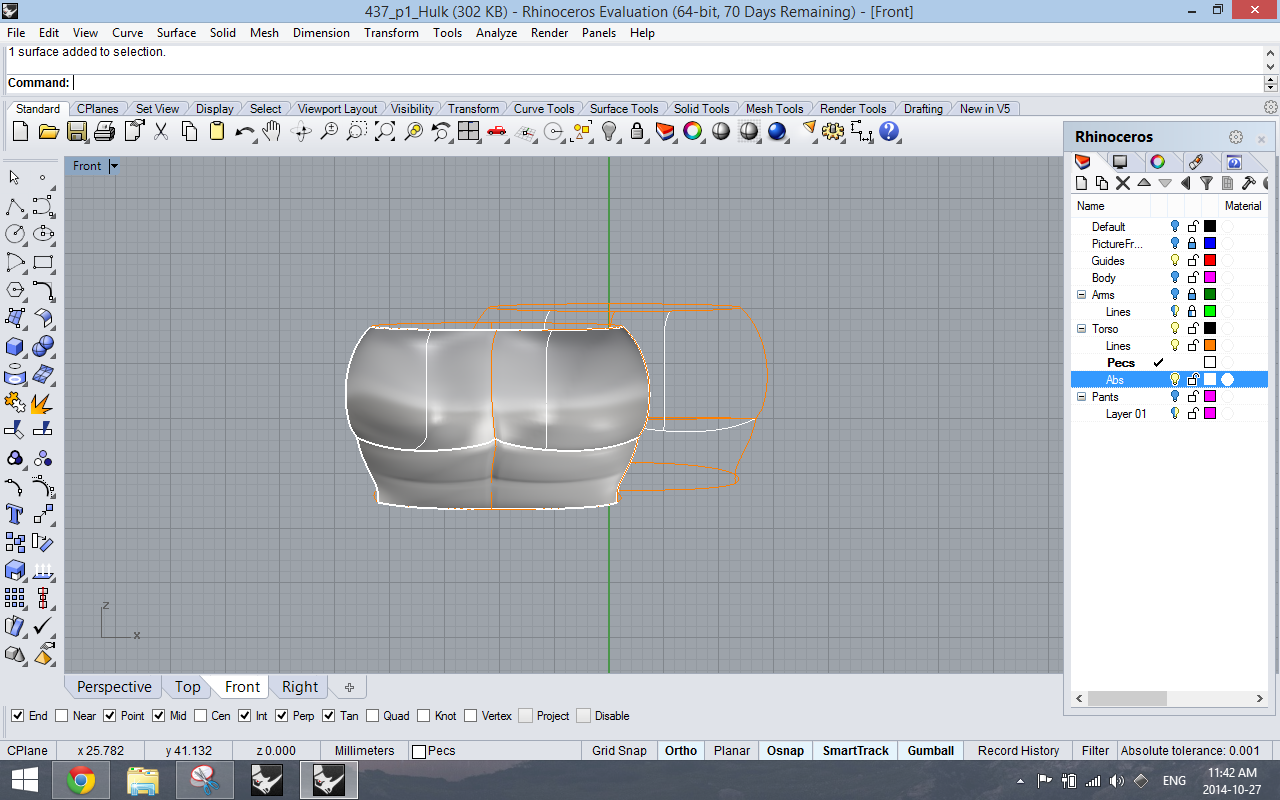
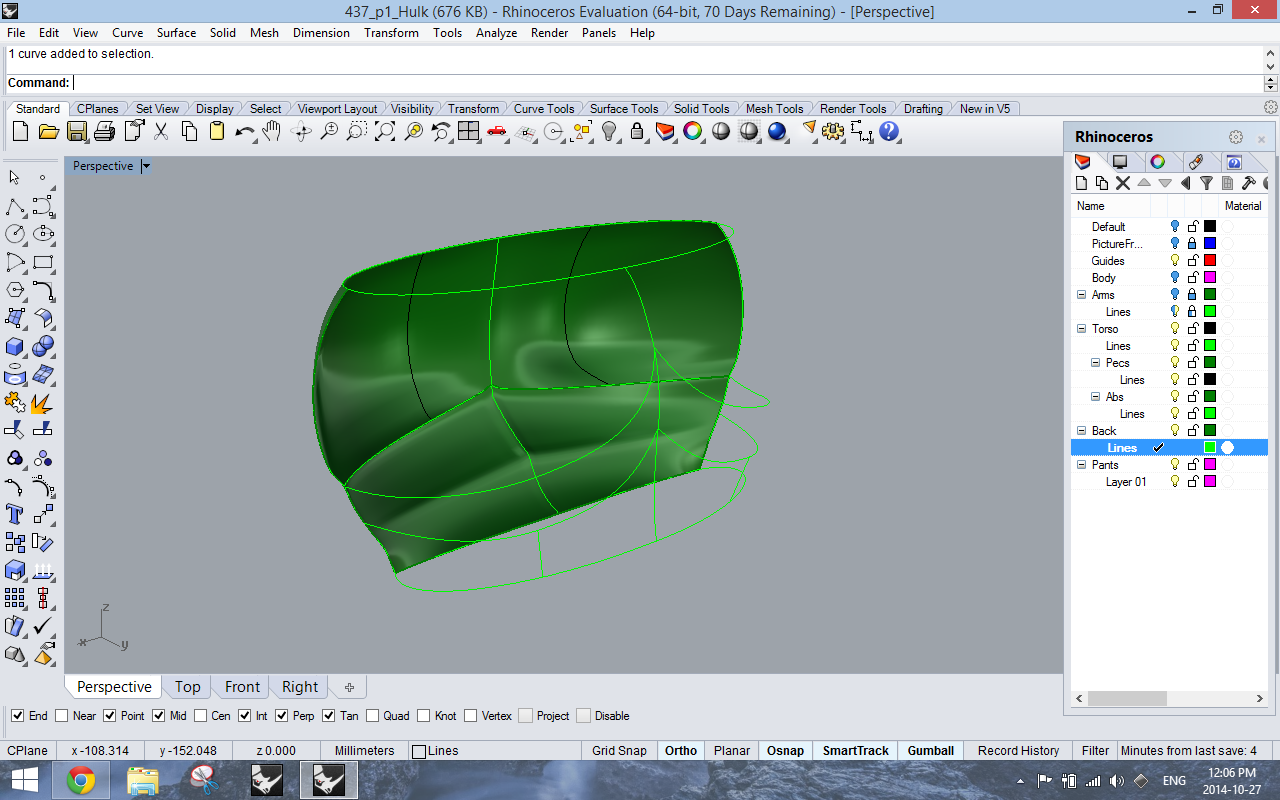
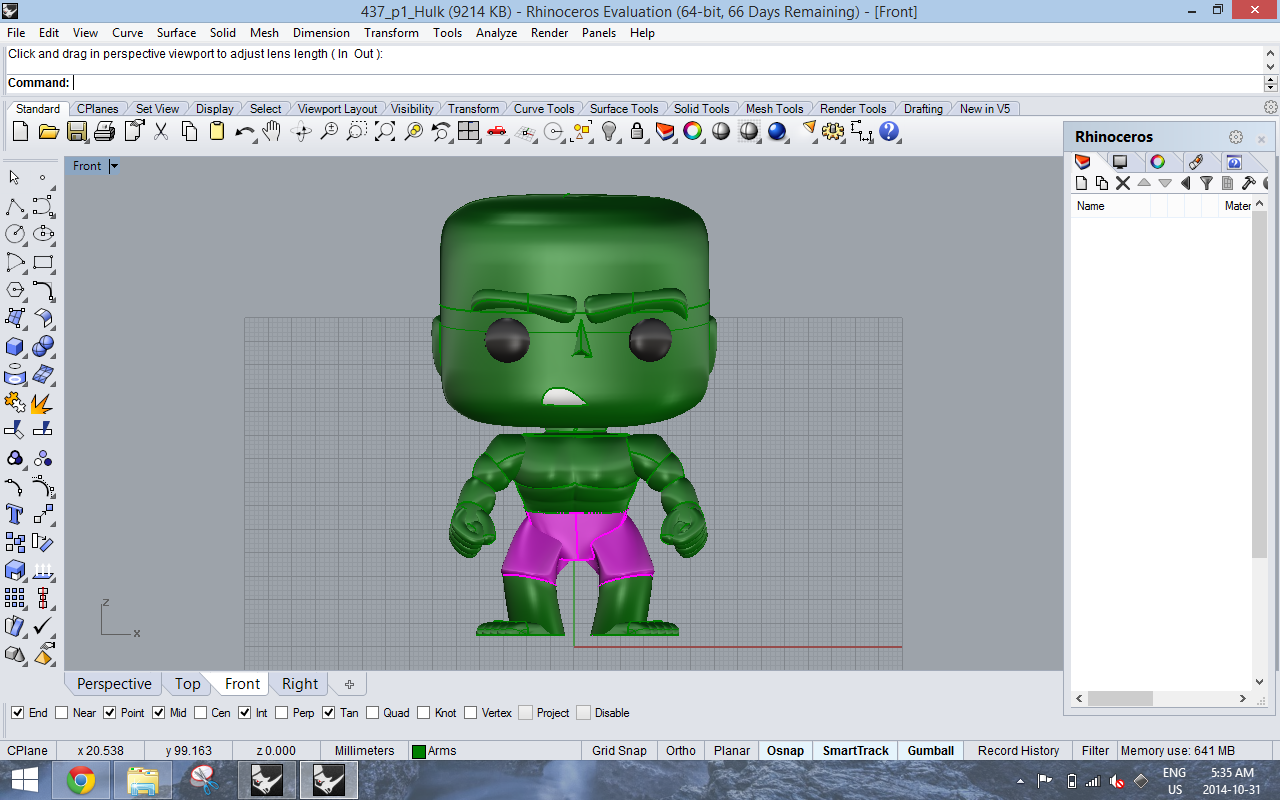
Finishing up the body – continuing to use my strategy of breaking up surfaces and segments then joining things together later as Hulk is not symmetrical at all points.16 17 18 19 20

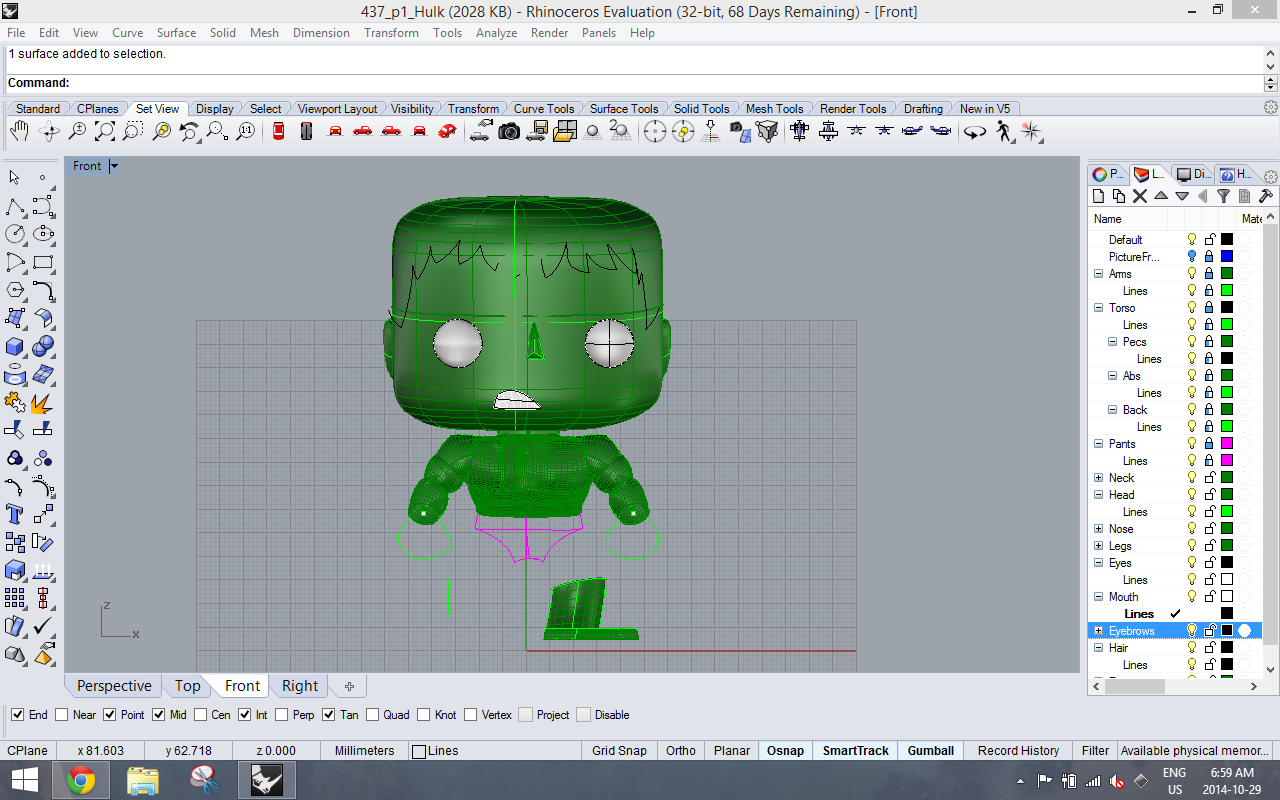
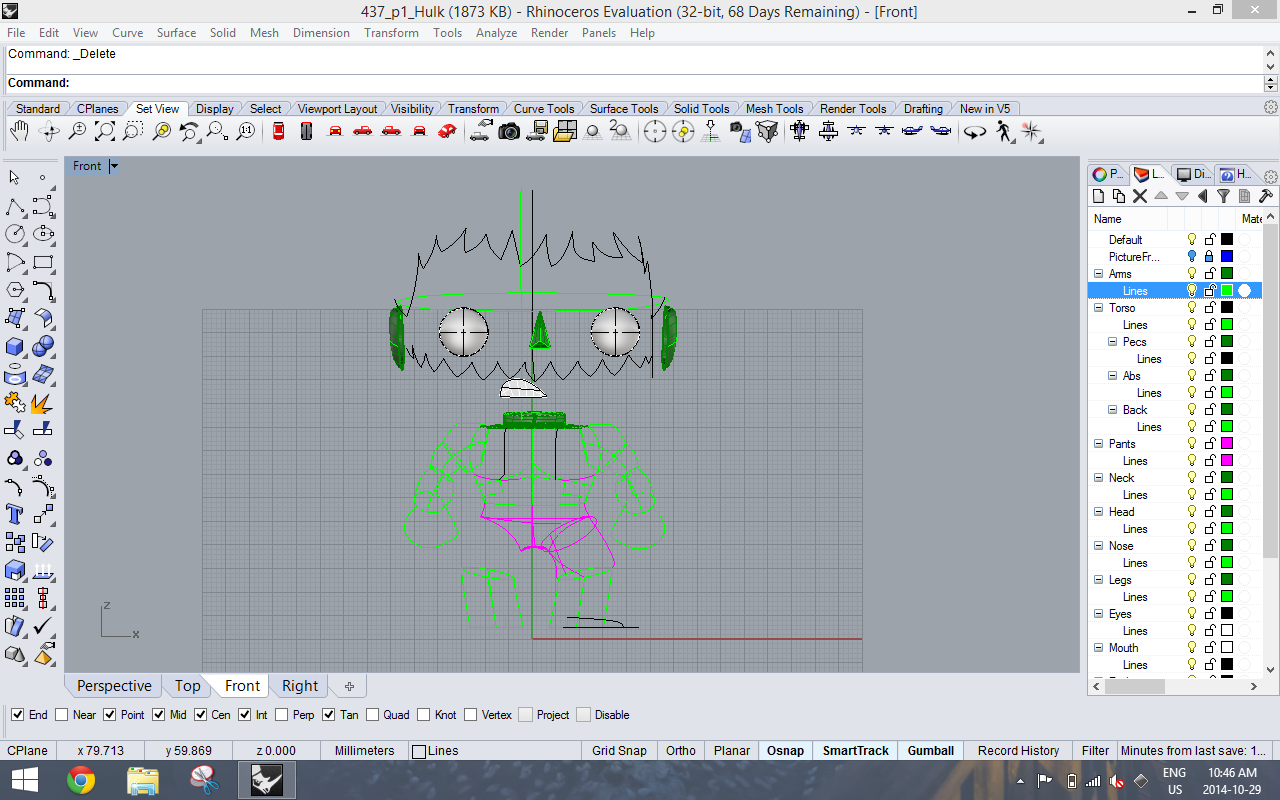
Lots of things continue to need refinement…21

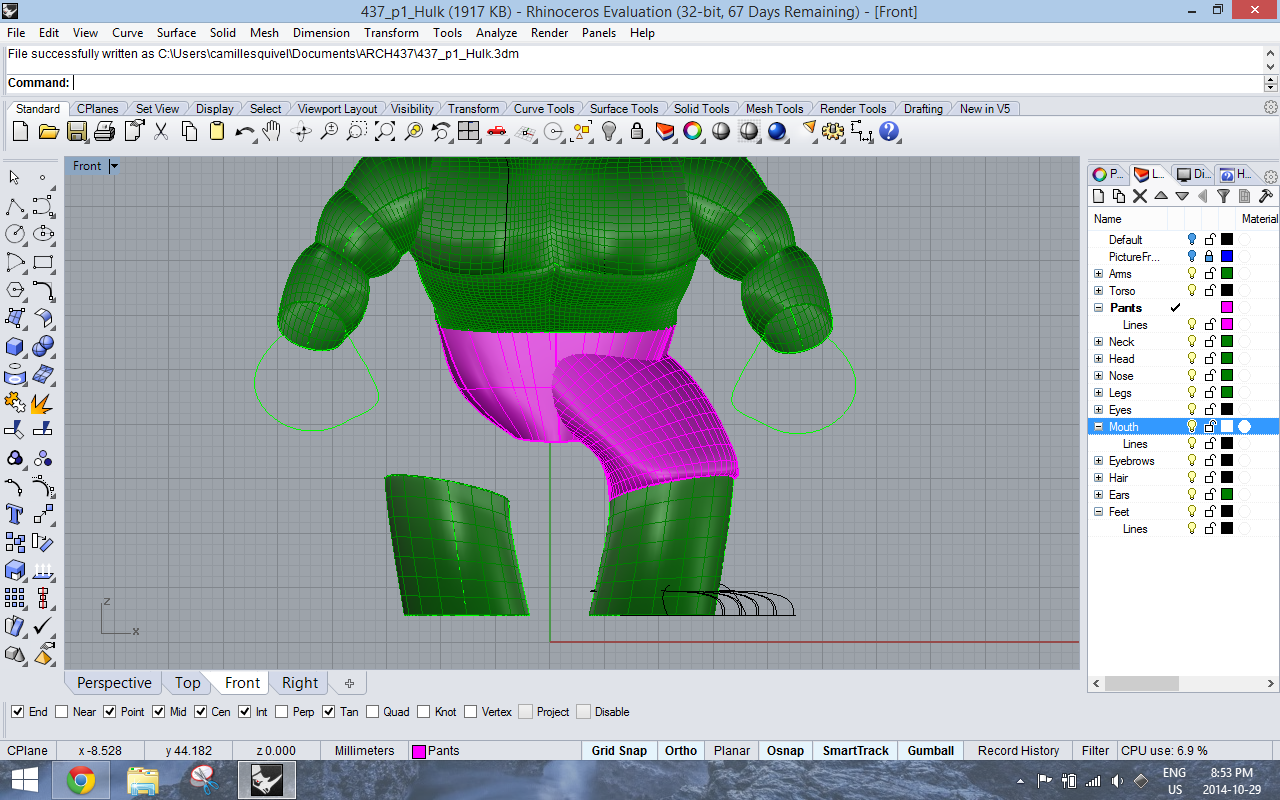
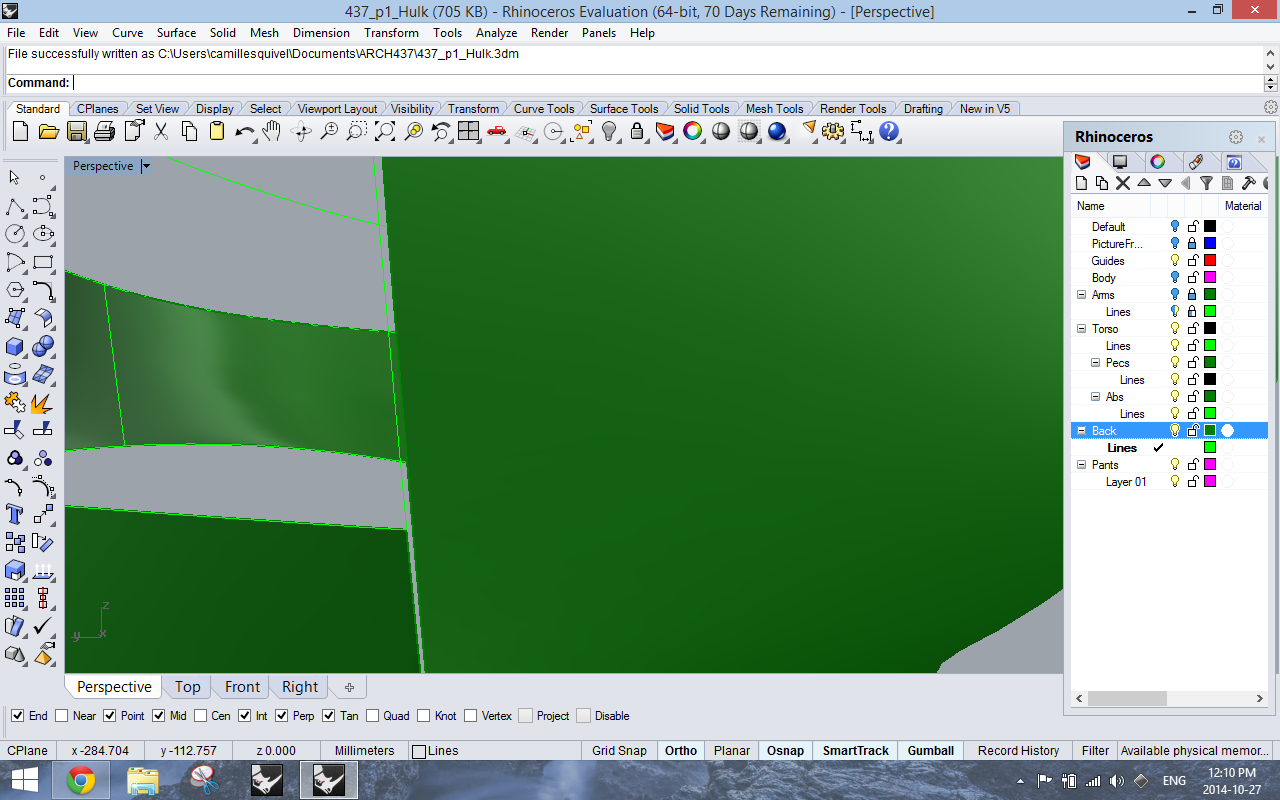
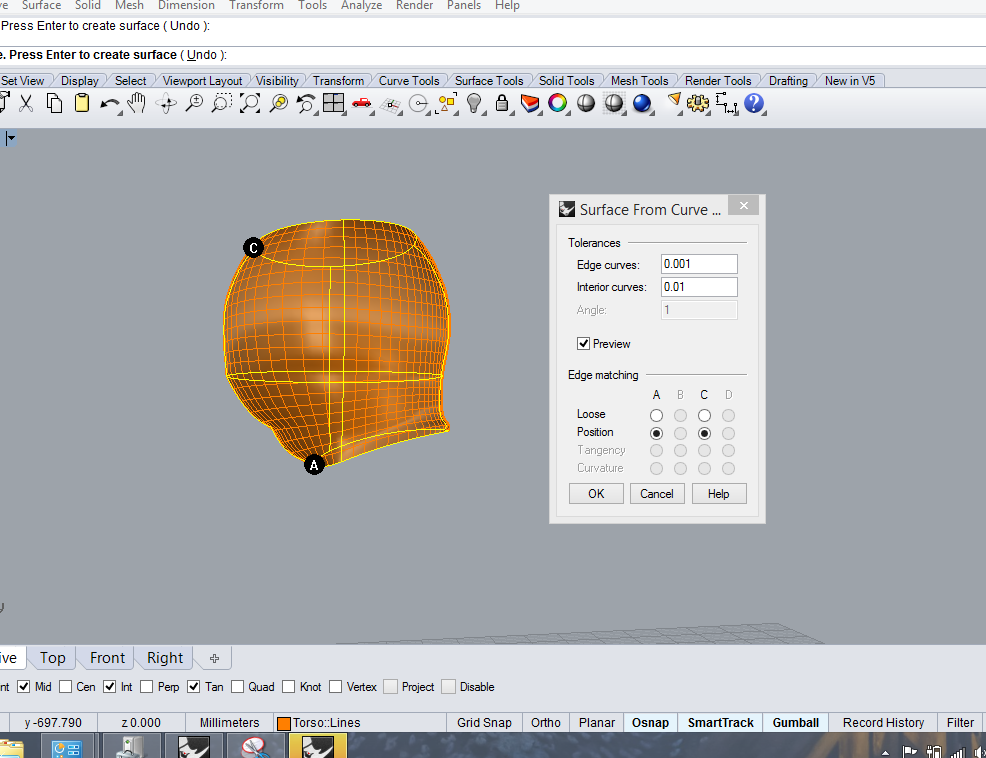
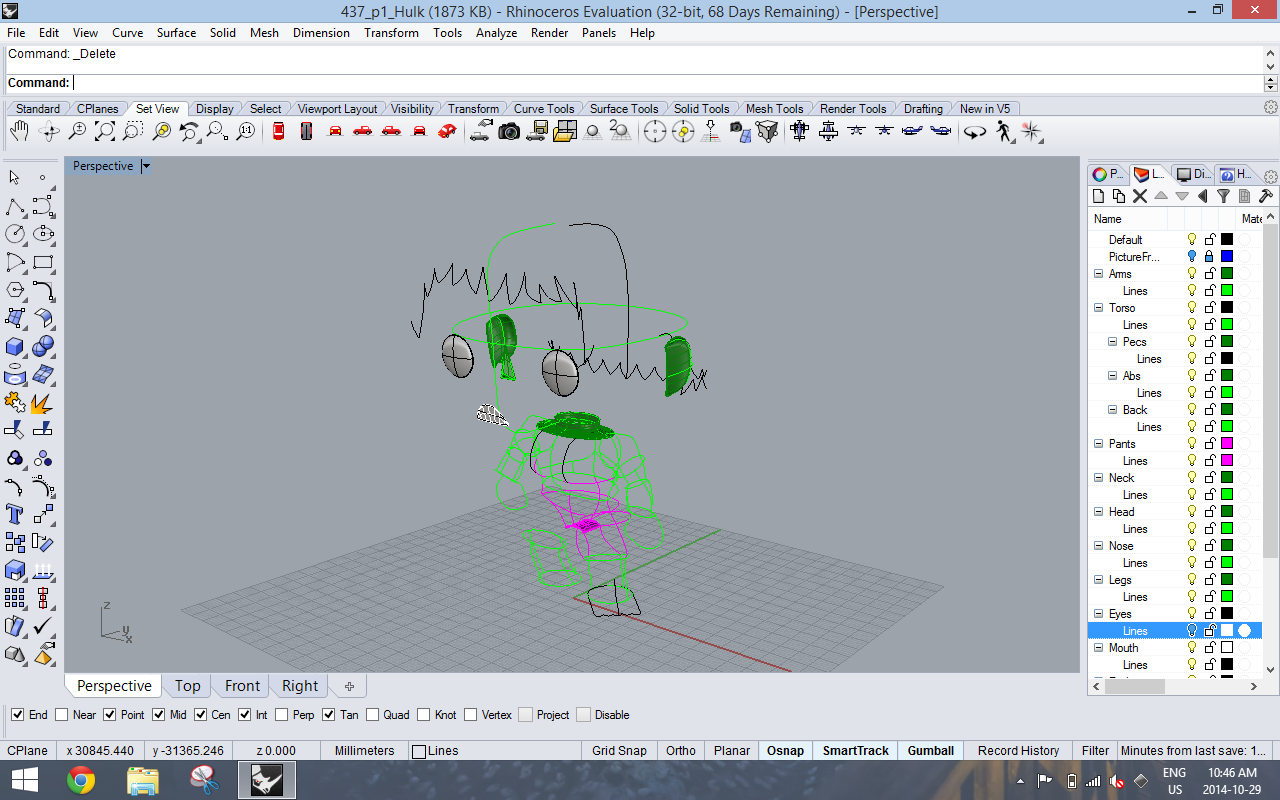
Successfully using Blend Surface after Tam’s recommendation!22 23

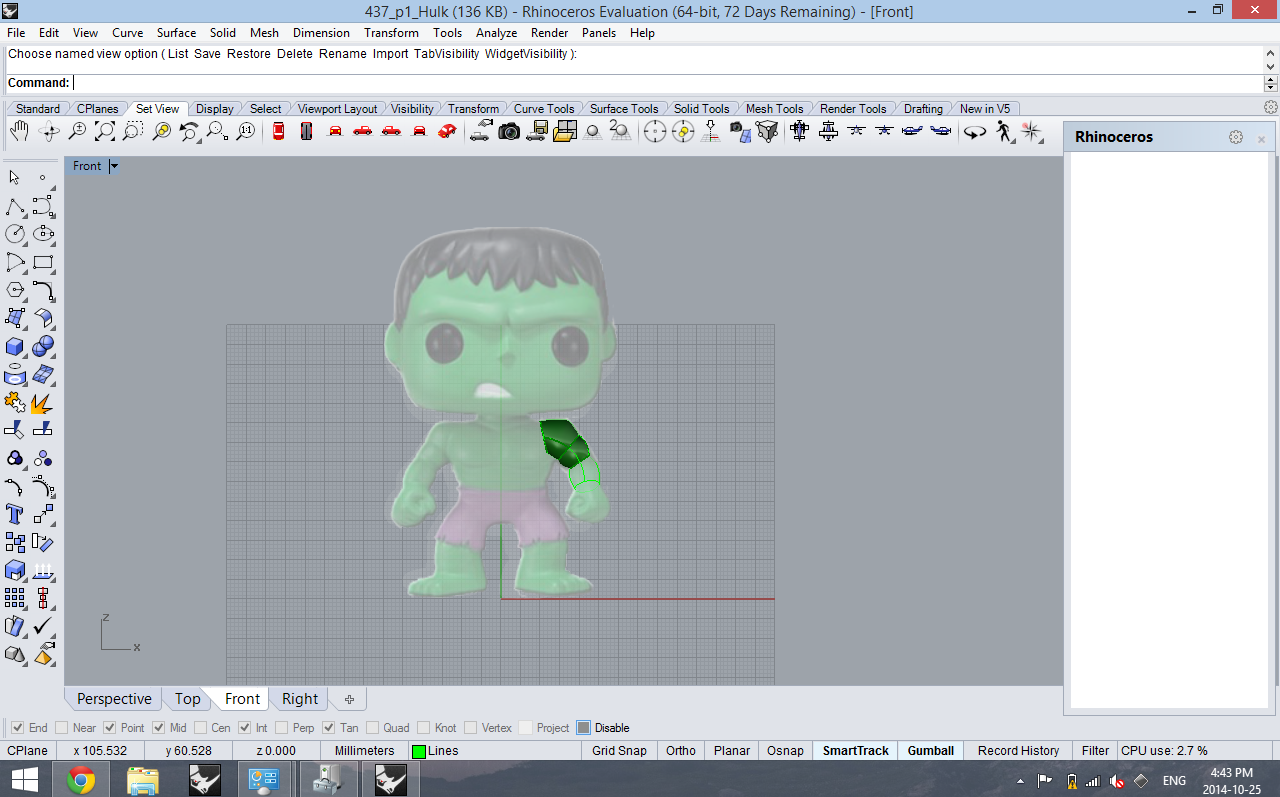
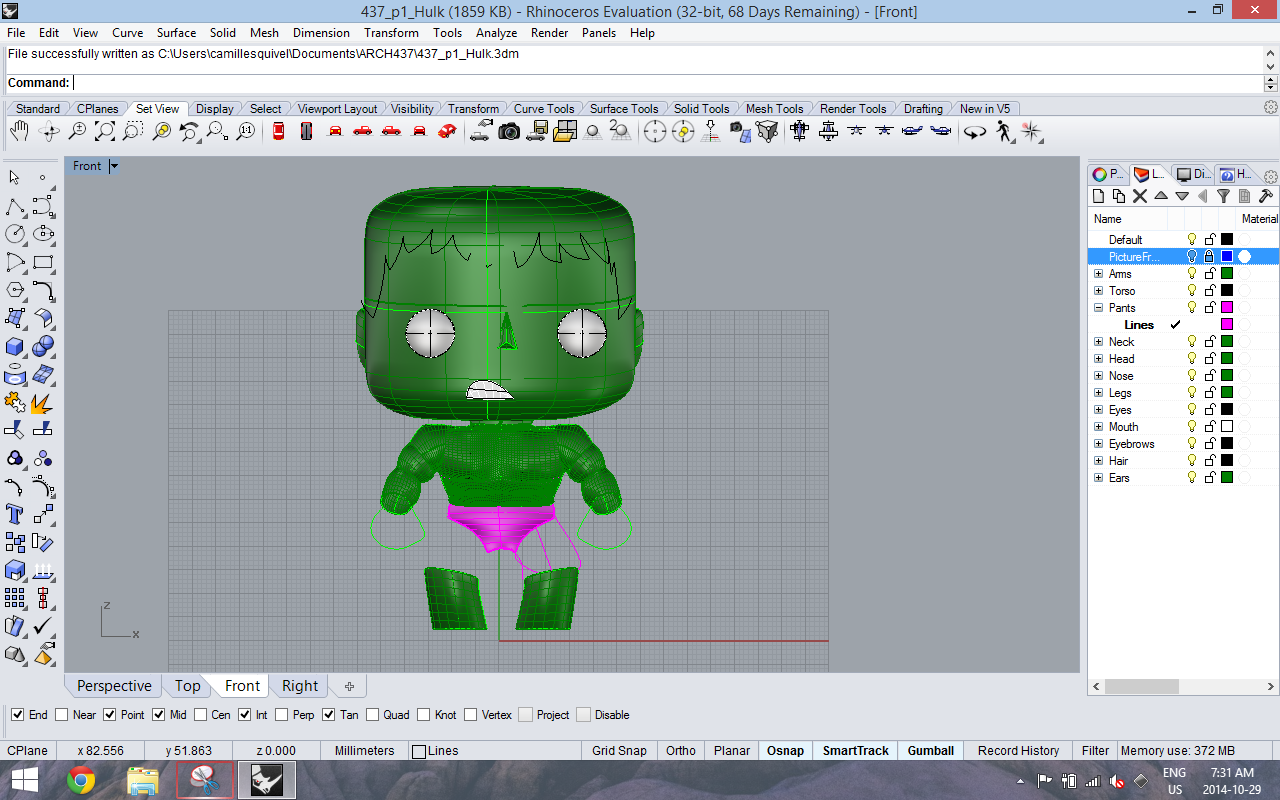
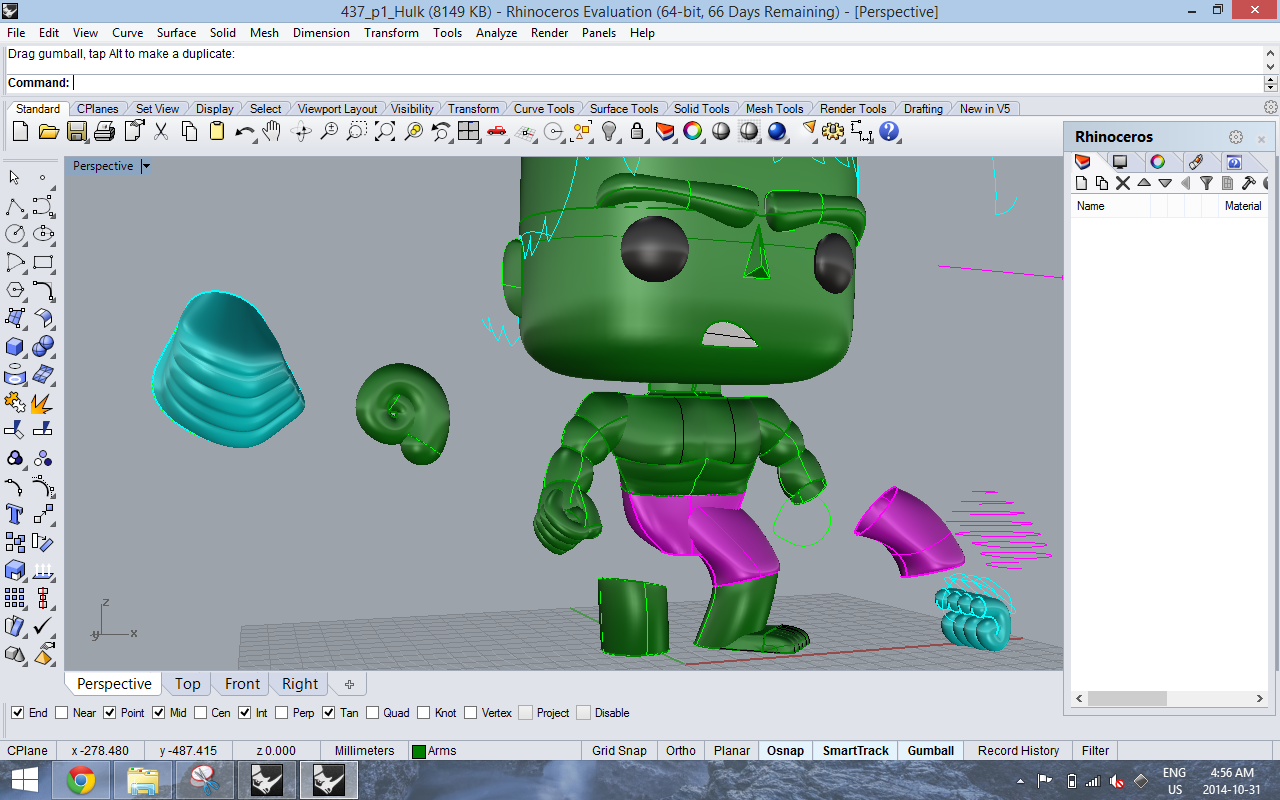
I definitely put off the fists as my last task as it was a hard one to conquer. Edward suggested sharing pieces among group members so the blue was created by Christina (below). Given the style of Hulk however, I thought it didn’t quite match which is the difficult part with having different techniques in Rhino I learned.

24

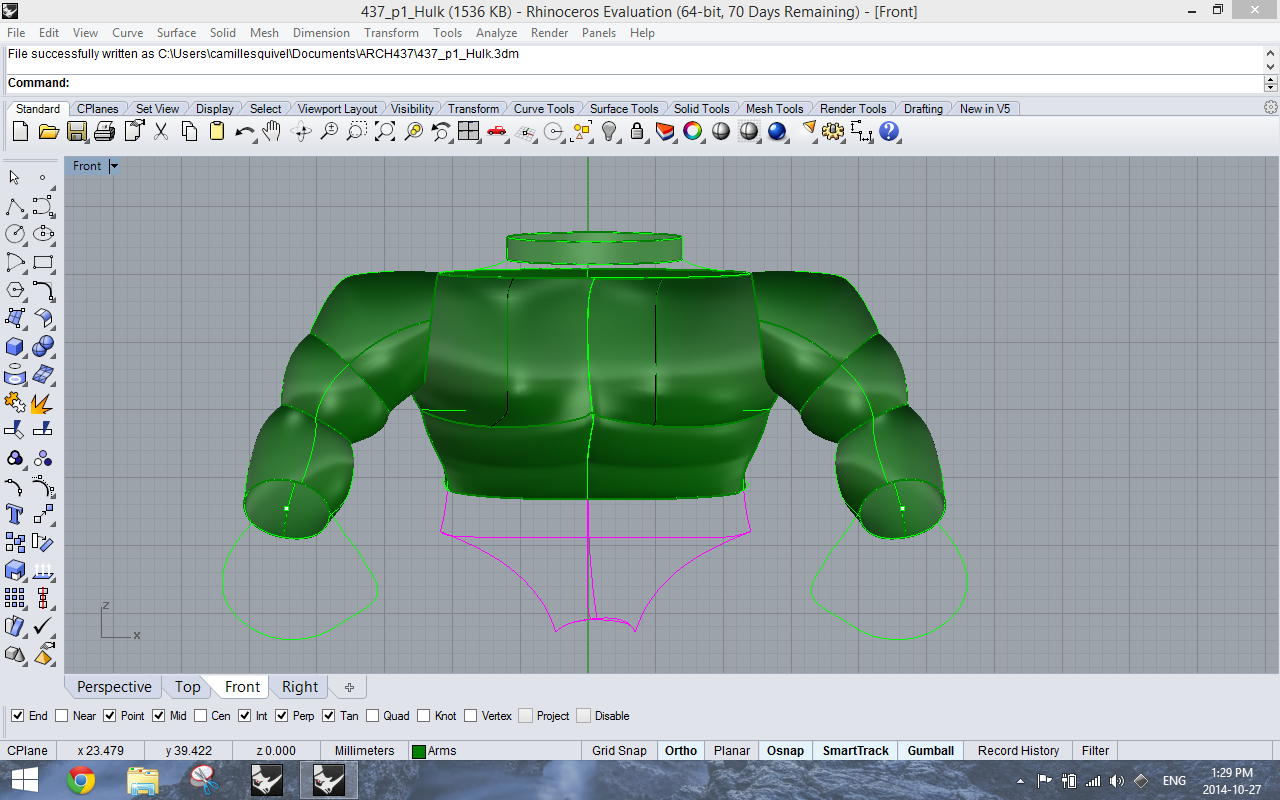
After an enlightening power-shower, I realized that given the scope of the project and seeing the 3D models already printed by peers… I realized many details are lost in print. I used this to my advantage and any harsh curves created from using the Pipe + round curve tool would actually work for me.25

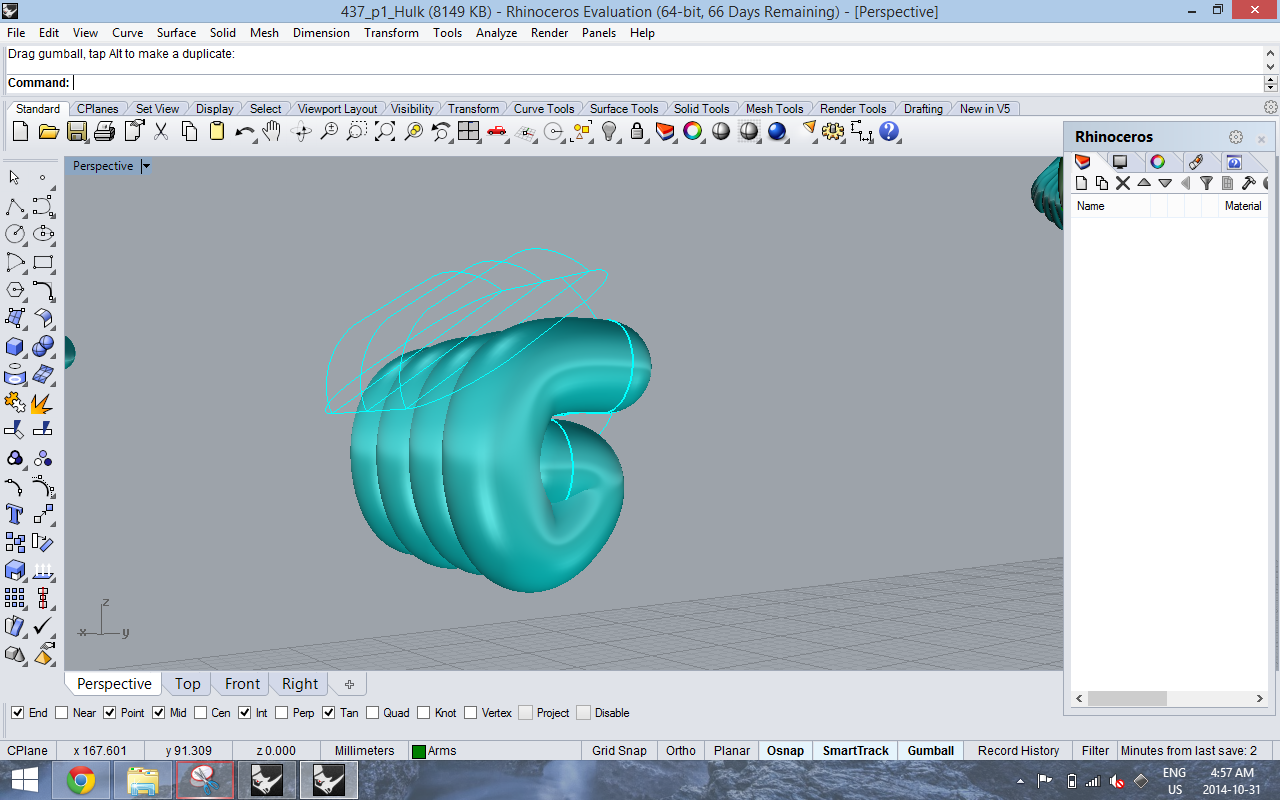
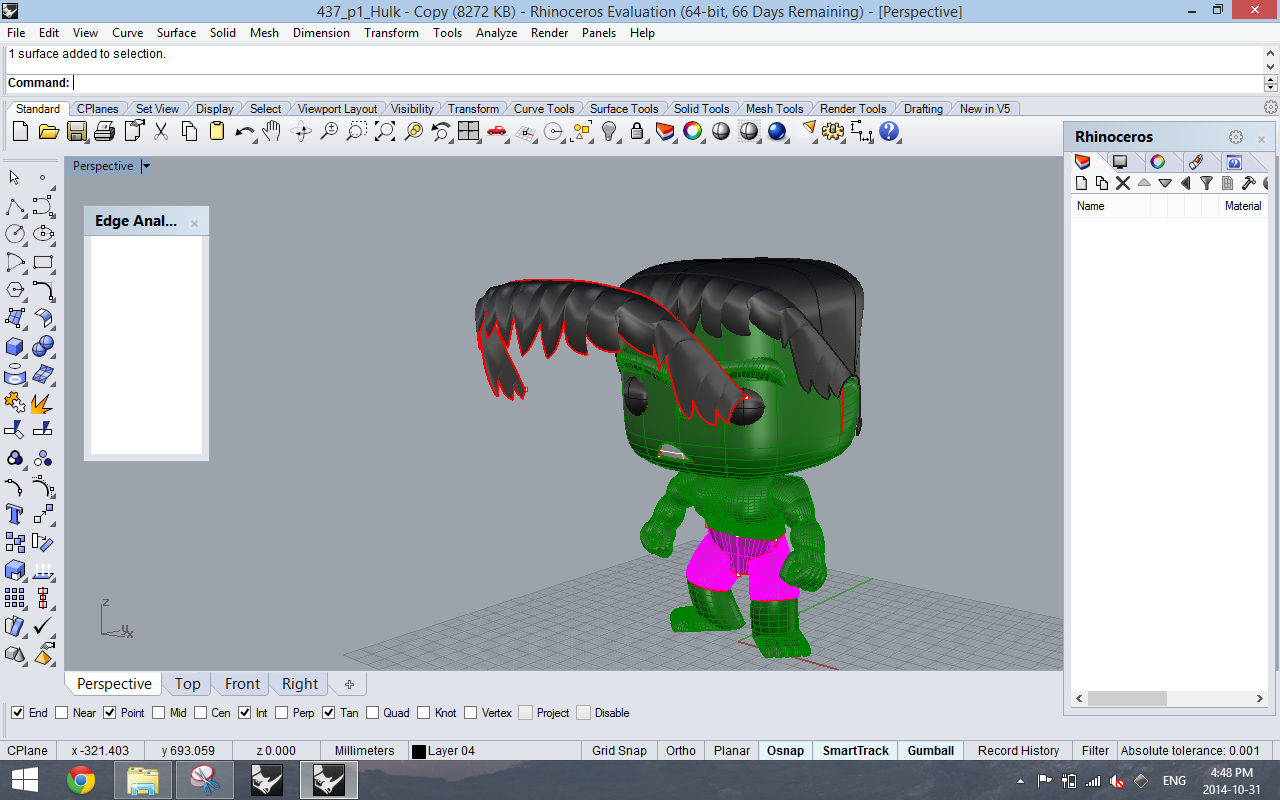
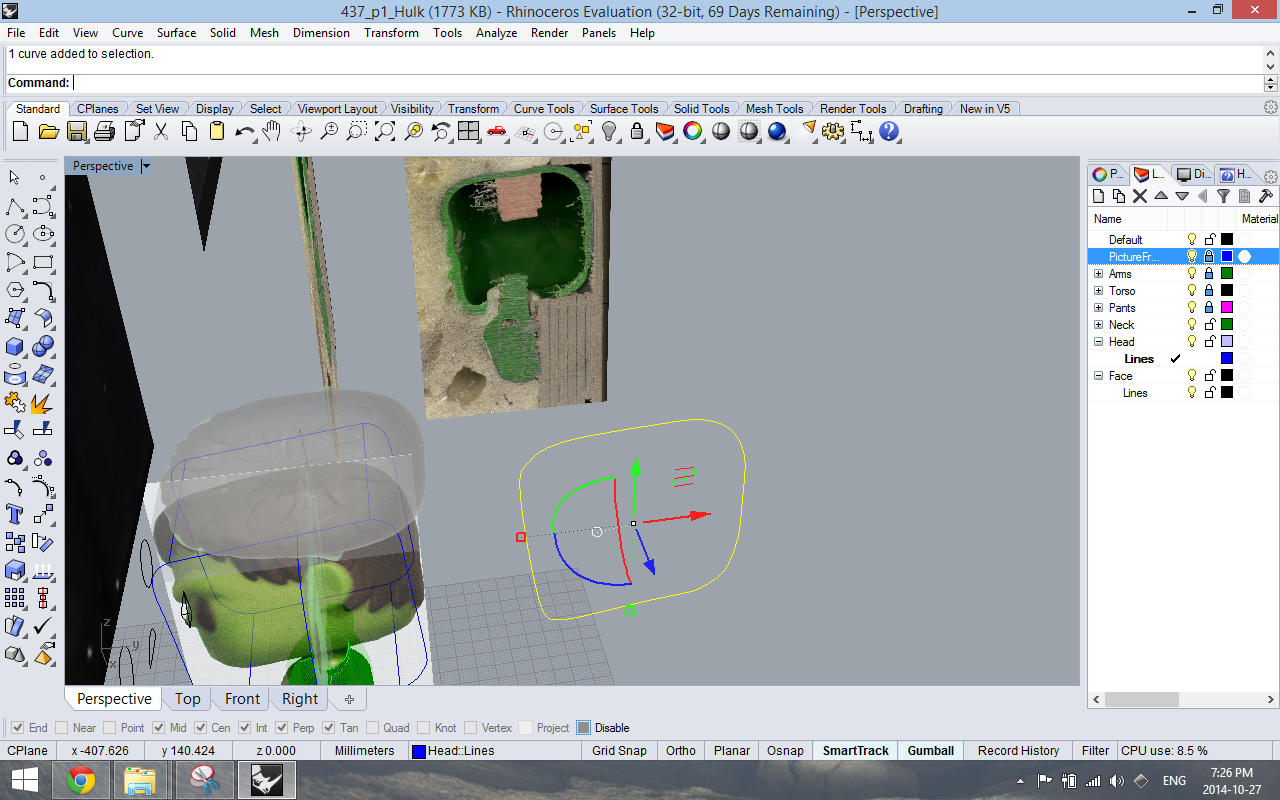
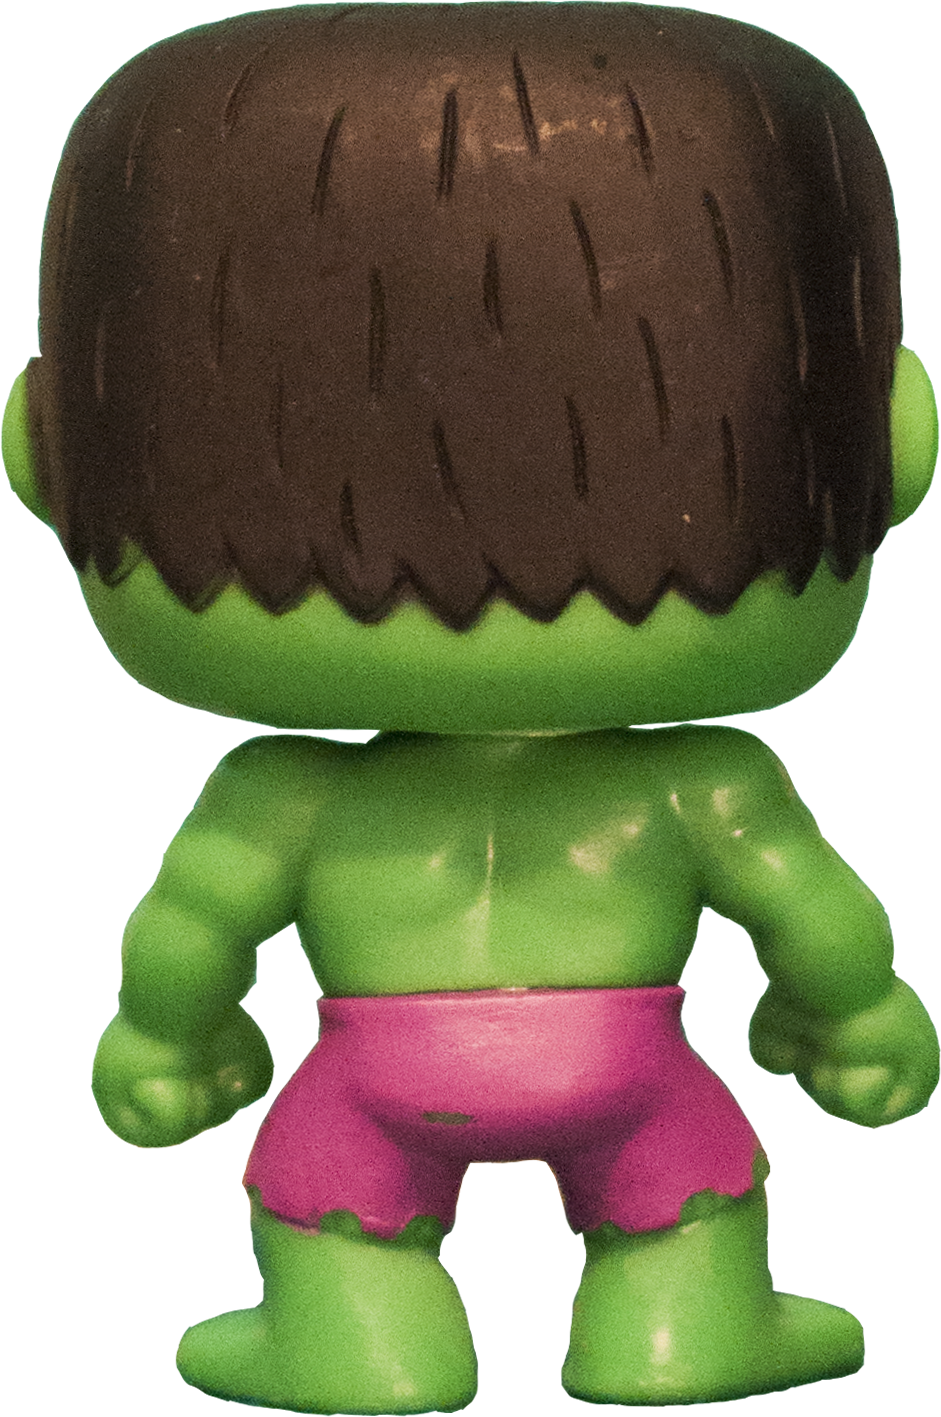
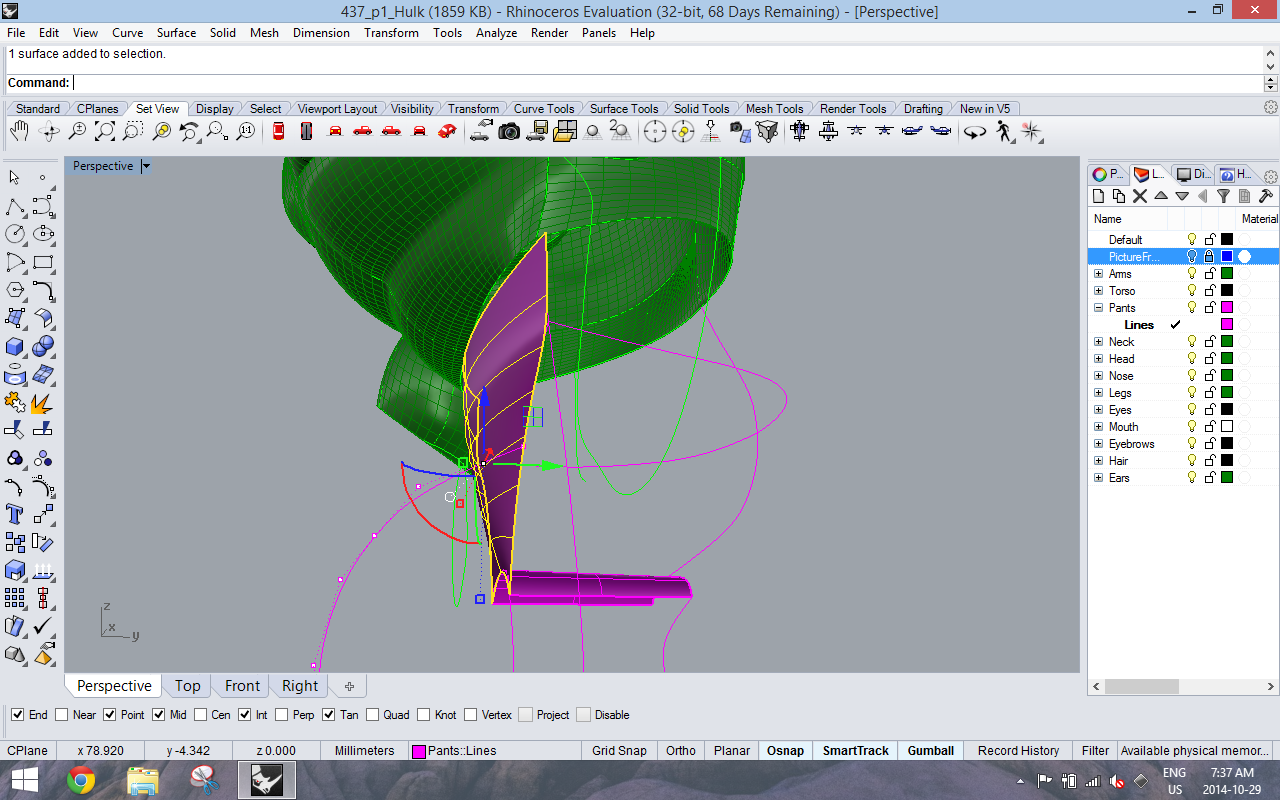
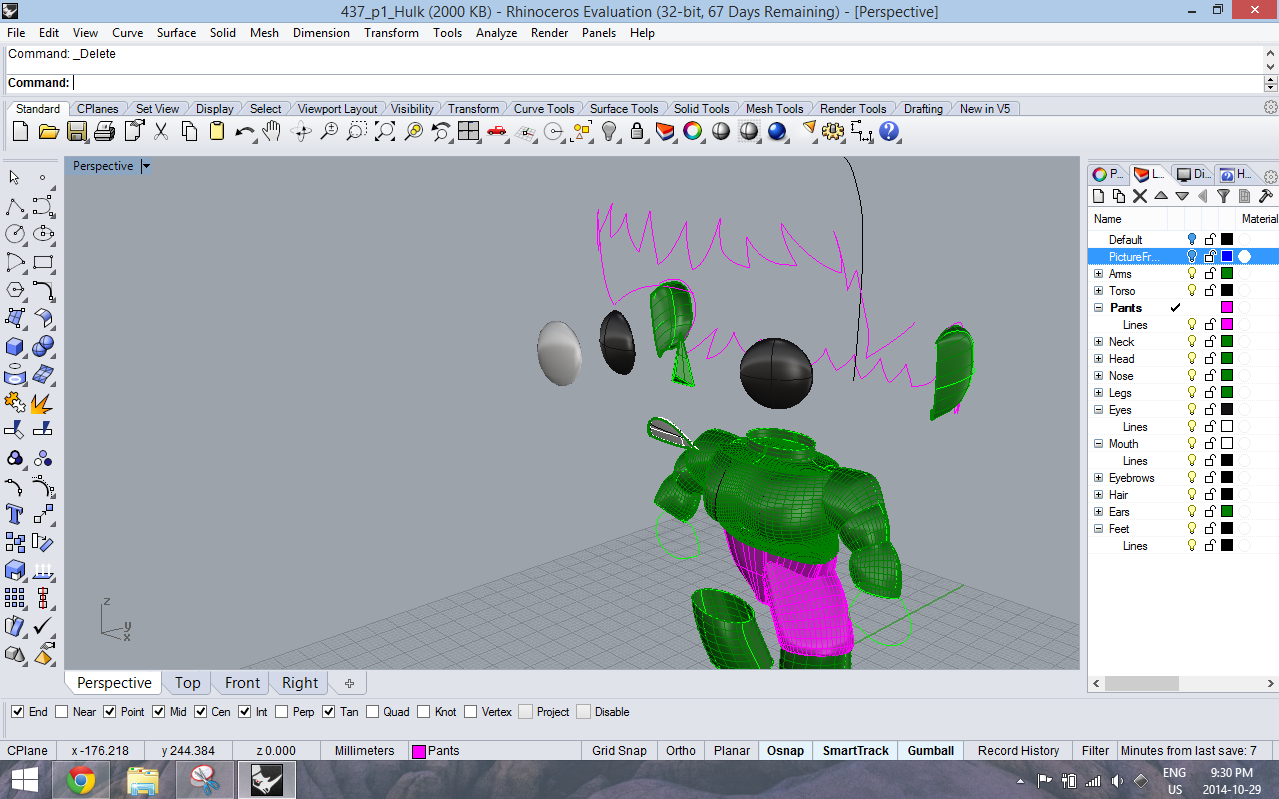
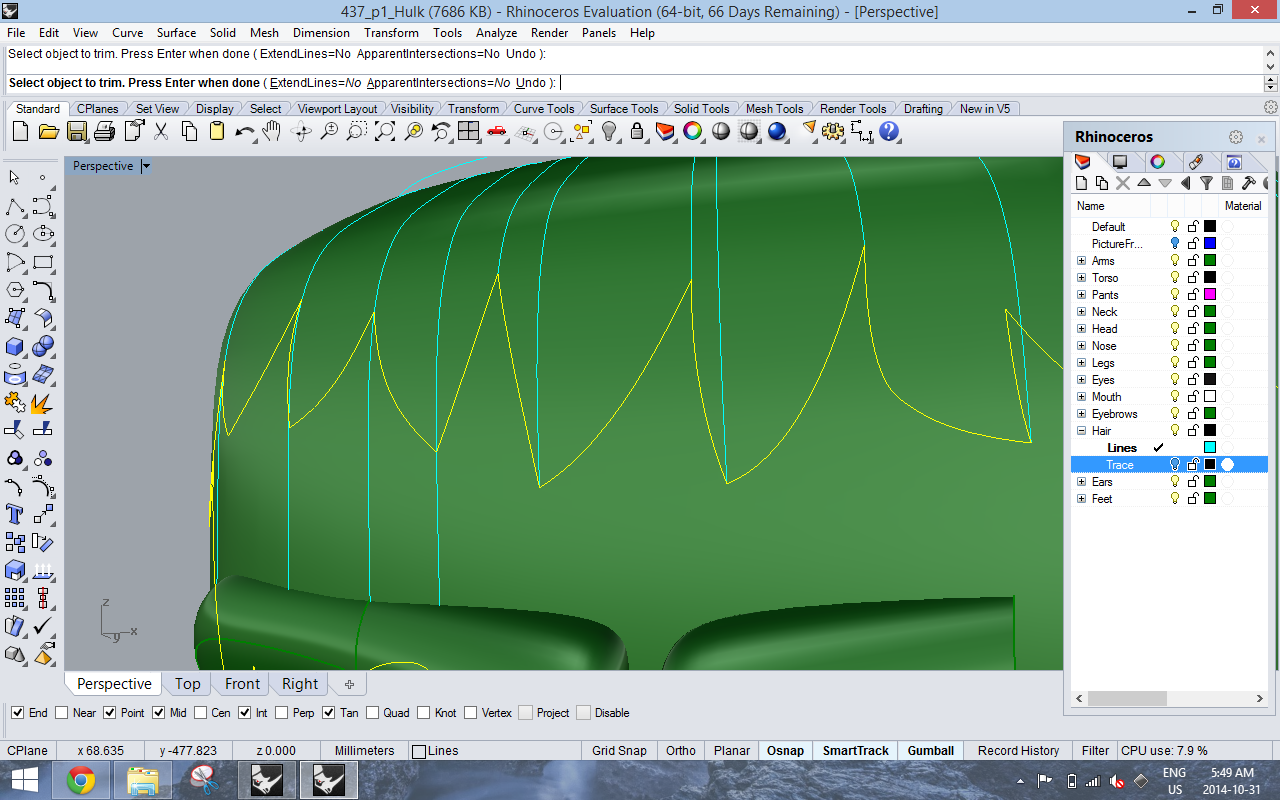
Last to take on – the hair. This was definitely the most frustrating part of the whole project because I was so close to finishing but the technique that my group members/partner used… just wasn’t working for me. They projected the curves traced of his hair in front and right view onto their heads, split, offset then finally capped it.

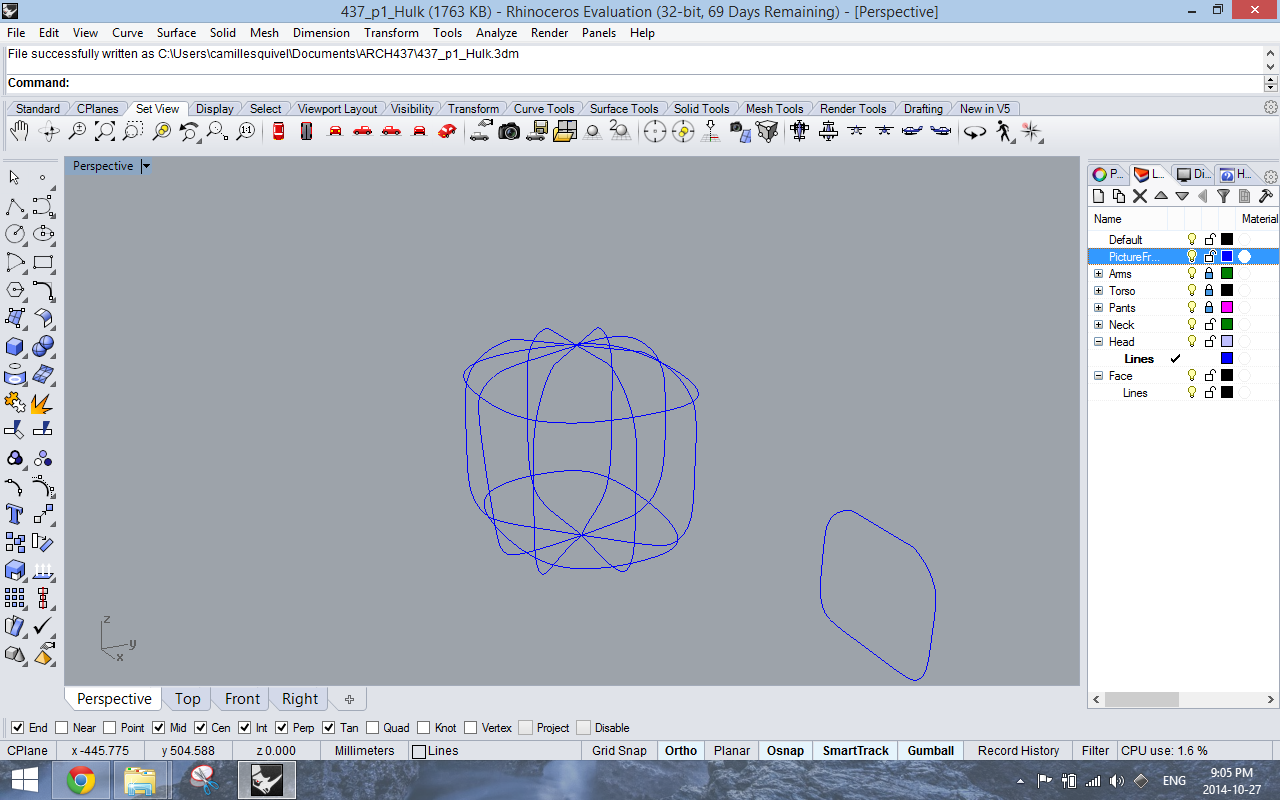
Mine was not splitting unfortunately so I had to seek other strategies…

26 27

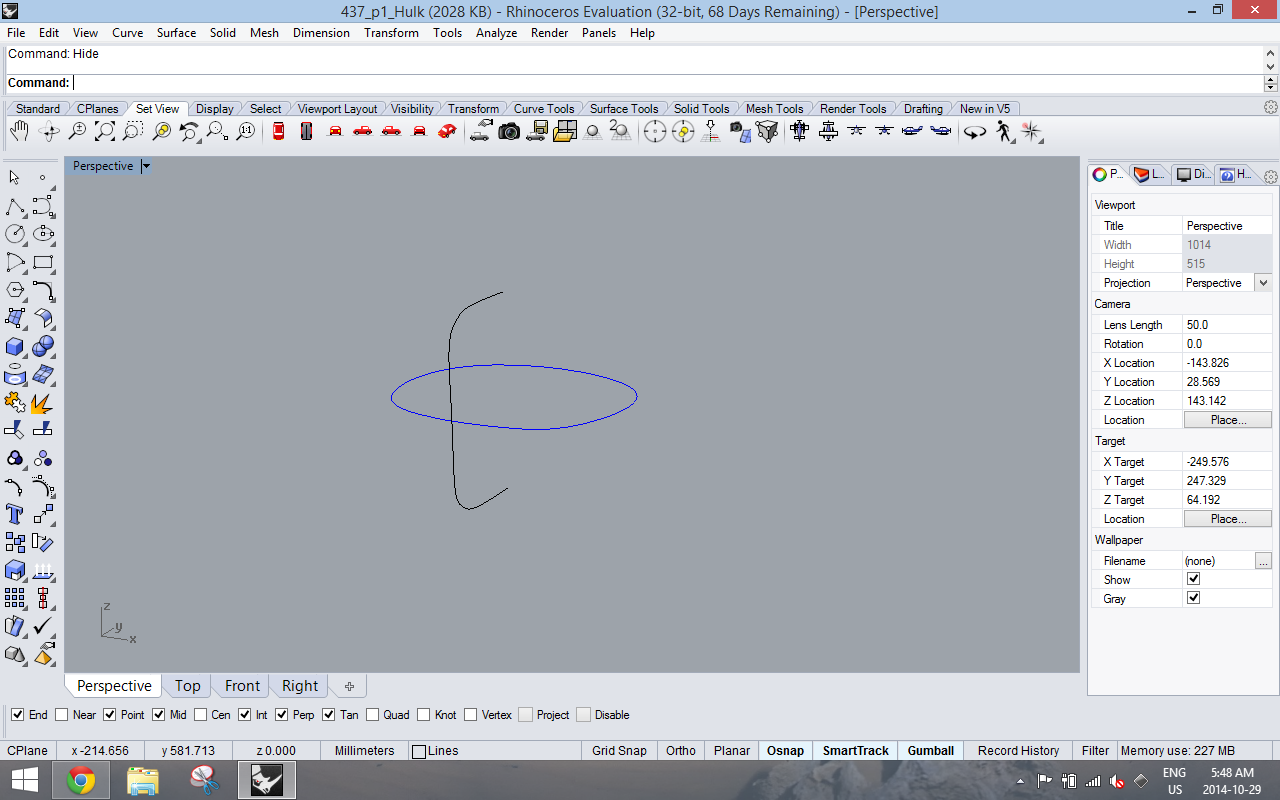
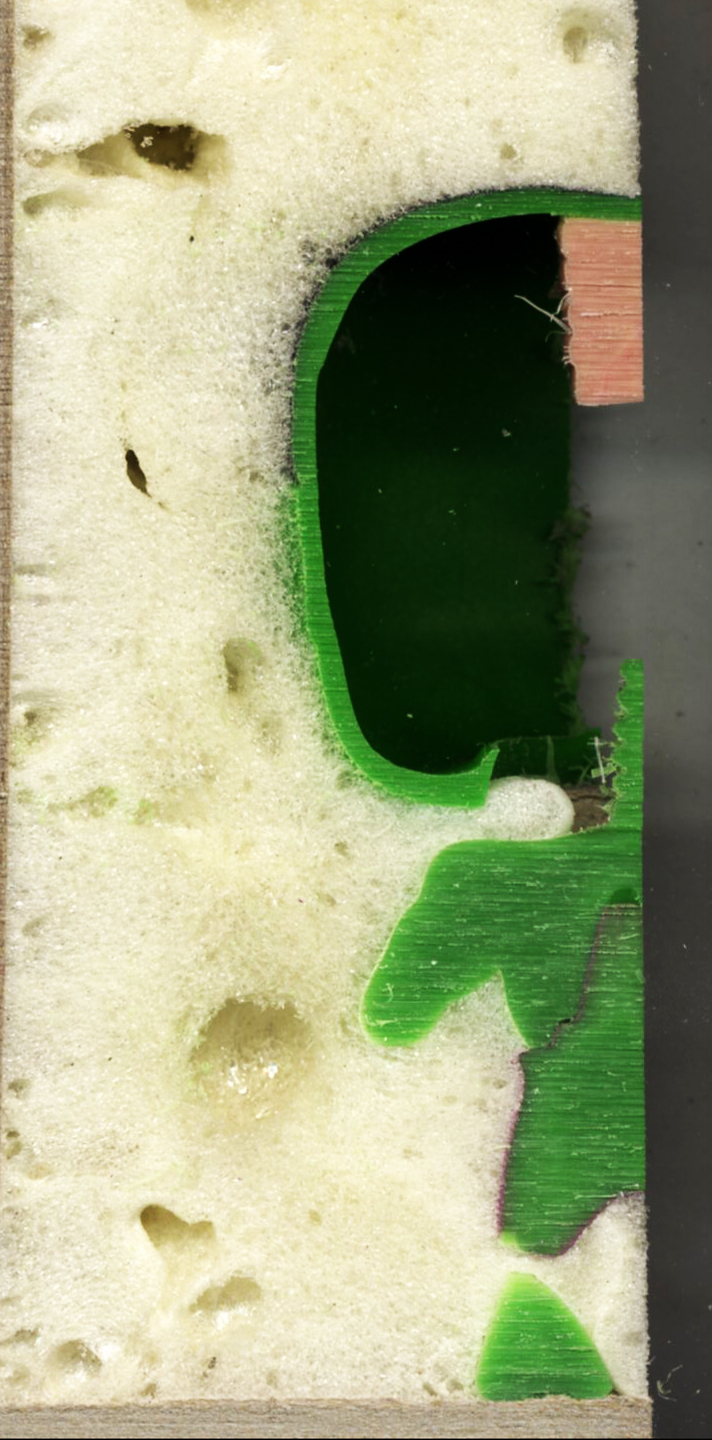
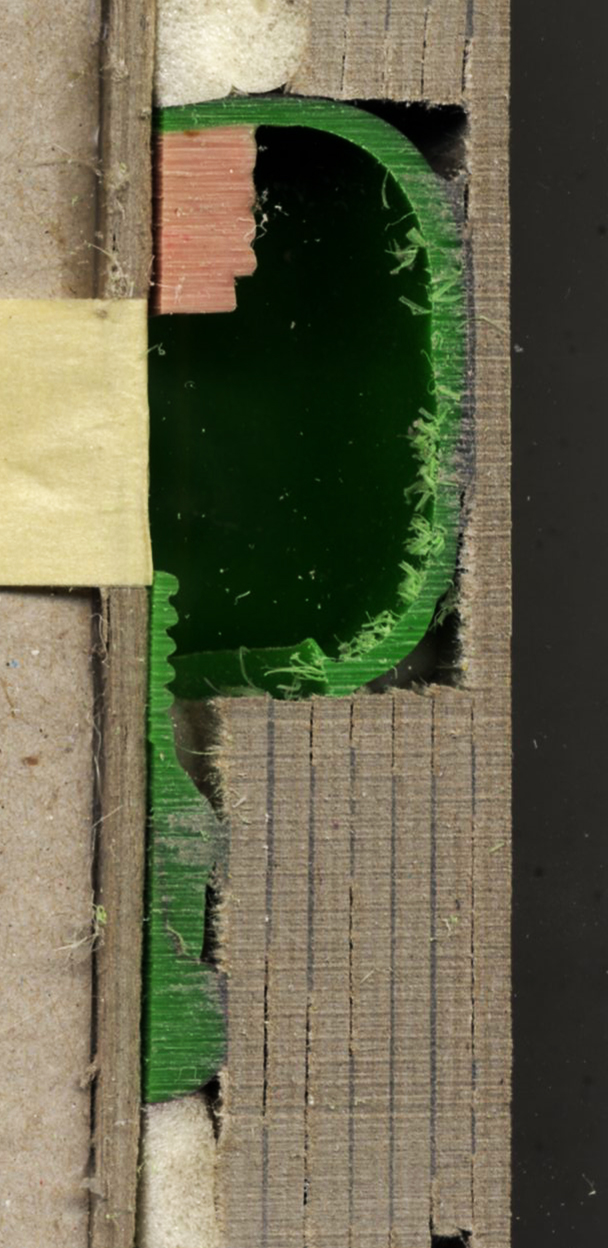
Finally getting close to something… this was the best I could get (although I wasn’t happy with the result). Unfortunately, after my first print – the hair caused a lot of issues.28

Hulk: Hallelujah! + The Head

The past 2 weeks were a struggle as my workflow was put to a rather large halt when “refreshing” or re-PictureFraming the photos I was creating the Hulk from no longer worked.

I continued to see this everytime I restarted, opened, deleted my file. It was frustrating.

1

My prayers were finally answered however, after much research and even seeking out help from my computer-savvy boyfriend. After already almost concluding I needed a new computer (we had even gone as far as looking into prices of PCs I should seriously consider)…. we finally came upon a miraculous post that was at the back of my boyfriend’s mind… something with the display settings.

All it took was: Rhino Options > View > OpenGL > clicking off “Use accelerated hardware modes” and voila!!!

31

I was finally back on track and able to continue progress. Next up: The head. I initially left the head for after the body since I thought the body would be harder to do with all the parts… I was surprisingly wrong. I tried several techniques/tools/ideas but for some reason, I was having a really hard time.

1011121314

It took several frustrated attempts to try and get the best and most accurate head. In hindsight, simplicity is key but information helps. By  information, I mean the information you provide the tools so they don’t average things out but to not overcomplicate it (I made the mistake of putting his head at an angle from the beginning – rookie mistake).

15


Hulk: Chest

6

This week I started to learn about the downfalls of certain commands such as the averaging that Curve Network does but started to learn how to mitigate them with other tools.

7 8 9

This week was spent more setting up lines but began to realize Curve Network was not going to solve all my problems.  Other tools I began experimenting with were: Rail Revolve, Sweep 1 and Sweep 2. Although I know many other students lofted lots of parts for their project… I generally avoided the tool as Hulk’s individual parts weren’t exactly symmetrical.

My generally strategy for creating him was simplifying his parts instead of trying to model large pieces. I’d model the bicep, abs, chest, parts of the back separately for example instead of attempting to create the whole torso or the arm through one command.

Hulk: The Beginning

I got a bit of a late start to this project as I was sick the week it began but thanks to my partners – we were able to make slices of the model.

model1 model2 model3 model4 model5However, because I missed this first week of progress – I actually think this worked to my advantage as I got to look at the project objectively and assess what I would need to take it on. This ended up being taking photos of my model to begin modelling and placing them into Rhino using PictureFrame as we did for the Lightbulb tutorial.

hulk_back hulk_front hulk_side hulk_top


However, after a short while… I ran into what became a huge hiccup and deterrence from my workflow. What Edward said to be a videocard issue and all I needed to do was “refresh” the PictureFrame every so often… wasn’t the reliable fix (as it sometimes didn’t ever bring the .jpegs back).

1


Thankfully, I was able to trace some parts of the model before the images disappeared and worked from the physical model to start recreating little Hulk.

Lots of friends suggested using Curve Network as they found it gave them the most accuracy and success when done properly… I gave my first try and was quite pleased with the parts of the torso, chest, abs and arms I was able to produce in this first week.

2 3 4 5