All posts by cradvak

The Hulk FINAL

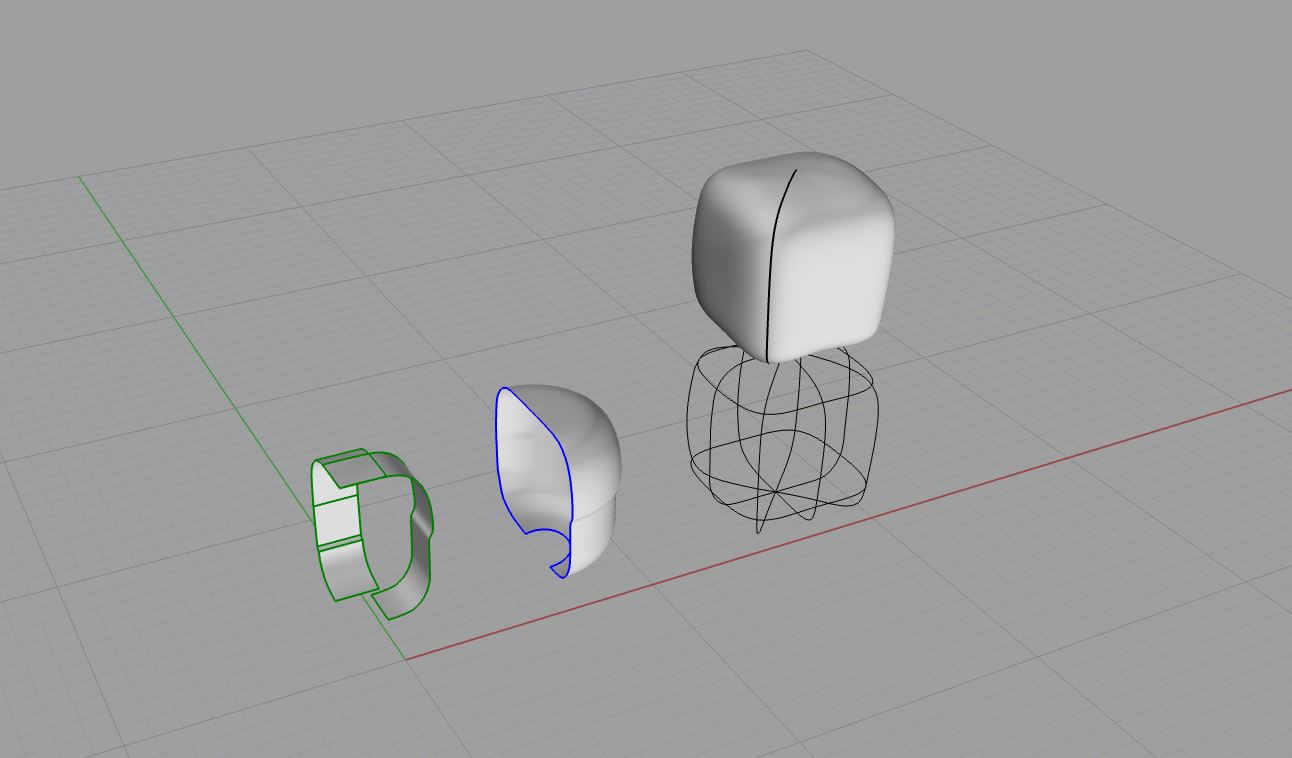
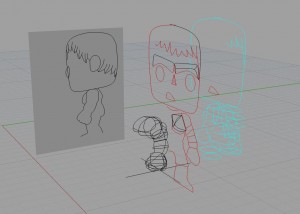
I added more complex geometry to the base surfaces I created the week before by intersecting shapes and adjusting them using control point editing and cage edit. I went back to the curves I used for the other surface and added to them to continue the fluid forms.

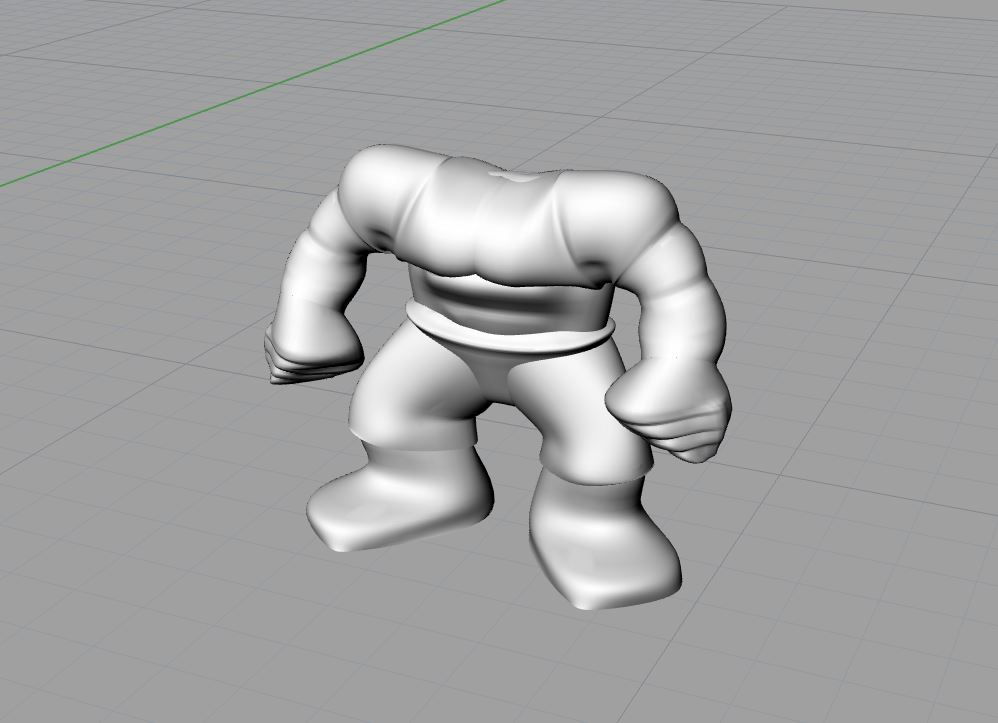
I make the legs of the pants one surface and then split the surface of the torso to them edit the surface further and adjust the curve network to create the crotch area of the pants. This way I could have the shape of the legs district from the rest and create the lip of the pants against the torso.

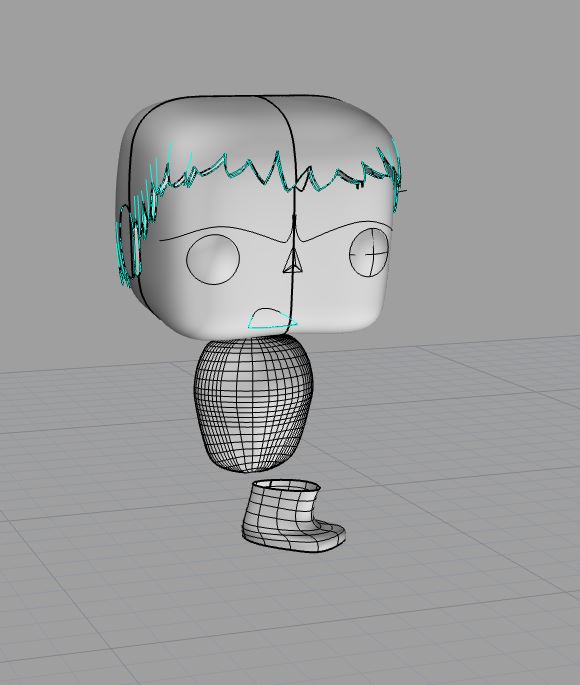
Arms were constructed very quickly using circles that were placed in the middle of each muscle and at the crease where the muscles would meet. This technique extended into the chest so that when the surface was mirrored, there is an indent delineating the pecks.

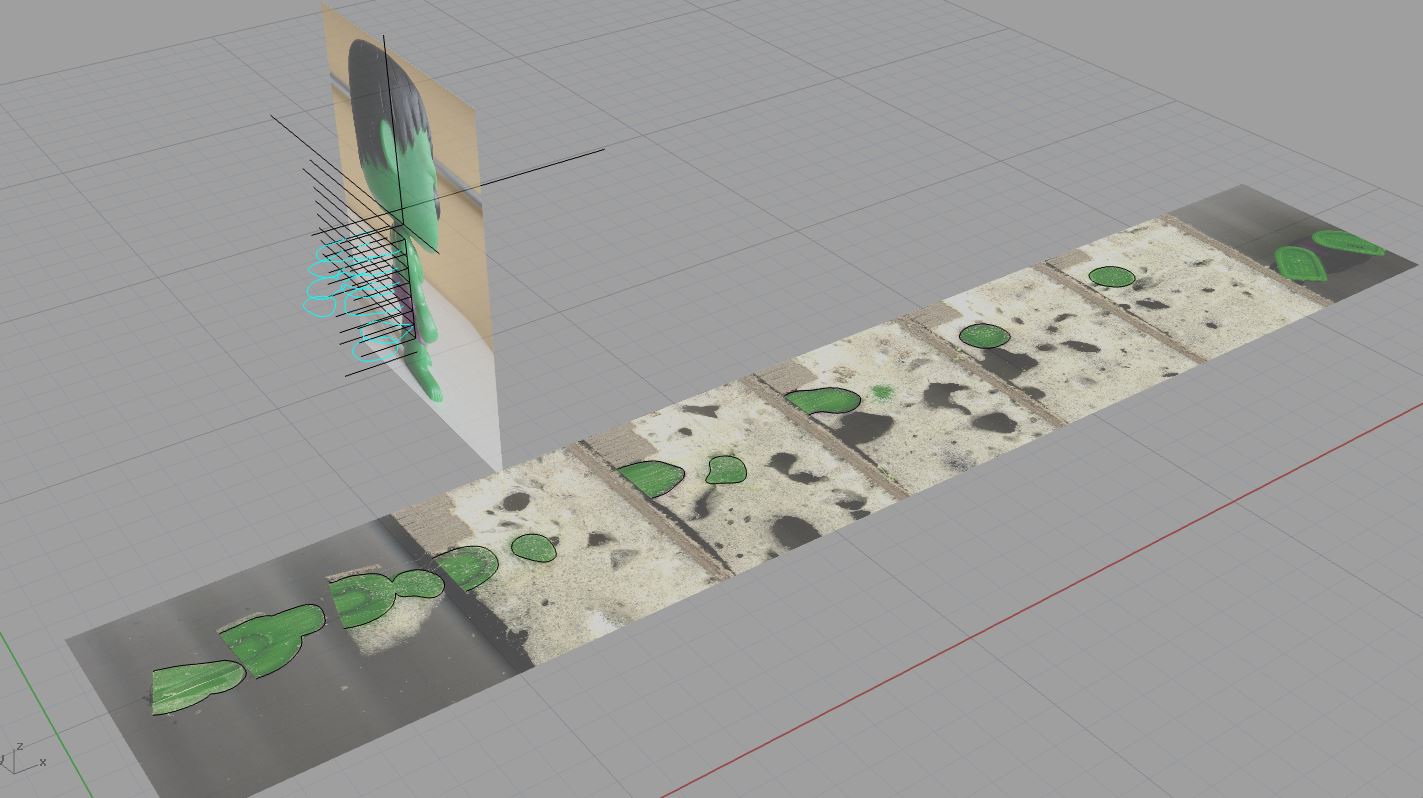
The abs and back muscles along the spine were edited using control point edit and cage edit.

pants
Left to right: Curves from picture frame used to create curve network, pant legs, torso split into two, lip of the pants
torso
Adding to existing curves to create a smooth, continuous surface for the pants to be added to the pant legs.

armsarms final

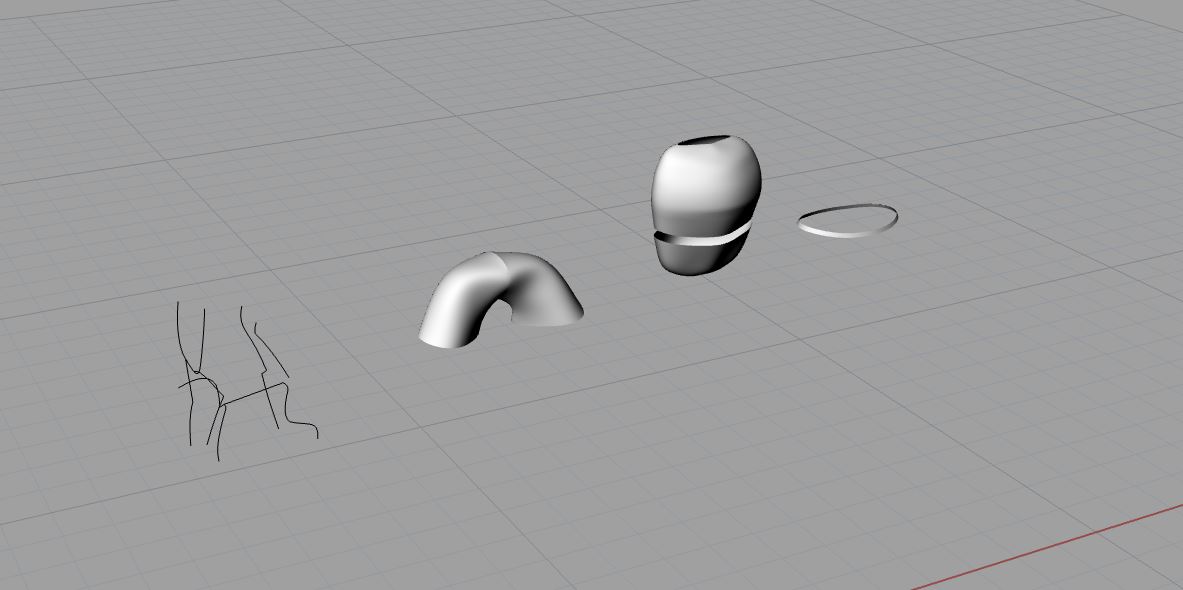
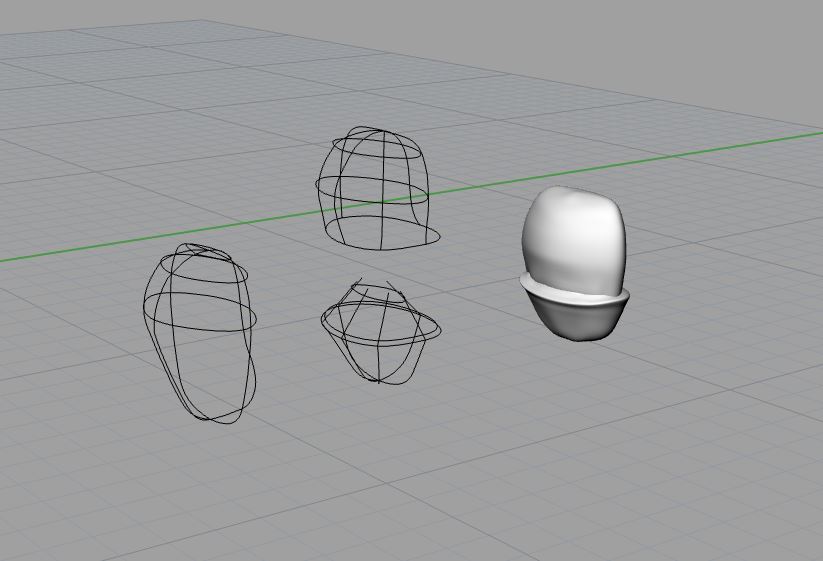
Circles used to create the prominent muscle structure

BODY

resulting form

Curved surface experiments

I began the construction of the head by experimenting with a variety of different methods to create curved surface from our section cuts. As seen below, I tried lofting, revolving and network surface. Although it is tricky to build the curves so you get any surface at all let alone an accurate representation, I had the best results from network surface. I continued to build my model from that technique.

From my sections and elevations, I traced the image and projected the curves onto the surface of the head. Then I experimented with different ways to model the hair on his head. First I modeled every strand of hair using my new found tool, network surface. It created an appealing result because it really got the volume and shape of the hair. But I realized I was getting too detailed and was working on a scale that was too detailed to come across in the printed model. As a result, I used the projected lines to split the head into hair and face and scaled the face down to create the hair line. Then, I added the facial features using shapes.

head
lofting, revolve, curve network surface with construction lines.
head details
projected lines on head, hair attempt 1, hair attempt 2 with facial features


Continuing with more section cuts the team and I created, I was able to create the torso and the legs using Network Surface. The section cuts did not play a major role in my final product but it did help me make more sense of the shape I was making.

more sections
The section cuts I traced and used the picture and section intervals to place them in their actual place in space. They turned out to be the most helpful but I did end up using them as a way to check to make sure the shapes I were making were the proper shape.
torso and leg
Began to construct the body starting with the torso and legs with the intent of adding the pants and more complex geometry on top of the torso to sculpt the muscles.

The Hulk Attempt #2

With a better idea of how to set our bobble head to create accurate sections, I designed a better method of how to position the head above the body. The goal was to glue the doll to a solid back board so it was securely in place for the spray foam and the band saw. I needed to fill in the gaps that its over size head created between the body and the back board. Then I had to position the head correctly over the body because they are two separate parts after I removed the spring. I accomplished this by layering material beneath and around its body and head and then glued it into place. Then, I enclosed the box and filled it with spray foam. Amy continued the process in the workshop to successful cut accurate sections.

WP_20141015_001

WP_20141015_005

The Hulk attempt #1

The first attempt at setting my doll in spray foam was a good learning experience. The challenge was that the vinyl doll we chose is a bobble head so we had to remove the spring in the doll to be able to cut the sections. So I quickly created a way to set the head on the body before setting the entire body. But it was not actuate enough and the box I set it in was not strong enough to keep its shape. The cuts that Amy preformed were inaccurate because of my lack of precision. This gave me a good idea of what to do differently for my second attempt. Below: 1. close up of bobble head predicament 2. setting the head onto the body WP_20141015_006

WP_20141005_004