After experiencing some difficulty accurately modelling the armor components of our previous toy (Cyborg) and Daozhen and I decided to switch toys.
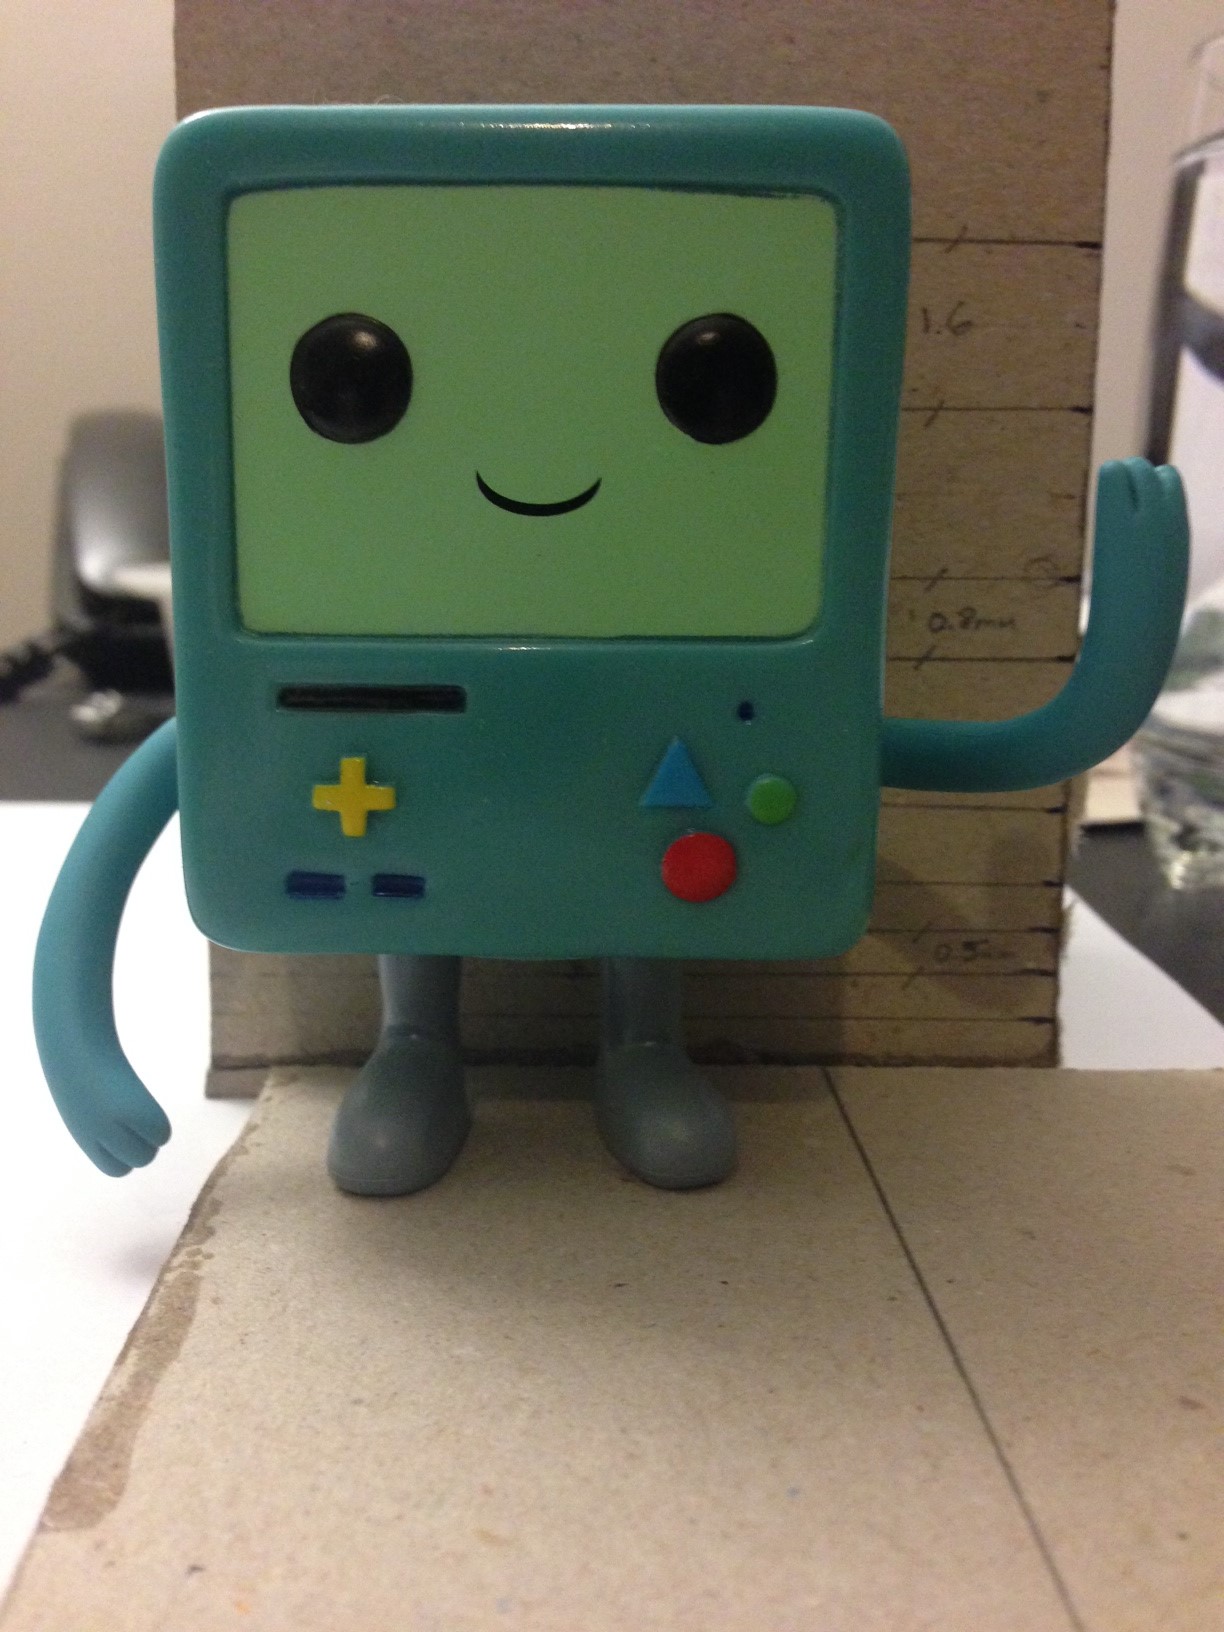
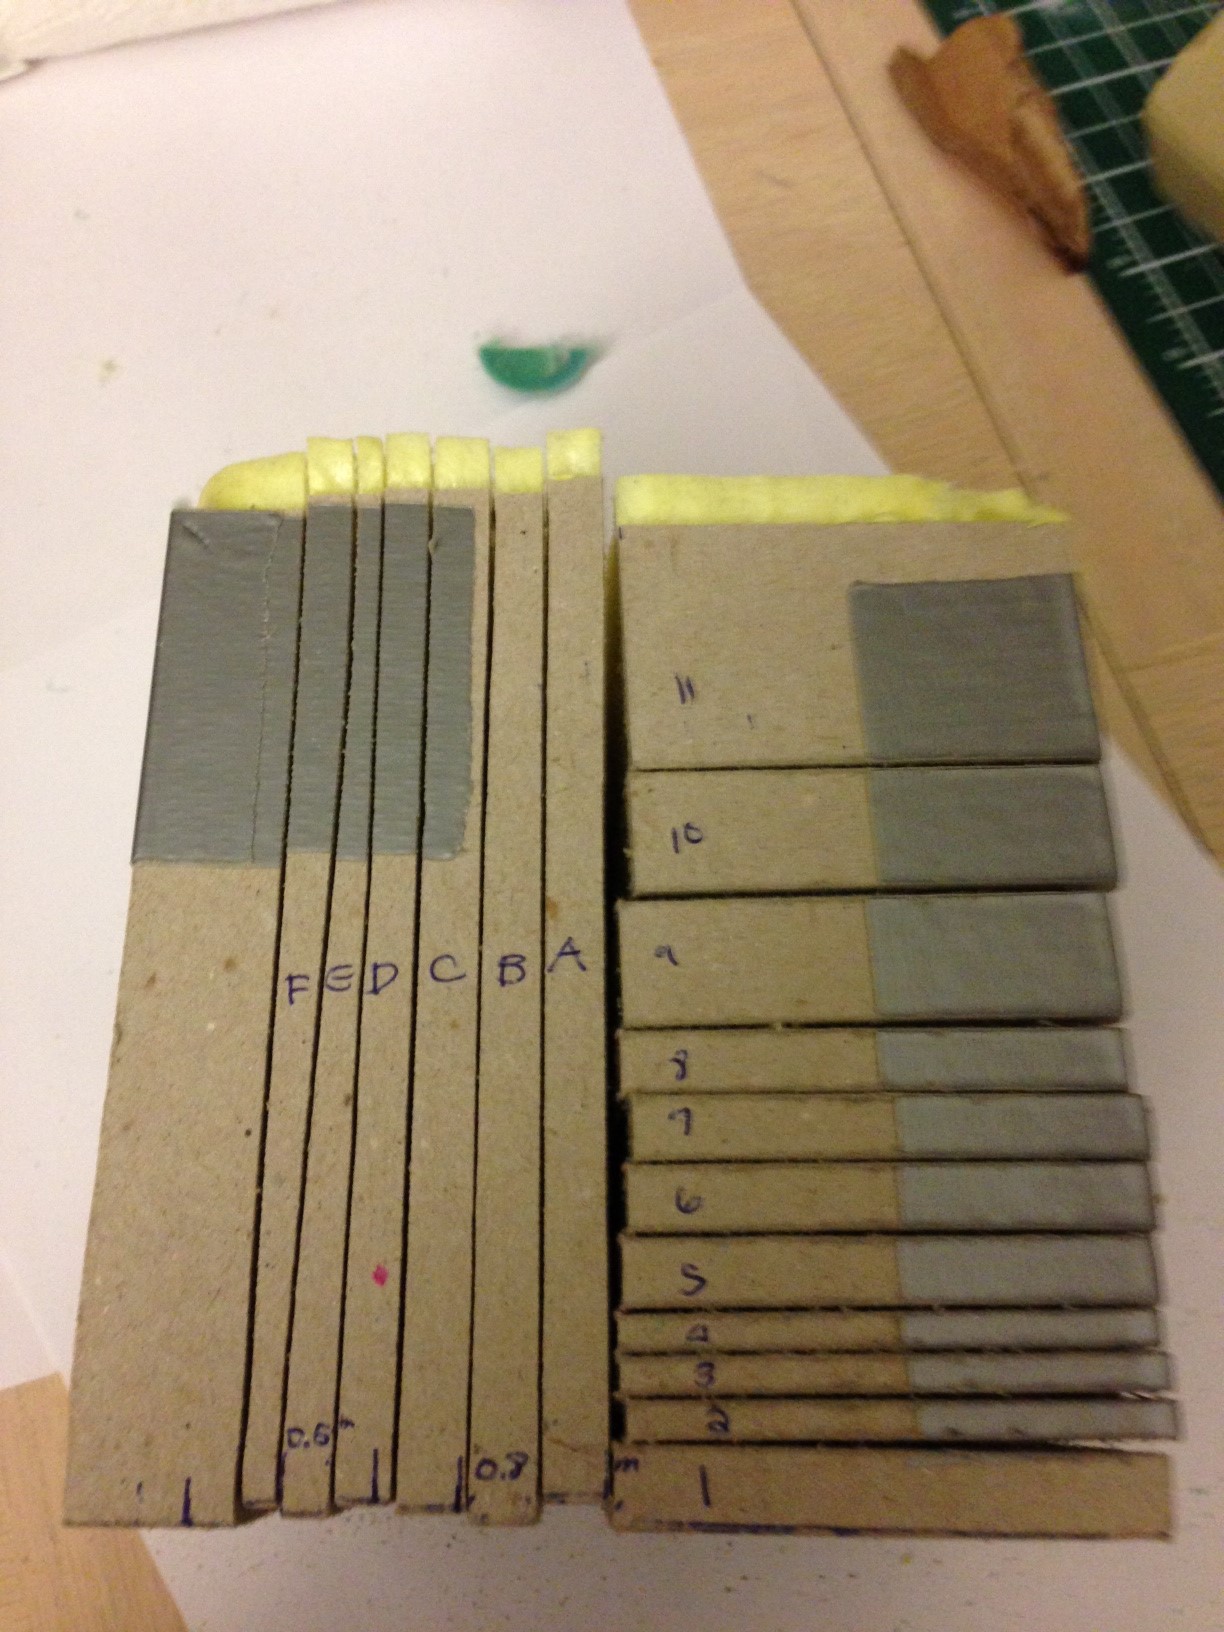
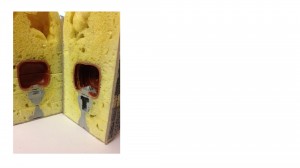
With our new toy (BMO) we repeated the same initial steps we had taken previously – gluing it within a box container, filling it with foam and cutting it using a bandsaw. That said, we were more cautious this time around in deciding where to cut our toy. We wanted to make sure we cut the toy in such a way to provide sufficient information for modelling pieces such as the arms which extend sideways, forward and vertically from the model.
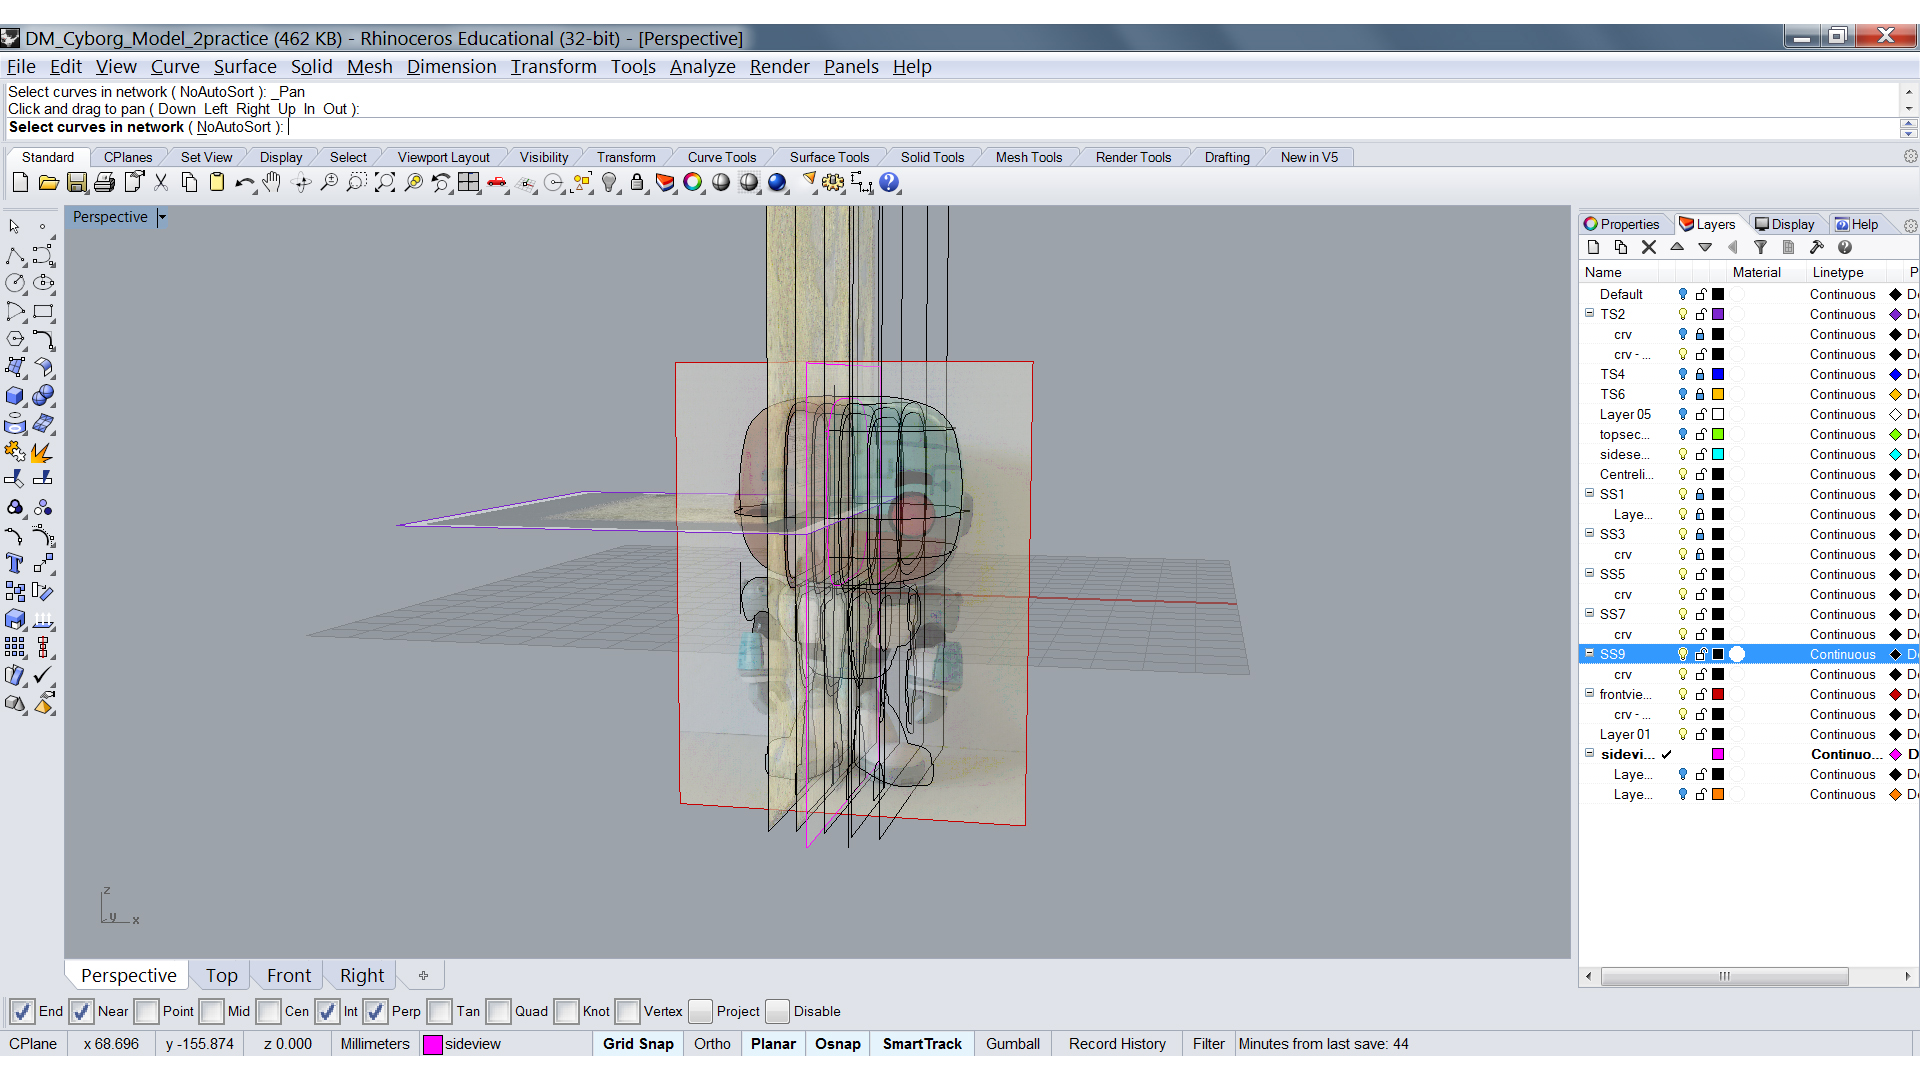
When we started modelling the toy in Rhino we brought in the pictures we needed and traced curves off of them. Afterwards we used the curve network command but found that the resulting surface wasn’t as accurate/clean as we wanted it to be due to inaccuracies in our traced out curves.
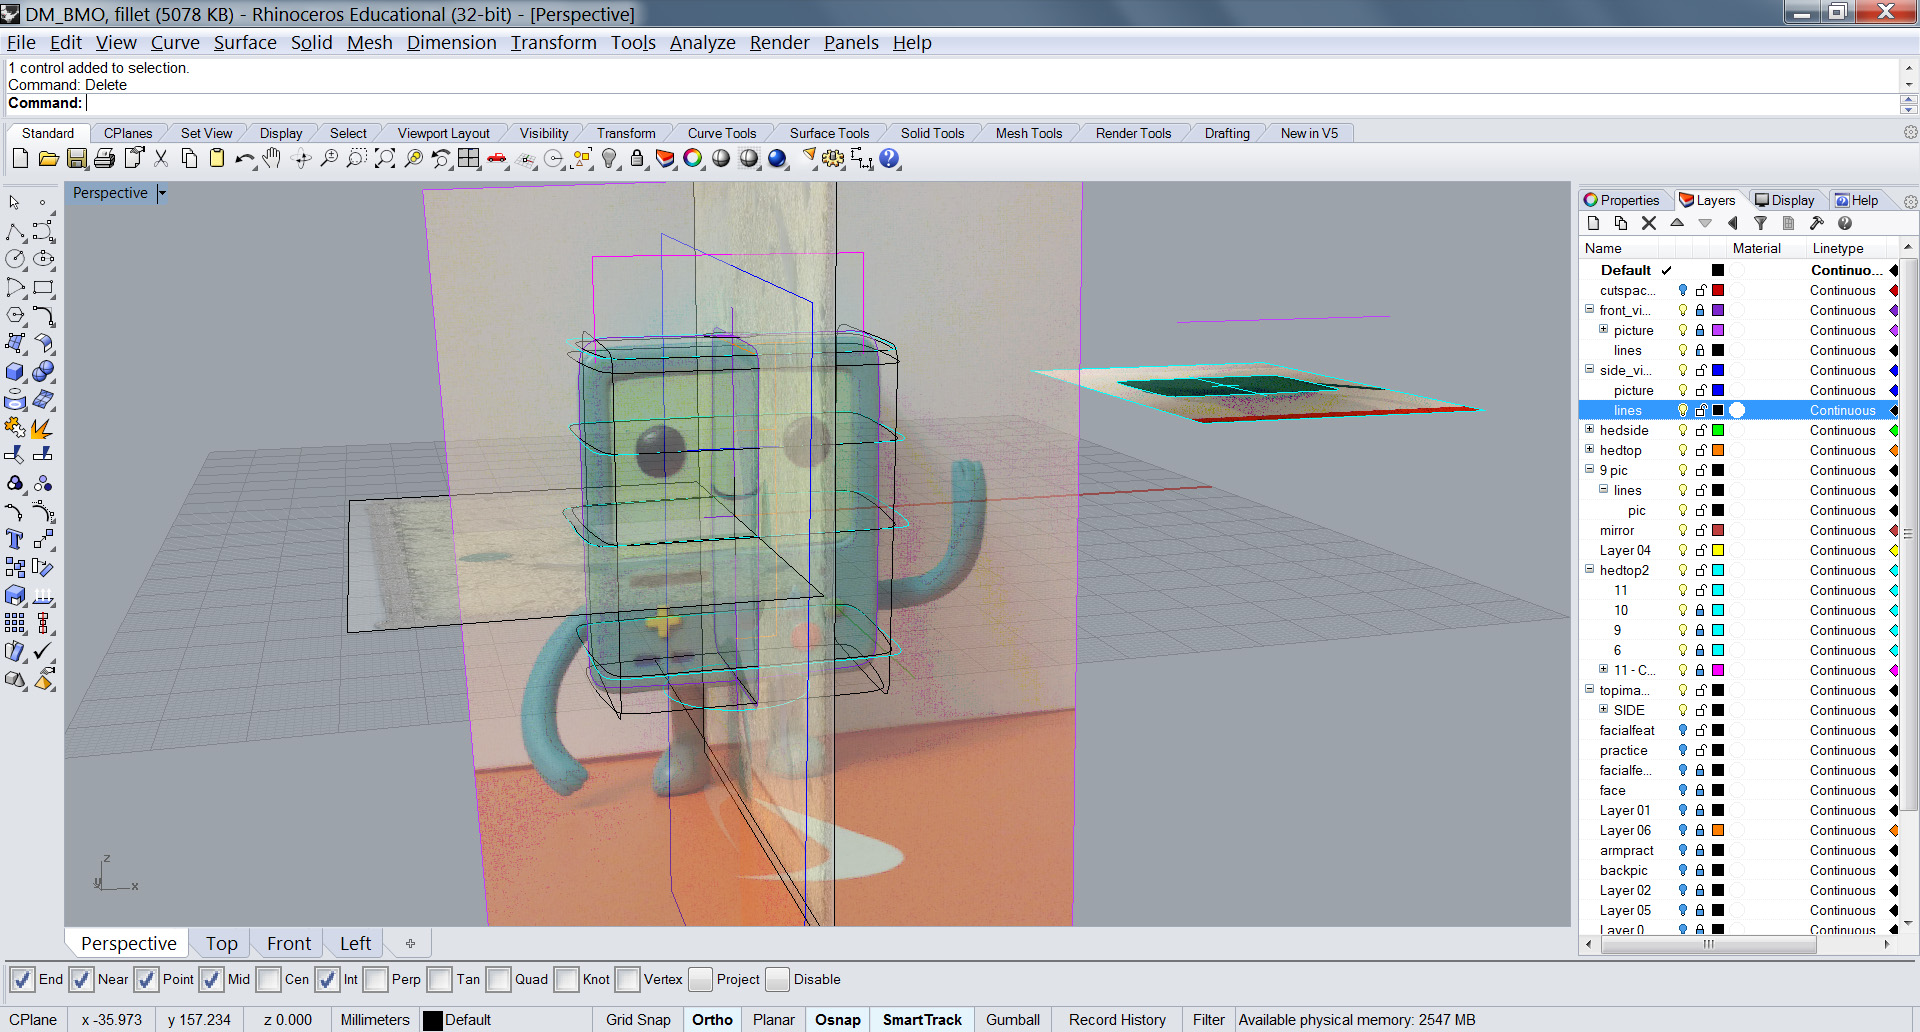
As such, we kept experimenting and eventually found that the strategy of manipulating a cube to match our section images to be a more successful method for our toy.
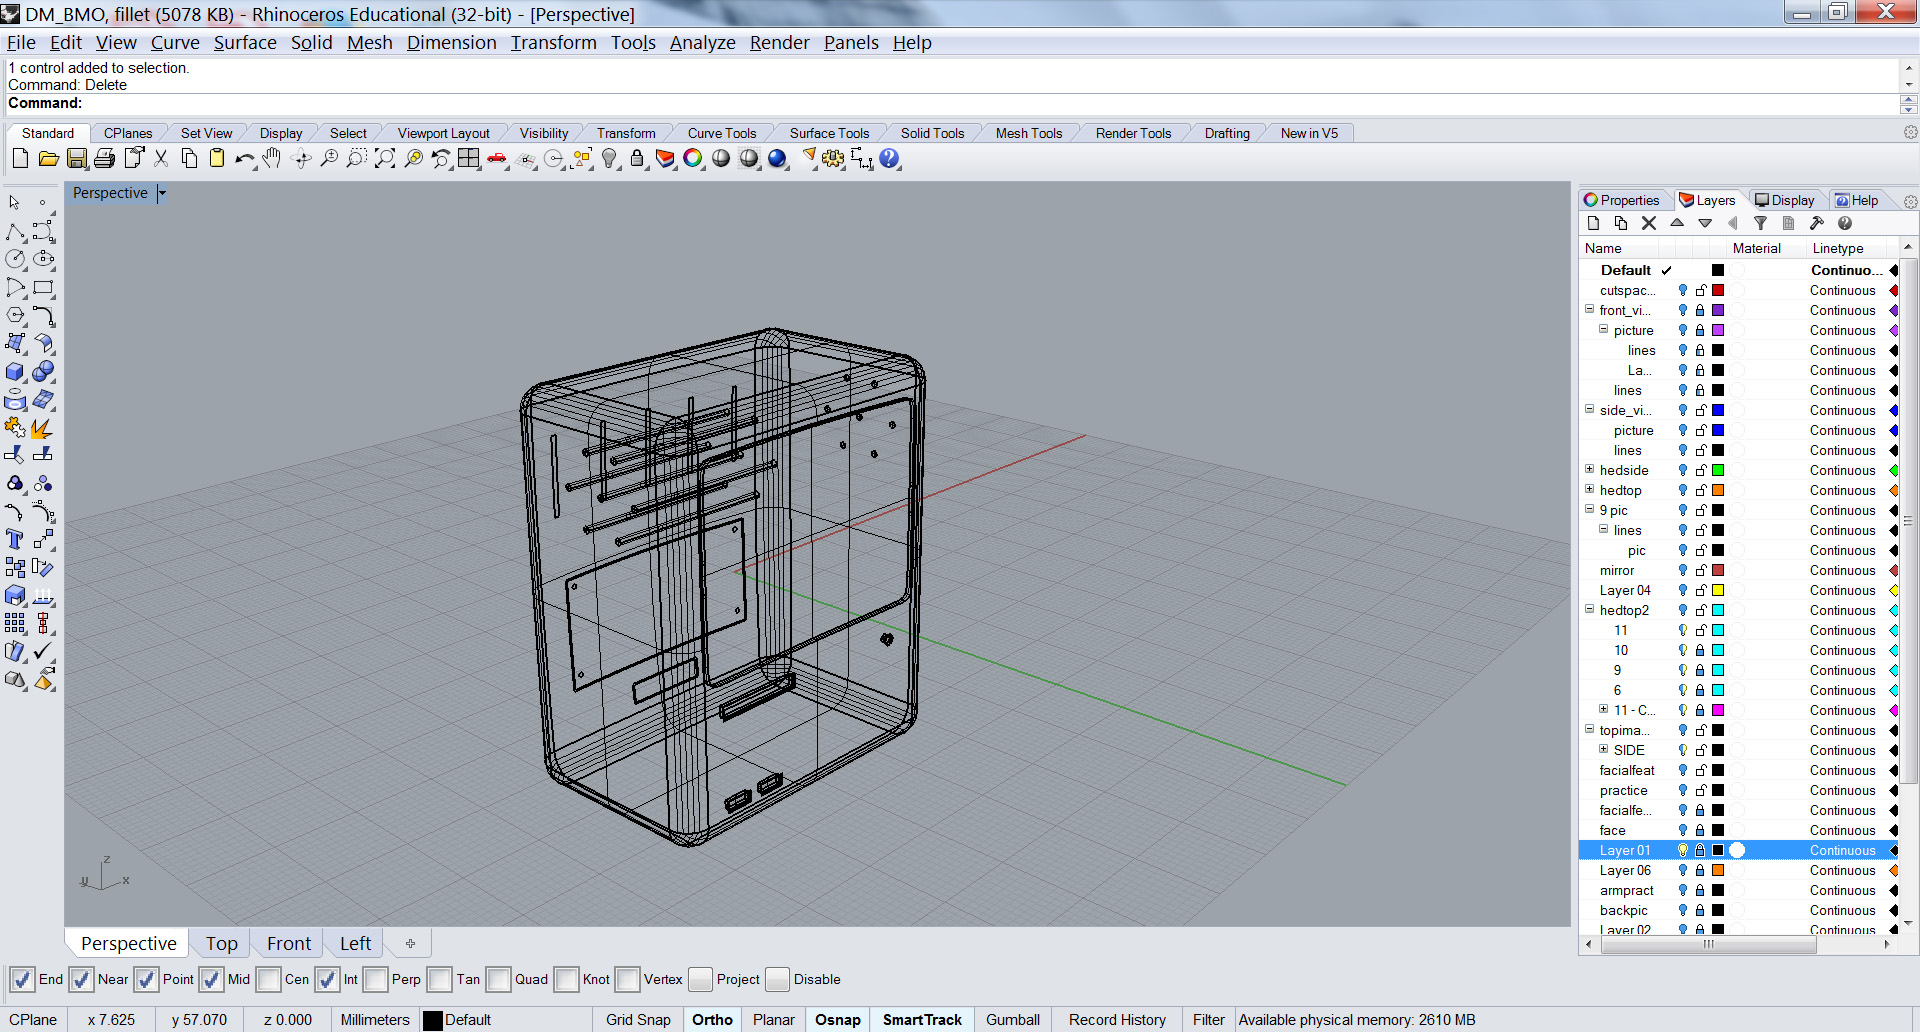
We then added details such as perforations, buttons, eyes, and slots using the extrusion, trim and offset commands.
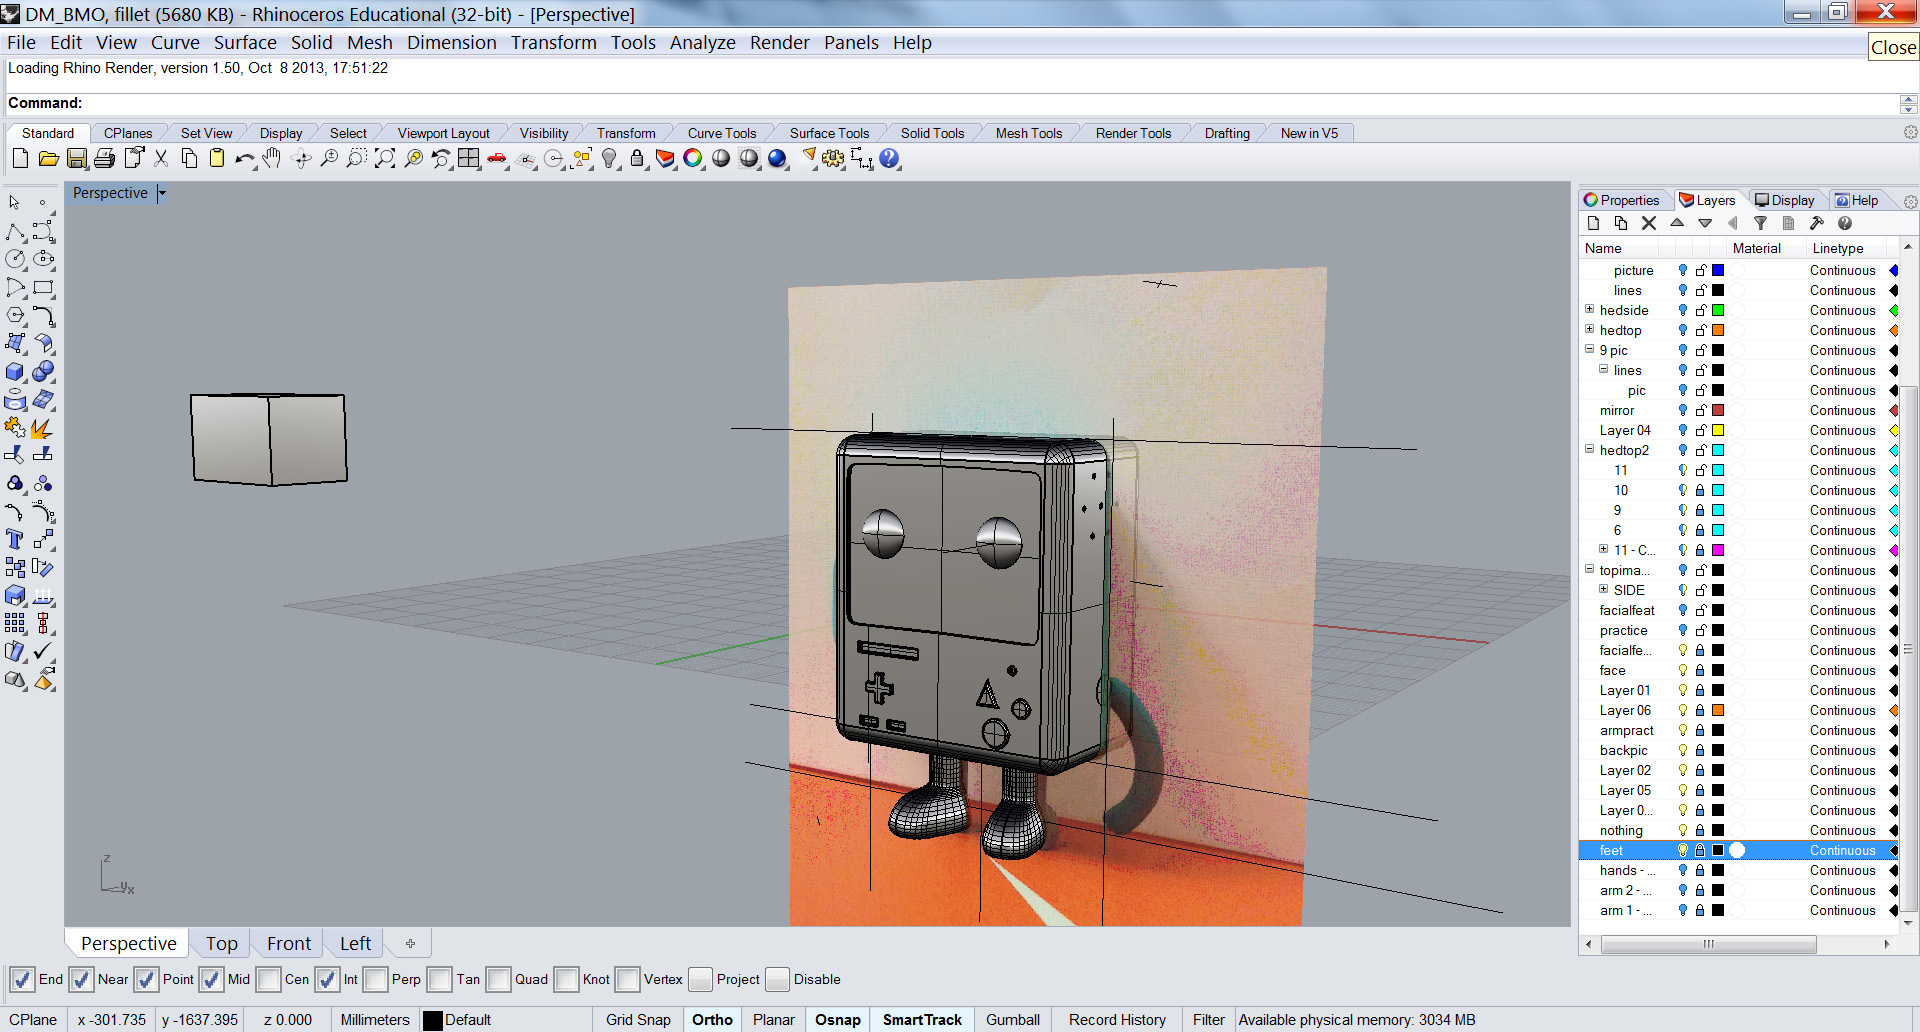
After finishing up the body we moved to the feet of the toy. We modeled these pieces by using curves generated from the front and side views of the toy. We then added curves generated from the horizontal sections to these profiles in order to run the curve network command. Afterwards we fixed some small inaccuracies in the resulting surface using the cage edit command to move the control points around.
For the arms and fingers we have been experimenting using the rail commands as well as the tube command. Our latest speed bump has been trying to accurately attach the finger components to the arms which we have modeled separately.