All posts by Darcy Keester

Olaf Final Progress

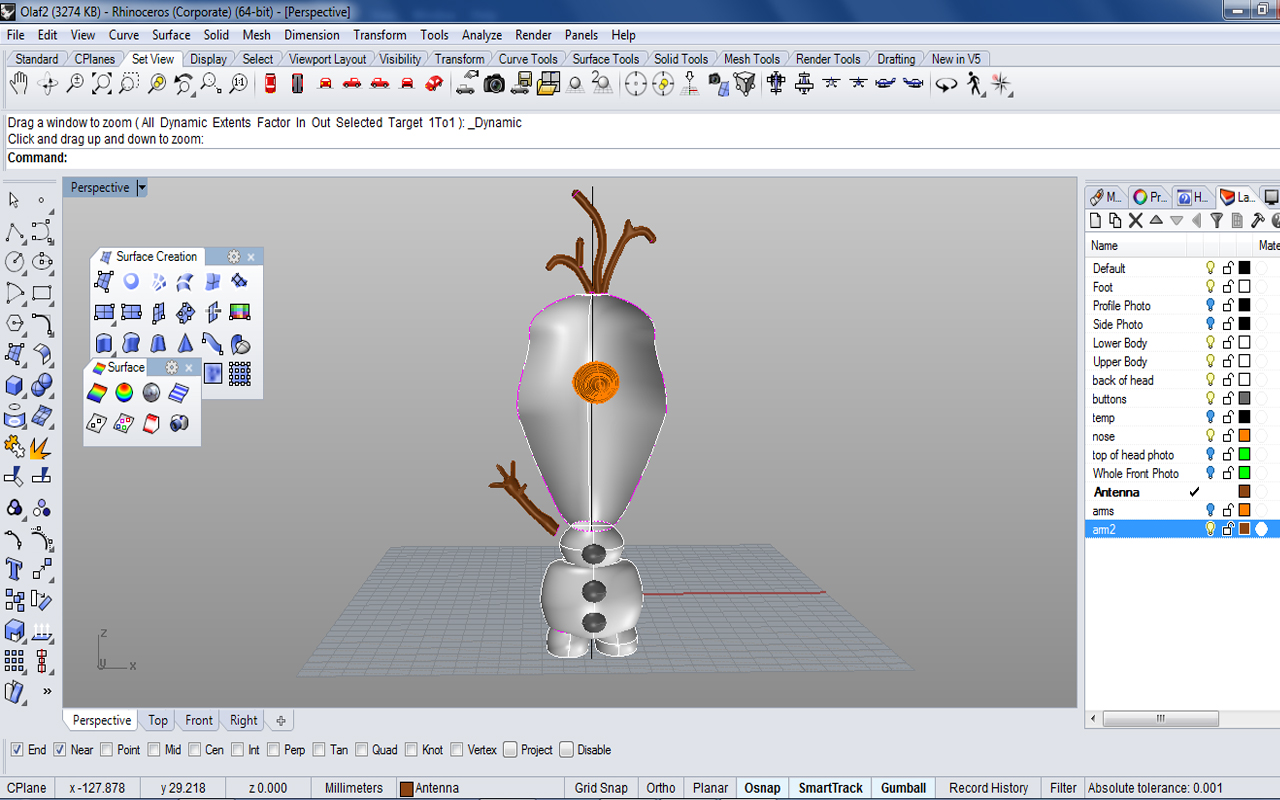
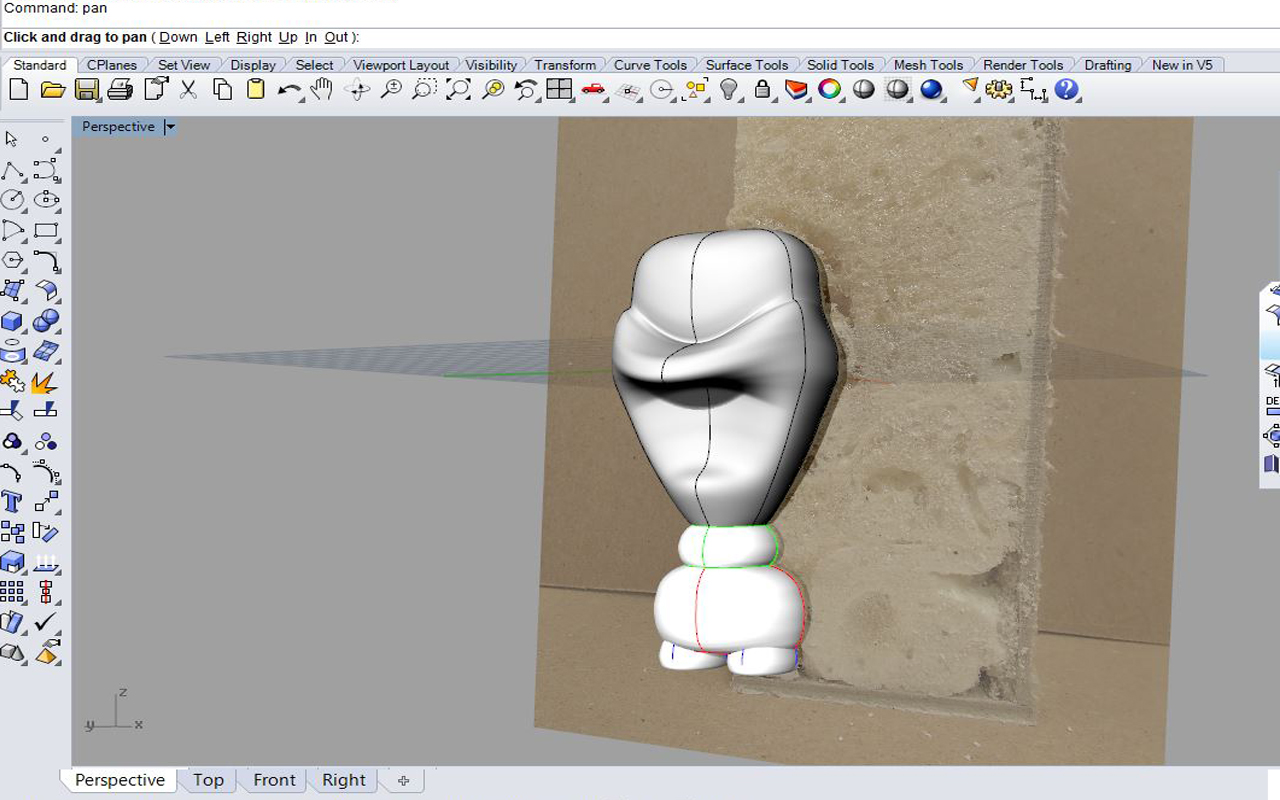
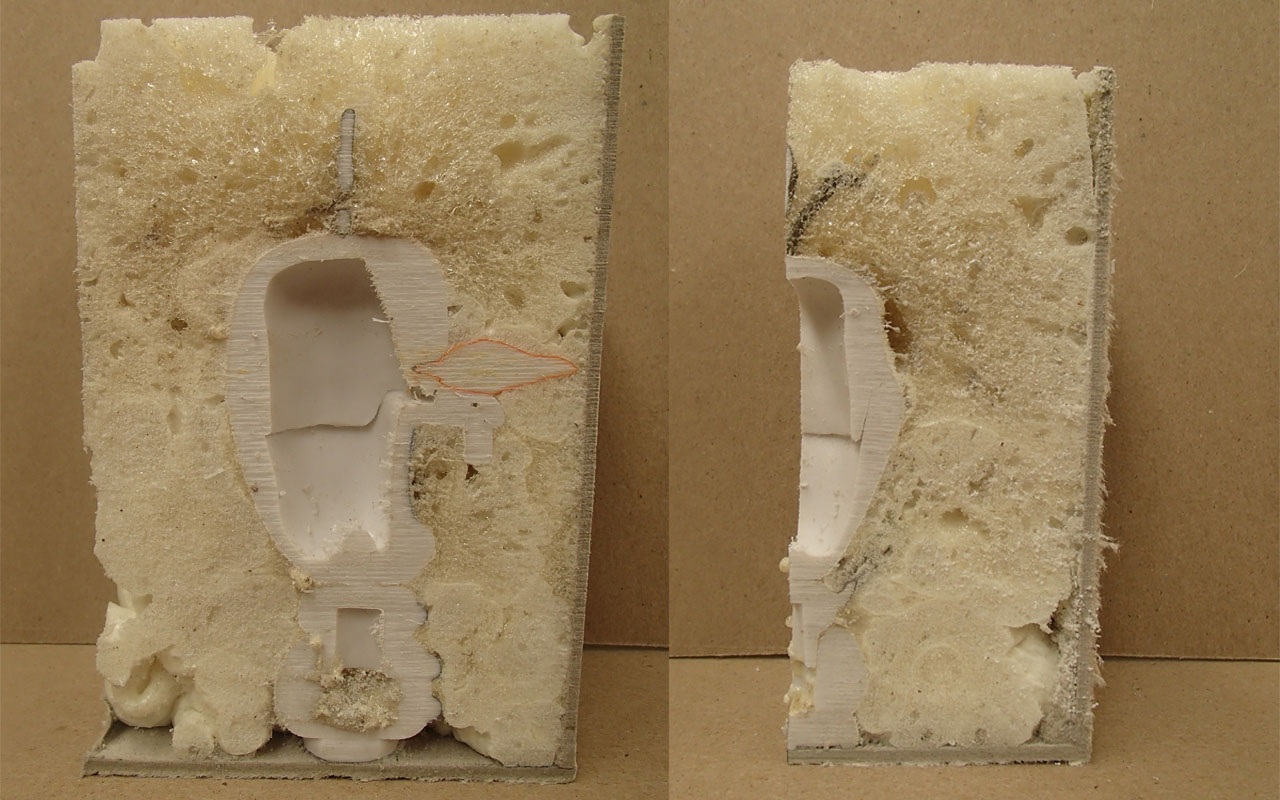
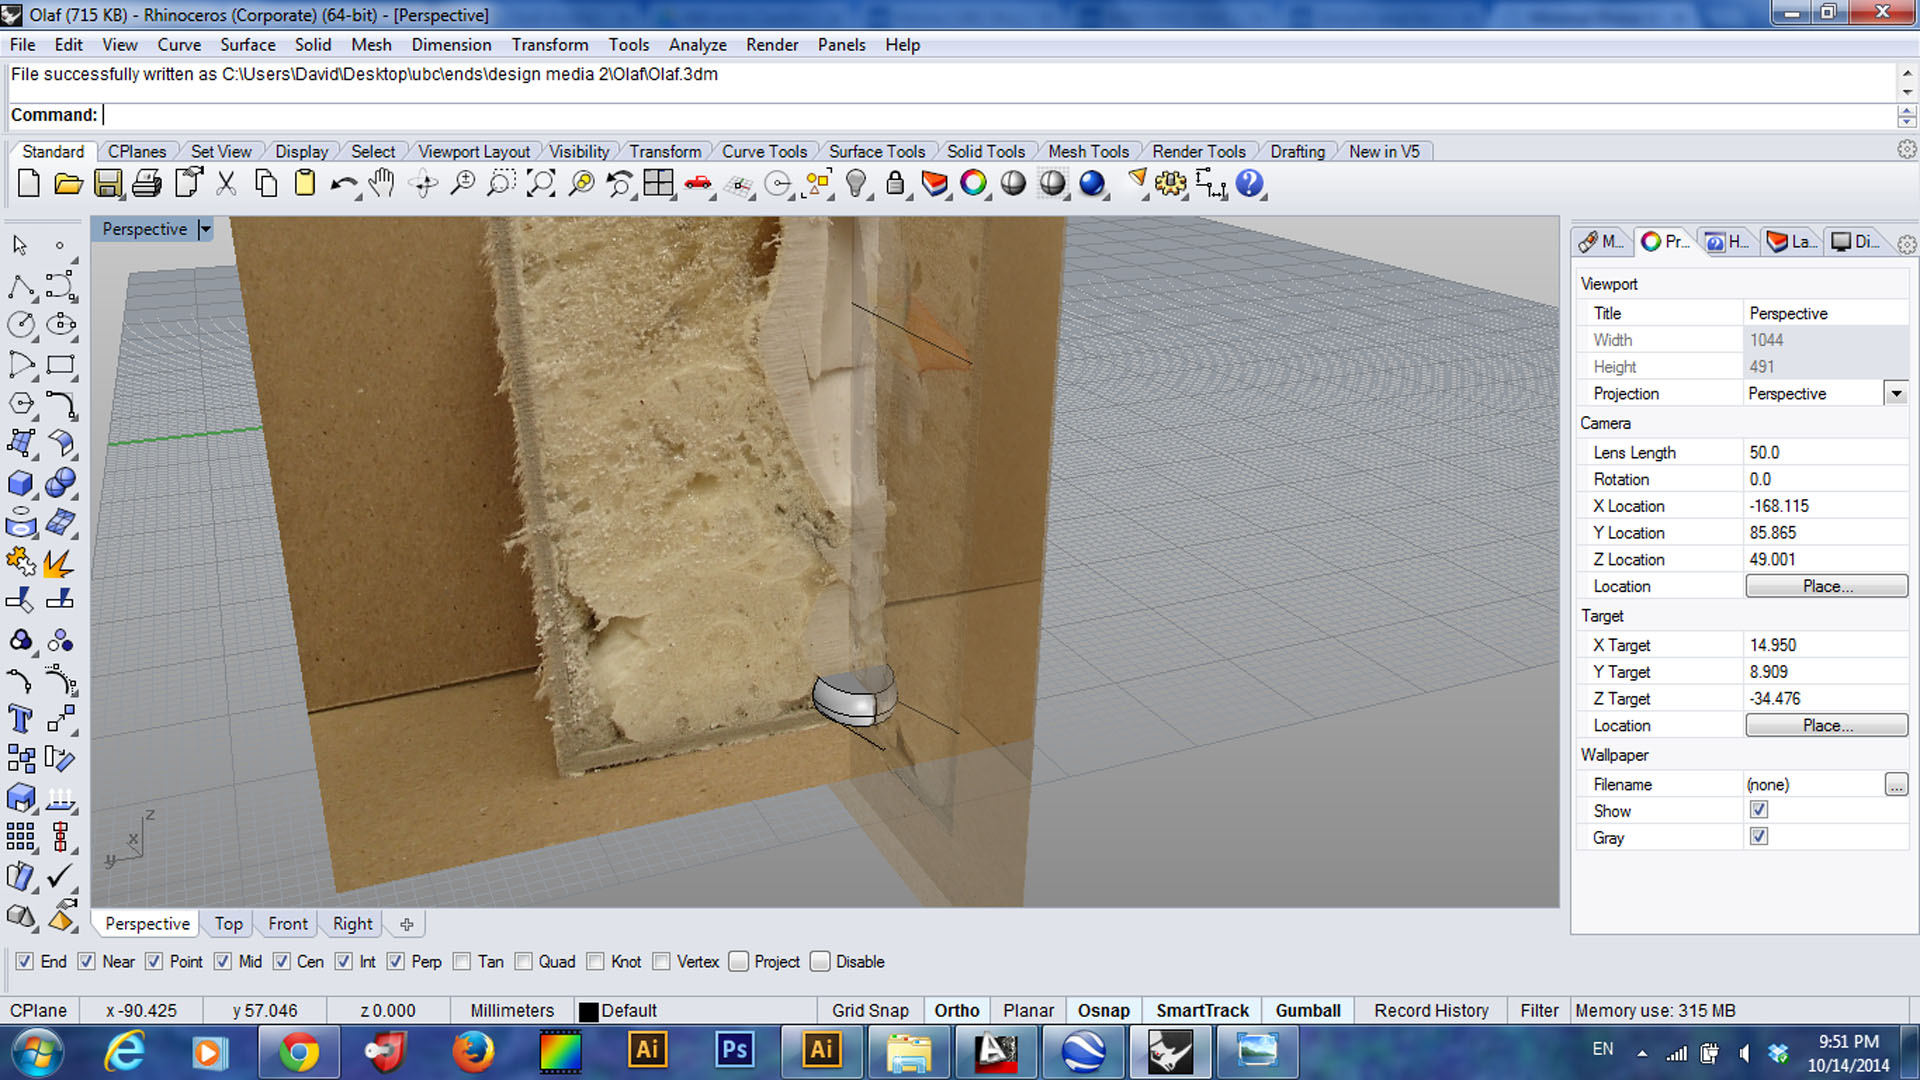
Last Wednesday, we had printed our models. We tried printing in white for 3 hours but it never worked so we ended up printing in clear. Once we had the toys, we noticed a few things that were off so we went back onto Rhino and tweaked this and that to make it more accurate. Then after talking with Edward and Andy, we decided to do something fun with the model for our renders and to hopefully print a second time in white. We decided to play with Olaf losing his head, both in different ways, because that is something he does in the movie. We used those for our renders, but unfortunately we never got a chance to print them because our studios printers both broke and using the white PLA was never fully resolved by anyone. It worked for some and not for others and we thought we shouldn’t waste printing time that others might need when it might not even come out. Hopefully once our printers are back and working we will be able to print these ones.

Blog_finalpost

Olaf Part 2

Darcy Keester + Luis Puente

This past week we have tried to model all of the components of Olaf. We first worked on the body last week before realizing our photographs were not very accurate, so we scanned our pieces instead and re-modeled the body. Next we worked on some of the smaller details like the hairs, nose, and buttons (screenshots 1 and 4). Those were done using the sweep and loft commands. We also worked on the arms, which have turned out to be very tricky. Our first attempt used sweep to make the arm and then another sweep to make each finger, which as you can see from the screenshot (#2) below turned out looking not so great. In our next attempt we used only one sweep to get the arm then played with the control points to make each finger (screenshot 3). The trickiest part now is modelling his face. We made a first attempt, as seen below (screenshot 5), using a curve network with curves on the front, two sides, and two in between on his face. However, we decided we need more cuts to our model to more accurately make this part. So we are going to try two different methods of cutting it, since we already have scans of our cuts we figure we can  do that to see which one works better. One method will be similar to the idea of getting those curves down his face, like our first attempt, and the other will be to make horizontal cuts along his head. Besides that our next step is to figure out how to put each piece together and how to make it “solid” so it can be printed.

Olaf_hairnosehead Olaf_arm1 Olaf_arm2 Olaf_almostwhole Olaf_face

Beginning To Model Olaf

This previous week my partner and I went about building a box, spraying the foam and letting it harden, then bringing it to the woodshop to cut. After cutting it, we found that some of our foam had gotten inside the actual toy and thus hadn’t hardened and started oozing out, so that was weird. After talking with Andy, we decided to do less cuts for now to see what we can get from that information, and might do more later if we find we need more information about a piece. I then brought my images into Rhino and scaled them. So far, I have only been able to build the foot. I did this using three images, the two sections plus one of the foot straight on. I then used those as references to create a series of ellipses which I lofted and closed. The hardest part was lining up all of the images correctly when they are all oriented a different way and are all semi-transparent making it hard to see what’s what. olaf1 olaf2 foot