Category Archives: week 5

progress updates from week 5

Teething out Toothless the Dragon // 1

Toothless is finally beginning to take shape.

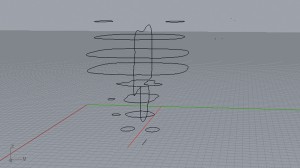
I had a slow start with modelling him because countless (perhaps unnecessary) hours devoted to drawing, assembling, and placing the horizontal and vertical section cuts  in their correct positions: a feature that I, ironically, am not even exercising.

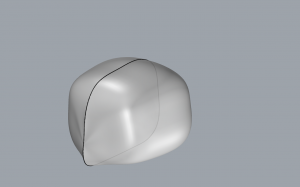
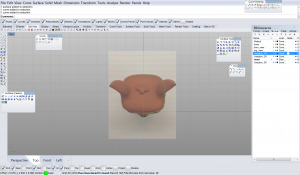
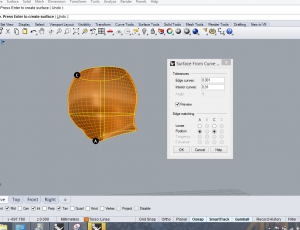
The first component I began modelling was his head. For this, I used one horizontal section, two vertical sections, and one cross section to then run the “NetworkSrf” command between the lines drawn. I then used control points to adjust his face and create his nose, which protrudes slightly out of his face.  I created his eye with a flattened sphere and placed it in the exact same position as the original model.

Screen Shot 2014-10-27 at 11.16.10 PM Screen Shot 2014-10-27 at 11.30.30 PM

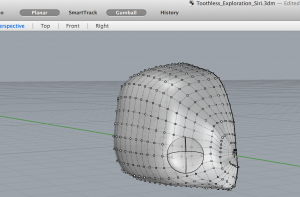
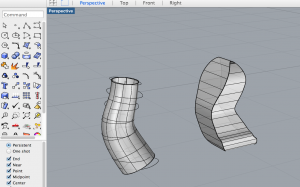
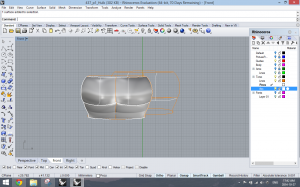
This image represents my two attempts at modelling the body. The “NetworkSrf” command was not successful in using vertical, horizontal and sectional lines for construction in the way that I had arranged them, so I began altering an already made solid, in this case a sphere, with their control points in order to mould a shape that resembles his torso.

Screen Shot 2014-10-27 at 11.14.30 PM

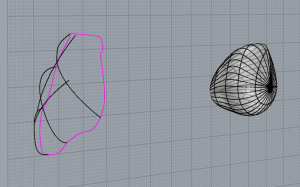
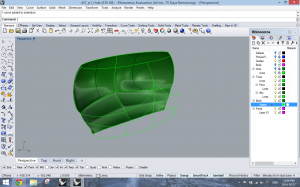
Different strategies for attacking Toothless’ ears were explored.  Much adjusting of control points needed in order to create necessary indentations, curves, and heights.

Screen Shot 2014-10-27 at 11.10.54 PM

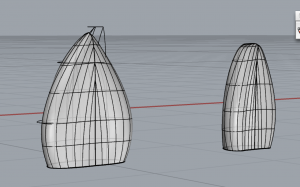
After testing many strategies in constructing Toothless’ legs,  I settled with using the pipe tool. In my next approach, I will proceed to use control points (as few as possible) in order to shape the leg further. I can do this because I created a framework from an earlier, more geometric rendition of Toothless’ leg. This rendition was constructed by extruding one leg’s profile as a surface, generating various rectilinear section lines from the leg, rebuilding the rectilinear lines into circular shapes, likened to the leg, and then constructing a centre curve through each midpoint.

Screen Shot 2014-10-27 at 11.09.15 PM

Modelling toy super hero

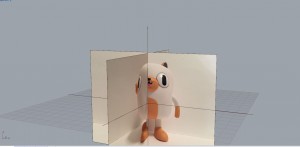
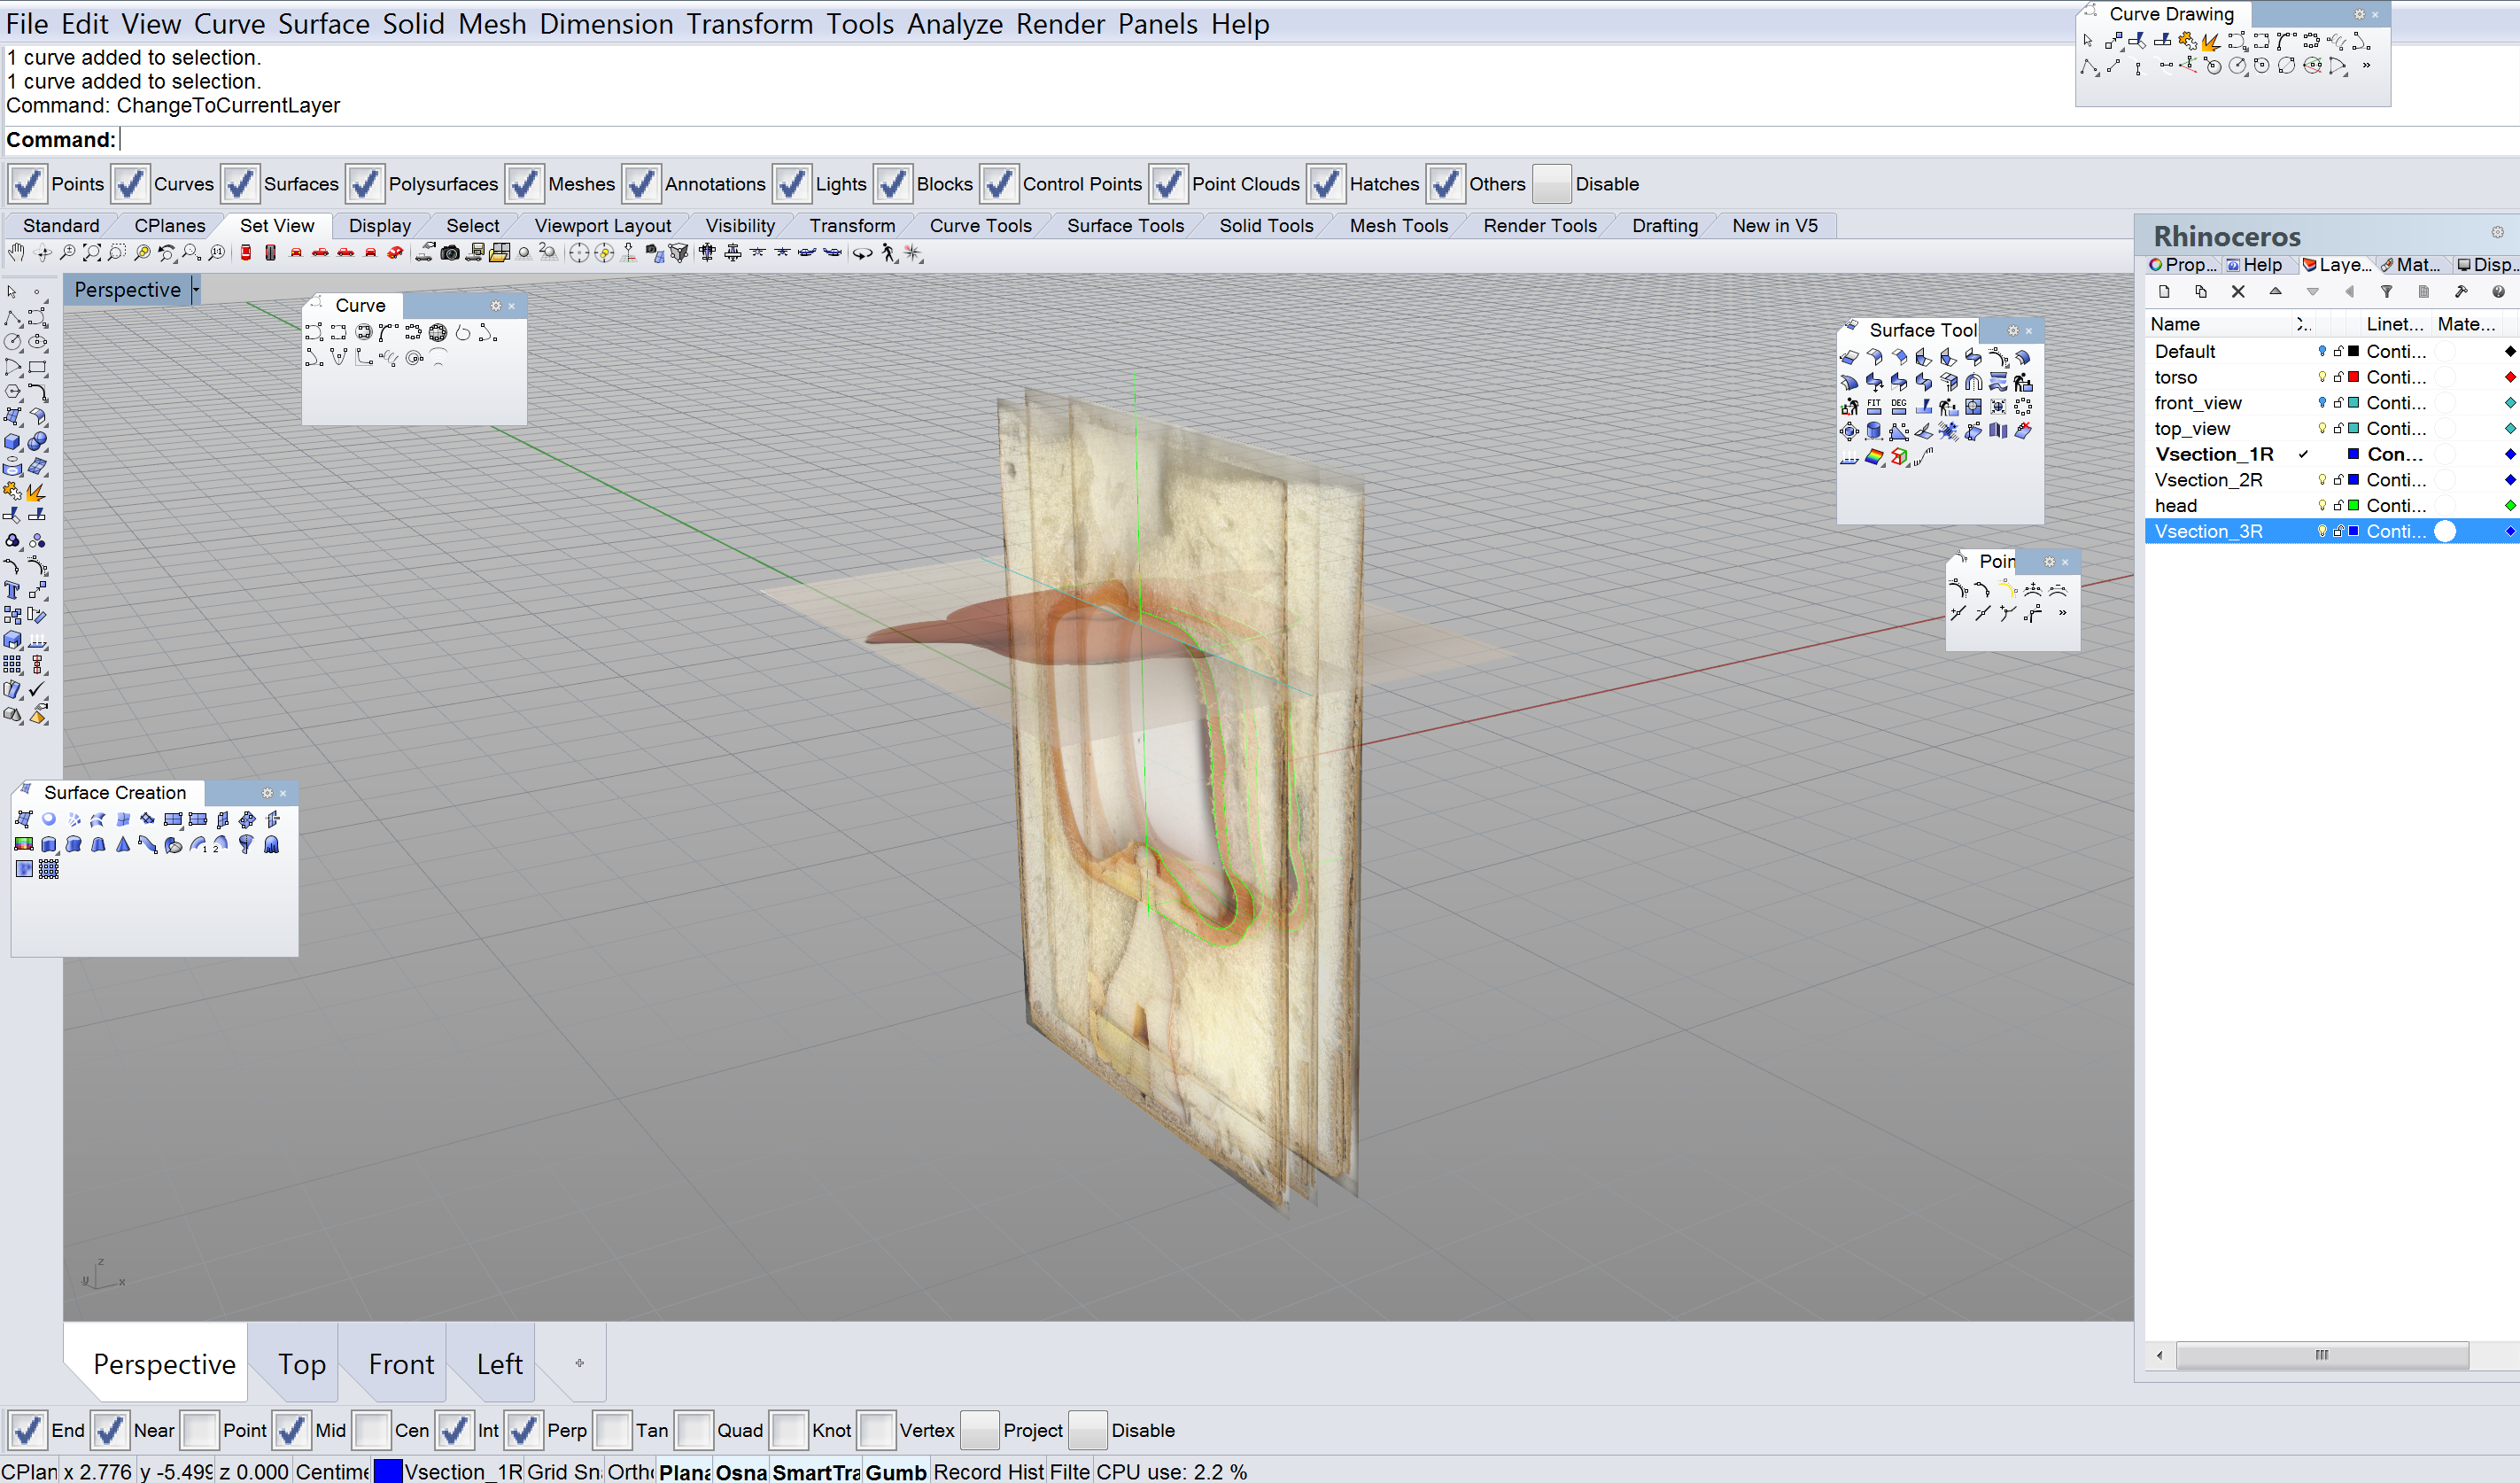
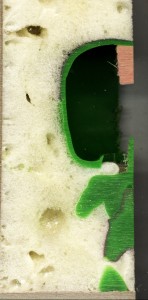
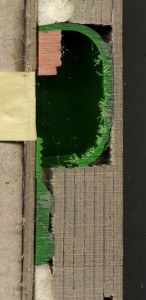
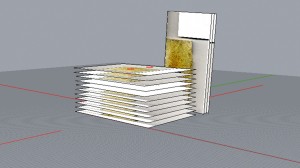
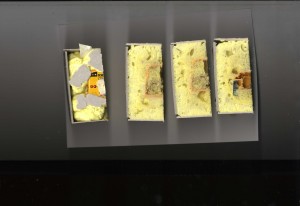
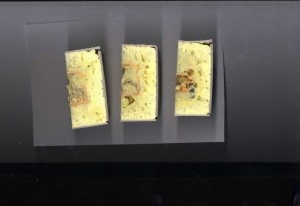
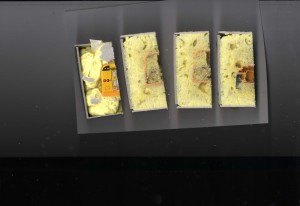
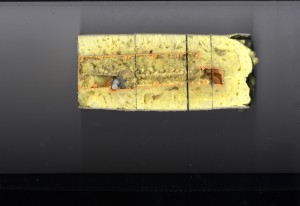
The initial steps involved spray foaming the toy and cutting it into sections. Cut lines were chosen based on what curves we thought would be  most important when 3D modelling. Once the cuts were brought in to Rhino, they were scaled and traced to create construction curves. Reference photos of the complete toy were then imported, scaled and arranged in space. The next step is to align the traced curves behind the reference photos and build a framework we can build from using curve network etc.

importing cut sections and tracing outlines
Tracing cuts with curves
inserting and scaling reference photos

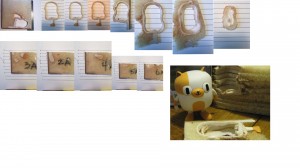
CAKE

We began by placing Cake in a box ans securing it with spray foam.

When we took Cake in a box into the shop we cut it down the center line, splitting the doll in two halves. From there we took vertical sections from one half and horizontal sections from the other, at 5 cm intervals always cutting to the right to make up for lost in the cut of the blade.

oct 21 - 3


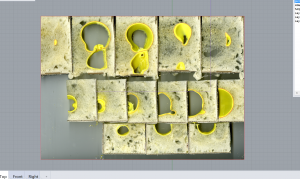
After our sections were cut we lined them up and took photos to gain a detailed understanding of their dimensions.

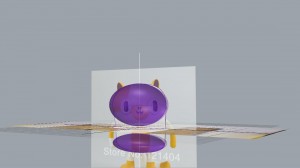
At this point we began modeling and attempted several approaches to which included using volumes, the sections, and tracing of images.

first attempt at modeling

Oct 21 - 4


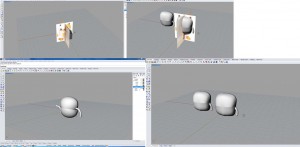
Some issues we have run into so far are, the non uniform shape of Cake, and once we achieved a shape we liked we had issues with surface connections or edges and making them look smooth, and continuous.  We attempted to correct this with control points and are now trying new ways of approaching the body as we were not satisfied with the accuracy of the results.

oct 21 - 2

Yay to starting again.

Beginning to Model Bambi Vinyl Toy

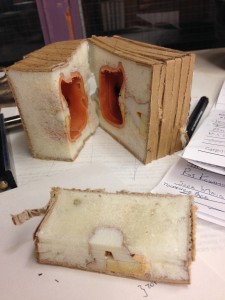
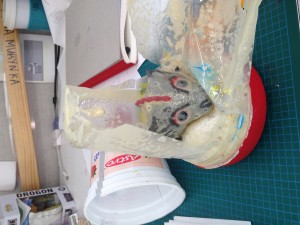
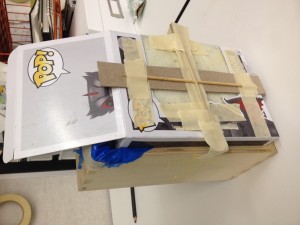
For this project, Jasmine and I have chosen to model Bambi. We began by casting our toy in a small cardboard box using spray foam. We then took it to the woodshop to be cut. We marked off our cut lines on the outside of the box, taking both horizontal and vertical sections.
photo

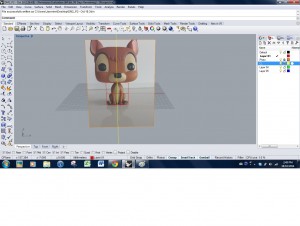
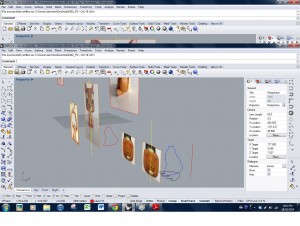
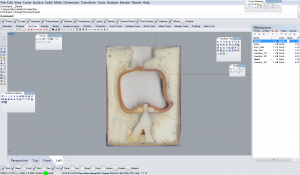
We then brought scanned images of our sections and orthographic photographs of the toy into Rhino to begin modelling. Scaling our images to the right sizes was challenging as our toy has very few flat edges, making it difficult to get accurate measurements. We tried to solve this problem by taking our photographs with a ruler for reference. However, some of our images sizes still seem to be off, so we may need to retake some of our photographs.  After scaling our images, we began tracing them to get the general shape of the head and torso. Since our toy is fairly symmetrical, we drew a centre line to divide the toy into two halves. Once one half of the toy is modelled, we plan on mirroring the other half.

DM2_P2 - Oct 18 229pm DM2_P2 - Oct 18 602pm DM2_p2_Oct18_1118pm DM2_P2_Oct18_1123pm

We then lined up the section slices with the photograph of the top view of Bambi’s head.

DM2_P2_Oct18_1127pm


Using a curve traced from the top view as a rail, we used Sweep1 to begin modelling a portion of the head. We will trace out the rest of the sections of the head and will hopefully have the full shape of the head soon.

DM2_p2_Oct18_1130pm


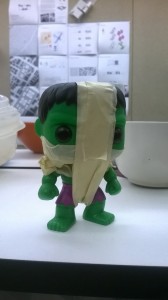
The Hulk attempt #1

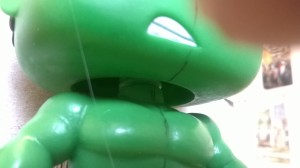
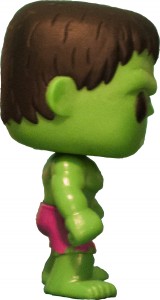
The first attempt at setting my doll in spray foam was a good learning experience. The challenge was that the vinyl doll we chose is a bobble head so we had to remove the spring in the doll to be able to cut the sections. So I quickly created a way to set the head on the body before setting the entire body. But it was not actuate enough and the box I set it in was not strong enough to keep its shape. The cuts that Amy preformed were inaccurate because of my lack of precision. This gave me a good idea of what to do differently for my second attempt. Below: 1. close up of bobble head predicament 2. setting the head onto the body WP_20141015_006

WP_20141005_004

Hulk: The Beginning

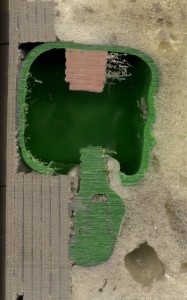
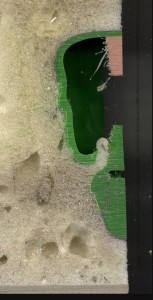
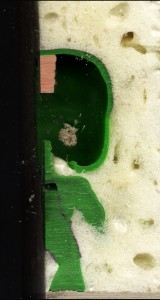
I got a bit of a late start to this project as I was sick the week it began but thanks to my partners – we were able to make slices of the model.

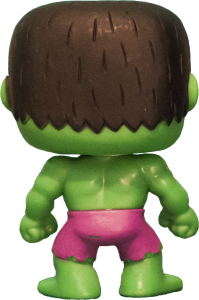
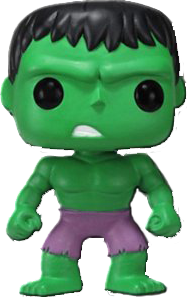
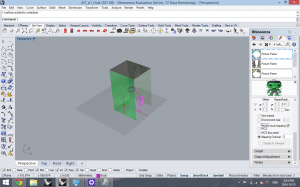
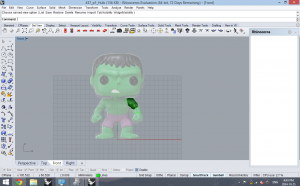
model1 model2 model3 model4 model5However, because I missed this first week of progress – I actually think this worked to my advantage as I got to look at the project objectively and assess what I would need to take it on. This ended up being taking photos of my model to begin modelling and placing them into Rhino using PictureFrame as we did for the Lightbulb tutorial.

hulk_back hulk_front hulk_side hulk_top


However, after a short while… I ran into what became a huge hiccup and deterrence from my workflow. What Edward said to be a videocard issue and all I needed to do was “refresh” the PictureFrame every so often… wasn’t the reliable fix (as it sometimes didn’t ever bring the .jpegs back).

1


Thankfully, I was able to trace some parts of the model before the images disappeared and worked from the physical model to start recreating little Hulk.

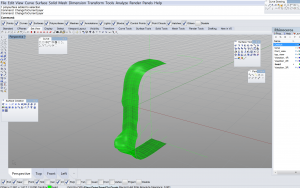
Lots of friends suggested using Curve Network as they found it gave them the most accuracy and success when done properly… I gave my first try and was quite pleased with the parts of the torso, chest, abs and arms I was able to produce in this first week.

2 3 4 5


Drogon – Vinyl Toy Progress (Week 7)

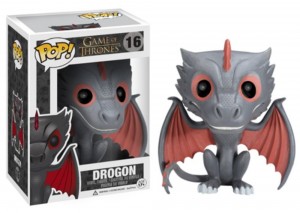
For this project, Anna and I have chosen to replicate Drogon. Here is a summary of our progress so far:

  • Basic analysis of Drogon and consideration of where potential cutlines may reside

a_1

  • (1st attempt) Cast toy in a yogurt container using spray insulation foam – FAILED ATTEMPT as we did not take into consideration the air-sealed quality of the container and expansion of foam

c_6337

  • (2nd attempt) Cast toy inside original packaging; however to prevent inconsistencies from occurring as a result of foam expansion, we inserted the packaging inside a wooden box and let it sit for 1.5 days.

c_6343

  • After speaking with Andy during class yesterday, we realized that more cutlines are needed given the complexity of Drogon’s form. These cutlines are made as a result of examining the doll and decipher the underlying simple geometries which make up this complex toy.

c_6360

  • Drew cutline marks on box and brought it to the wood shop to cut

c_6364

  • Pieces cut and scanned

d_scans019

  • Anna has brought and scaled images in Rhino. We realized that the toy is actually asymmetrical. After speaking with Andy, our next steps are model the toy symmetrically, only to adjust things slightly to make it asymmetrical in order to replicate the toy exactly.

First steps of Finn Model

For our modelling project, my partner and I have chosen a toy that is nearly symmetrical except for its arms. In order to create a precise and realistic 3d model of Finn, we  have used a strategy in which we make horizontal cuts on the left side of the model where the arm is turned down, and vertical cuts on the right side where the arm is turned away. Our vision was to be able to use mirroring to extrapolate the information to form the model as a whole.

After using a scanner to get precise images of the cuts, I used a straight line in Rhino to line up all of the slices based on the position of each cut line. At this point, I ran into some problems. After tracing the edges of each section and positioning them in 3D space, I realized that my dimensions were way off. After consulting Andy, I realized that something had gone wrong with my scaling and the two different sets of cuts were not at the correct scale. I spent an hour or so measuring the real slices and scaling the picture frames accordingly, but so far the results are still slightly off. Still, I have the basic wireframe for the character that I can see taking shape.

documentation1Documentation3

Documentation2

‘zero’ vinyl toy project start

post oct 15

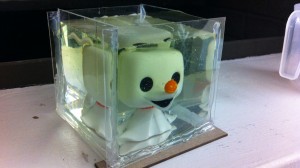
My partner and I cast our toy in resin in a container we made of acrylic. This involved ensuring the container was watertight, then pouring the resin in layers and letting each layer dry for 20-40 mins. We have not yet sliced the block, but took pictures of the toy for consistent front, sides, top, and bottom views in order to begin modelling. We then scaled these images to be the correct size.

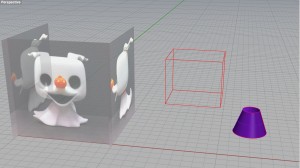
After bringing the scaled image into Rhino, I made some rough frames of the general shapes based on the images’ dimensions. For the frame of the body, I drew two circles based on the collar and base dimensions, then separated them based on the height measured from the images. I then used the loft command to make the cone shape.

oct 15 post

Magic School Bus

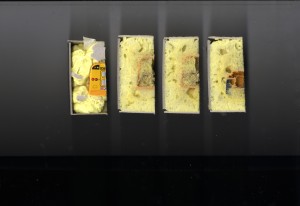
To begin the process, the first thing that we did was to cast the toy so that we can cut it up and understand it better. To do this, we made a box using scrap cardboard, set the bus in the middle and sprayed insulating foam into the spaces and let it set. The foam expanded to fill and seal the gaps, holding the bus firm in place inside the box. Once we were sure that it was strong enough, we took it to the wood shop to cut up into sections.
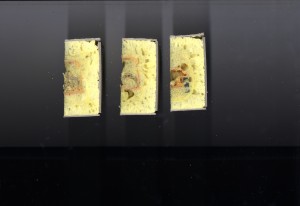
In determining the sections, we cut longitudinal and cross sections in order to get a fuller understanding of the interior and exterior conditions of the toy. Below are the section cuts we made.
img008

img009

img010

img023

img024

img025

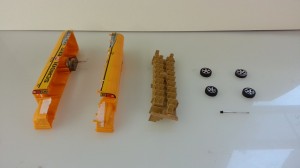
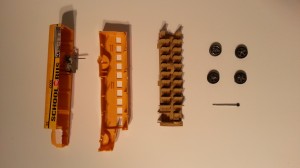
However upon showing our progress to our professor, he gave us case specific advice. He explained to us that given our toy, instead of using the foam to get a best understanding of it, we should simply just dismantle the toy and study the individual parts. Taking his advice into consideration, below are the parts separated.

20141015_124251

20141015_125201

BUS001

BUS002