Tag Archives: 3d modelling

DROGON Update: 3D Printing

IMG_6837 IMG_6852

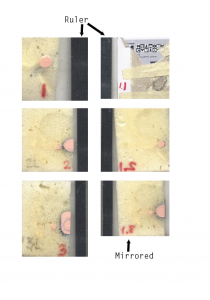
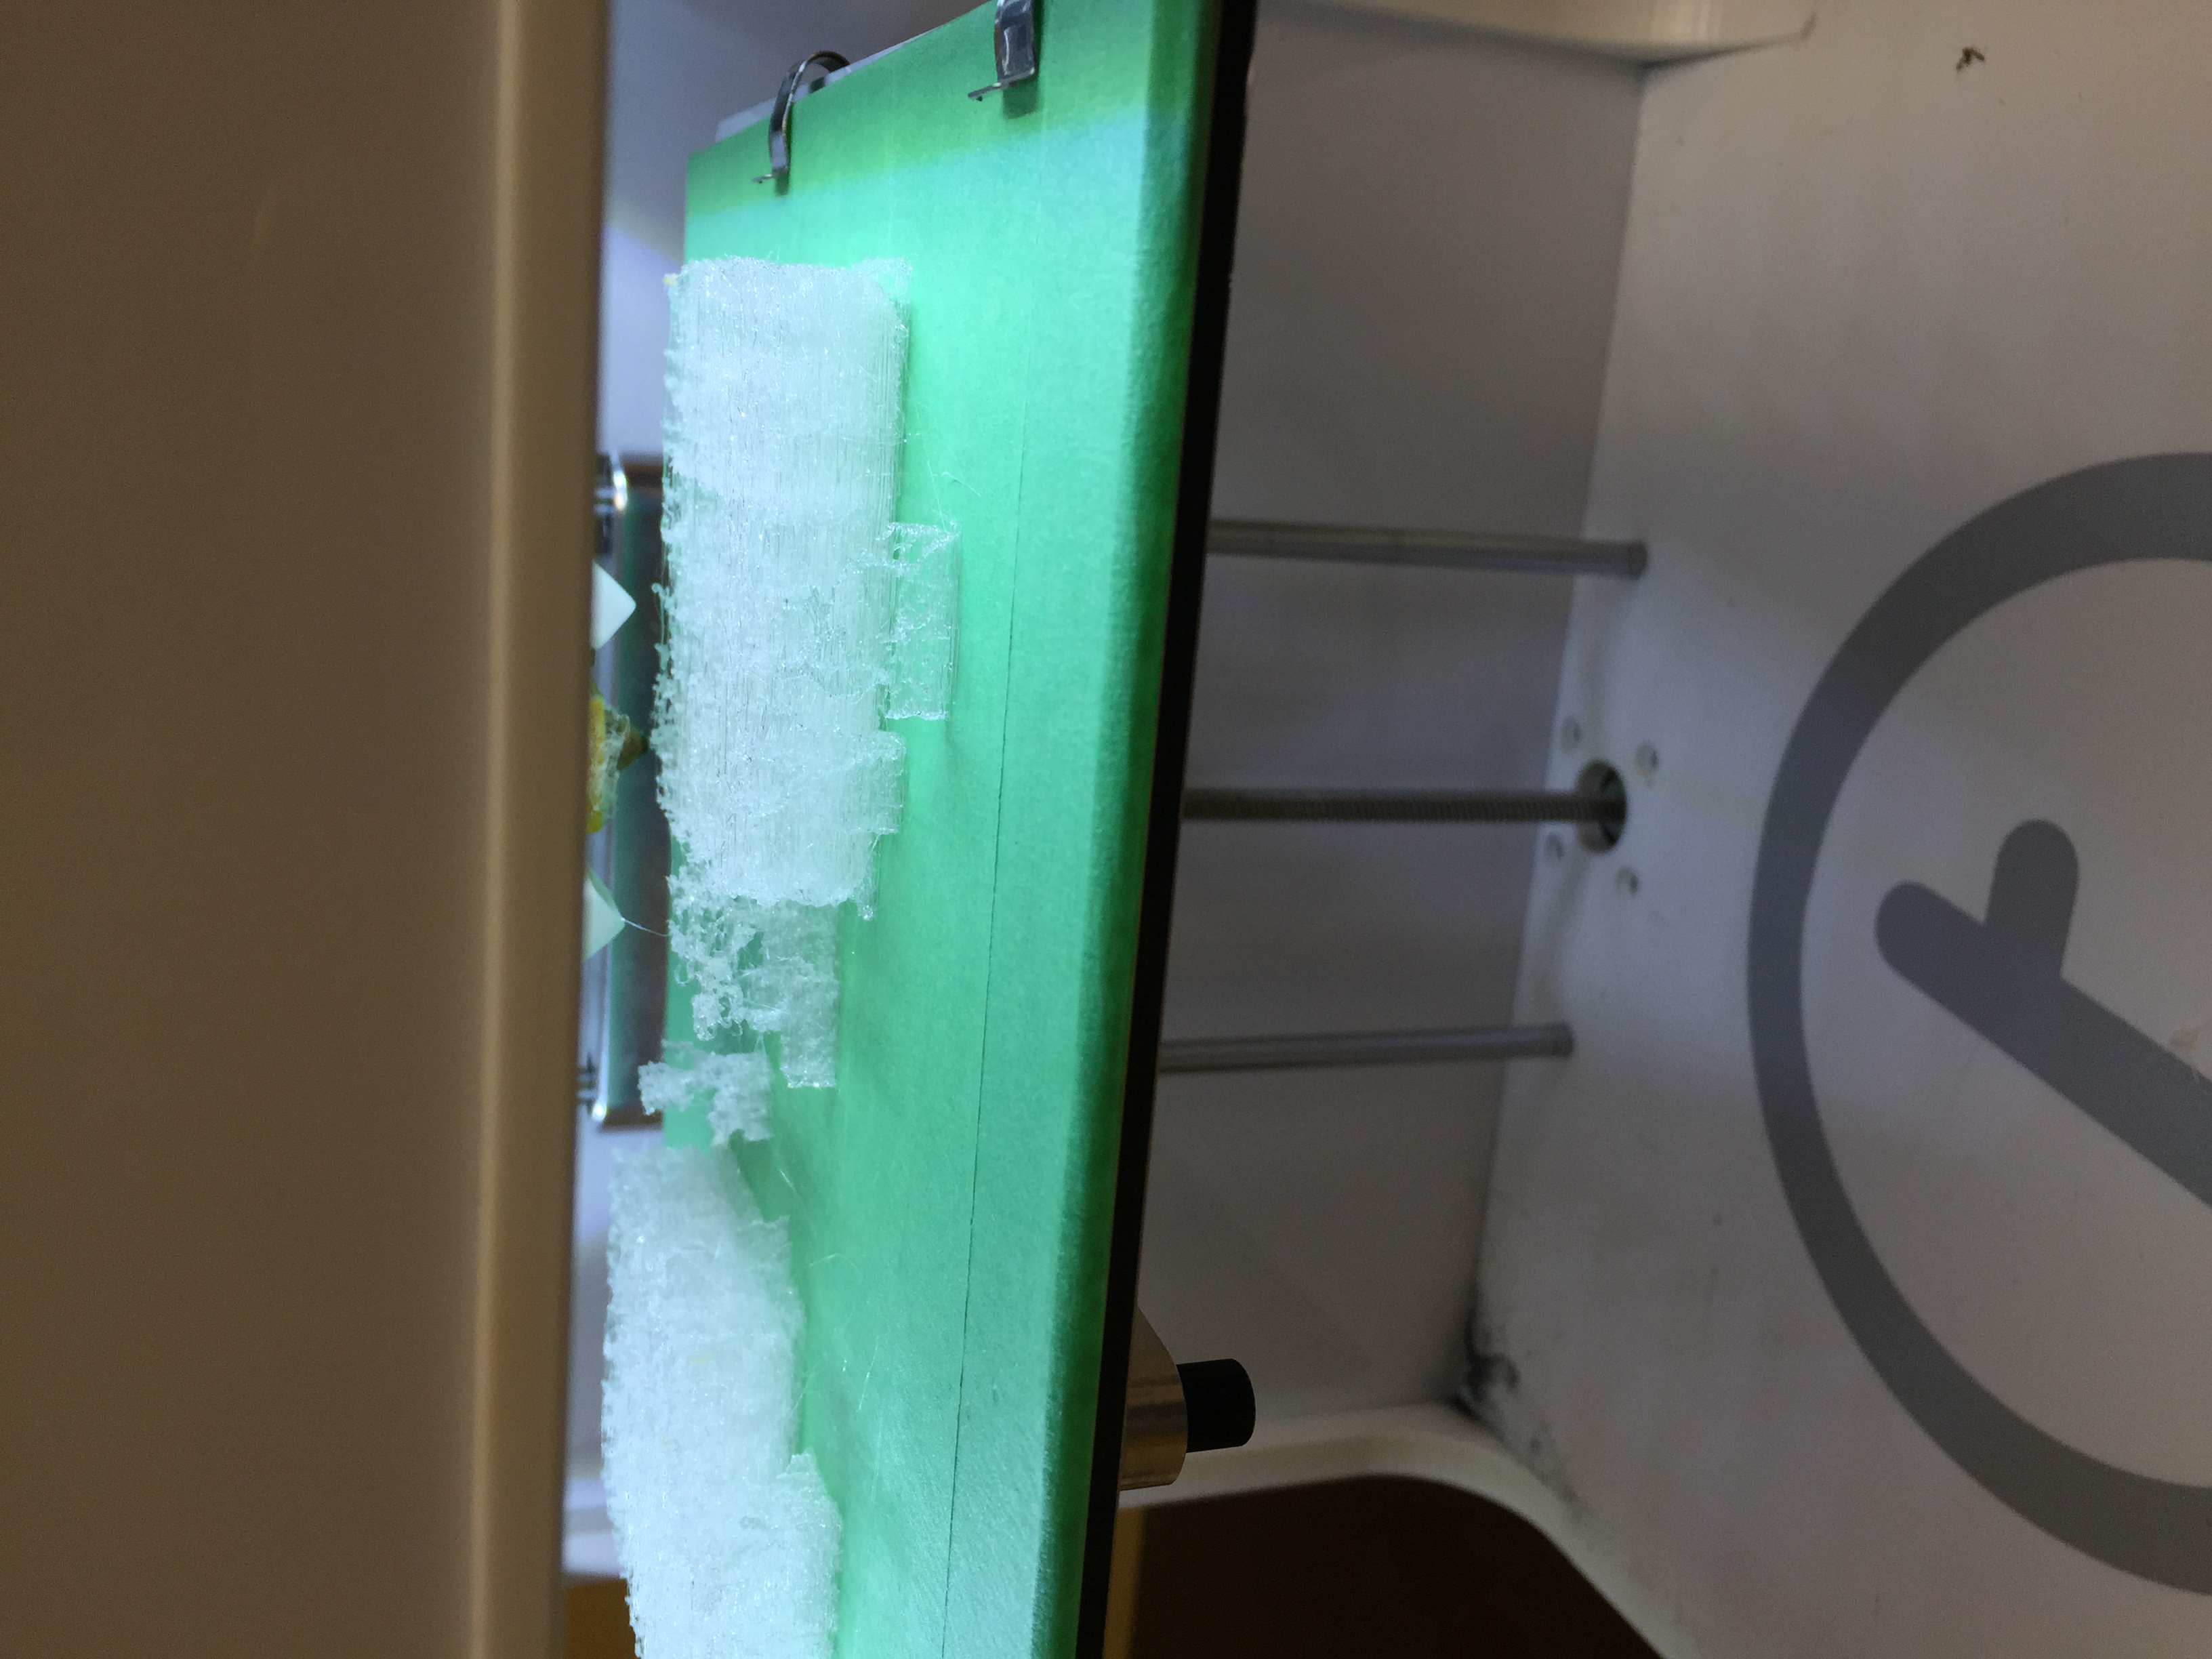
After watching some failed print attempts (see above photo), I was concerned that my print would have many unforeseen complications. But, overall, it went fairly well. I had to restart twice because the filament got tangled, but otherwise the print went smoothly and took about 3.5 hours.

IMG_6859 IMG_6860

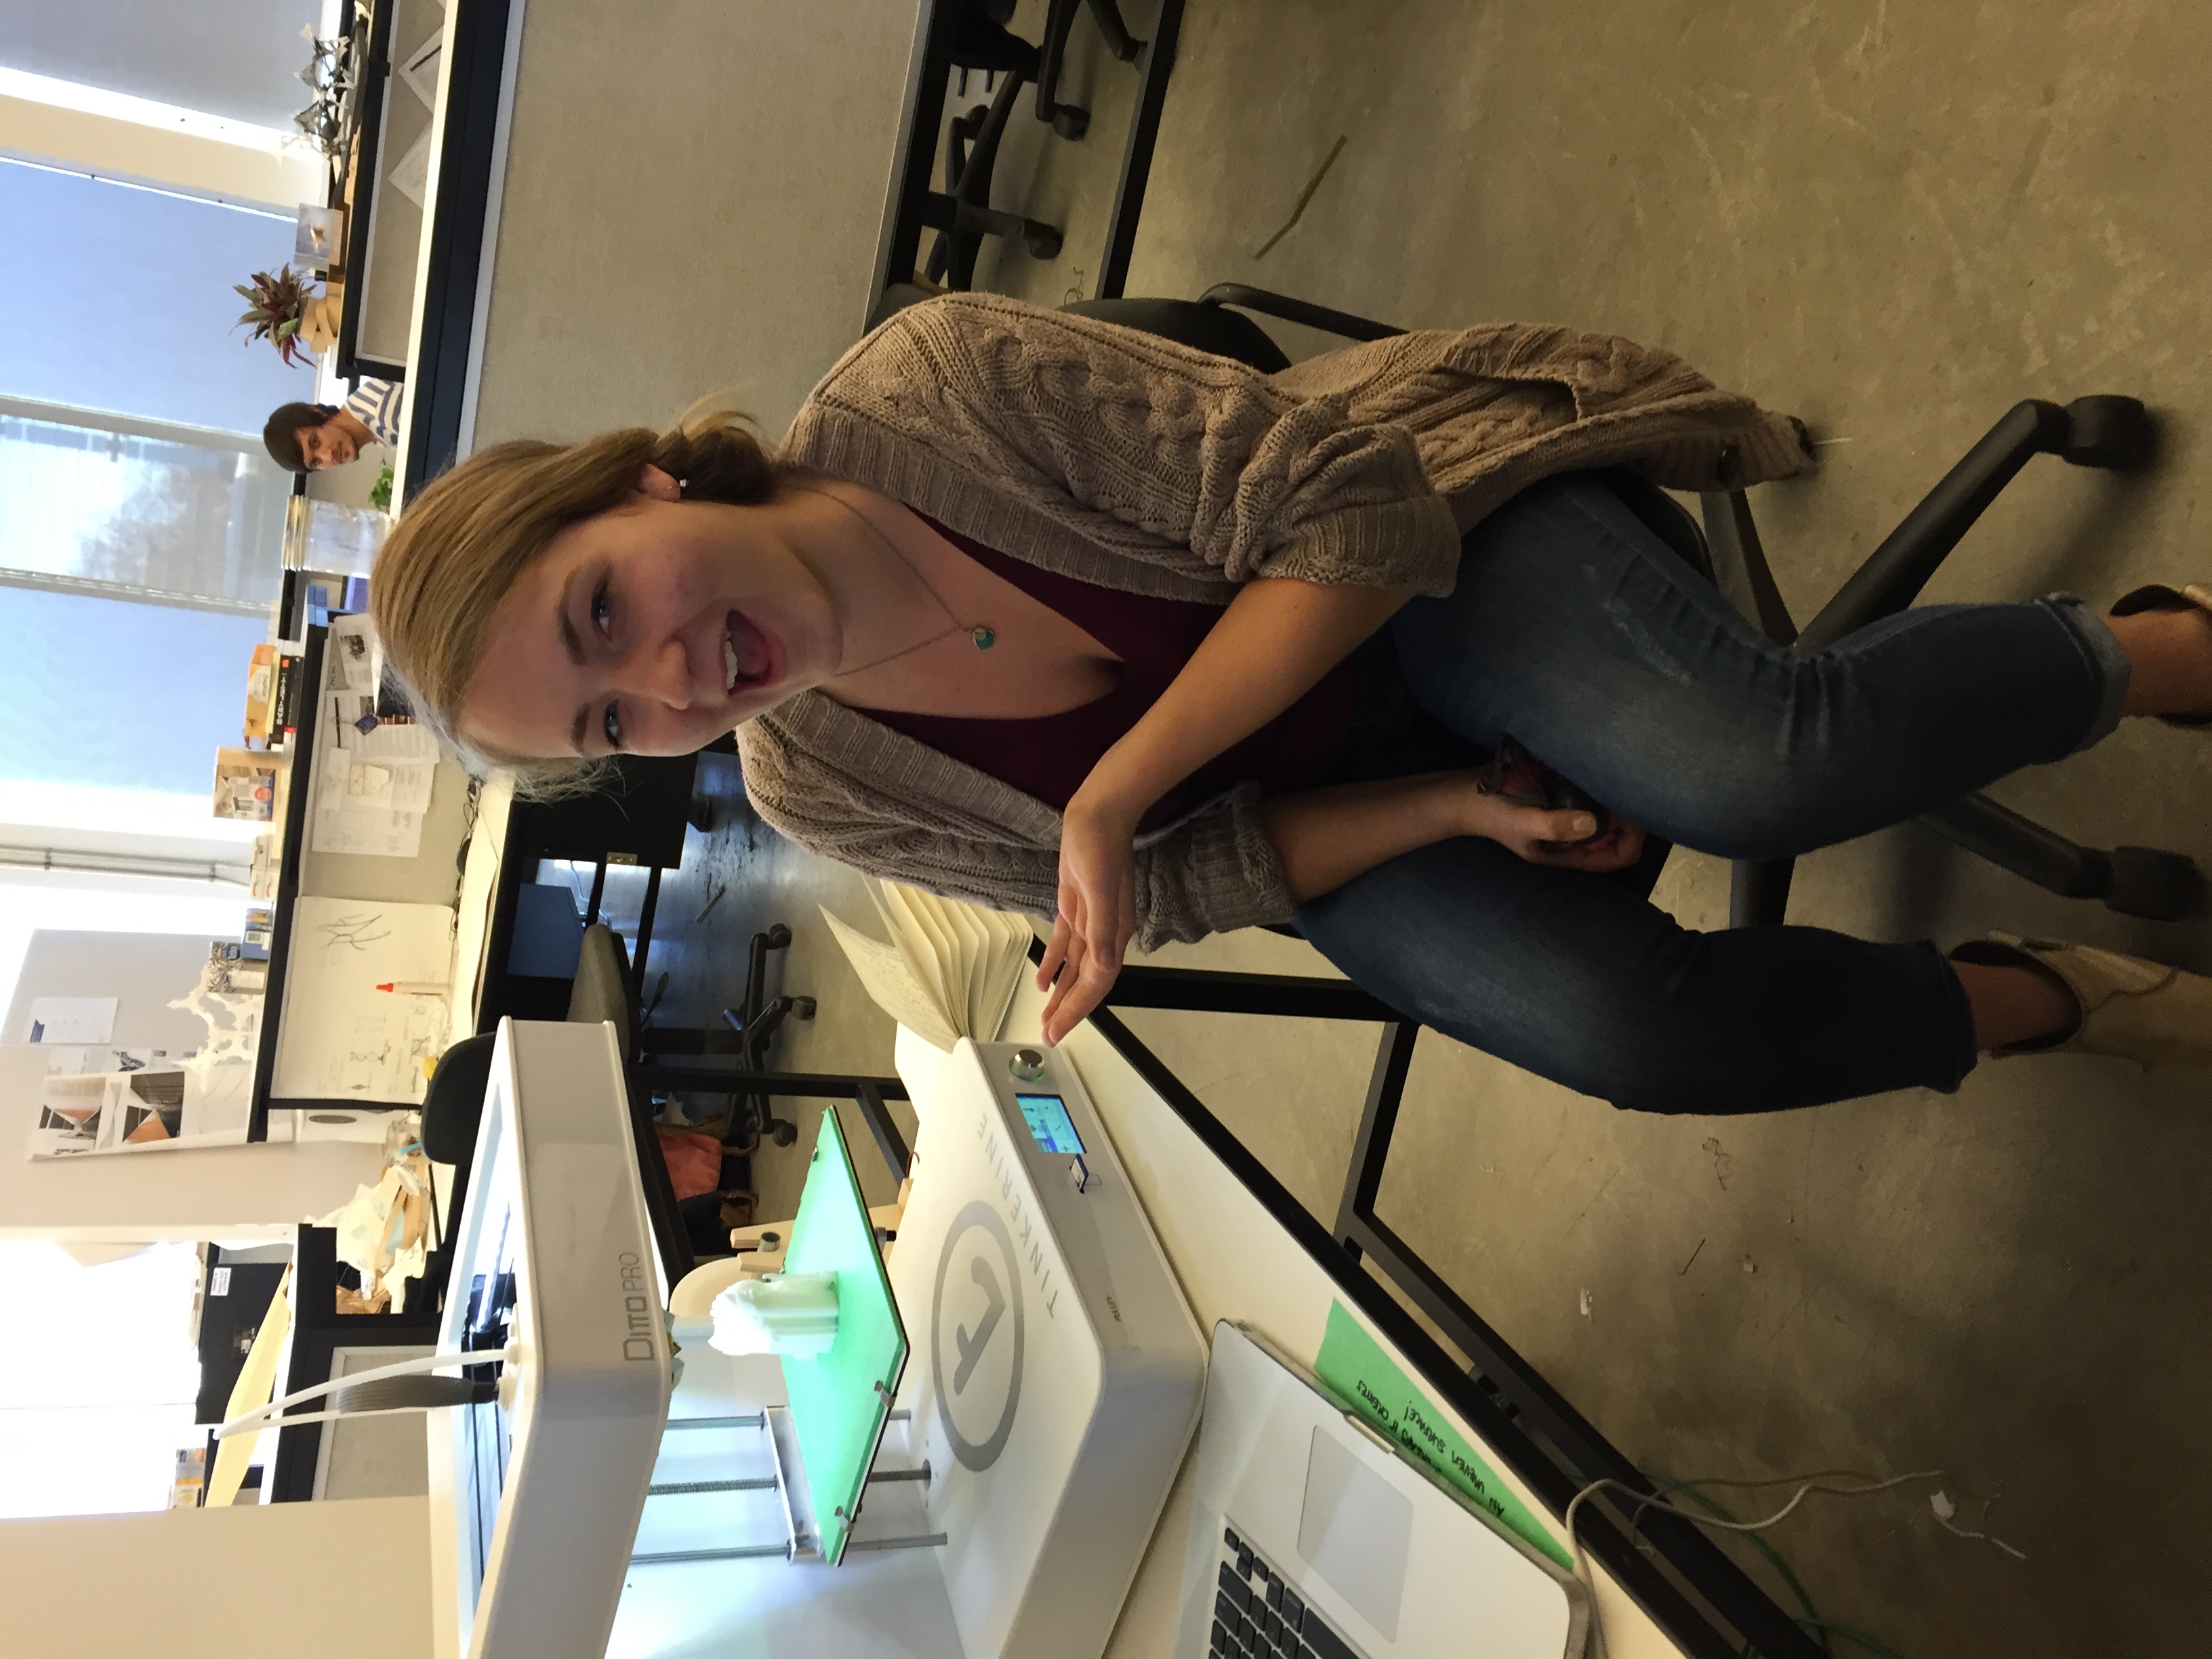
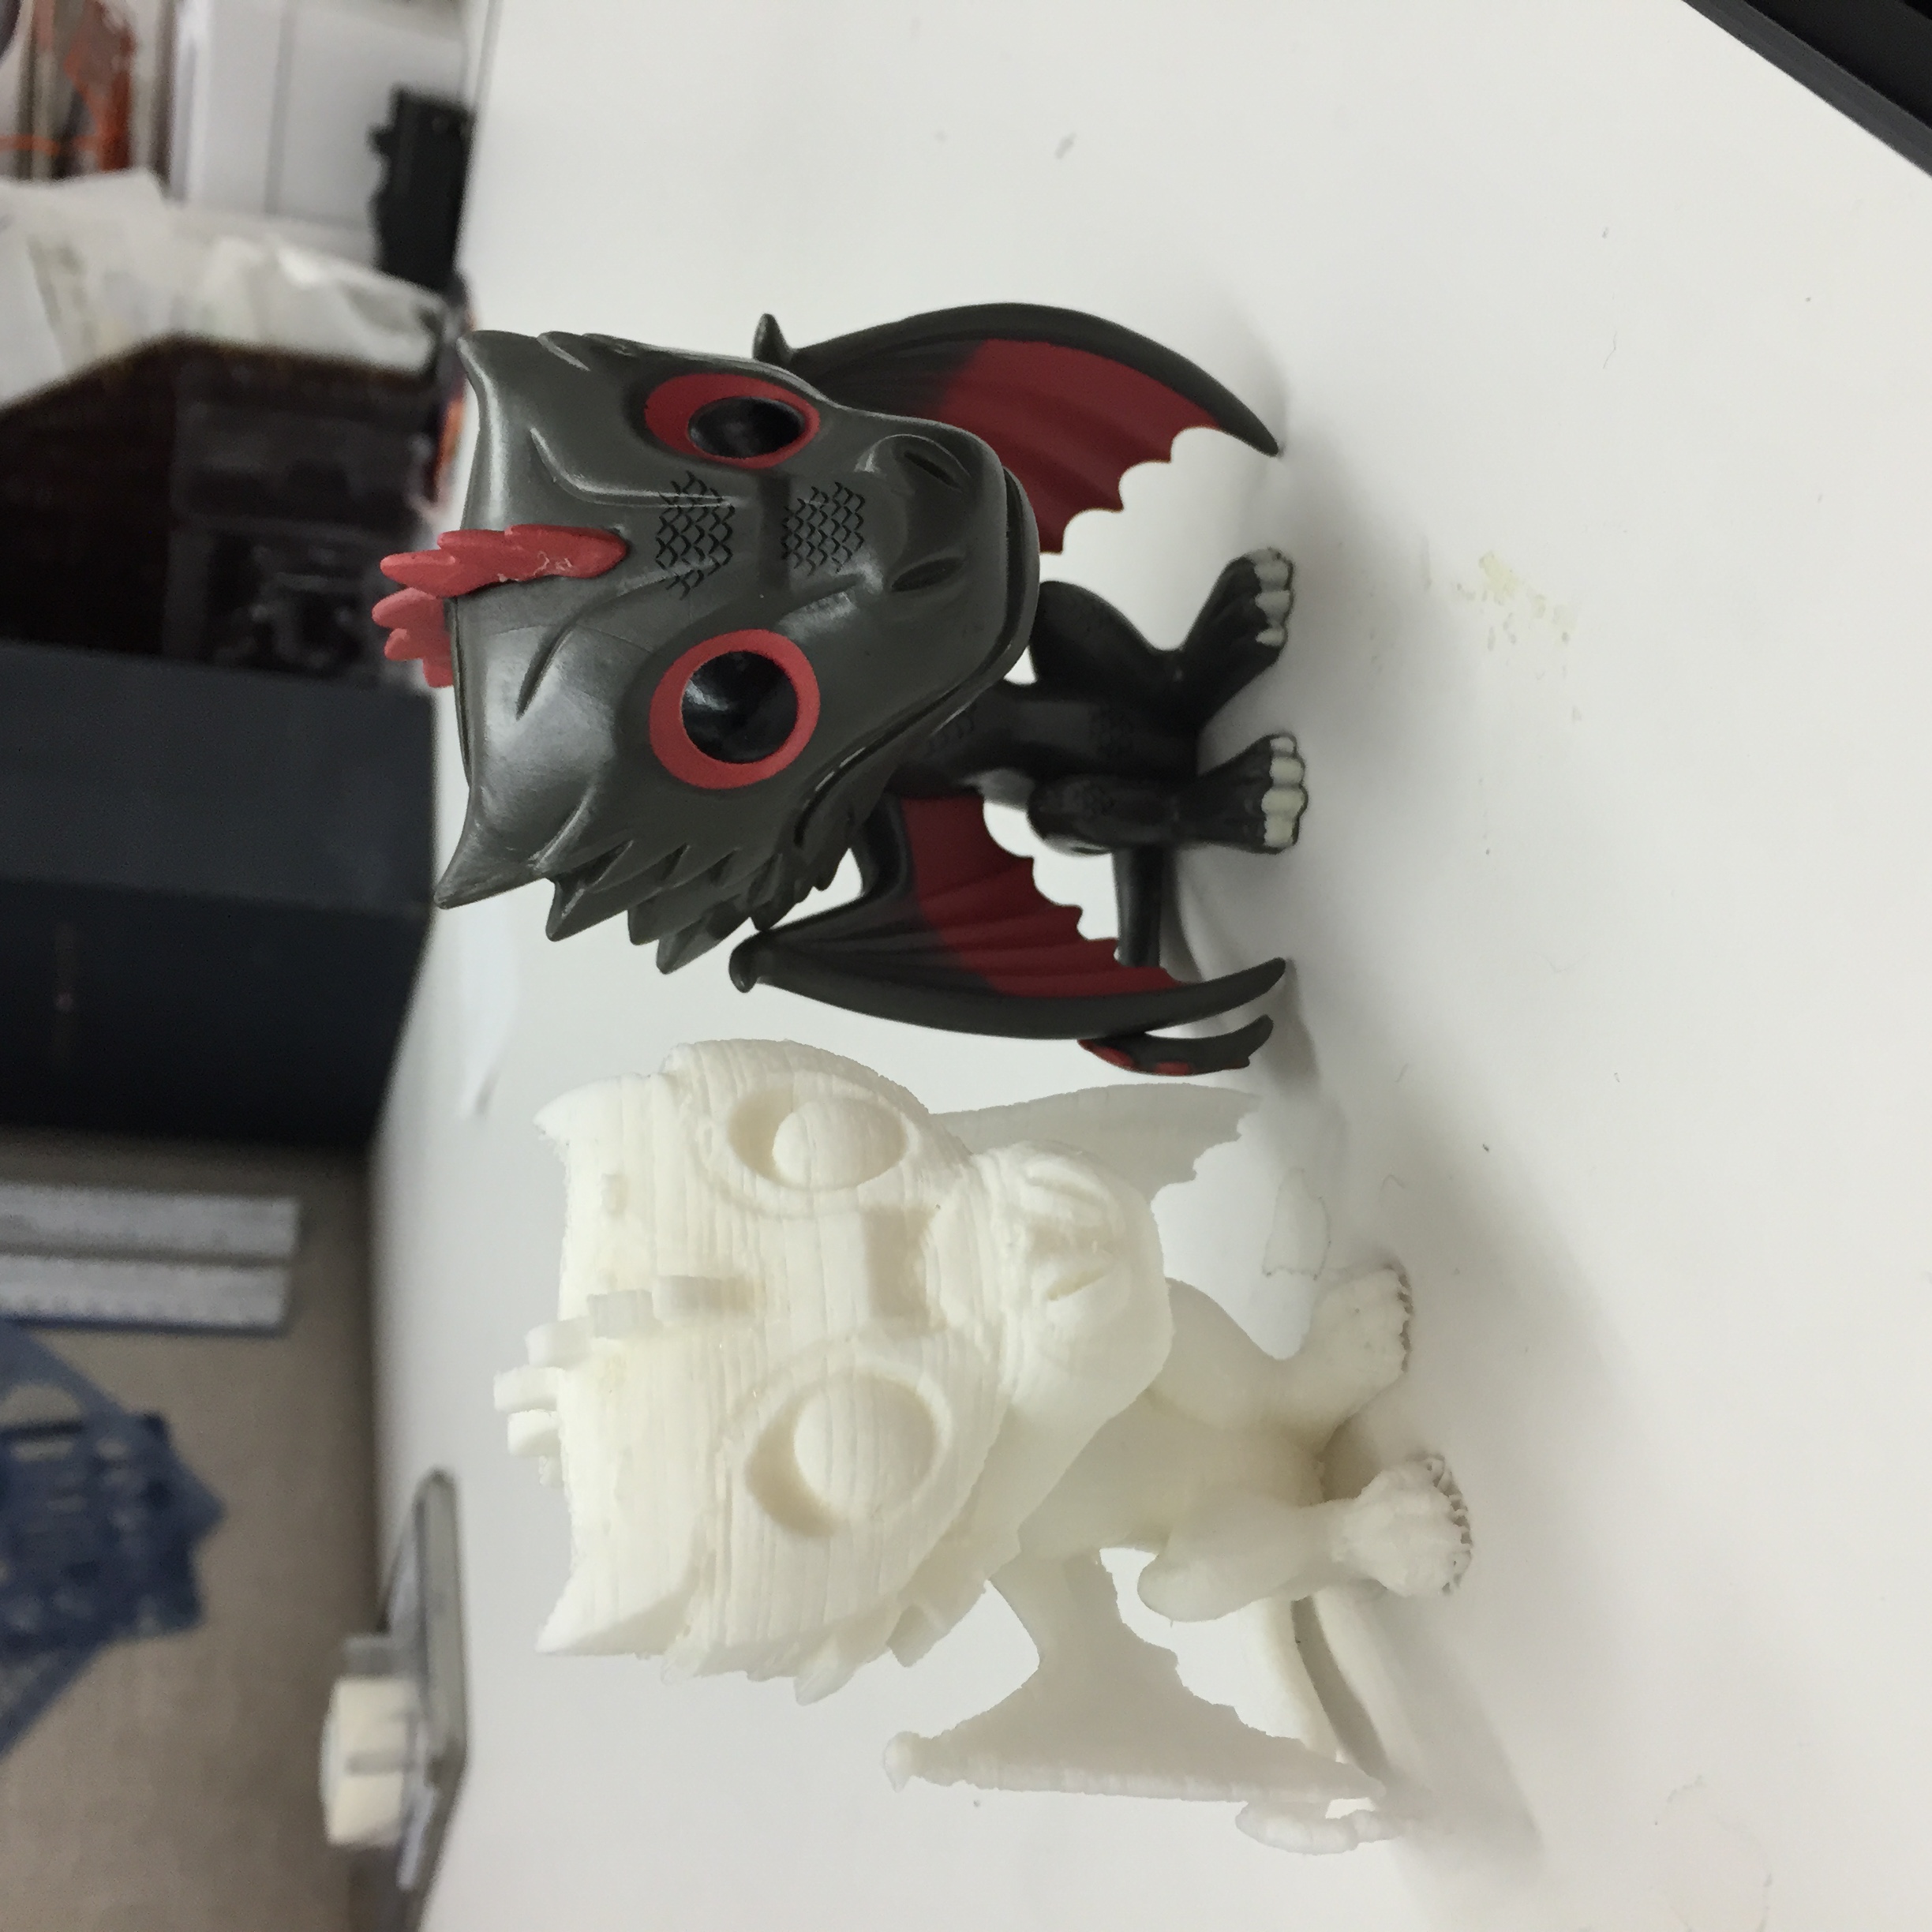
My dad sometimes tells the story of the first time he used a fax machine, and how astounding it was at the time. I feel that my experience printing Drogon was similar, and that one day, in a not-so-distant future where 3D printing  will be ubiquitous, the memory of the confusion and excitement of my first print will deeply amuse me. I’m excited to be at a point where I feel more comfortable utilizing the 3D printer and I’m curious to see how I will apply this tool later on in studio.

IMG_6861

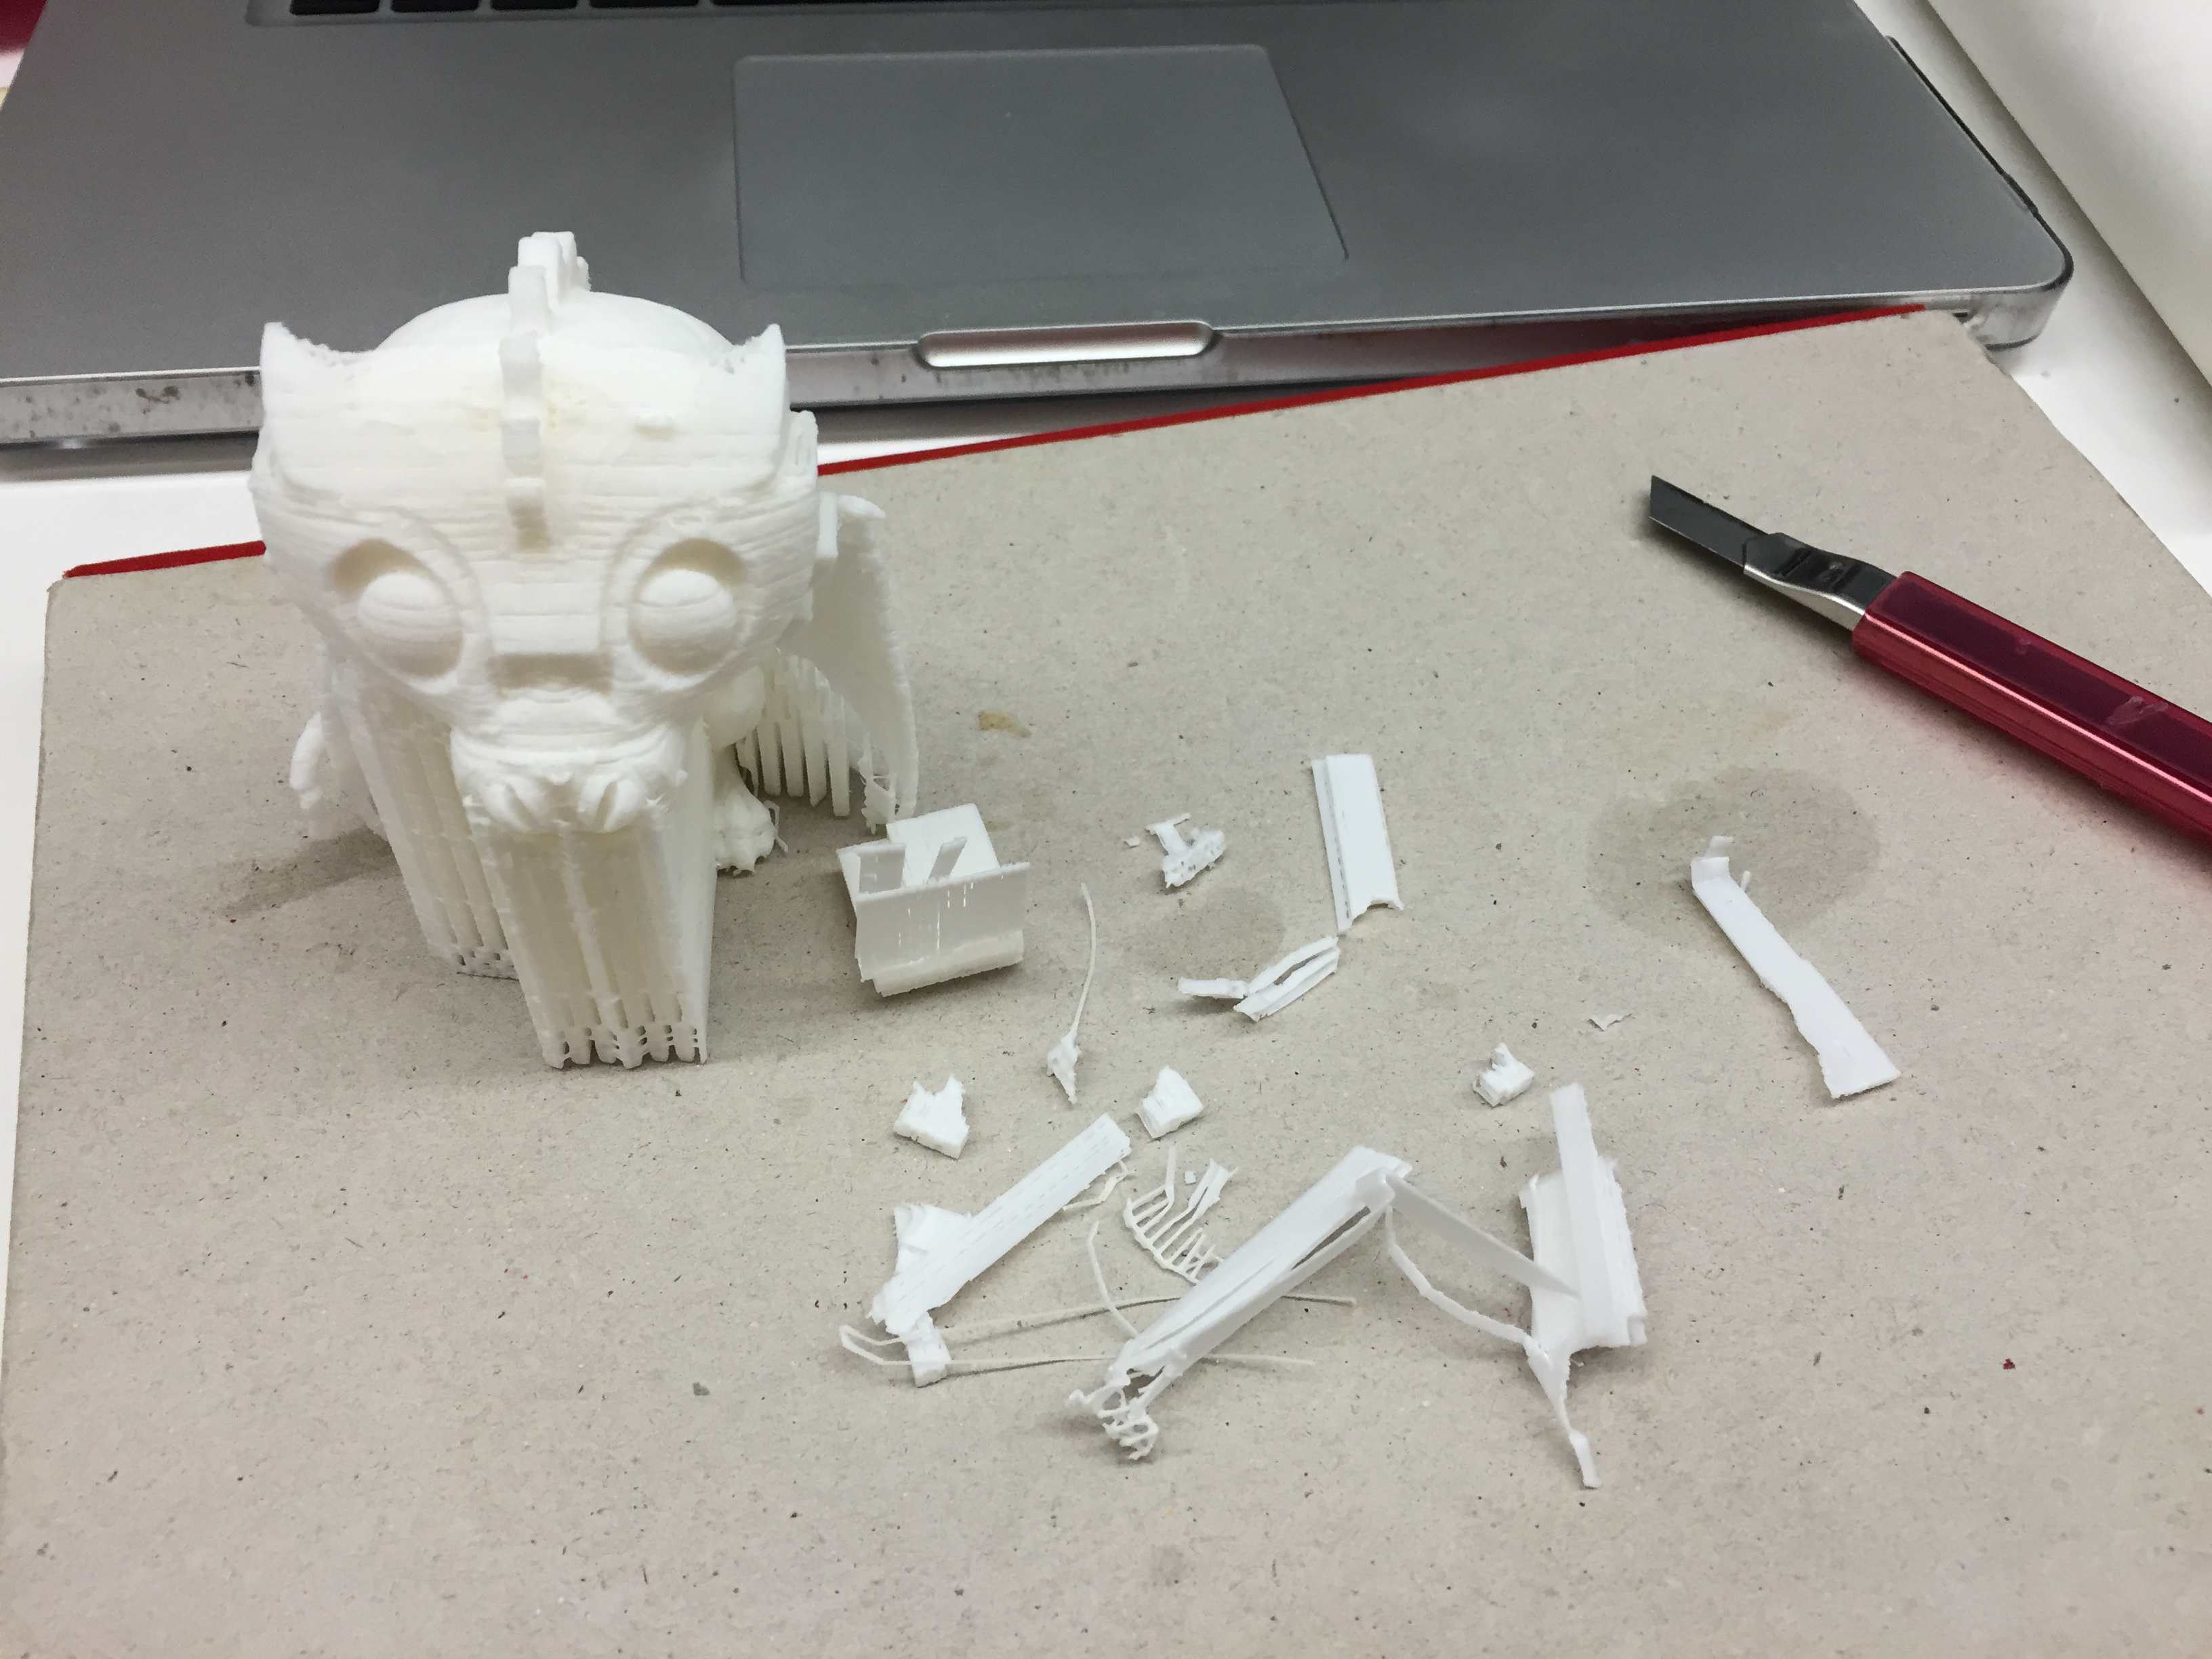
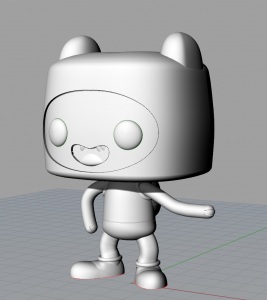
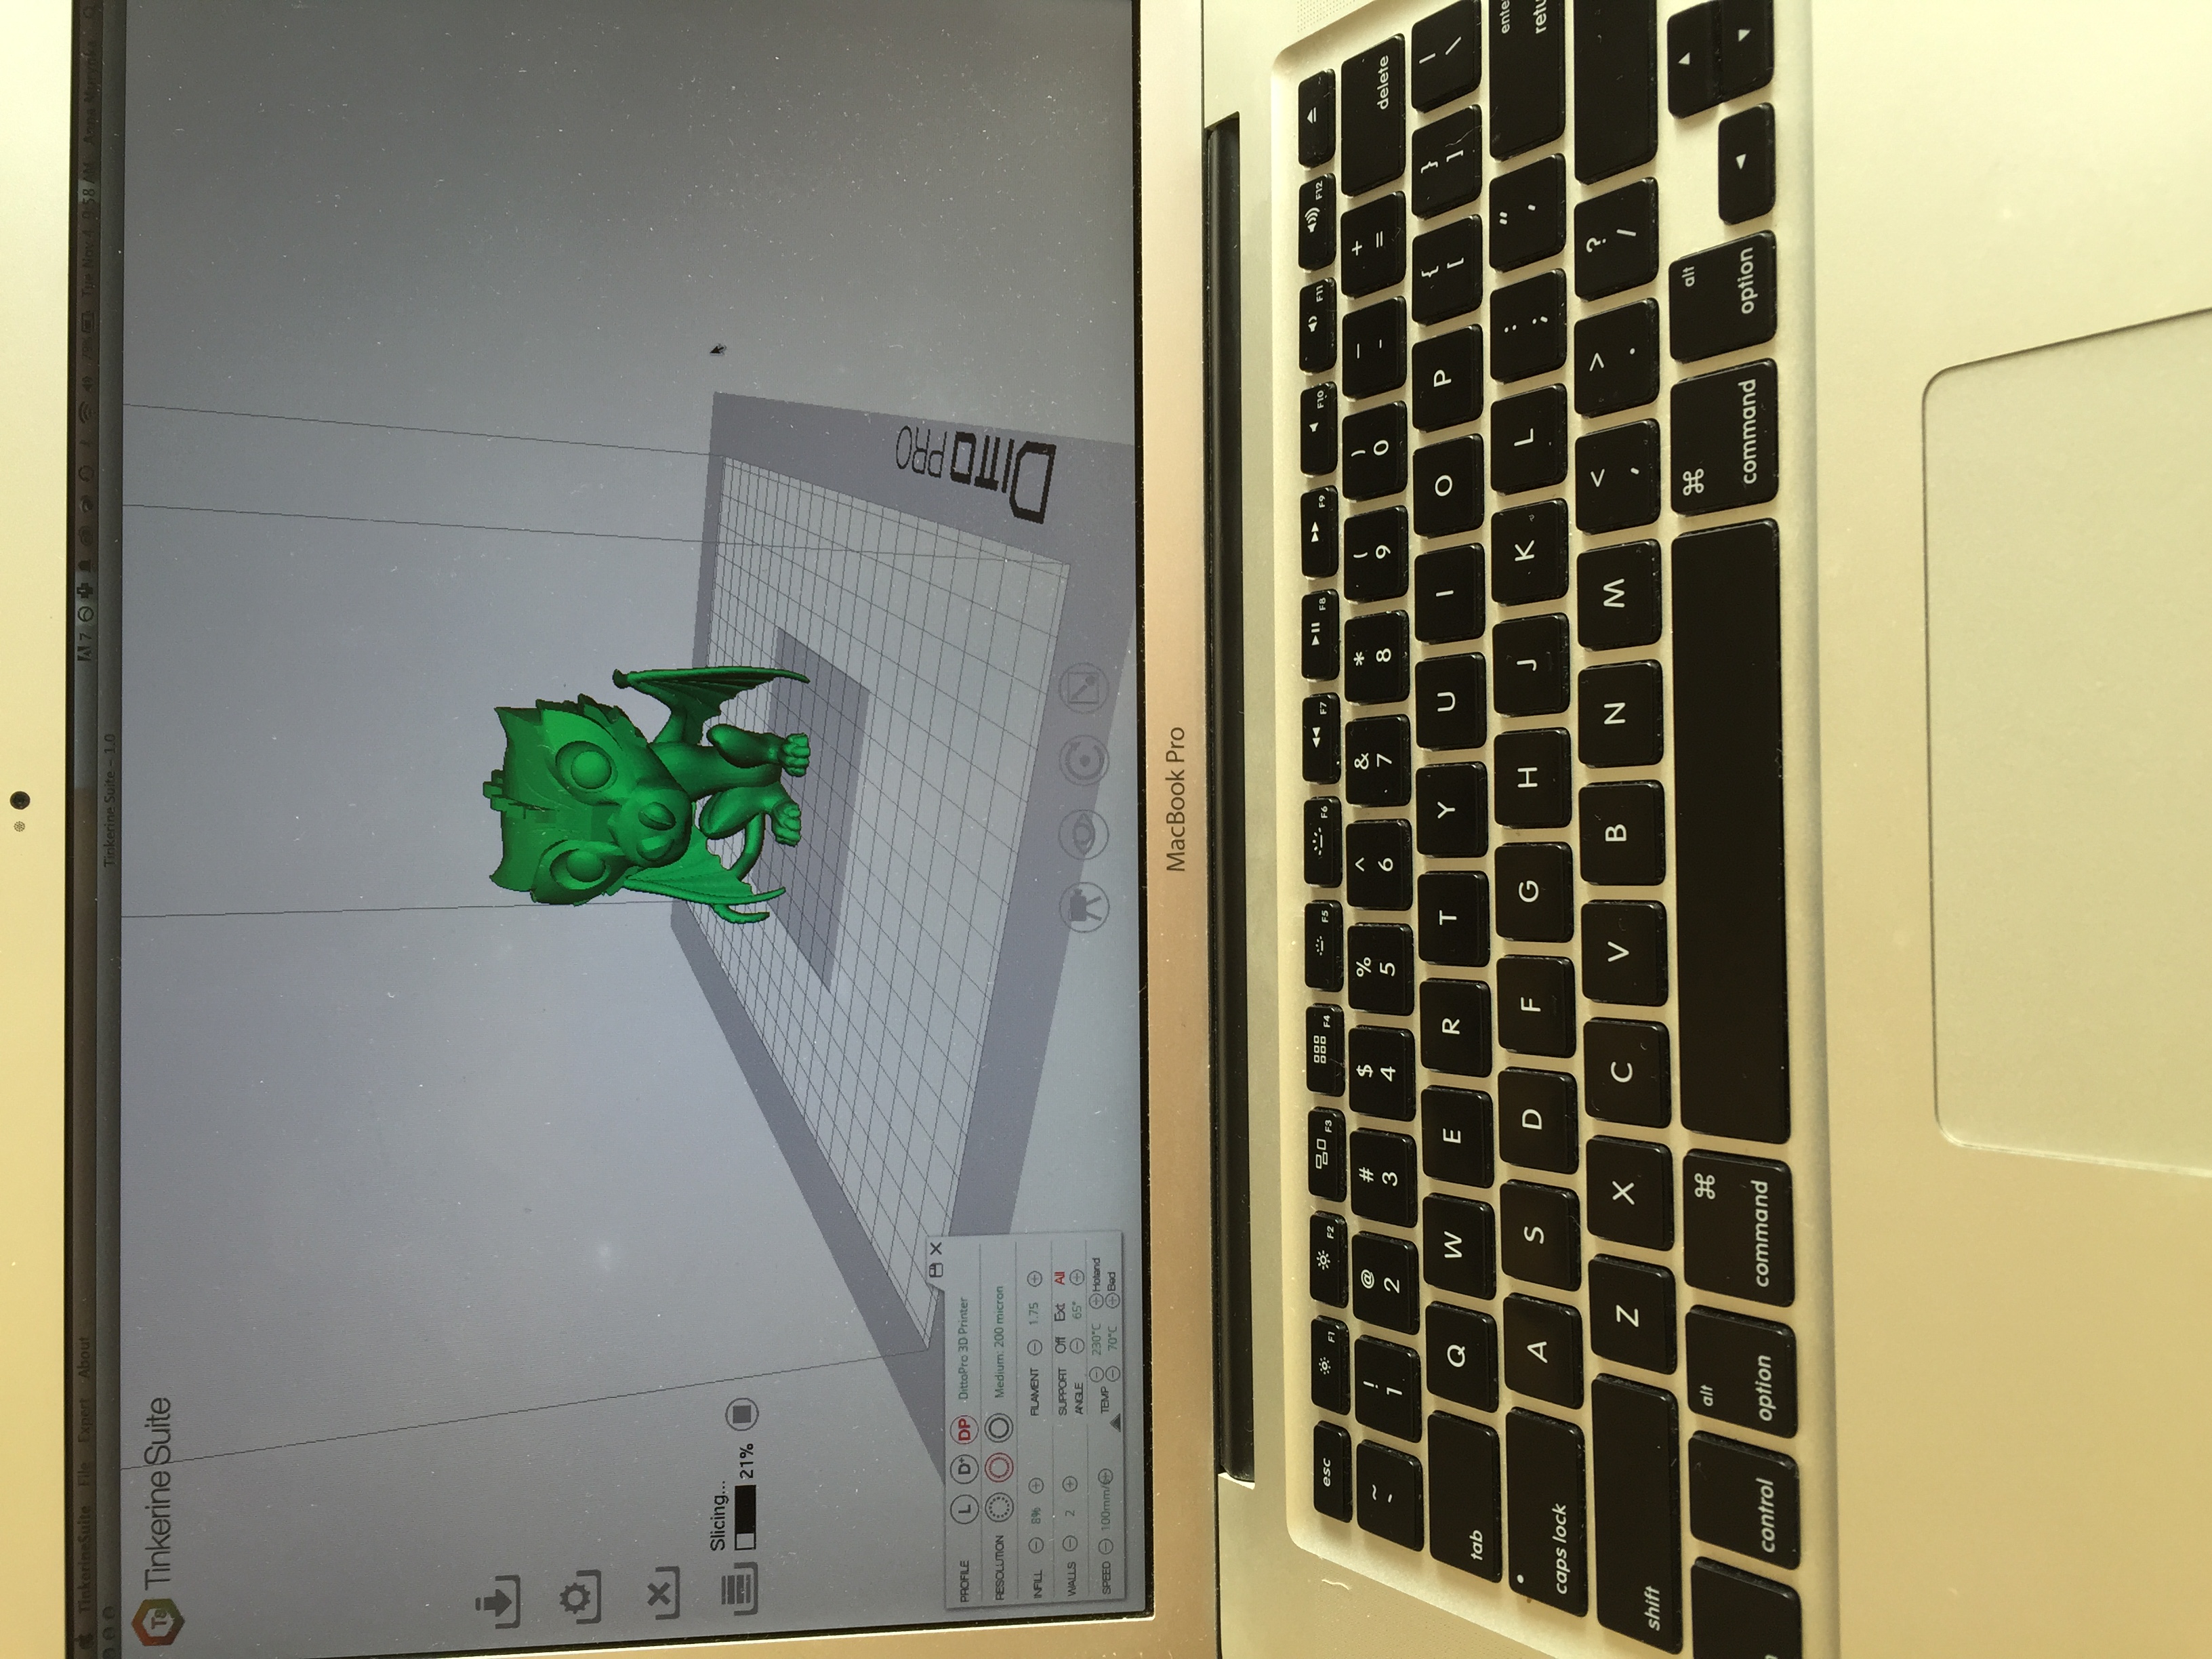
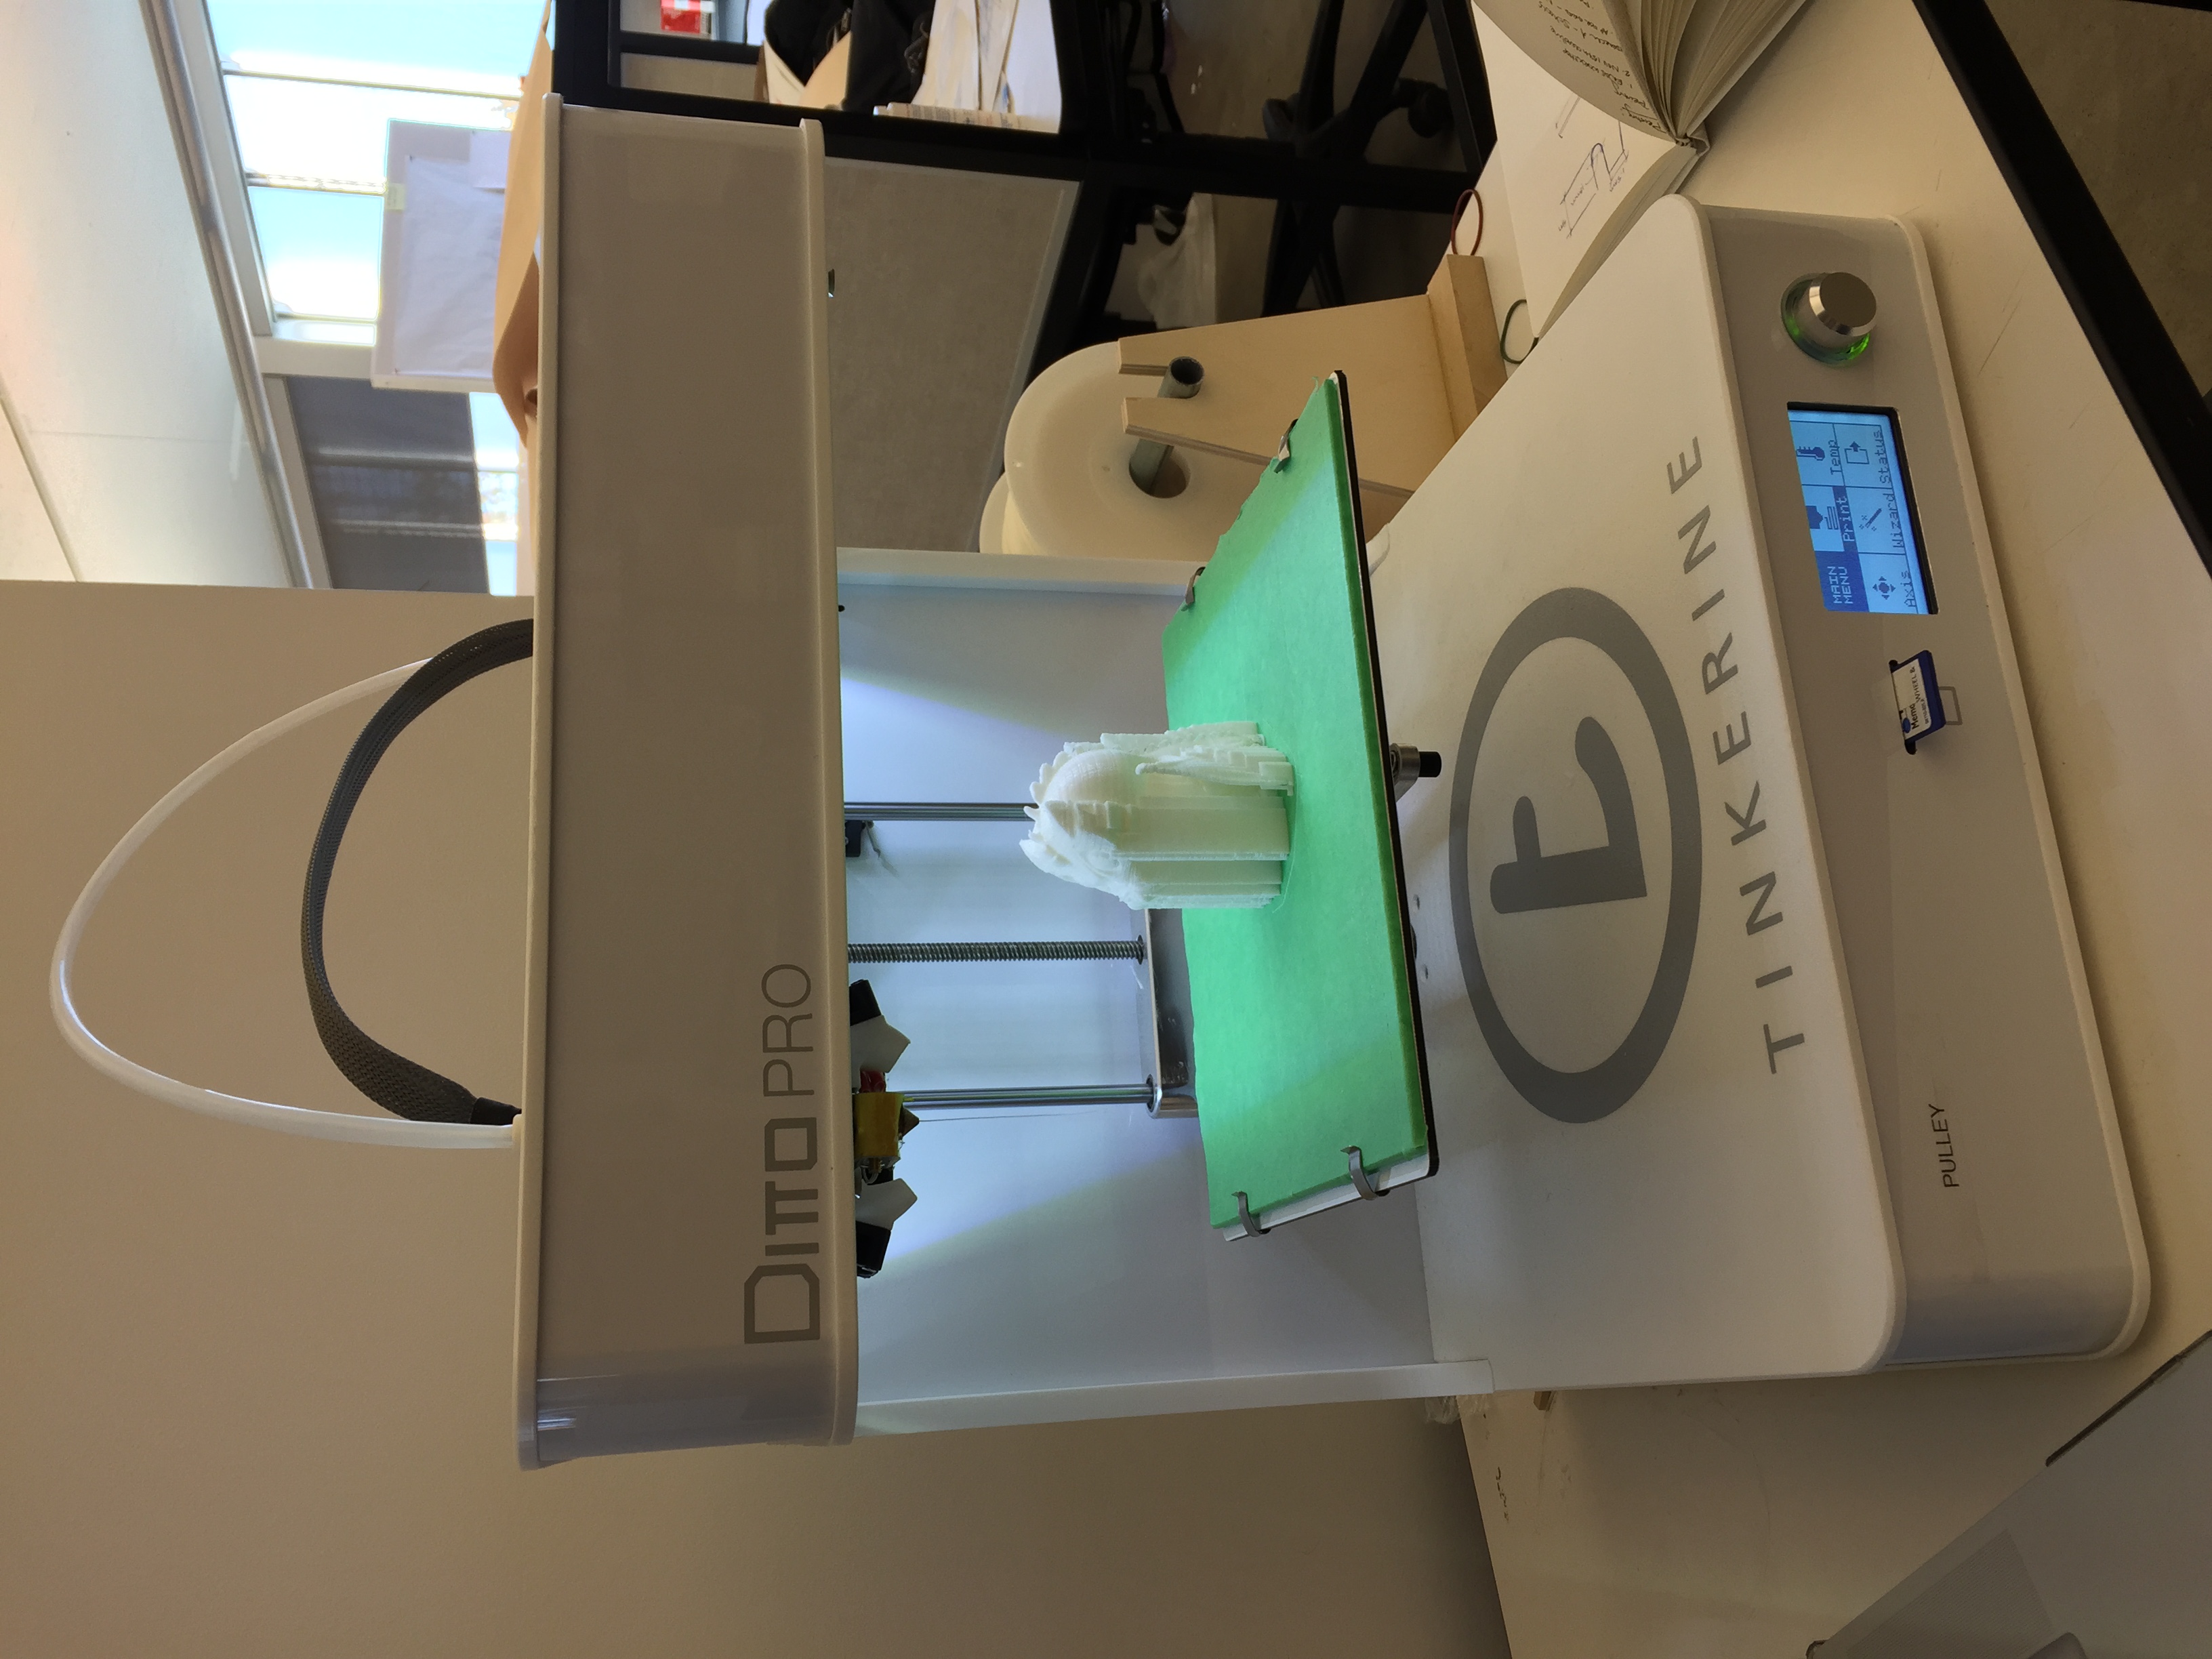
Removing the scaffolding proved very tedious but ultimately doable. An alternative strategy I might have used would be to print the head and body separately (and reduce the amount of scaffolding needed). My rationale was that I wanted to make sure the model could stand upright and was hoping that the Tinkerine suite software would calculate the weighting if I printed it as once piece. This could have been something to explore in multiple prints.

IMG_6862

Lessons learned:

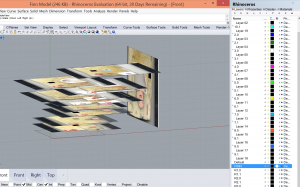
-Don’t scale in Tinkerine. Also, having consulted with various classmates, it appears that Tinkerine has a tendency to tamper with scale, or just that variations in scale happen across a variety of printers. But still, scale in Rhino into mm before importing into Tinkerine.
-Though this is probably obvious, it warrants stating: I would’ve done a test print of the model beforehand. There were time constraints and issues with the printers, but I waited until I was done modelling to 3D print. In hindsight, I would’ve printed a crappy rough prototype ahead of time to troubleshoot some things (ie scaling) proactively.

Finn the Human: Surfaces, (Finn)ally!

Now that I’ve finally figured out the best way to go about tracing this little dude I have surfaces! I used a variety of surface commands- depending on what existing lines I had for the particular surface I wanted to make. We’re all familiar with the usual suspects, so I won’t bore you, but my favourite commands for a few details and which came in handy were “Pipe” combined with “BooleanDifference.” This combo was great for details of clothing or things like hands! Mostly at this stage the different commands I used were trial and error until I figured out what worked. I also watched a few different surface creation tutorials and followed along to get a handle of the different commands and when to use them. During this stage I:

-scaled the images and assigned a layer                                                                     -positioned the images to the correct view                                                             -traced the toy at it’s different views                                                                           -surface creation                                                                                                                      -“edit control points” ON and adjustments made where applicable


finn model snip

Finn the Human: Let’s Try This Again (Attempt #3)

After organizing all my layers so neatly and tracing all the slices (top and bottom) I still can’t quite get these surfaces to come together the way I want them to… I have decided to finally abandon these beautifully organized layers and follow the route most others have discovered – tracing images of the original toy.

During this step you have to be very careful to take pictures with the least amount of distortion as possible – impossible to take a photo without at least a small amount of perspectival distortion so try focus only on the nearest parts of the toy when tracing.

Screen Shot 2014-11-15 at 4.45.58 PMphotos

**Later I moved these images with their tracing together to meet in the middle**

“Starting Over”! Finn the Human Slices 2.0

Things have not been going quite right so I decided that perhaps I should rescan our slices, this time with a ruler to make scaling easier and more accurate. I also rescanned the slices thinking that one of the issues I might be having is that the slices in most cases are very different on the top than the bottom- example pictures included. At this point I was still thinking that the best way to go about modelling this little guy was to trace all these pieces (top and bottom), space them out accordingly (1cm), and create surfaces from those curves.

See how different one side of the slice is from the other? (ex 1.0 vs 1.1)

Also, I’ve mirrored the “.1” images so that it would be accurate from its “top” view (“looking down,  through” the spray foam rather than looking directly at the slice).

Starting a completely new file to avoid any scaling mistakes from before!

1.0 vs 1.1Second Week Slices

**Look at all those layers :S**