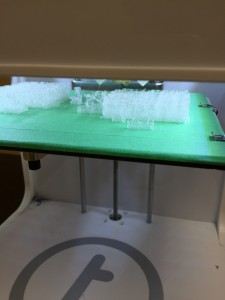
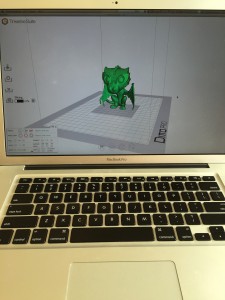
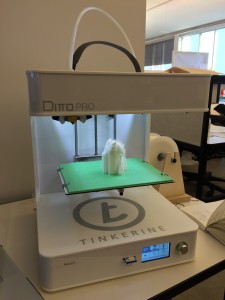
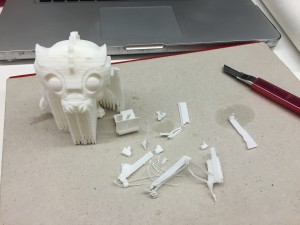
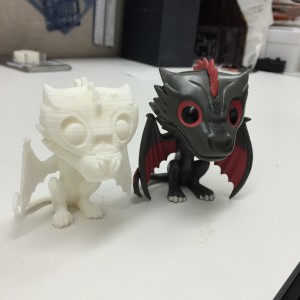
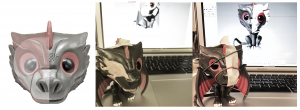
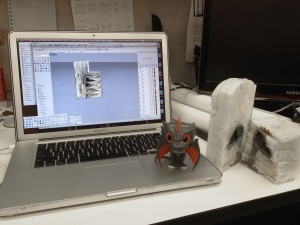
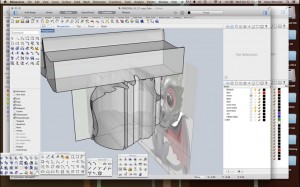
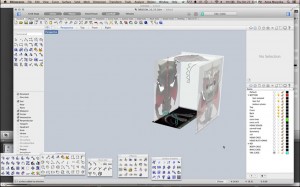
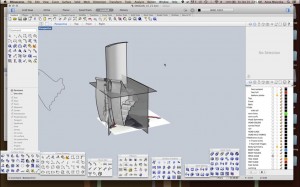
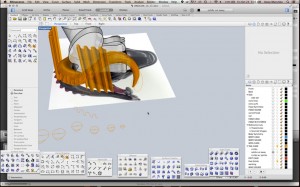
After watching some failed print attempts (see above photo), I was concerned that my print would have many unforeseen complications. But, overall, it went fairly well. I had to restart twice because the filament got tangled, but otherwise the print went smoothly and took about 3.5 hours.
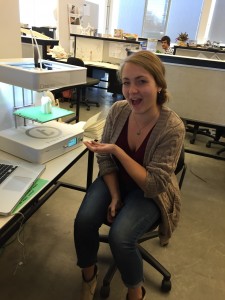
My dad sometimes tells the story of the first time he used a fax machine, and how astounding it was at the time. I feel that my experience printing Drogon was similar, and that one day, in a not-so-distant future where 3D printing will be ubiquitous, the memory of the confusion and excitement of my first print will deeply amuse me. I’m excited to be at a point where I feel more comfortable utilizing the 3D printer and I’m curious to see how I will apply this tool later on in studio.
Removing the scaffolding proved very tedious but ultimately doable. An alternative strategy I might have used would be to print the head and body separately (and reduce the amount of scaffolding needed). My rationale was that I wanted to make sure the model could stand upright and was hoping that the Tinkerine suite software would calculate the weighting if I printed it as once piece. This could have been something to explore in multiple prints.
Lessons learned:
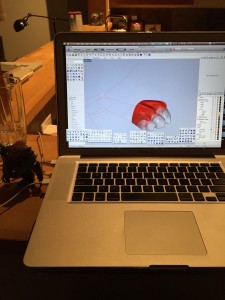
-Don’t scale in Tinkerine. Also, having consulted with various classmates, it appears that Tinkerine has a tendency to tamper with scale, or just that variations in scale happen across a variety of printers. But still, scale in Rhino into mm before importing into Tinkerine.
-Though this is probably obvious, it warrants stating: I would’ve done a test print of the model beforehand. There were time constraints and issues with the printers, but I waited until I was done modelling to 3D print. In hindsight, I would’ve printed a crappy rough prototype ahead of time to troubleshoot some things (ie scaling) proactively.

