Tag Archives: finnthehuman

Finn the Human: Printing, Documentation, and KeyShot… (FINN)ALLY

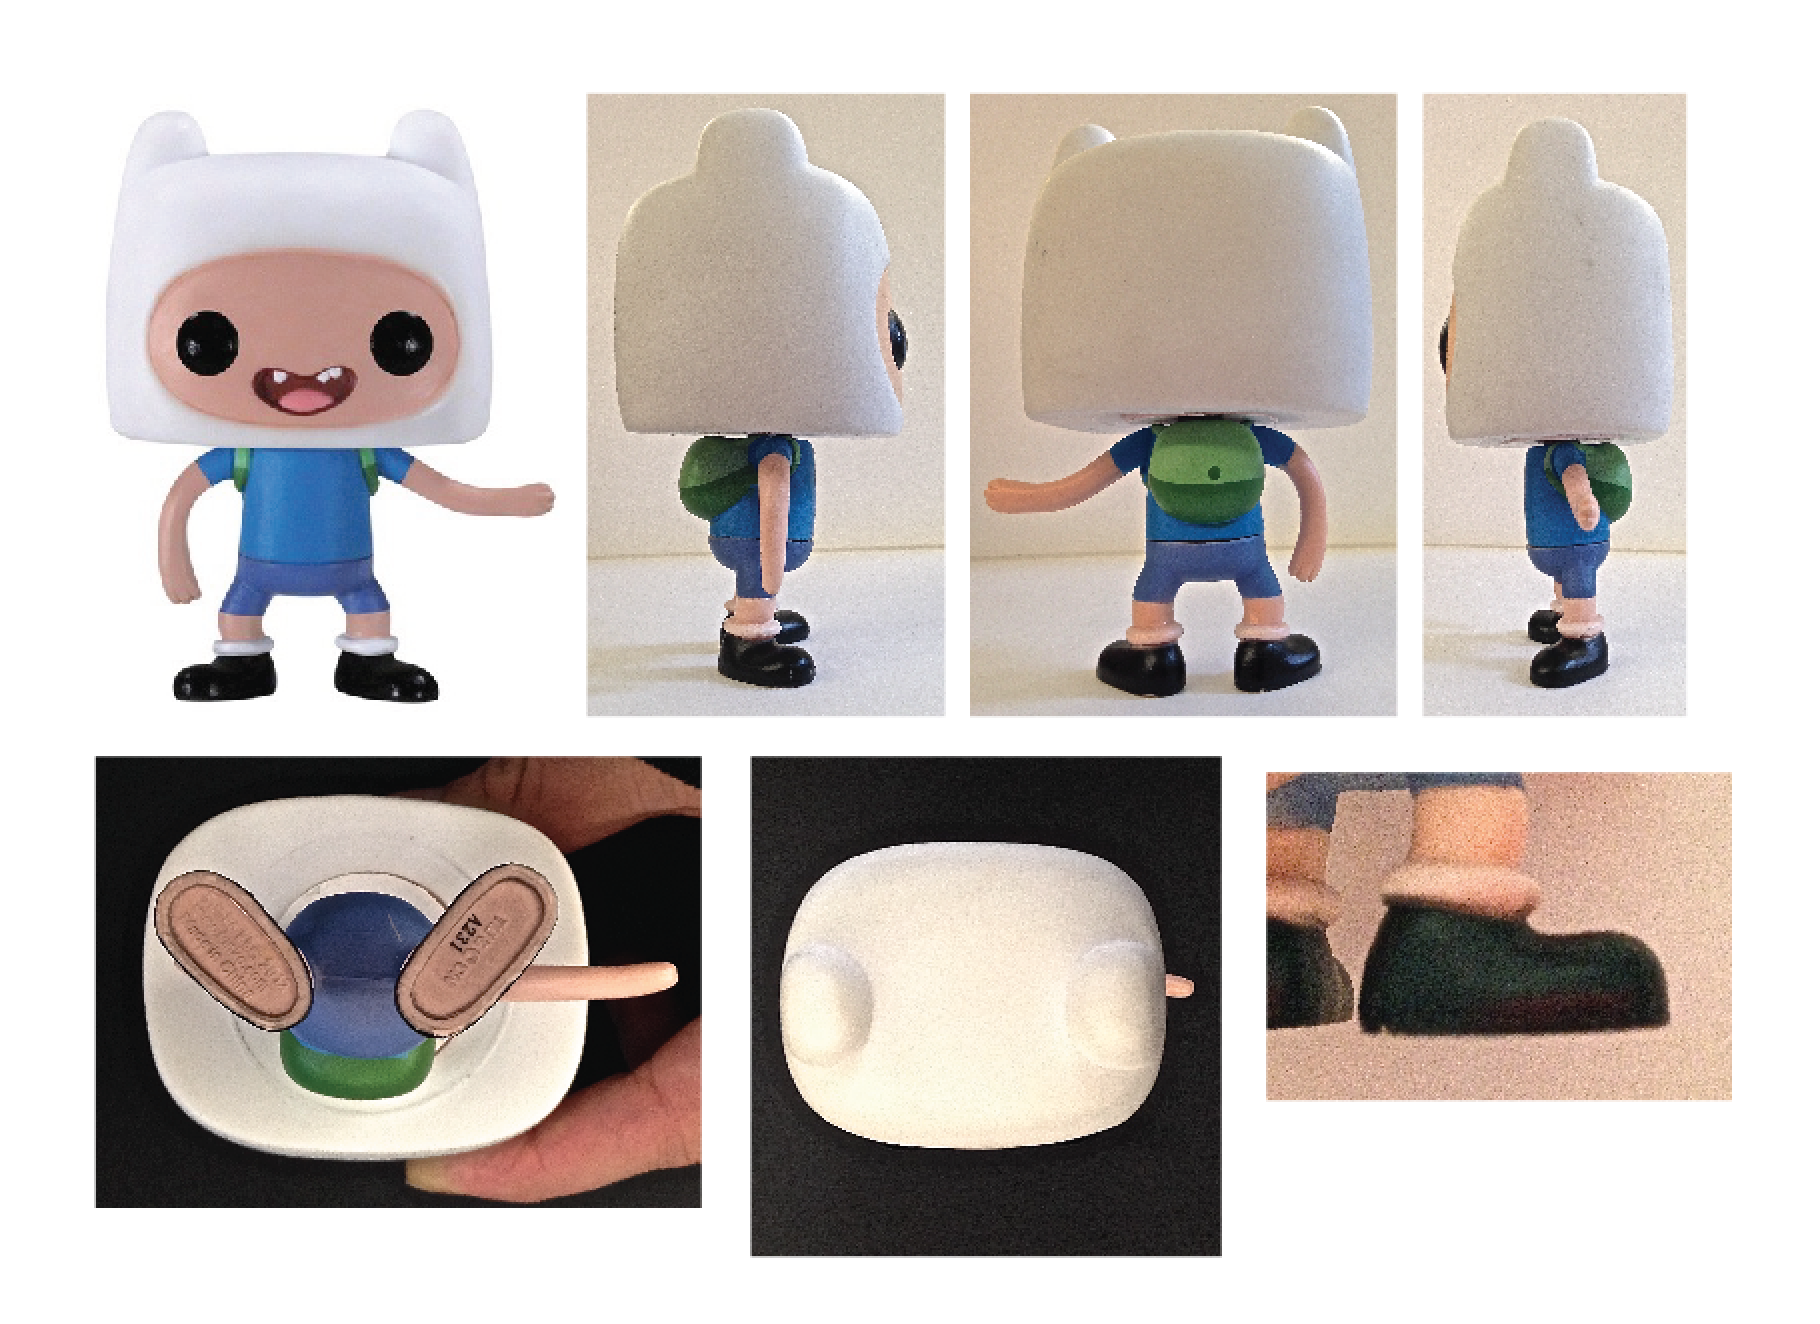
(Finn)ally, the time has come! 3D printing, at last!

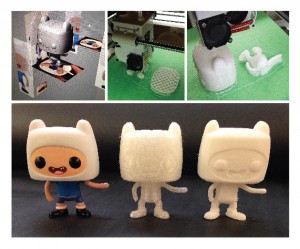
I printed using the clear filament and let me tell you… It’s good perhaps for test prints but I would never want to use this to hand in any final model! The second print with white filament has much better resolution even though the file was exactly the same.

In order to print my second model quicker than the first I detached the head and changed the body orientation. In the future I wouldn’t rotate the body- having the belly down meant a rougher print. Moving forward I will always try to orientate my model to have the least amount of struture material BUT keeping the bottom at the bottom so that the rough print is not visible.

KEYSHOT:

A really simple rendering tool! I enjoyed the selection of colours and materials available AND the edibility of those (saving them too).


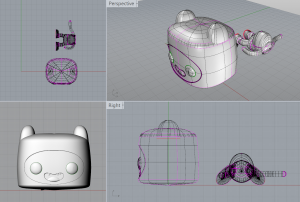
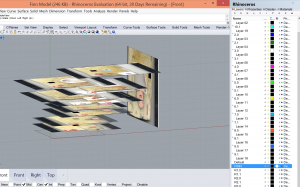
(One tip I’ll leave here about the Tinkerine 3D Printers that we have access to… We should make proper model files BUT when printing with these printers you don’t have to close the surfaces! The pink lines are not the end of you!! The resolution of these machines is not precise enough to require that last step.)

Screen Shot 2014-11-17 at 12.05.51 PM                split finn

Finn the Human: Let’s Try This Again (Attempt #3)

After organizing all my layers so neatly and tracing all the slices (top and bottom) I still can’t quite get these surfaces to come together the way I want them to… I have decided to finally abandon these beautifully organized layers and follow the route most others have discovered – tracing images of the original toy.

During this step you have to be very careful to take pictures with the least amount of distortion as possible – impossible to take a photo without at least a small amount of perspectival distortion so try focus only on the nearest parts of the toy when tracing.

Screen Shot 2014-11-15 at 4.45.58 PMphotos

**Later I moved these images with their tracing together to meet in the middle**

“Starting Over”! Finn the Human Slices 2.0

Things have not been going quite right so I decided that perhaps I should rescan our slices, this time with a ruler to make scaling easier and more accurate. I also rescanned the slices thinking that one of the issues I might be having is that the slices in most cases are very different on the top than the bottom- example pictures included. At this point I was still thinking that the best way to go about modelling this little guy was to trace all these pieces (top and bottom), space them out accordingly (1cm), and create surfaces from those curves.

See how different one side of the slice is from the other? (ex 1.0 vs 1.1)

Also, I’ve mirrored the “.1” images so that it would be accurate from its “top” view (“looking down,  through” the spray foam rather than looking directly at the slice).

Starting a completely new file to avoid any scaling mistakes from before!

1.0 vs 1.1Second Week Slices

**Look at all those layers :S**