Tag Archives: rhino

“Starting Over”! Finn the Human Slices 2.0

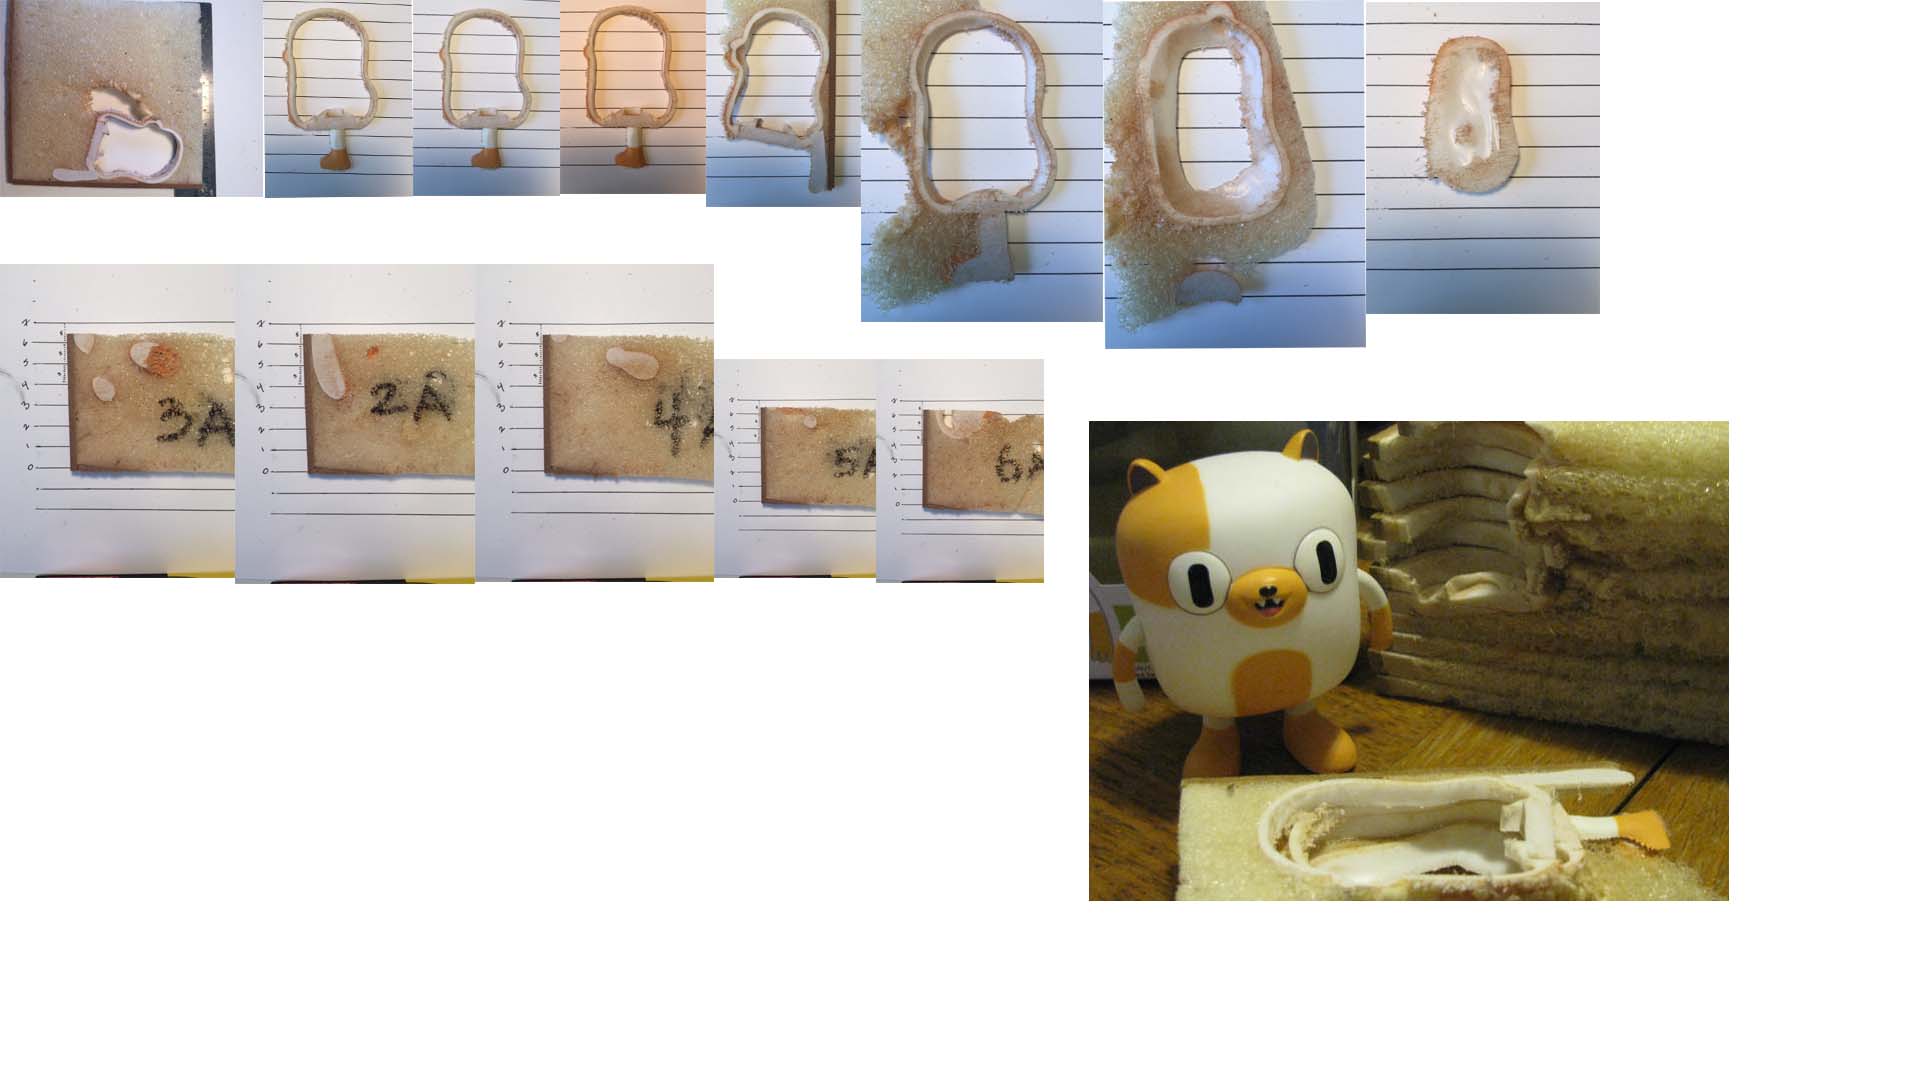
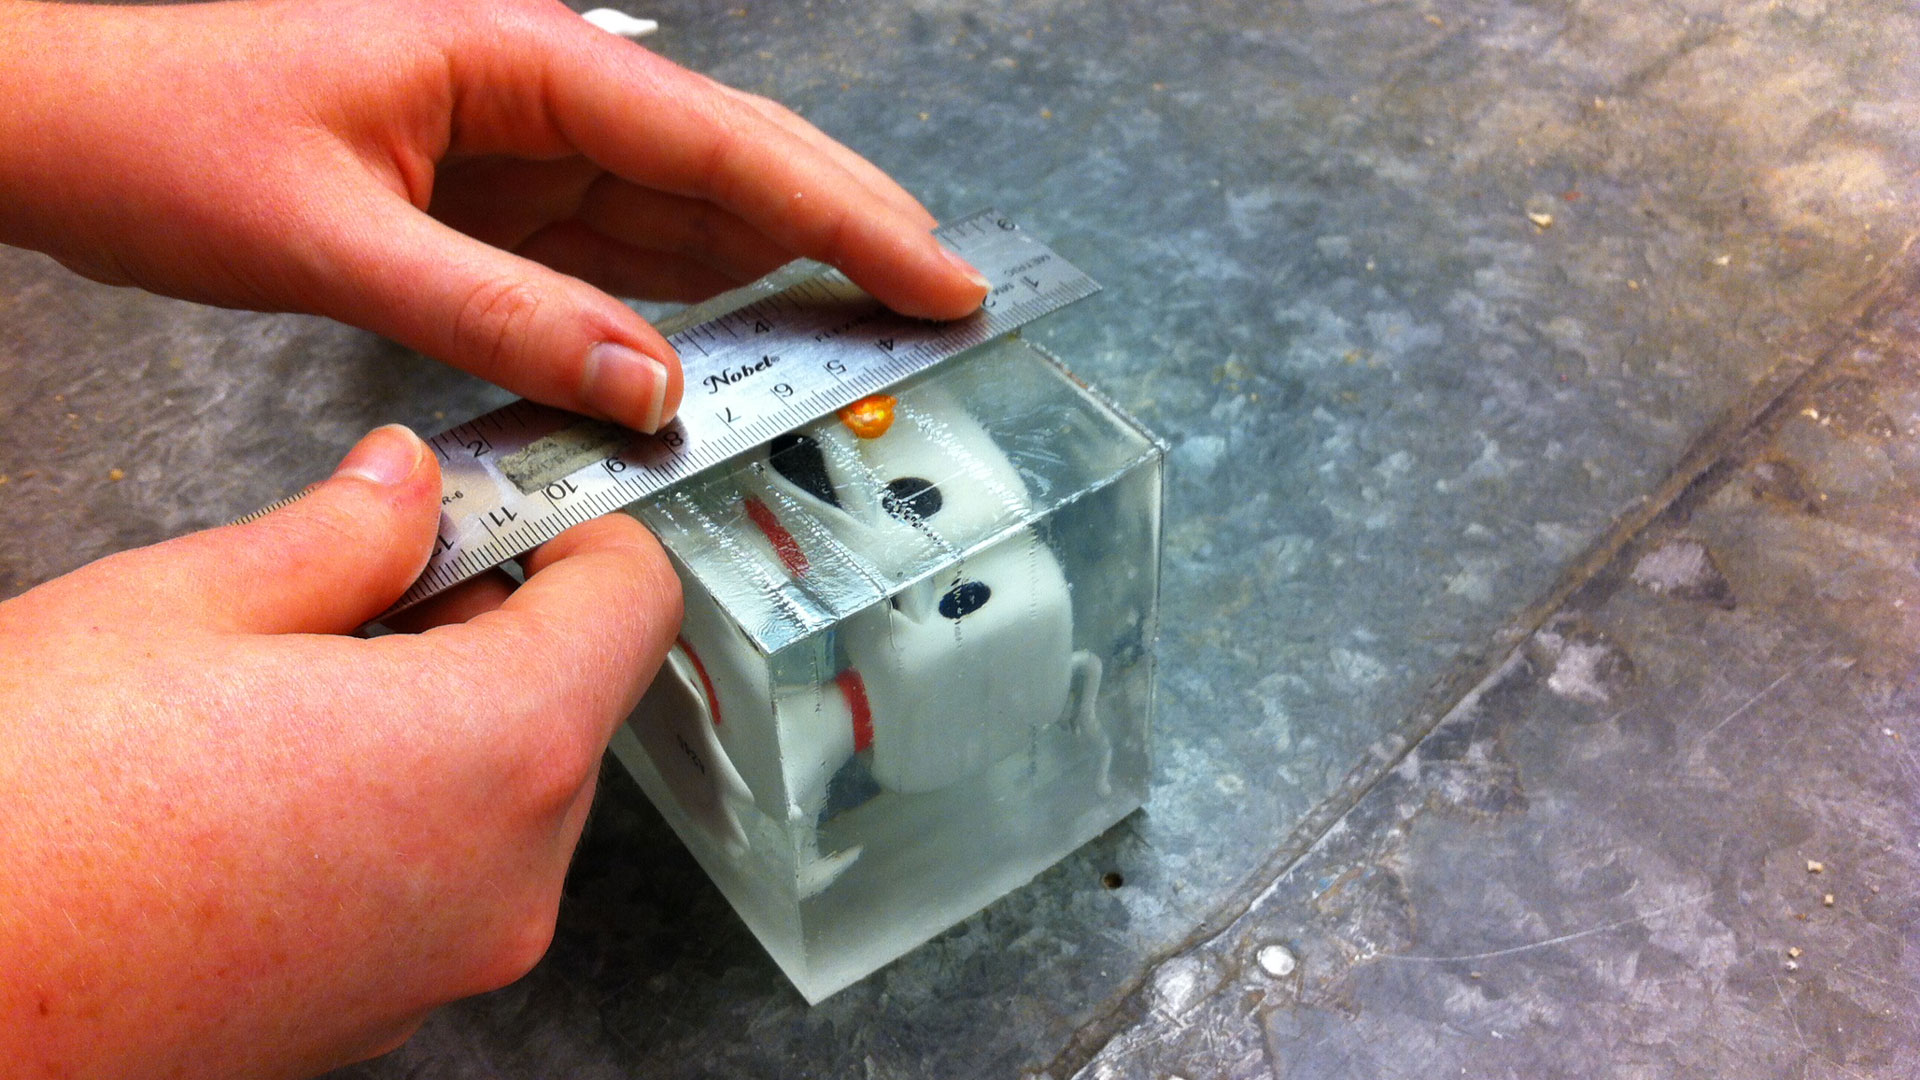
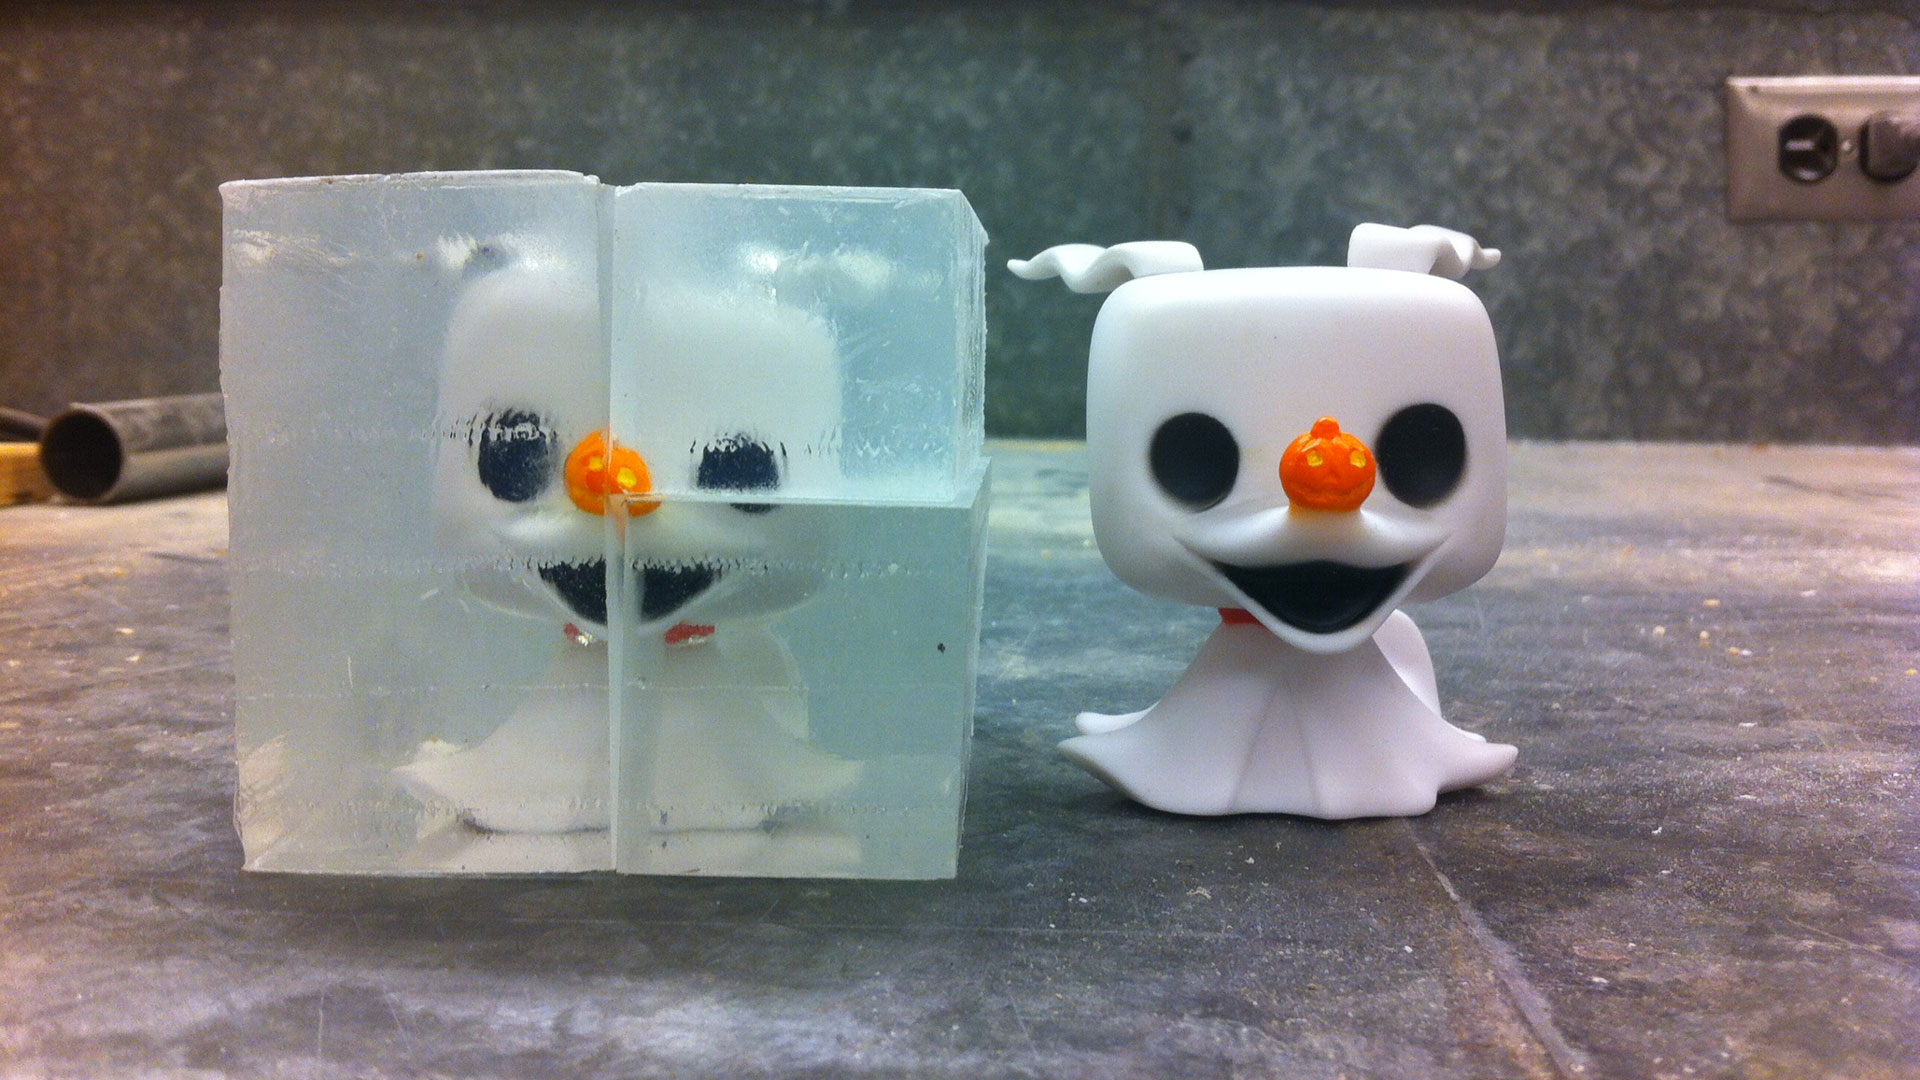
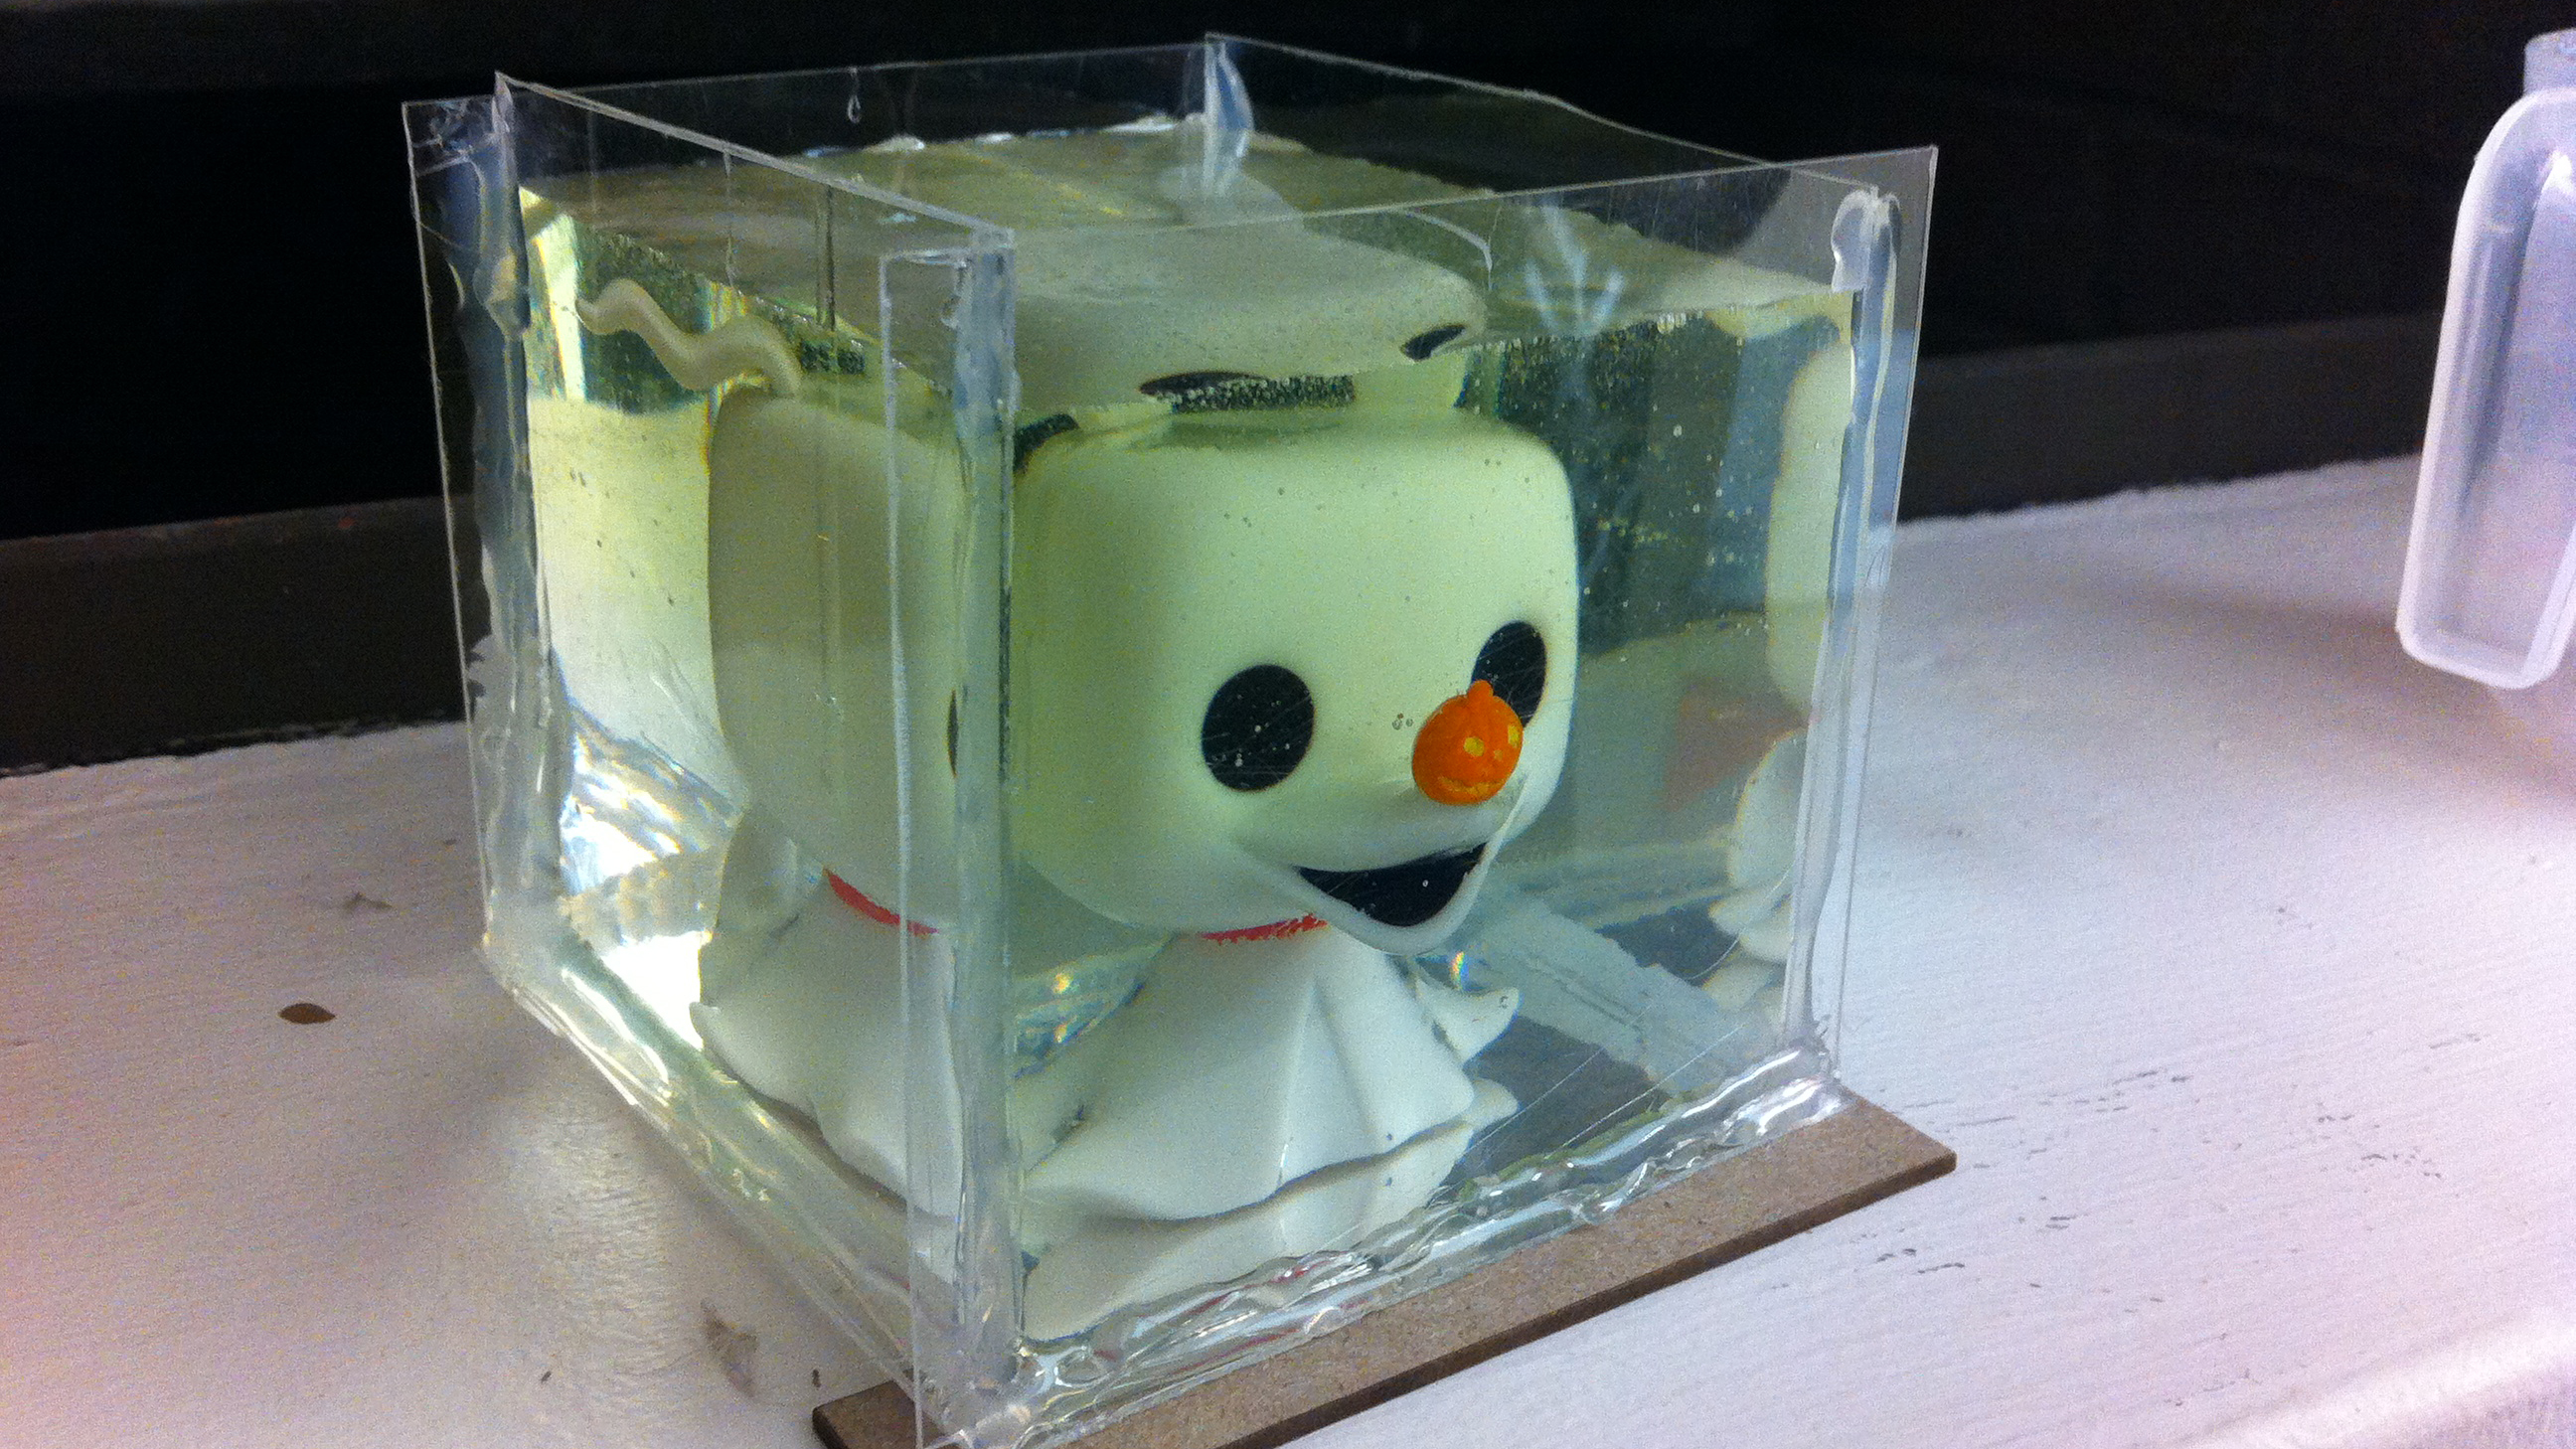
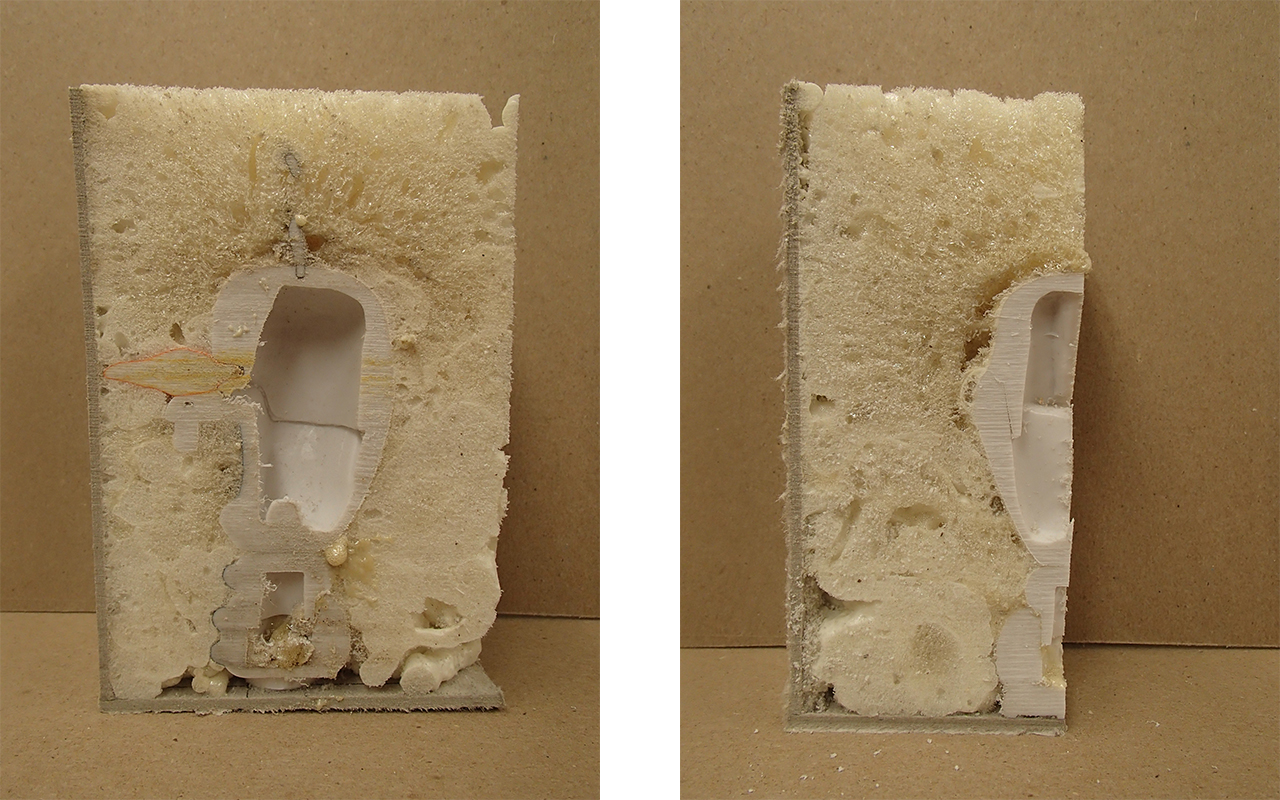
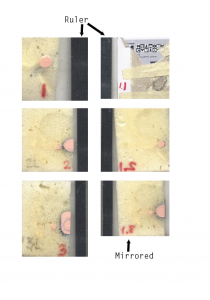
Things have not been going quite right so I decided that perhaps I should rescan our slices, this time with a ruler to make scaling easier and more accurate. I also rescanned the slices thinking that one of the issues I might be having is that the slices in most cases are very different on the top than the bottom- example pictures included. At this point I was still thinking that the best way to go about modelling this little guy was to trace all these pieces (top and bottom), space them out accordingly (1cm), and create surfaces from those curves.

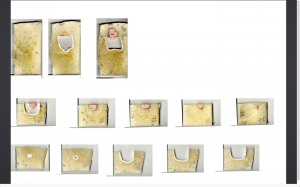
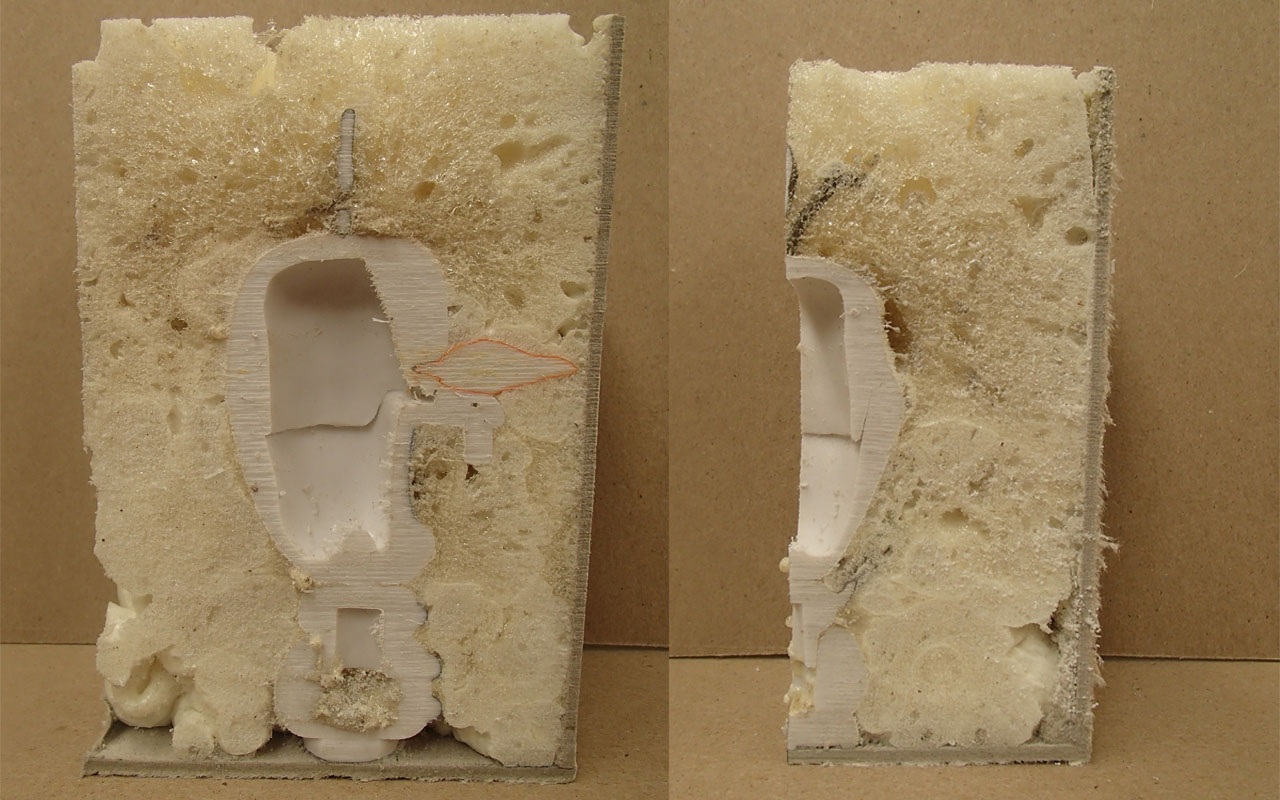
See how different one side of the slice is from the other? (ex 1.0 vs 1.1)

Also, I’ve mirrored the “.1” images so that it would be accurate from its “top” view (“looking down,  through” the spray foam rather than looking directly at the slice).

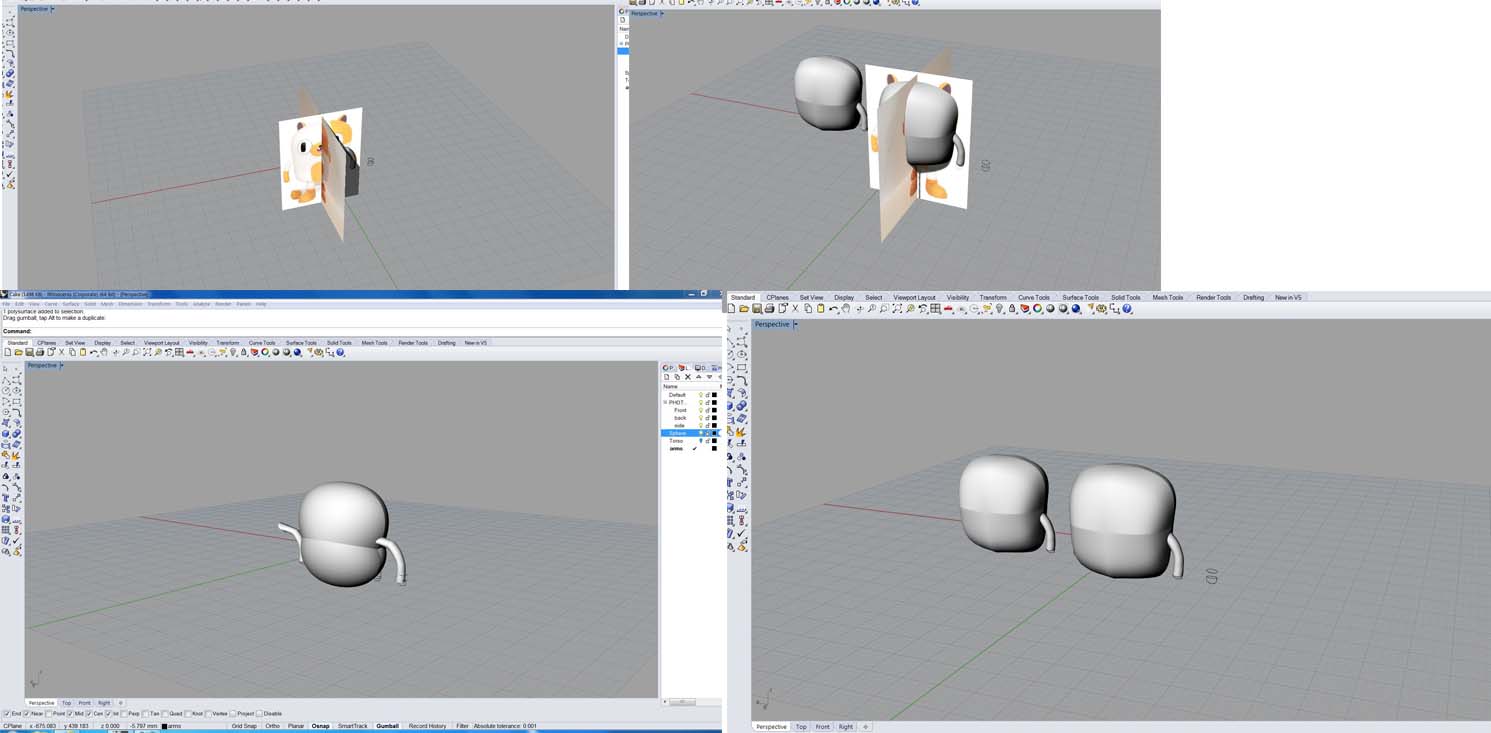
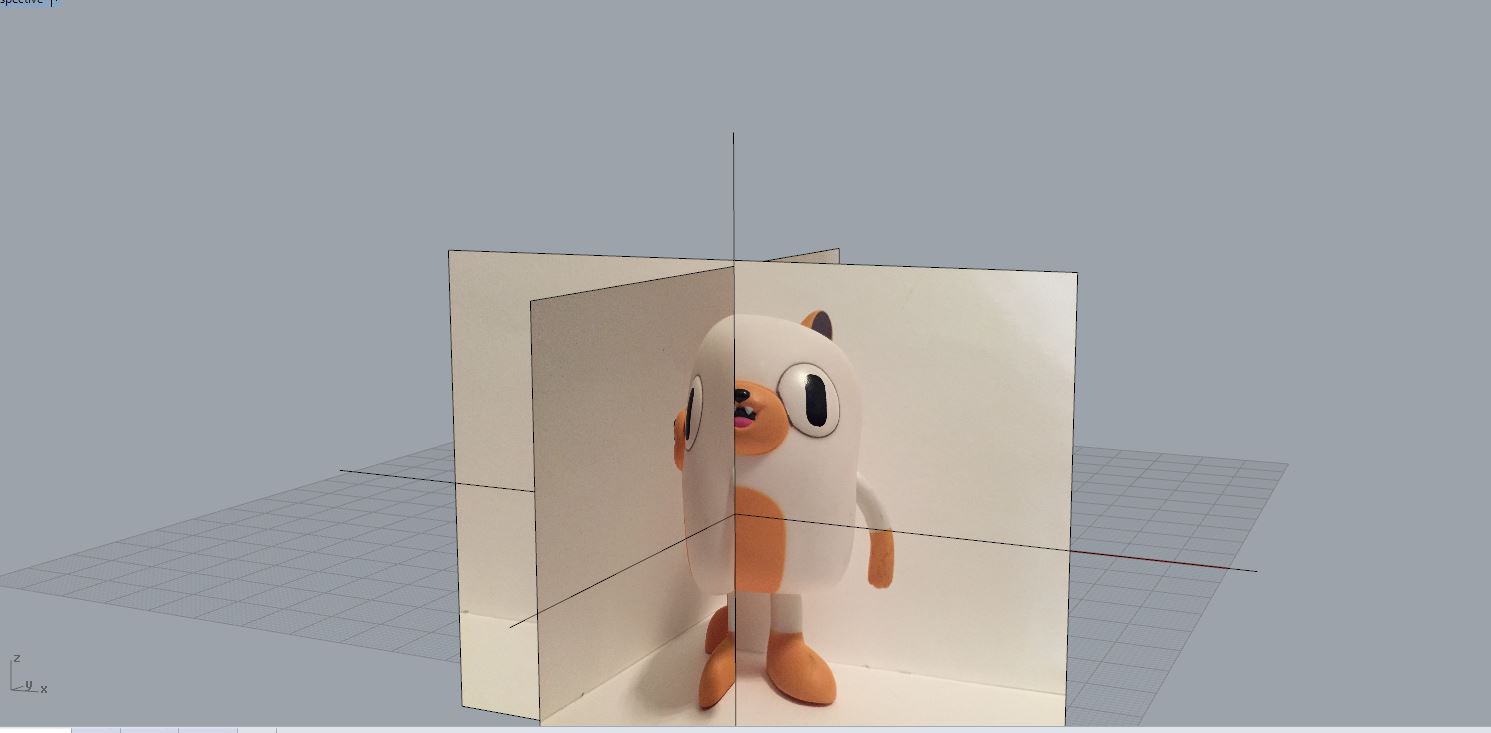
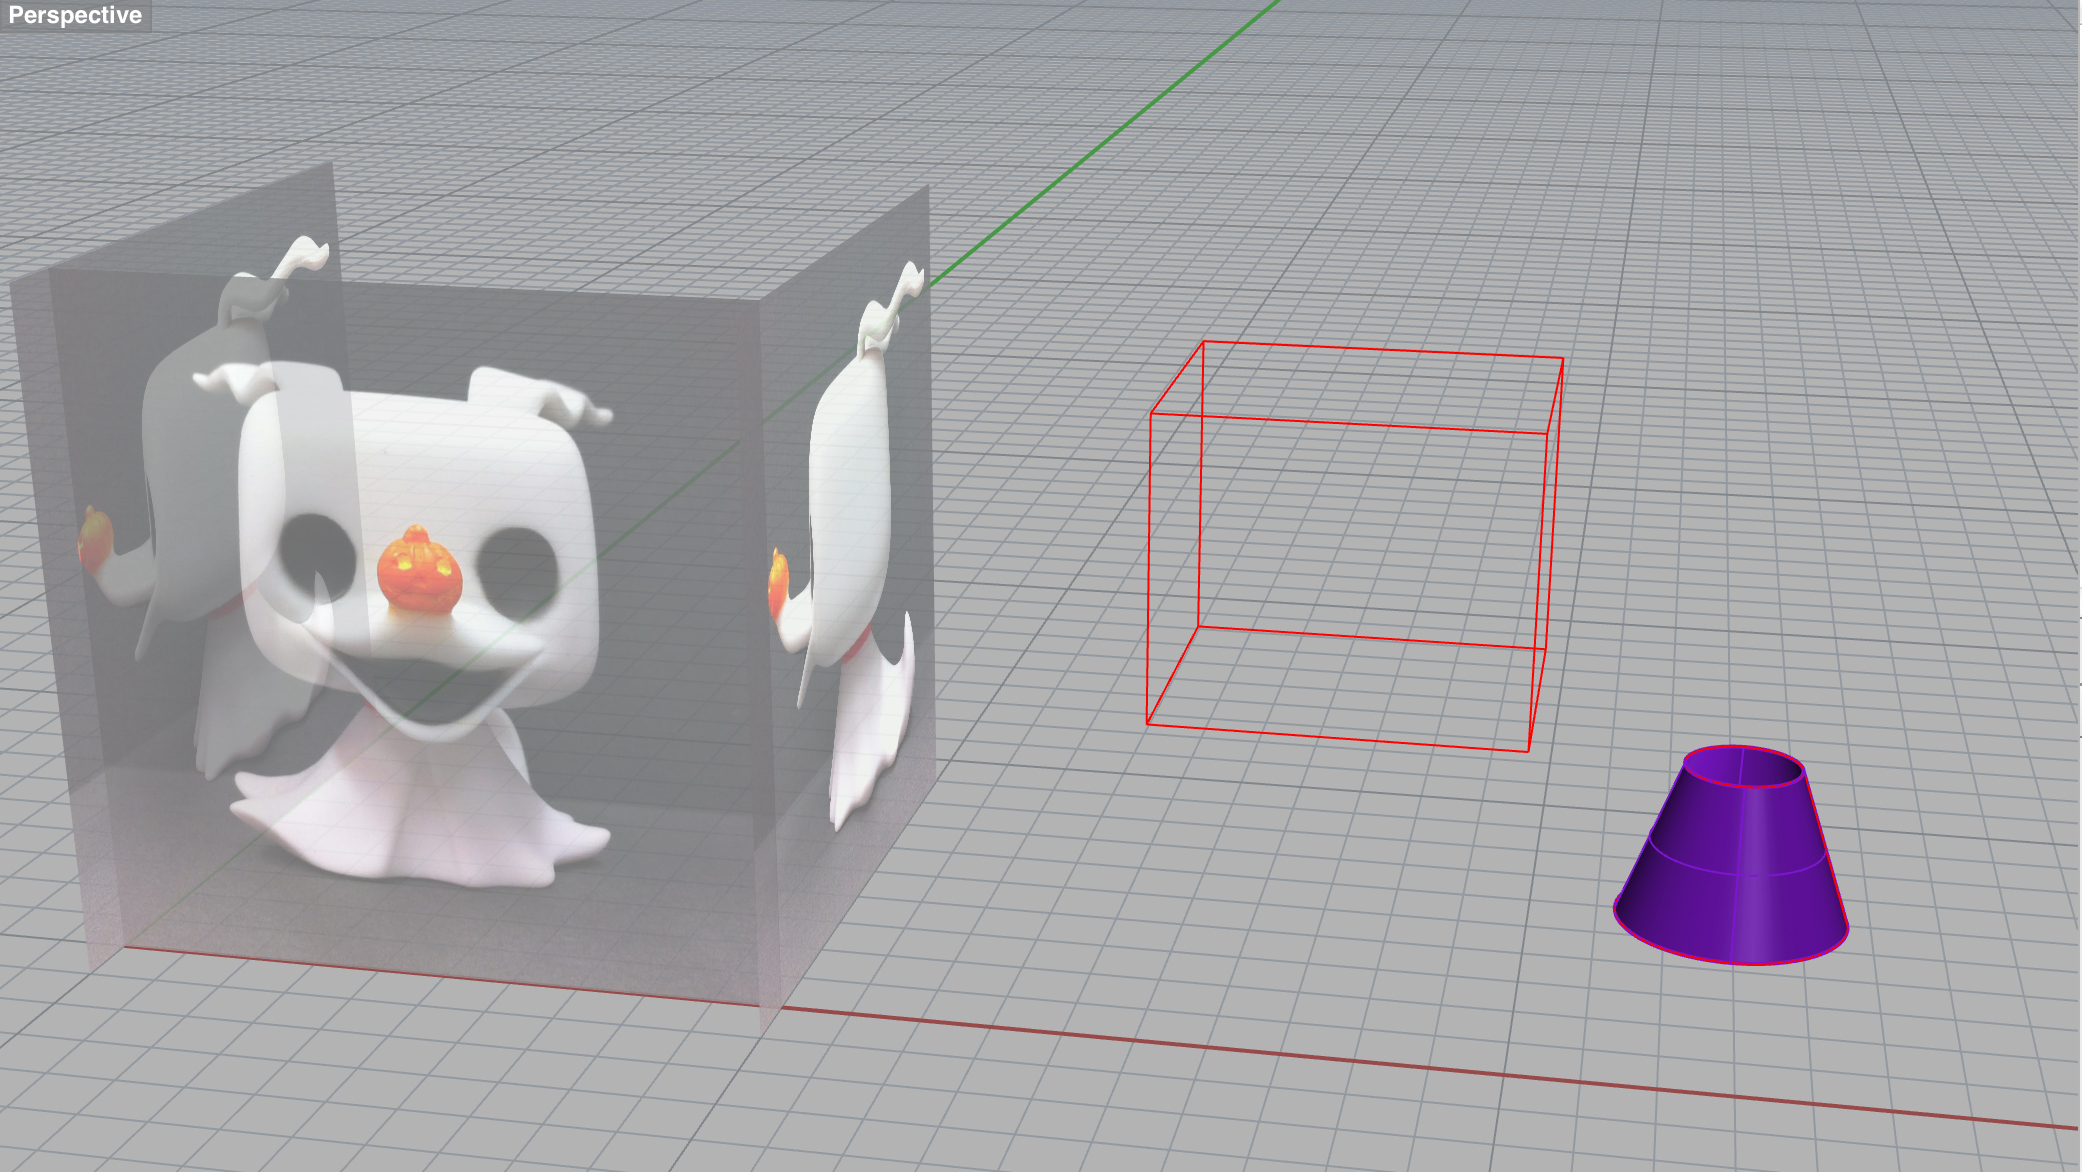
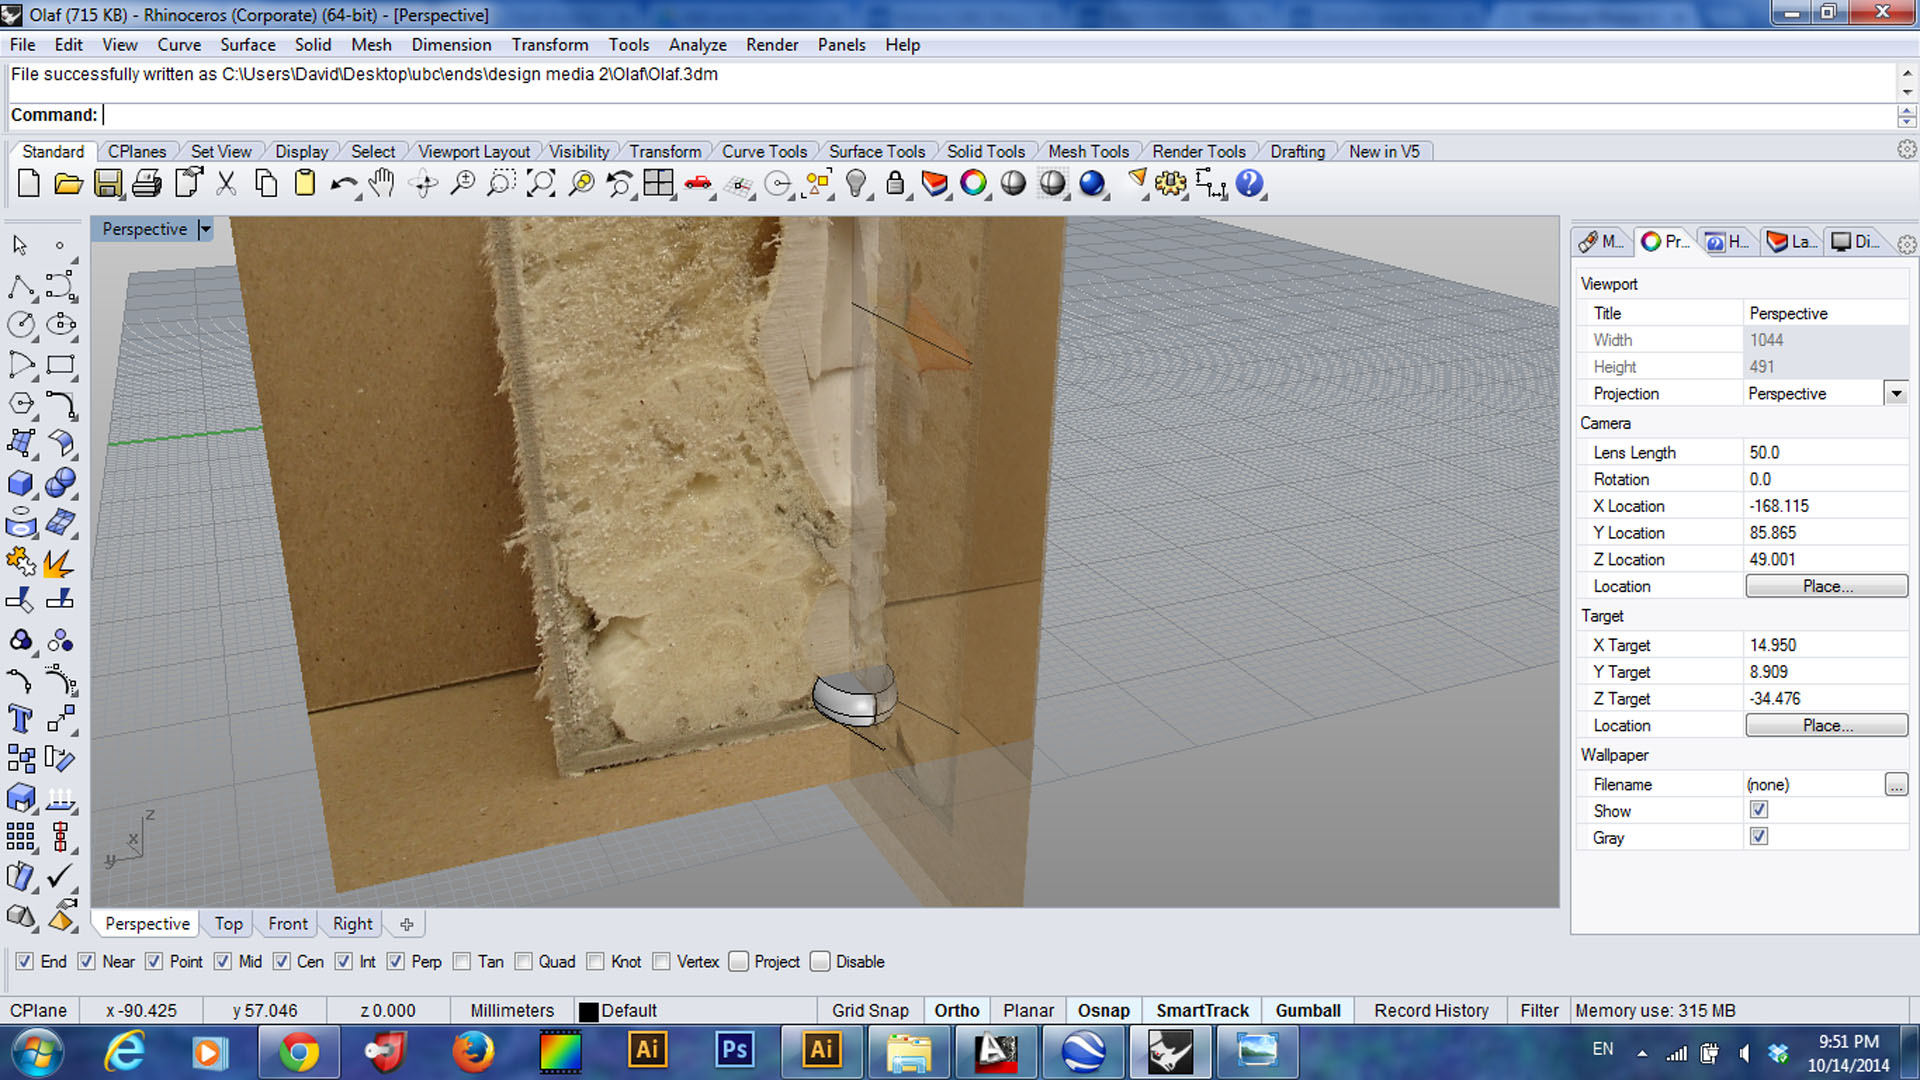
Starting a completely new file to avoid any scaling mistakes from before!

1.0 vs 1.1Second Week Slices

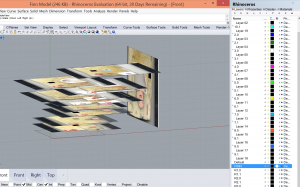
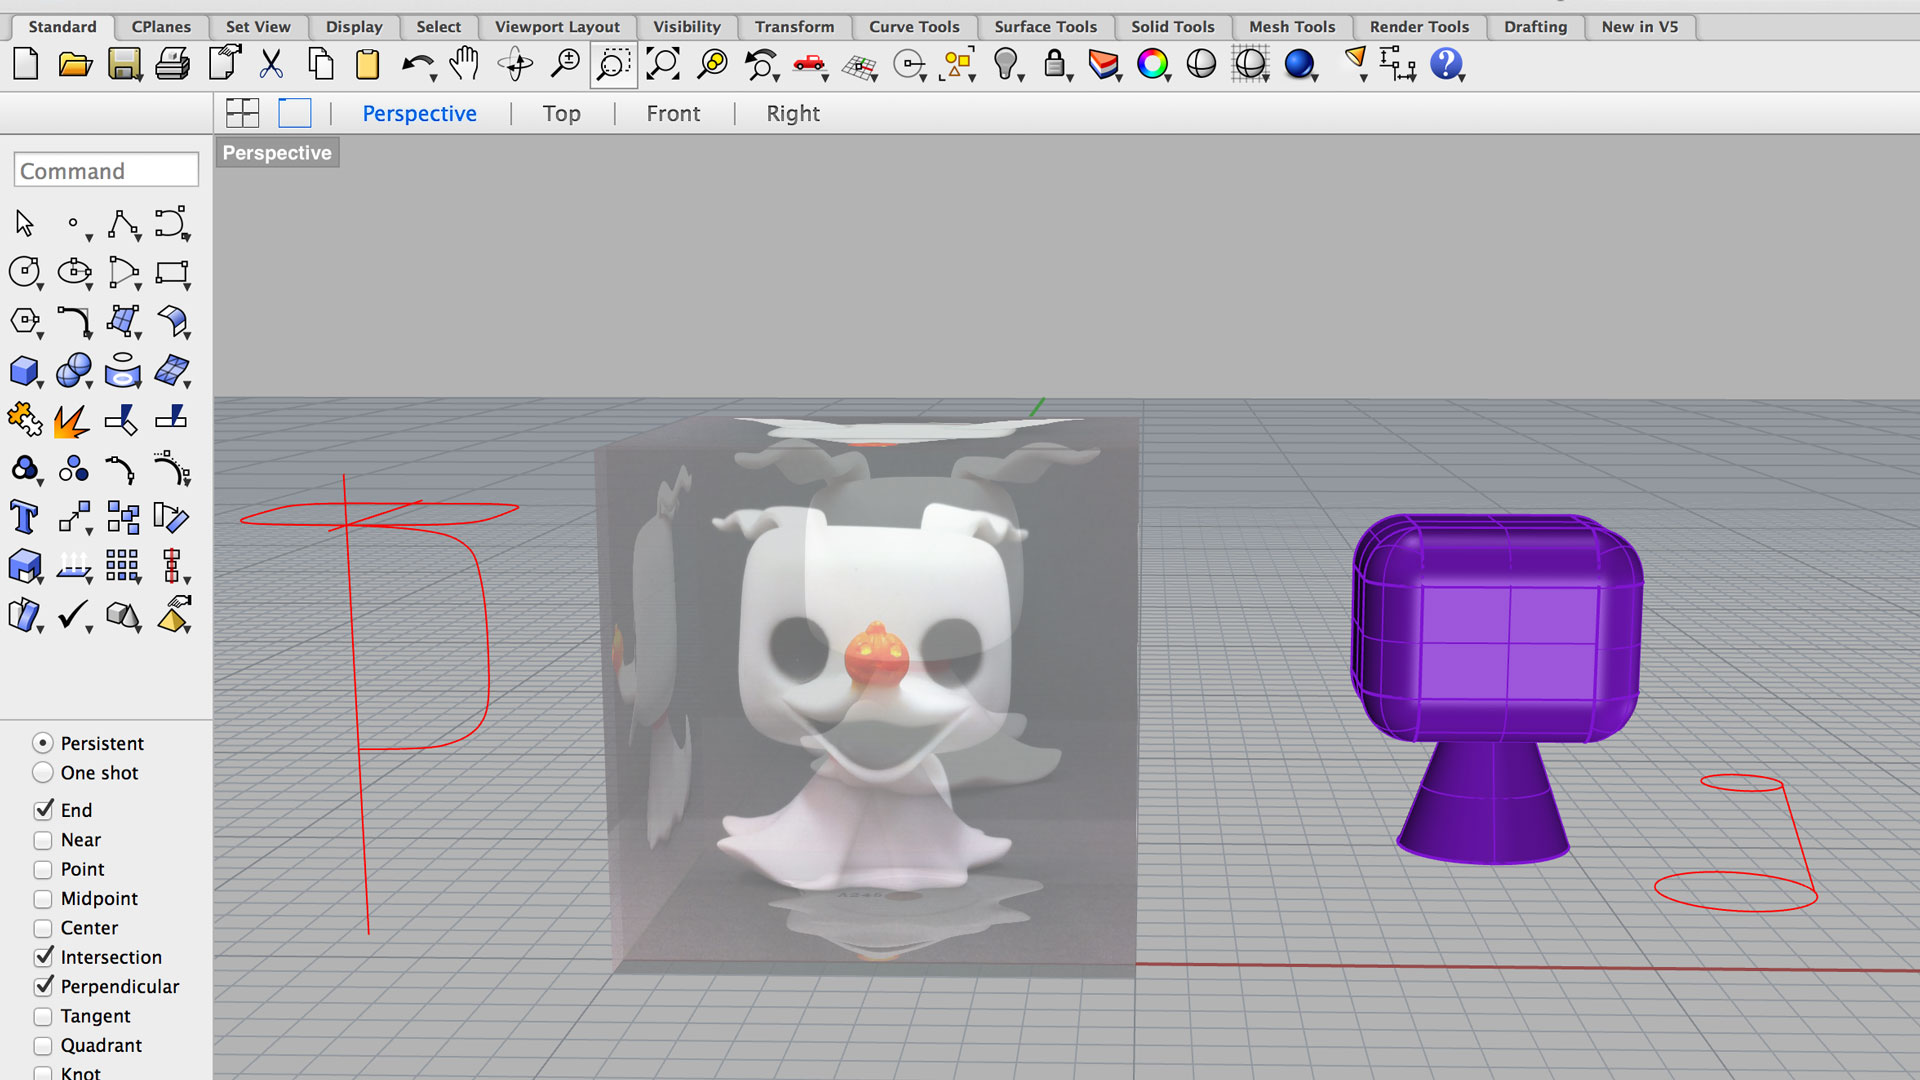
**Look at all those layers :S**


CAKE

We began by placing Cake in a box ans securing it with spray foam.

When we took Cake in a box into the shop we cut it down the center line, splitting the doll in two halves. From there we took vertical sections from one half and horizontal sections from the other, at 5 cm intervals always cutting to the right to make up for lost in the cut of the blade.

oct 21 - 3


After our sections were cut we lined them up and took photos to gain a detailed understanding of their dimensions.

At this point we began modeling and attempted several approaches to which included using volumes, the sections, and tracing of images.

first attempt at modeling

Oct 21 - 4


Some issues we have run into so far are, the non uniform shape of Cake, and once we achieved a shape we liked we had issues with surface connections or edges and making them look smooth, and continuous.  We attempted to correct this with control points and are now trying new ways of approaching the body as we were not satisfied with the accuracy of the results.

oct 21 - 2

Yay to starting again.

‘zero’ vinyl toy cut

screenshot-oct-15

After using PictureFrame to place scaled images of the toy into Rhino, I modelled the basic head shape and used FilletEdge to smooth it out. To try and model it more accurately, I traced some lines as frames to be able to use the Rail command to generate the shape later (the red lines on the left).

Tonight, my partner and I were able to cut our cast toy into 3 pieces. We were careful to measure where to cut vertically along the middle, and also horizontally through one eye. The acrylic box around the resin was able to peel off and I really like the way the resin pieces turned out. They will be a good guide for measurement of the length of the mouth, the width of the neck, and the width of the base. The next step is to take images of the cuts into Rhino for further reference material.

measuring cut-pieces

Chopping Up Finn

My teammate and I started by gluing Finn to the bottom of the box to prevent him from moving around and we used spray foam directly in the box. In order to reduce misshaping the thin cardboard box we wrapped it in masking tape and marked the centre line for cutting on the exterior before spray foaming (ALSO we left the top open to allow for the inevitable  foam expansion).

We were fairly successful at cutting the toy down the centre and from there we decided on which side would be horizontally or vertically cut based on the arm angle (the one piece which is asymmetrical). Cutting our slices 1 cm each was a decision we made to get enough cuts to get detail but not too many cuts which would lead to too much material loss.

Now we have SCANNED them to reduce scale or angle variations that would come from using a camera (after the fact we are rescanning with a ruler to insure the correct scale).

Now to Rhino tracing!

Screen Shot 2014-10-15 at 11.58.01 AM

‘zero’ vinyl toy project start

post oct 15

My partner and I cast our toy in resin in a container we made of acrylic. This involved ensuring the container was watertight, then pouring the resin in layers and letting each layer dry for 20-40 mins. We have not yet sliced the block, but took pictures of the toy for consistent front, sides, top, and bottom views in order to begin modelling. We then scaled these images to be the correct size.

After bringing the scaled image into Rhino, I made some rough frames of the general shapes based on the images’ dimensions. For the frame of the body, I drew two circles based on the collar and base dimensions, then separated them based on the height measured from the images. I then used the loft command to make the cone shape.

oct 15 post

olaf modelling 1

This week my teammate and I sectioned our vinyl toy trying to be selective about where we cut to get the information we needed. We proceeded by documenting the pieces so that they could be placed in rhino for modelling.

olaf_cuts

To produce part of his body, I traced the outlines from the pictures to get the vertical shape and mirrored them to have four of the sides. I connected the top and bottom using ellipses and ran a curve network command to model the lower torso. I repeated these steps to produce the upper part of the torso and then joined both volumes.

olaf_model_1

Beginning To Model Olaf

This previous week my partner and I went about building a box, spraying the foam and letting it harden, then bringing it to the woodshop to cut. After cutting it, we found that some of our foam had gotten inside the actual toy and thus hadn’t hardened and started oozing out, so that was weird. After talking with Andy, we decided to do less cuts for now to see what we can get from that information, and might do more later if we find we need more information about a piece. I then brought my images into Rhino and scaled them. So far, I have only been able to build the foot. I did this using three images, the two sections plus one of the foot straight on. I then used those as references to create a series of ellipses which I lofted and closed. The hardest part was lining up all of the images correctly when they are all oriented a different way and are all semi-transparent making it hard to see what’s what. olaf1 olaf2 foot