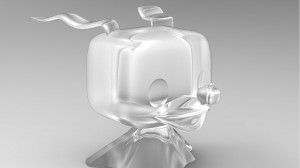
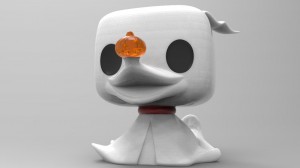
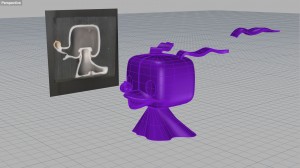
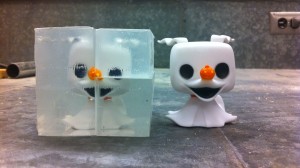
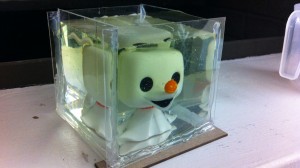
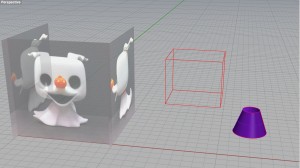
Before continuing to model the body, I had fun trying out Keyshot!
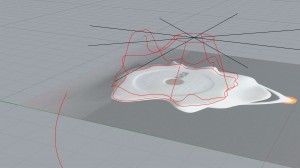
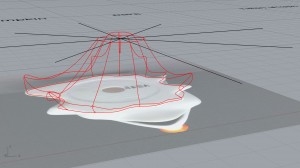
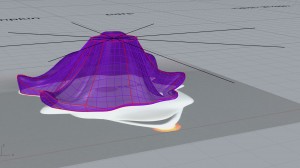
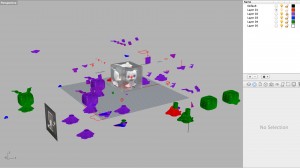
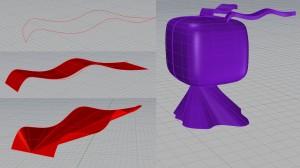
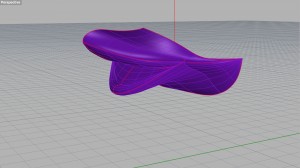
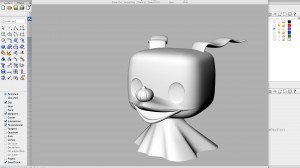
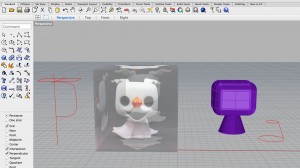
In order to model Zero’s body, I used the photographs and one scan to create reference lines, and tried many different commands such as Loft, Sweep2, Rebuild command, and NetworkSrf to connect the lines into a surface. NetworkSrf produced the best results, but needed more reference lines than I had expected.
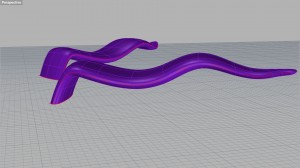
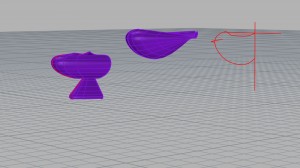
Connecting the various parts presented a bit of a challenge: the mouth in particular had too many disconnected edges, and I ended up having to revisit it and come up with other solutions. Once the entire toy was assembled (ears, head, mouth, nose, body), I began creating renderings in Keyshot. After playing around with different materials, I went back to the Rhino model to separate the model into layers according to colours. I then brought it back to Keyshot and used the plastic materials as colouring, as well as adding a backdrop image found at http://f.fwallpapers.com/images/nightmare-christmas.png.
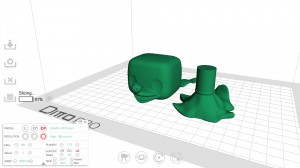
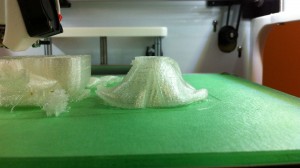
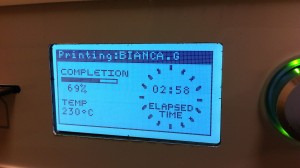
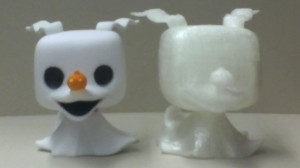
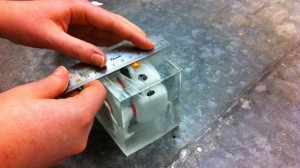
The next part was the actual 3D printing: I quickly discovered there were a few more steps before bringing my Rhino model into Tinkerine, such as getting rid of naked edges, creating meshes, and exporting each piece into an stl file. I decided to print the body, head, and ears separately in an attempt to use less support material to speed up the process, and also to allow the head to be able to turn. A problem that came up while printing was that the PLA material did not stick to the base surface very well, so the bottom surfaces ended up with gaps where the material was pulled away by the printer head. Overall, the 3D print result worked, although with less detailed precision than I had prepared for.
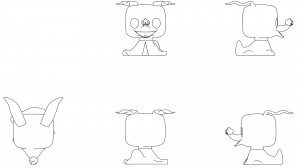
To finish up the project, I used the Make2D command in Rhino to generate line drawings of the figure from different views. To improve the drawings, I then added and deleted specific lines.

