Last Lab!

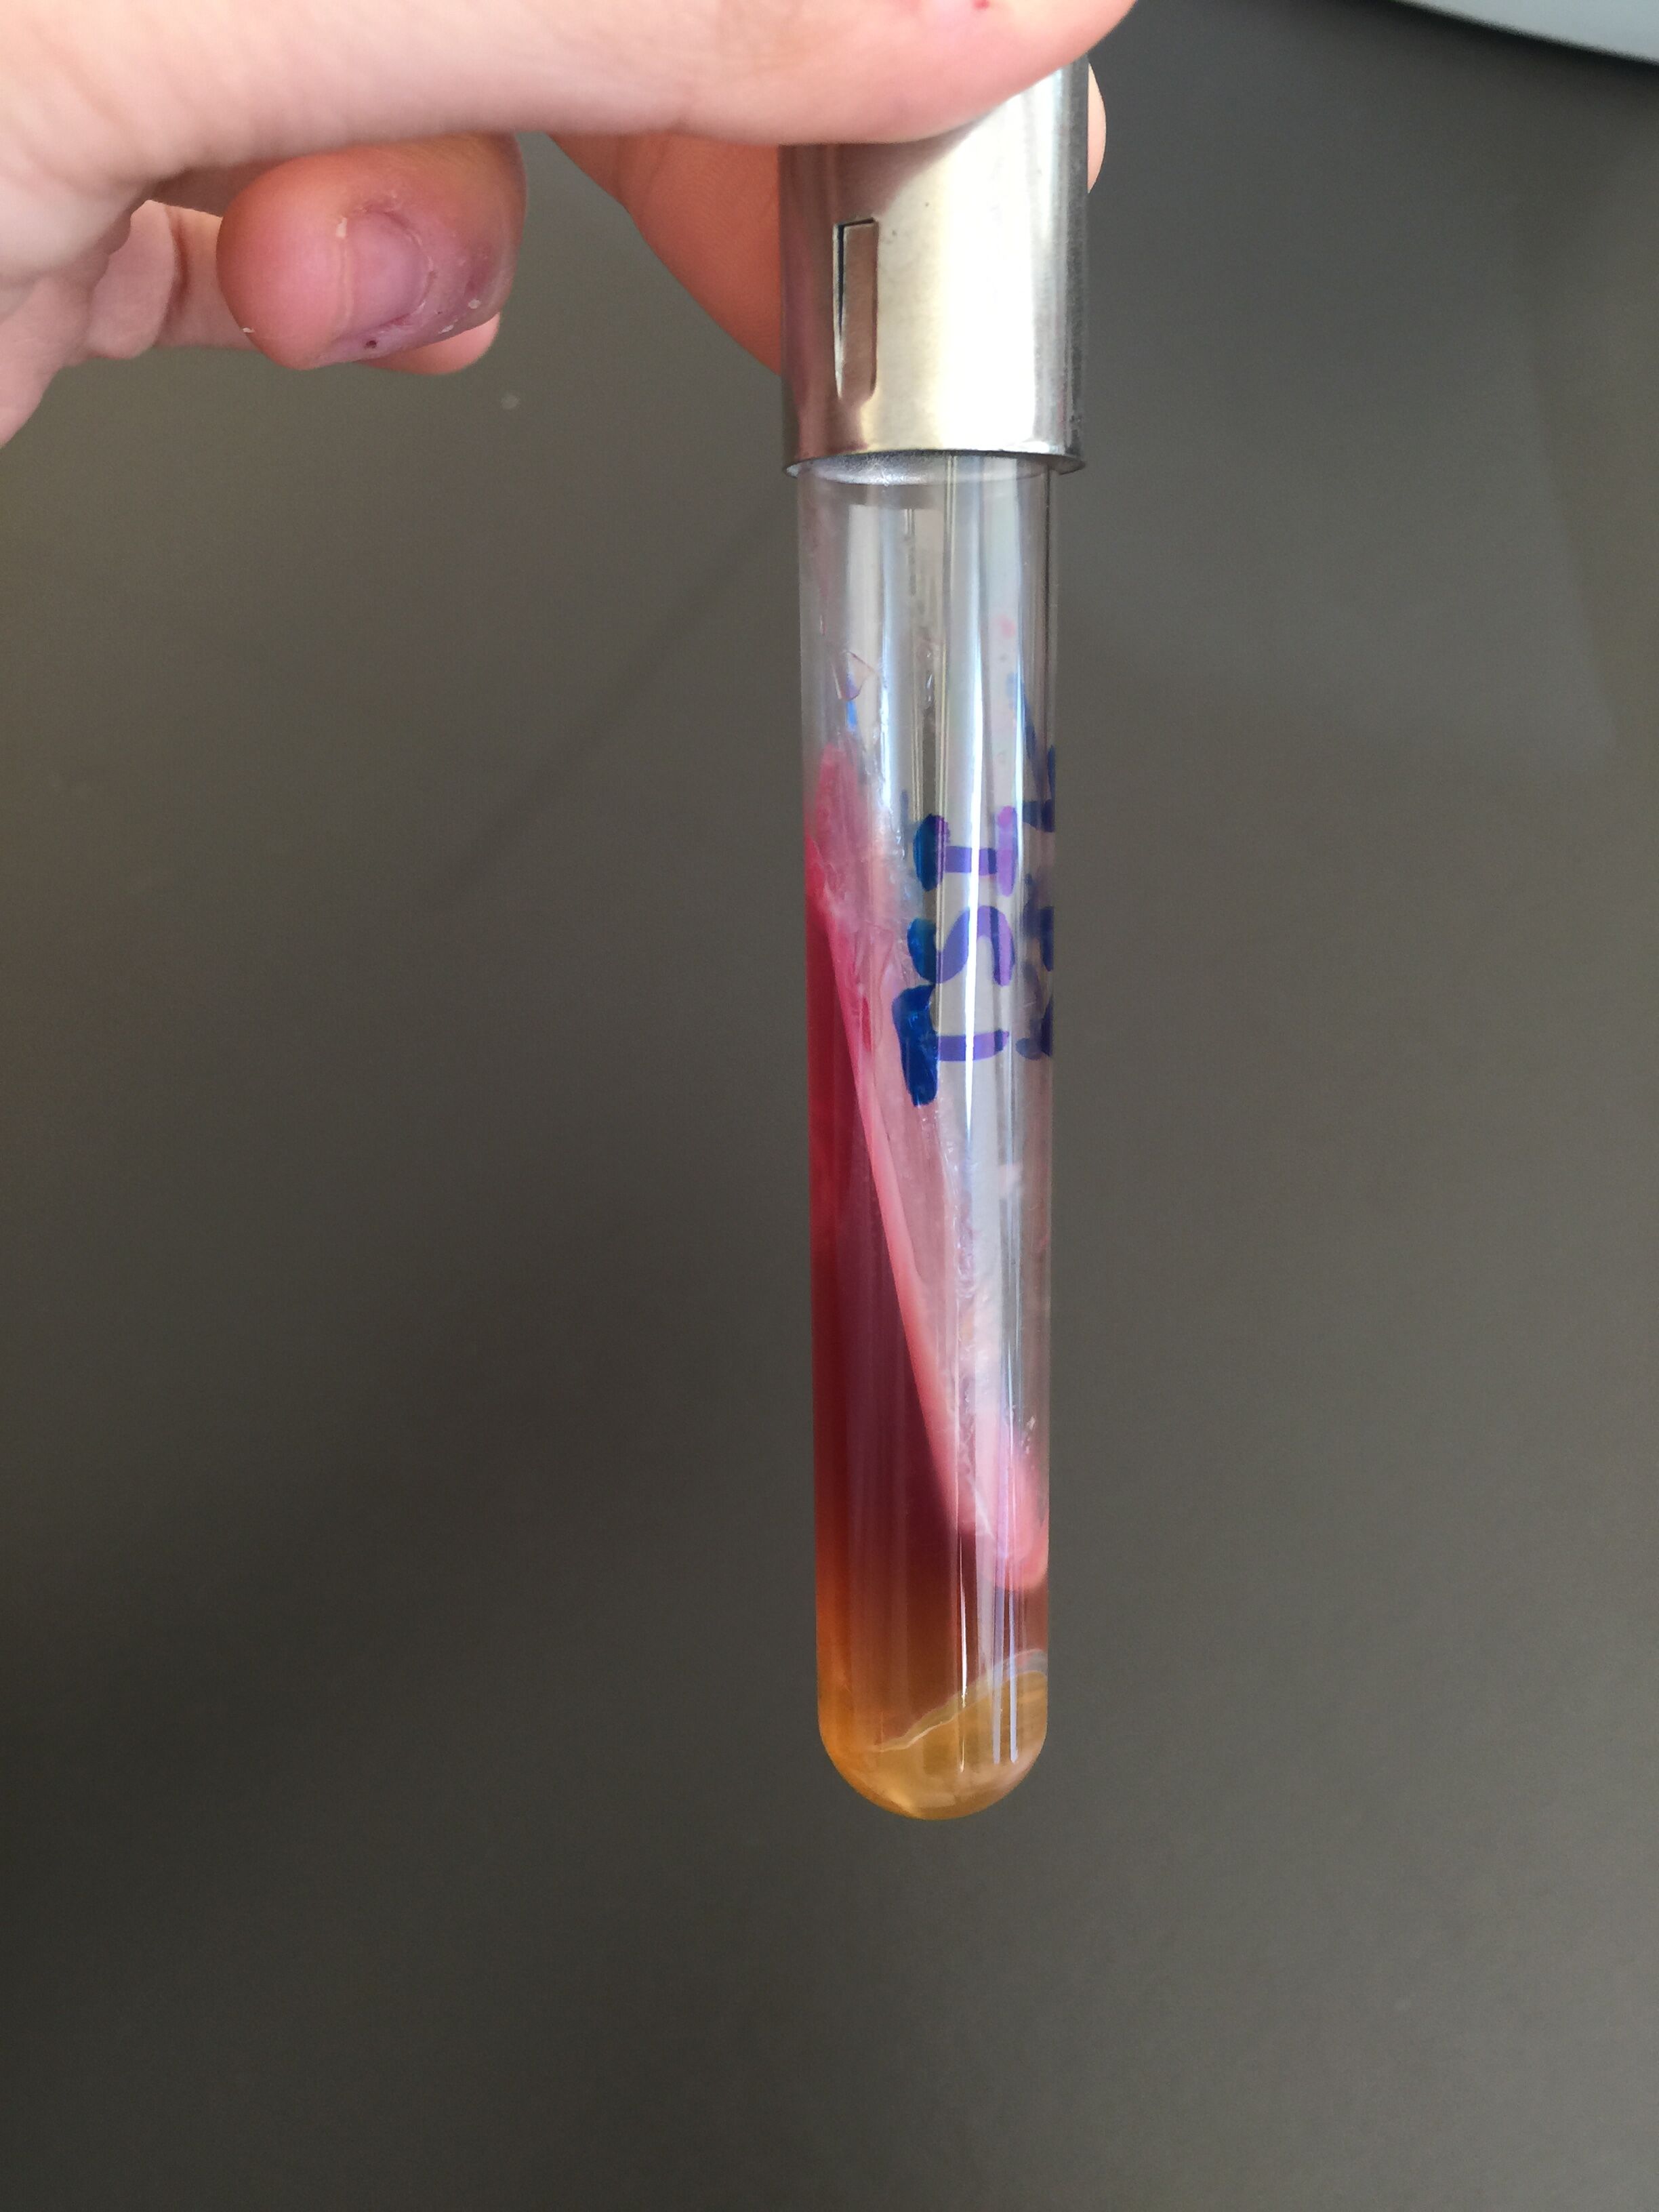
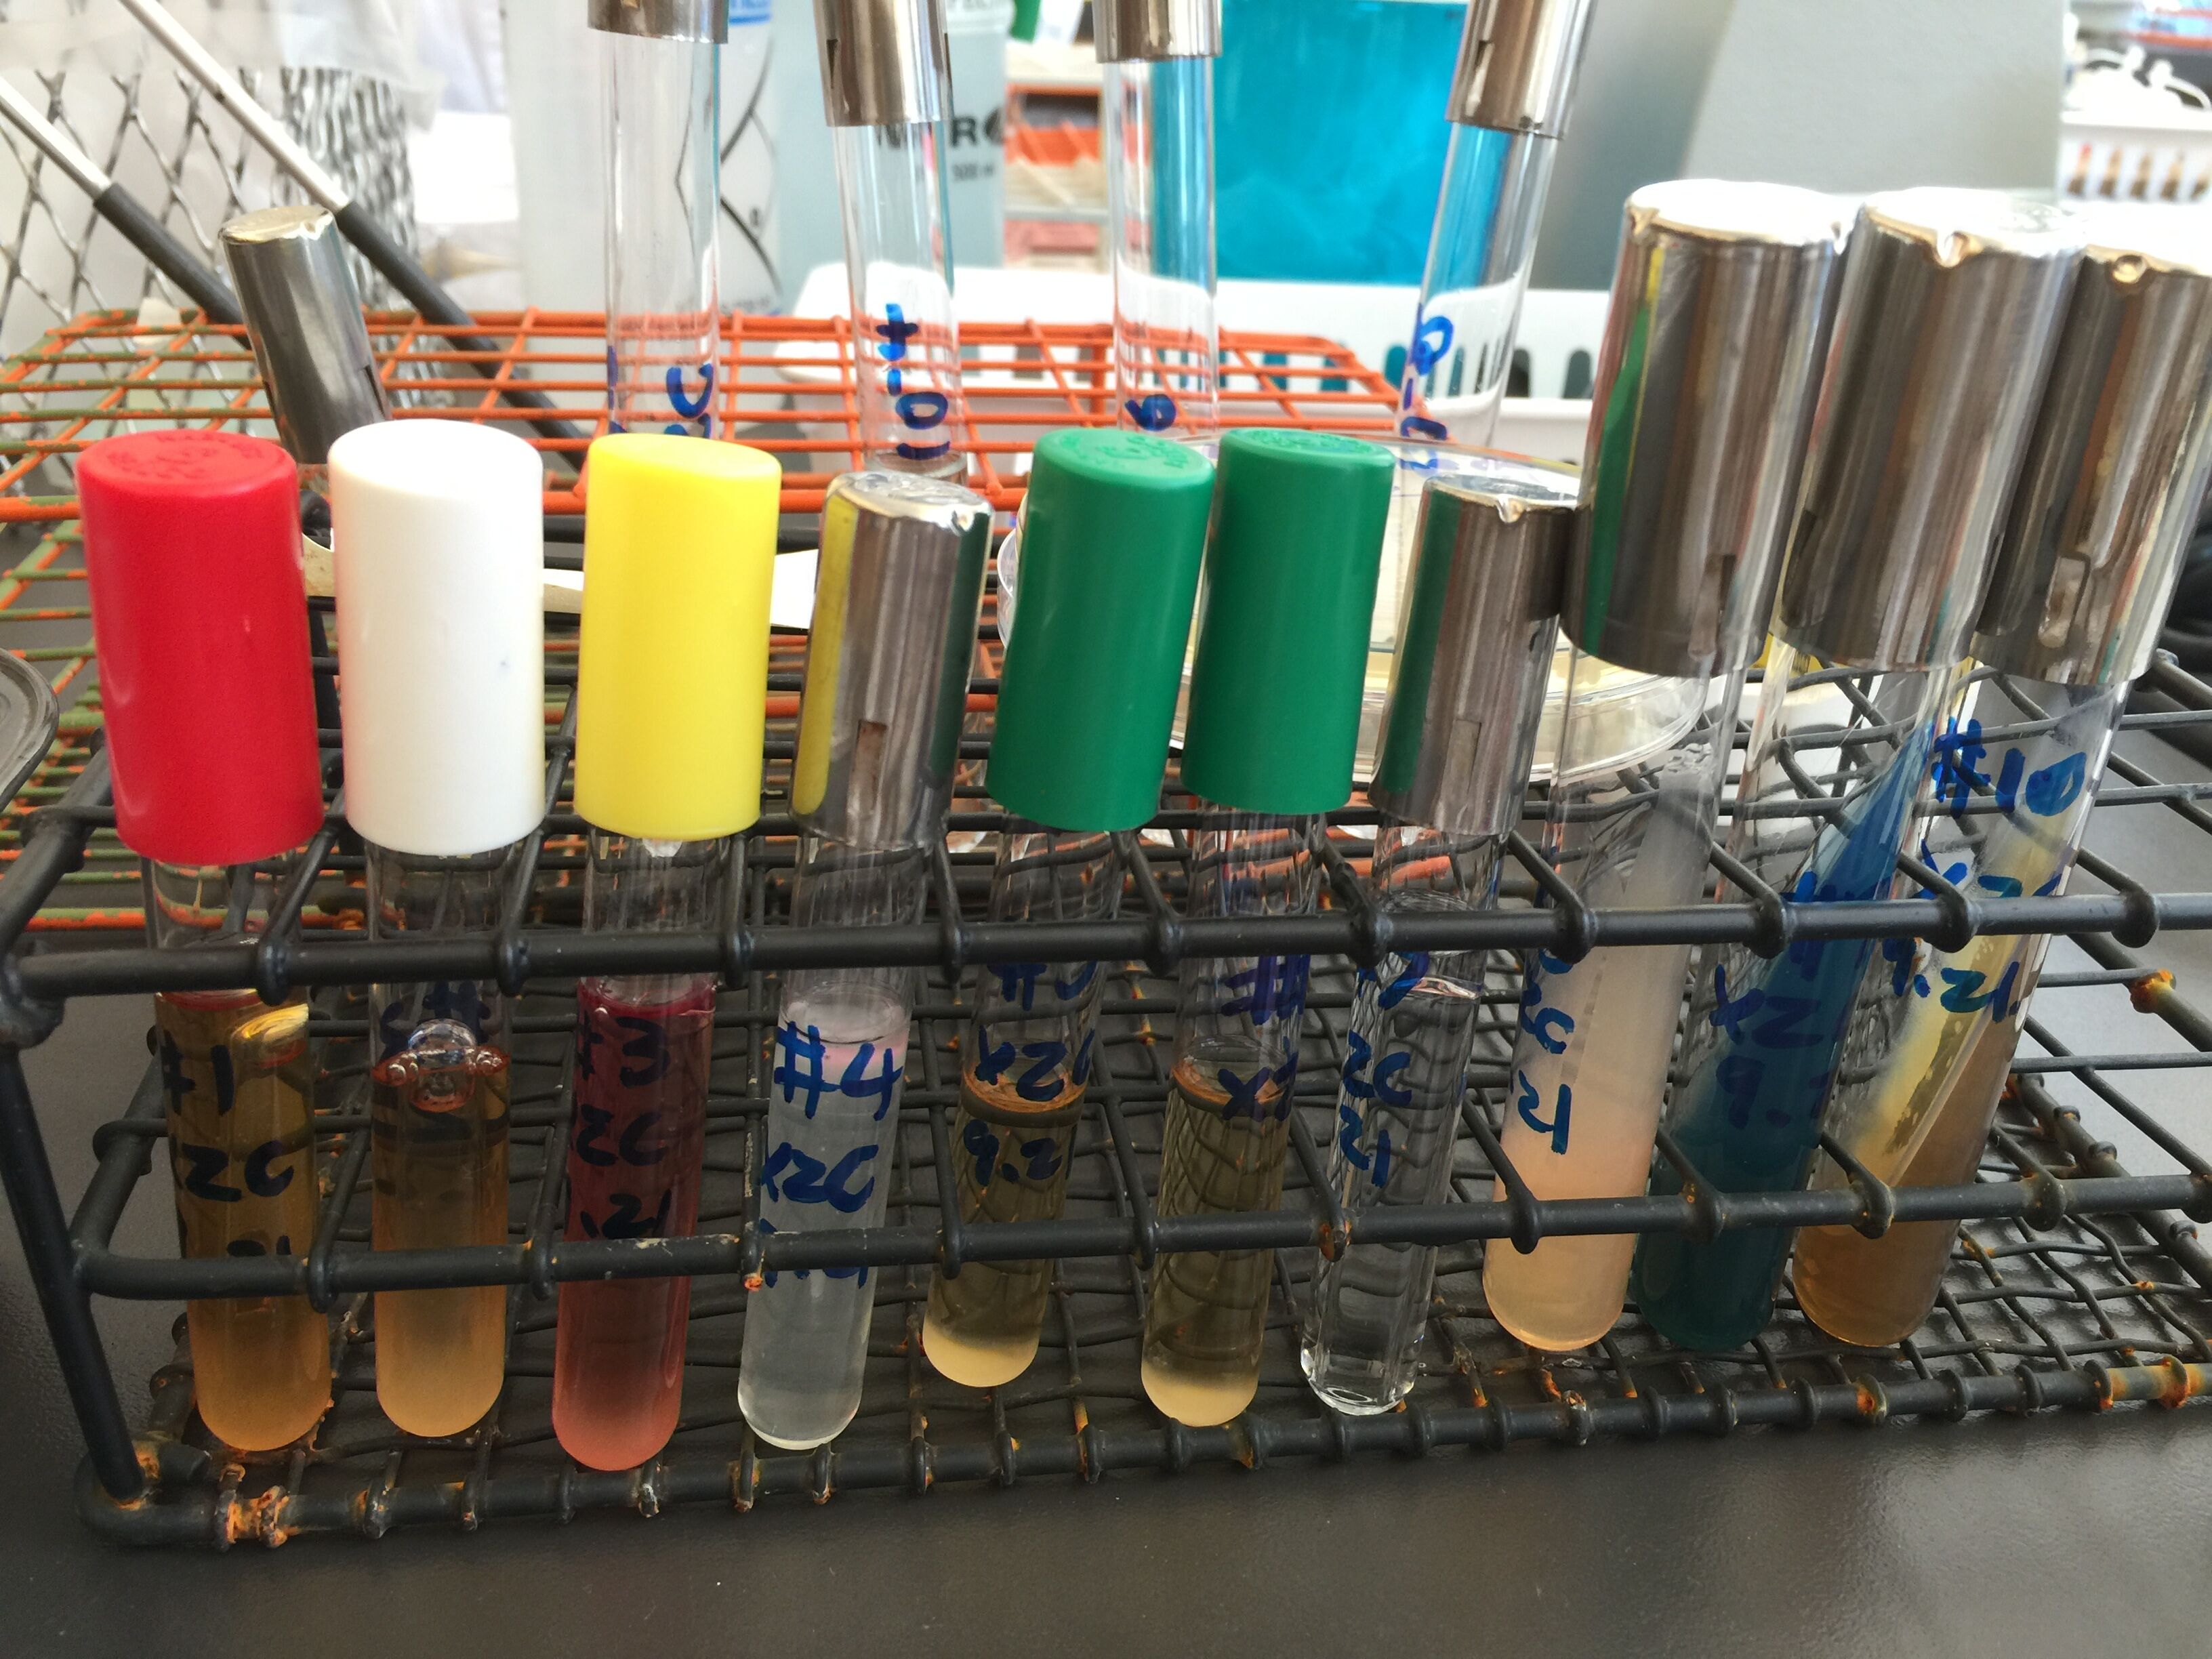
Today is the last microbiology lab! In last week’s lab we incubated the bacteria isolated from TSI slant on API20E incubation tray for one week.

QQ图片20151109205009 QQ图片20151109204958

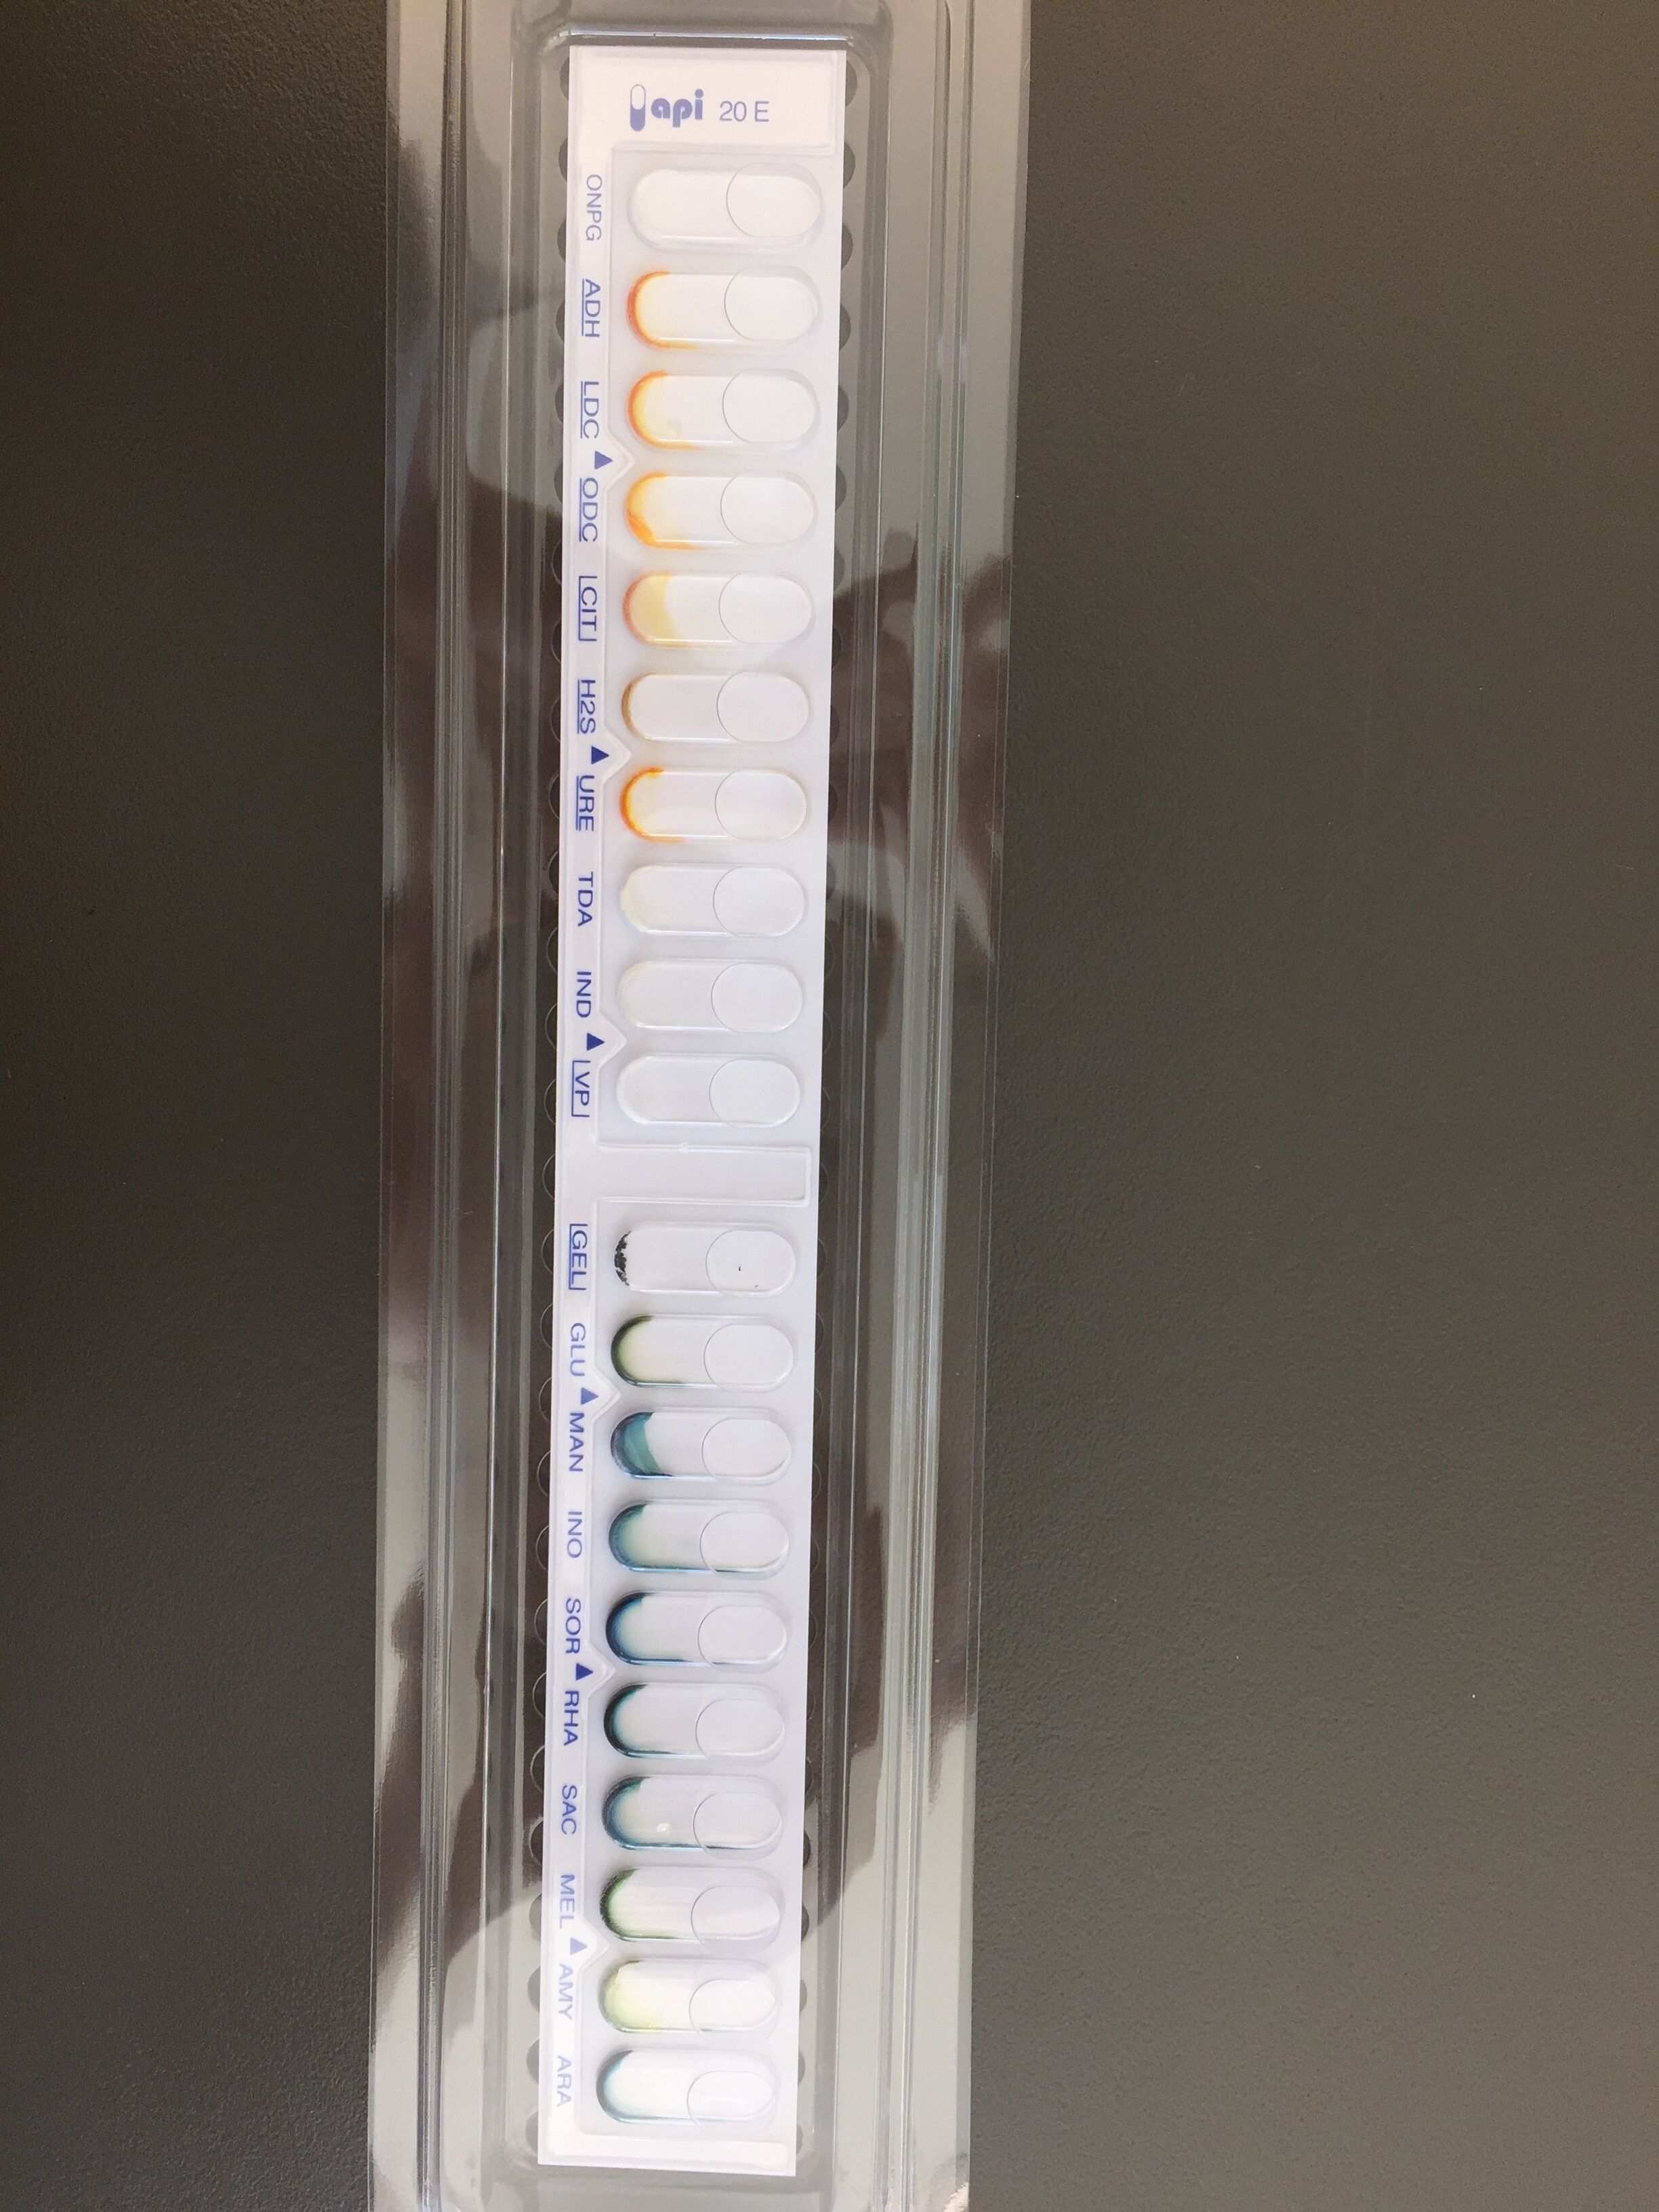
This week, we got back the API20E incubation tray and then added some reagents to observe the test results. After the observation of each test chamber, we recorded the test result as positive or negative. Then we used the API web to analysis our results. Noticed the colors of some API solutions actually changed after adding reagents. For example, the color of VP changed to red from colorless. In GLUcose, once reagent was added, it turned red immediately. For most of the results, we can confidently record it as positive or negative. However, for the test chamber MANnitol, there was a combination of color of both the positive and negative results and we didn’t have H2O2 solution to do a further test. Therefore, we recorded it with a question mark.

IMG_1872 IMG_1879 IMG_1878

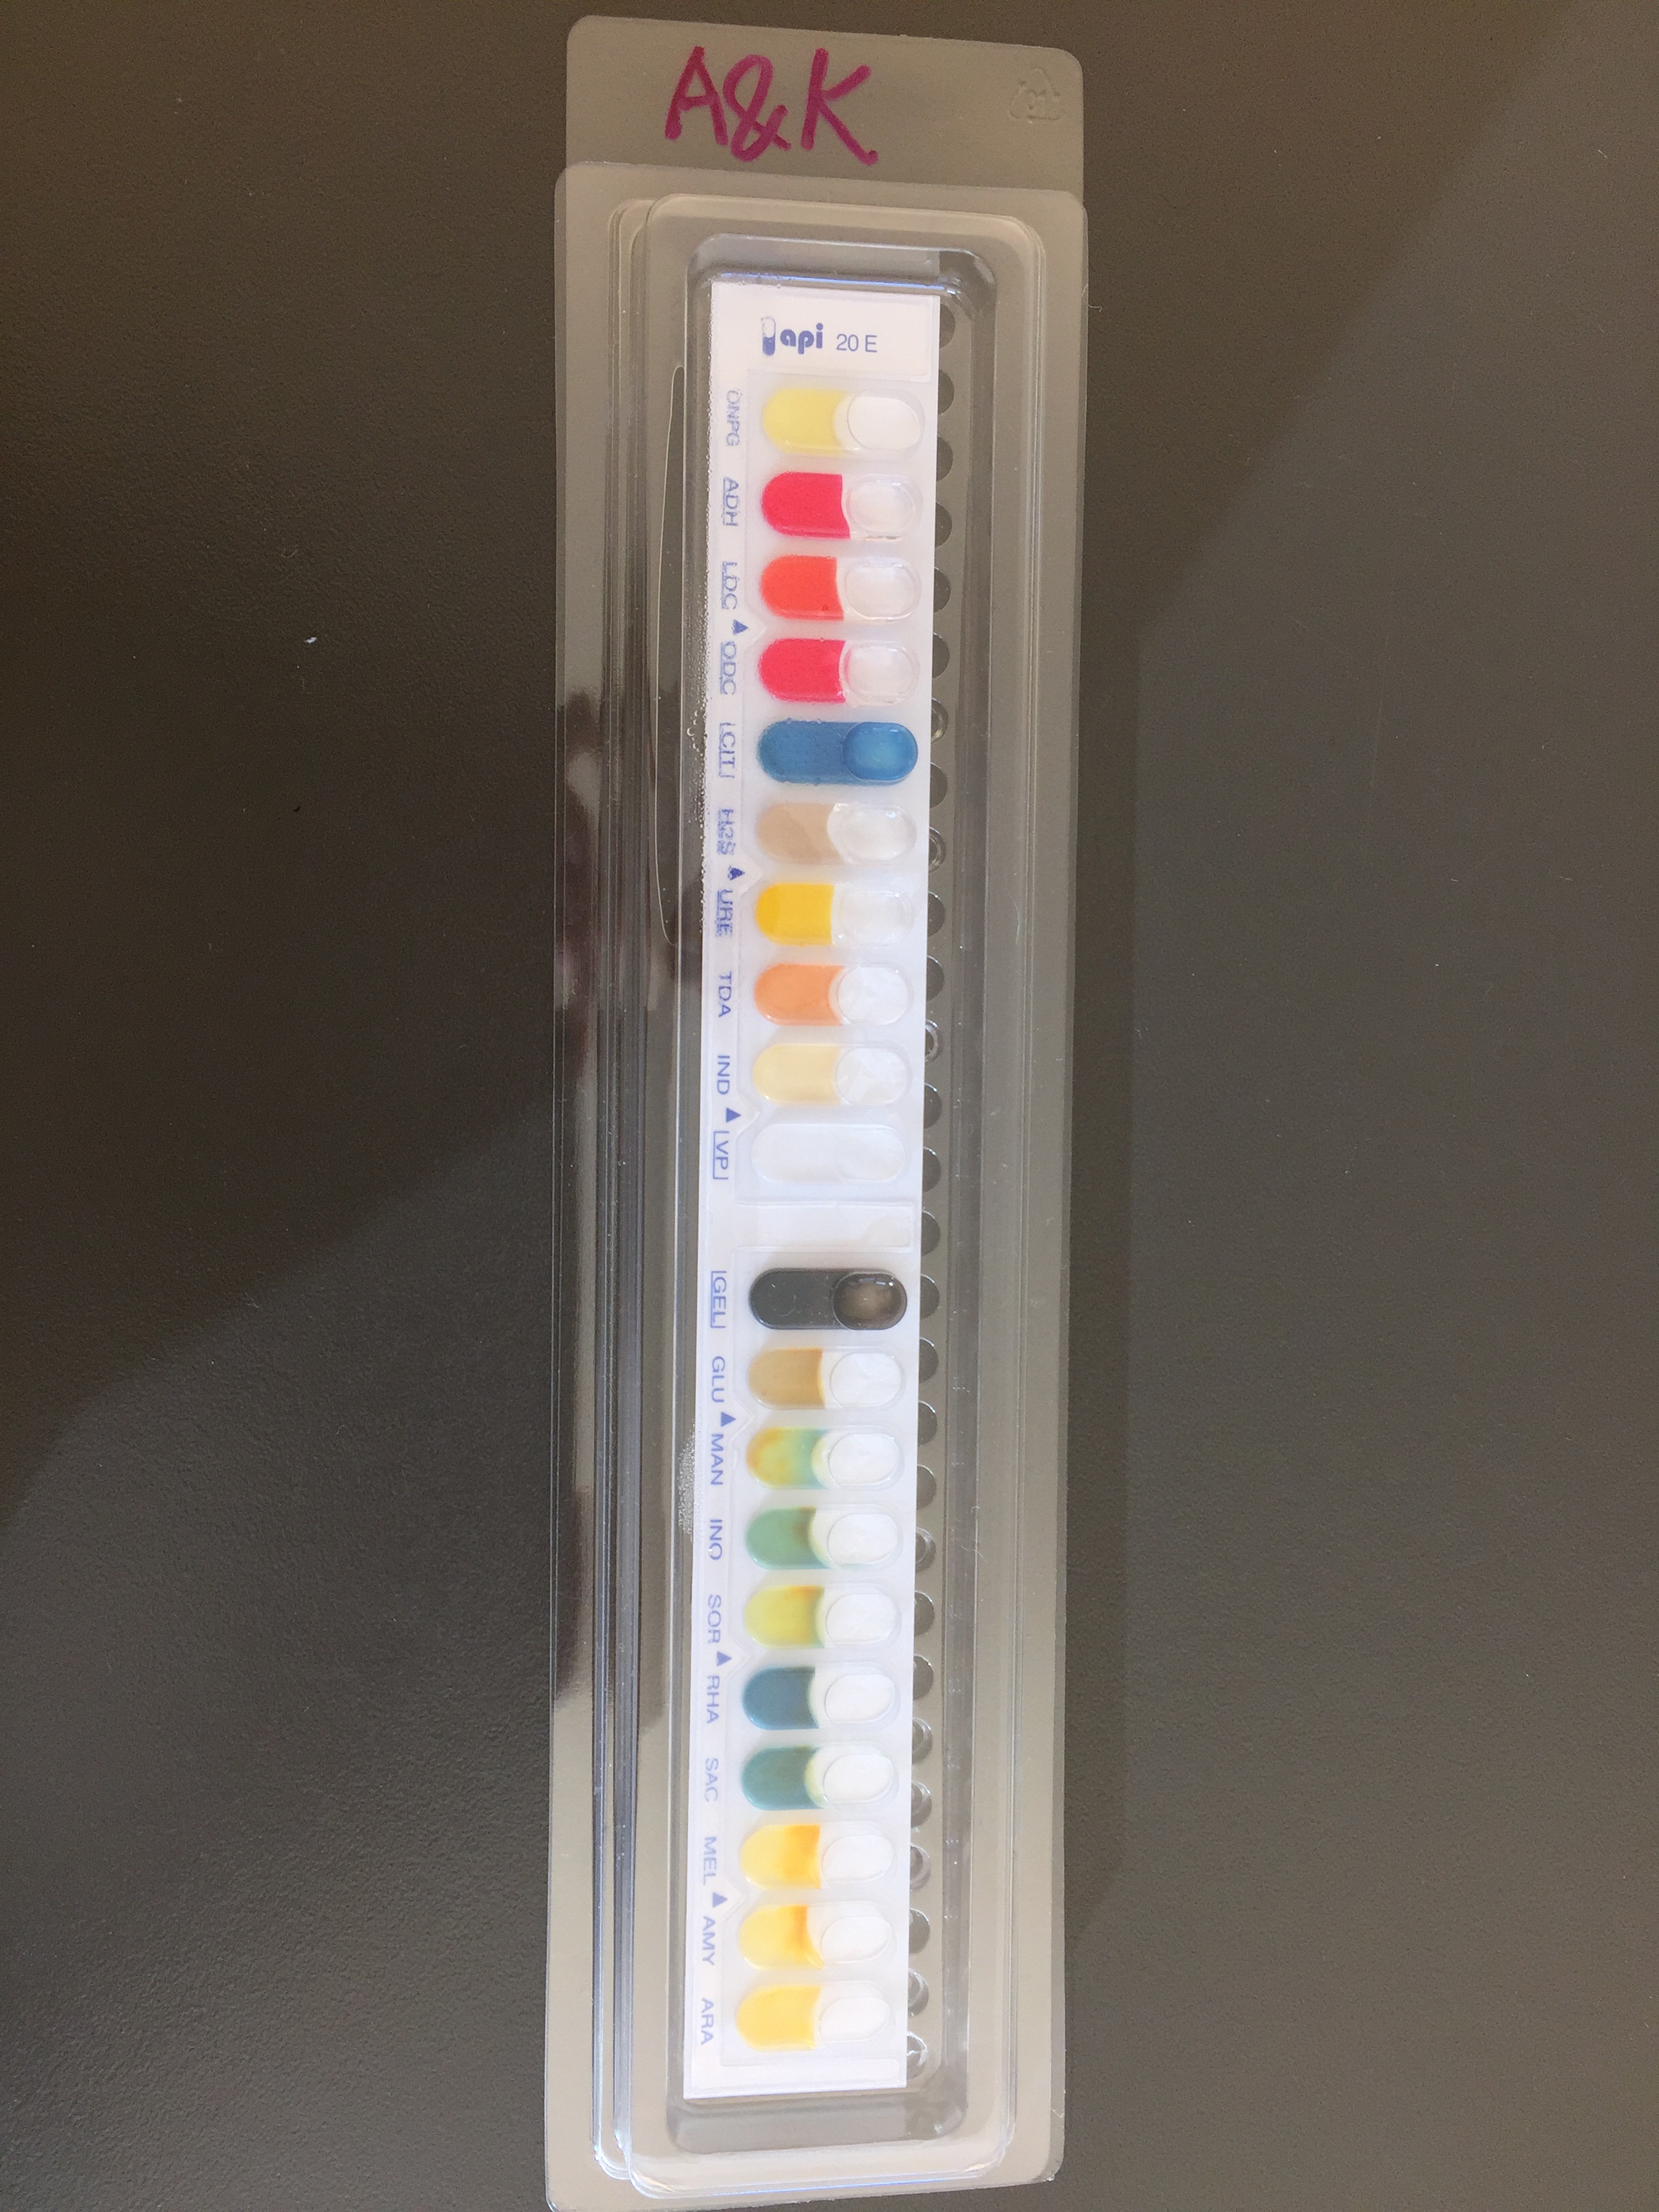
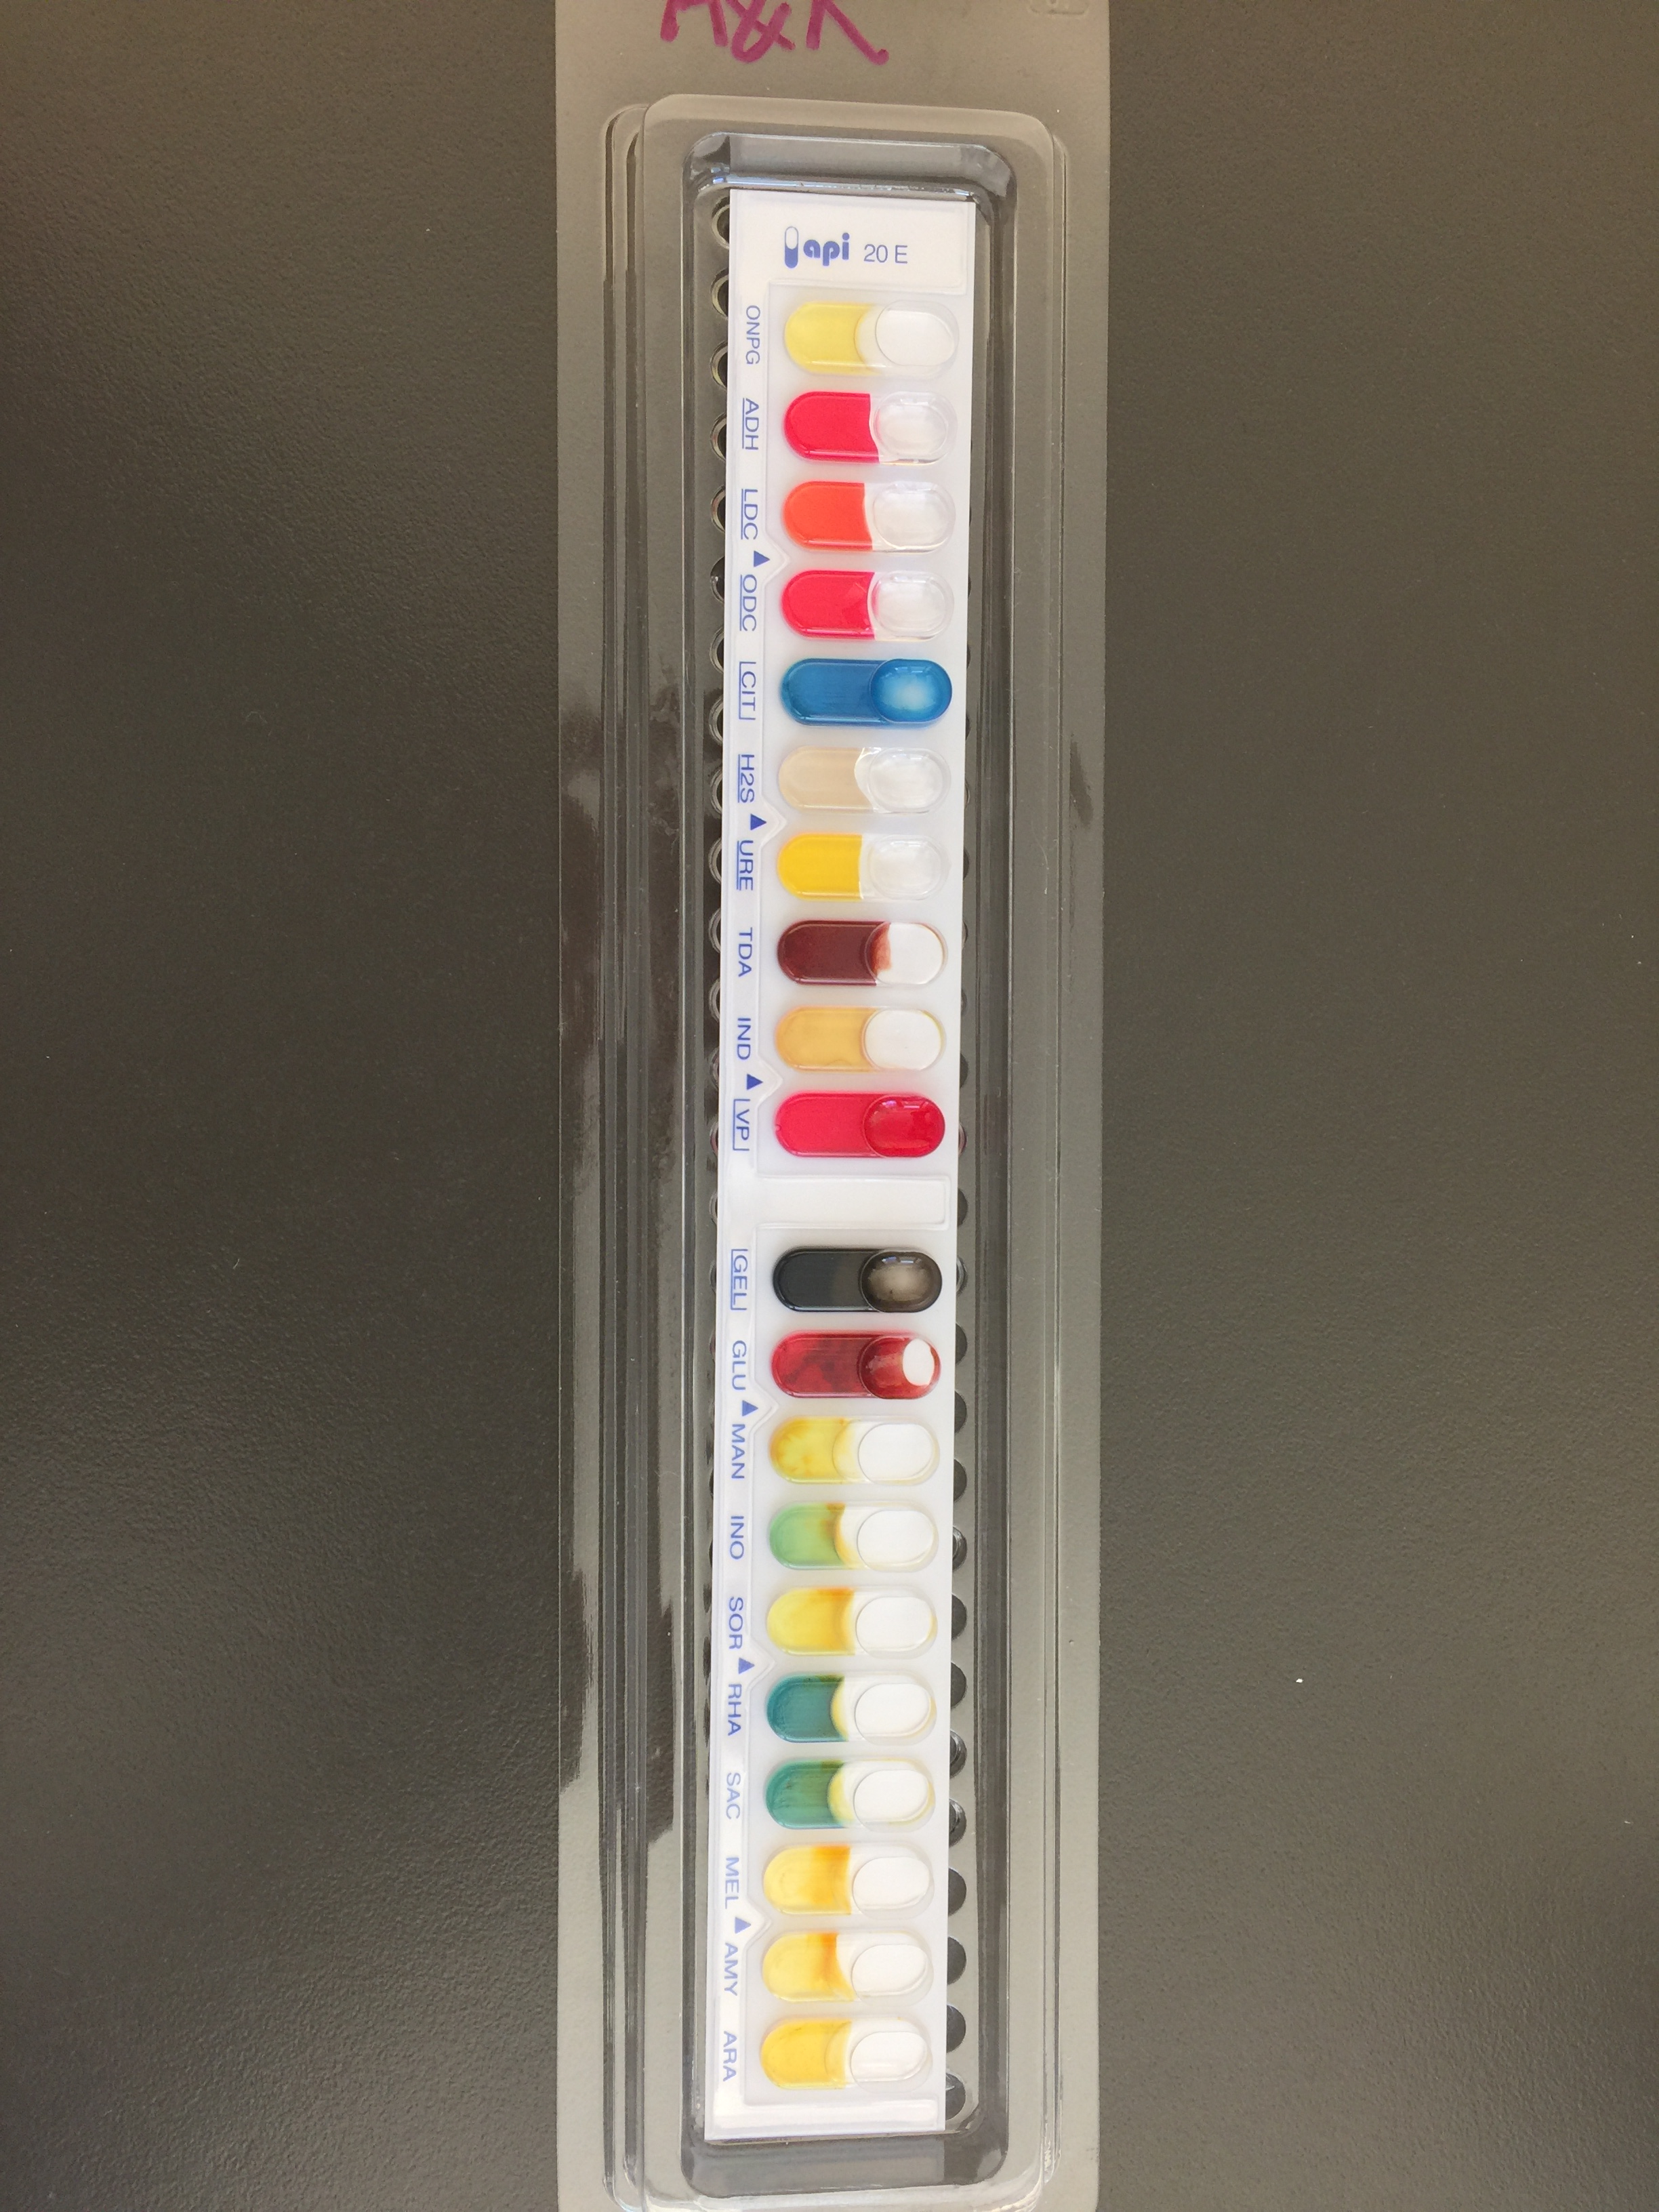
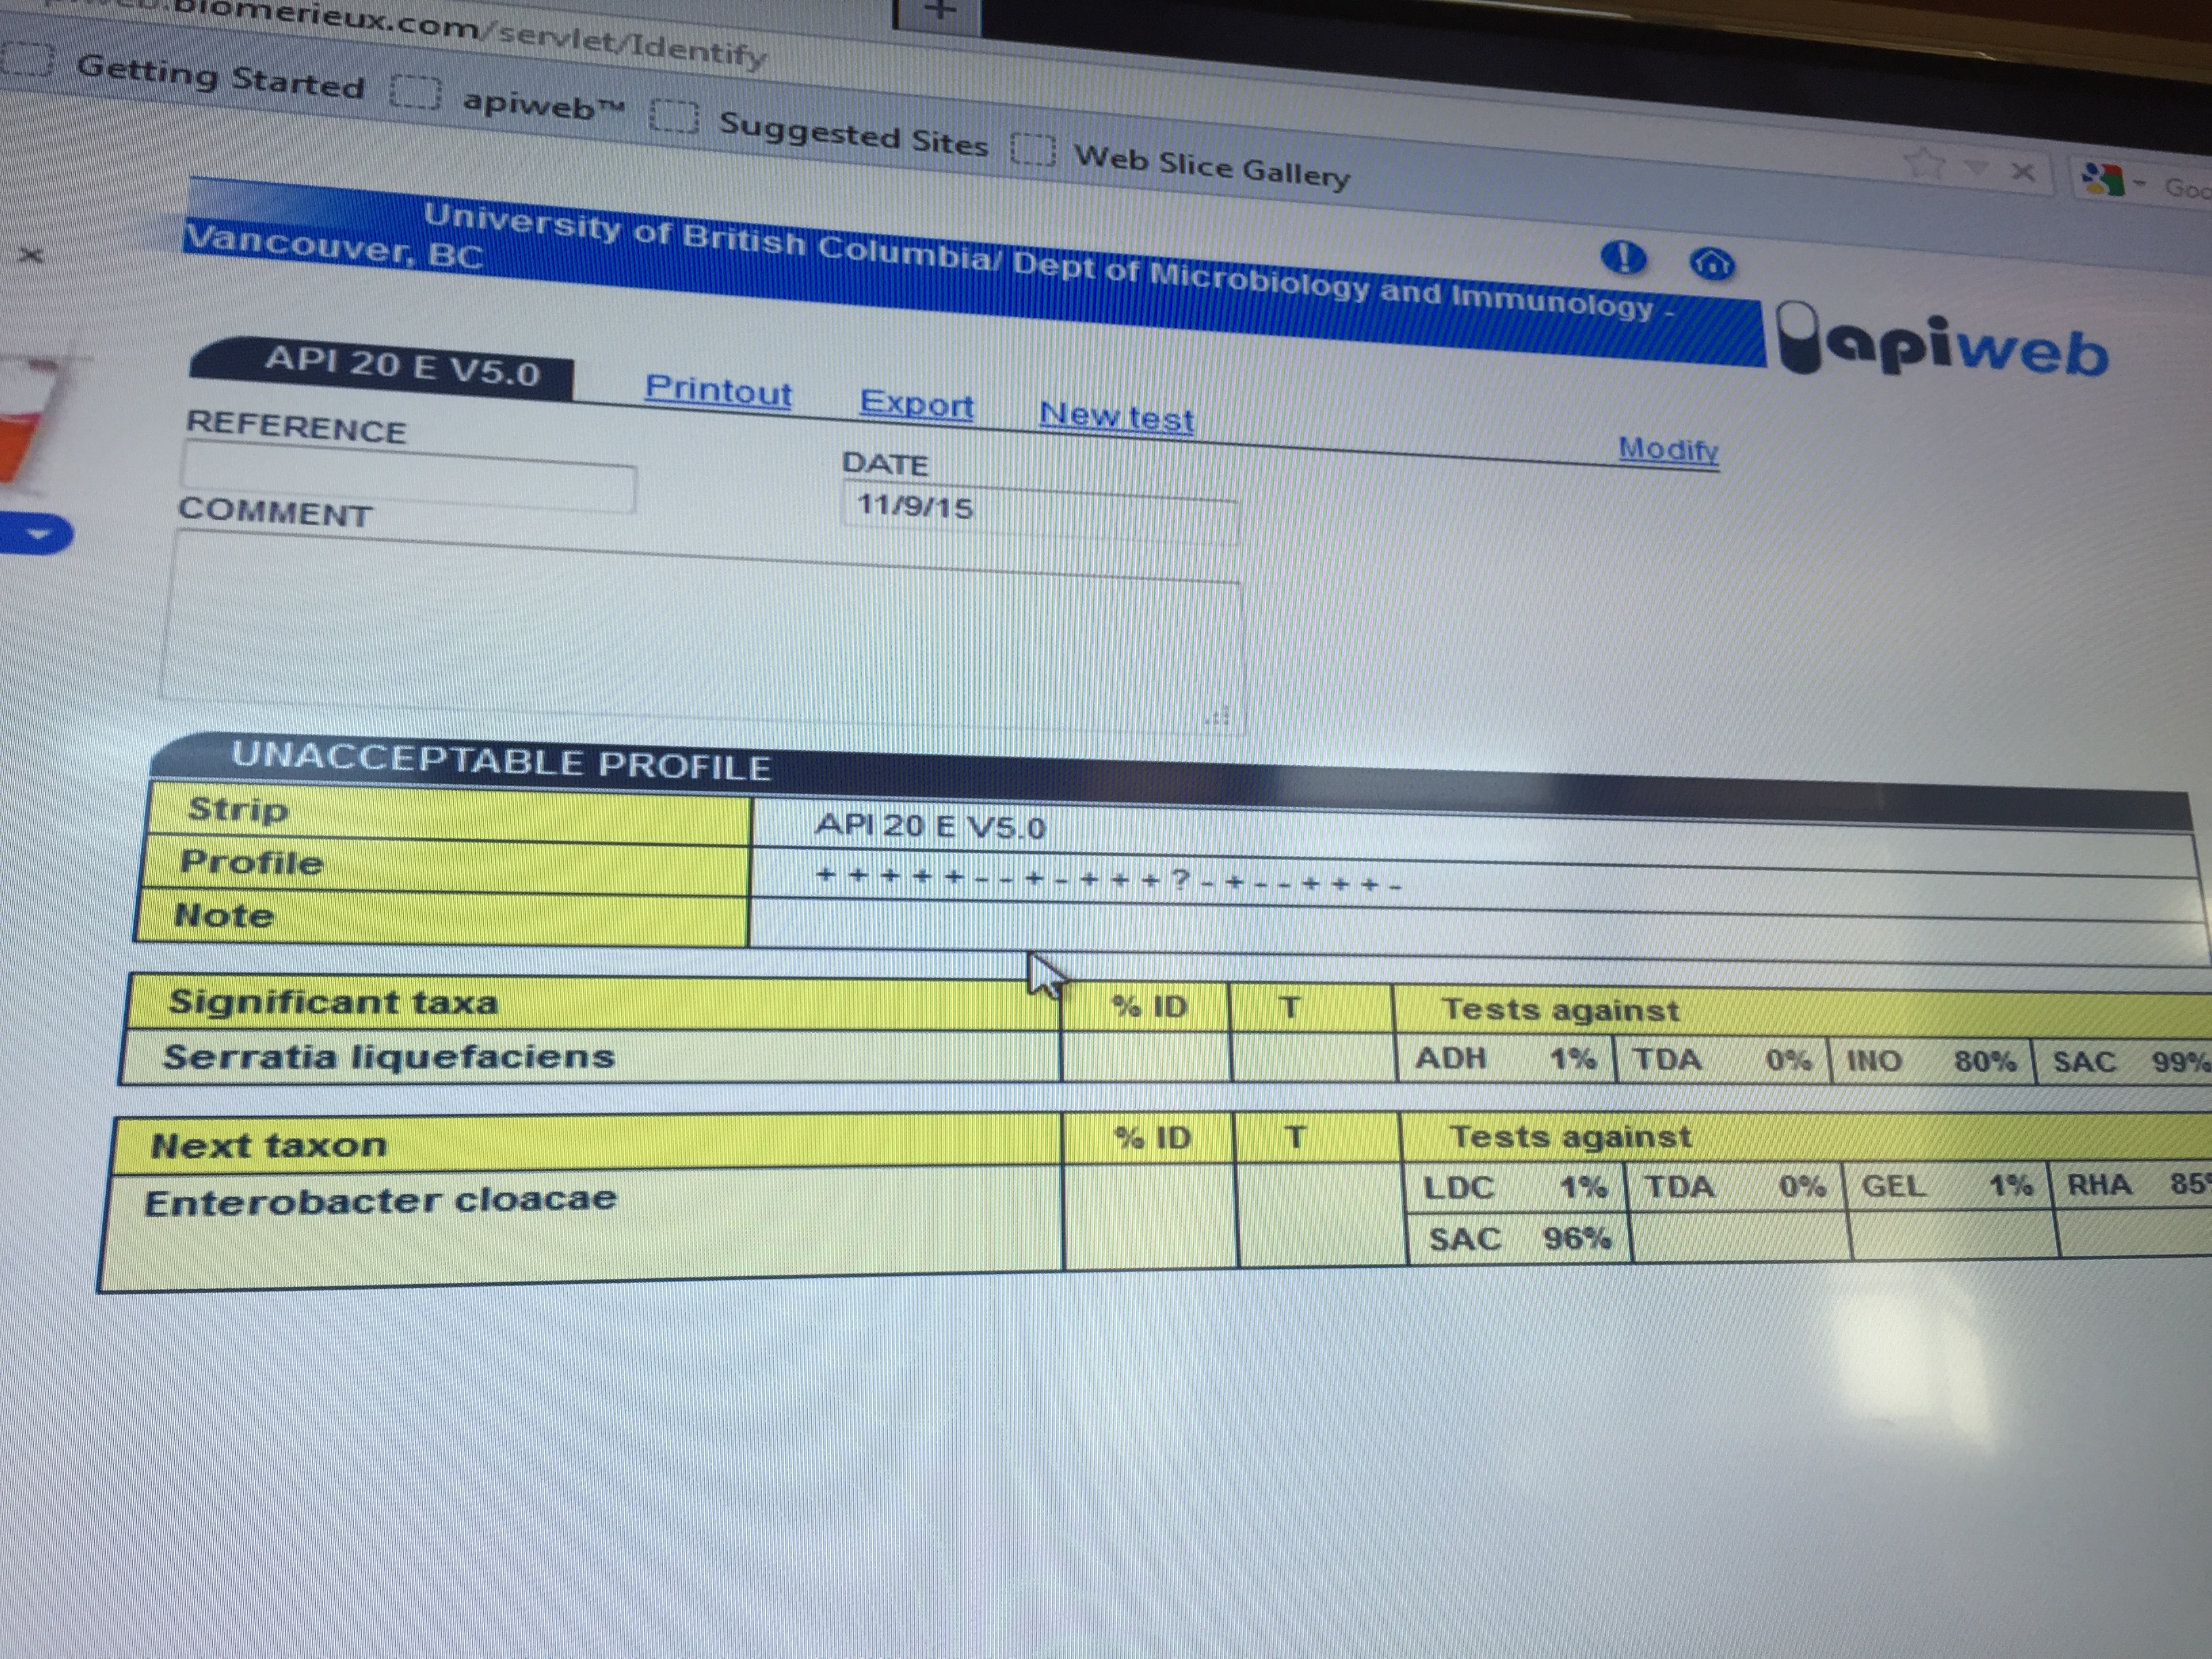
The tests results showed that it was an unacceptable profile so there’s no data corresponding to the bacteria we isolated. However, it indicated that the significant taxa is Serratia liquefactiens and the next taxon is Enterobacter cloacae.

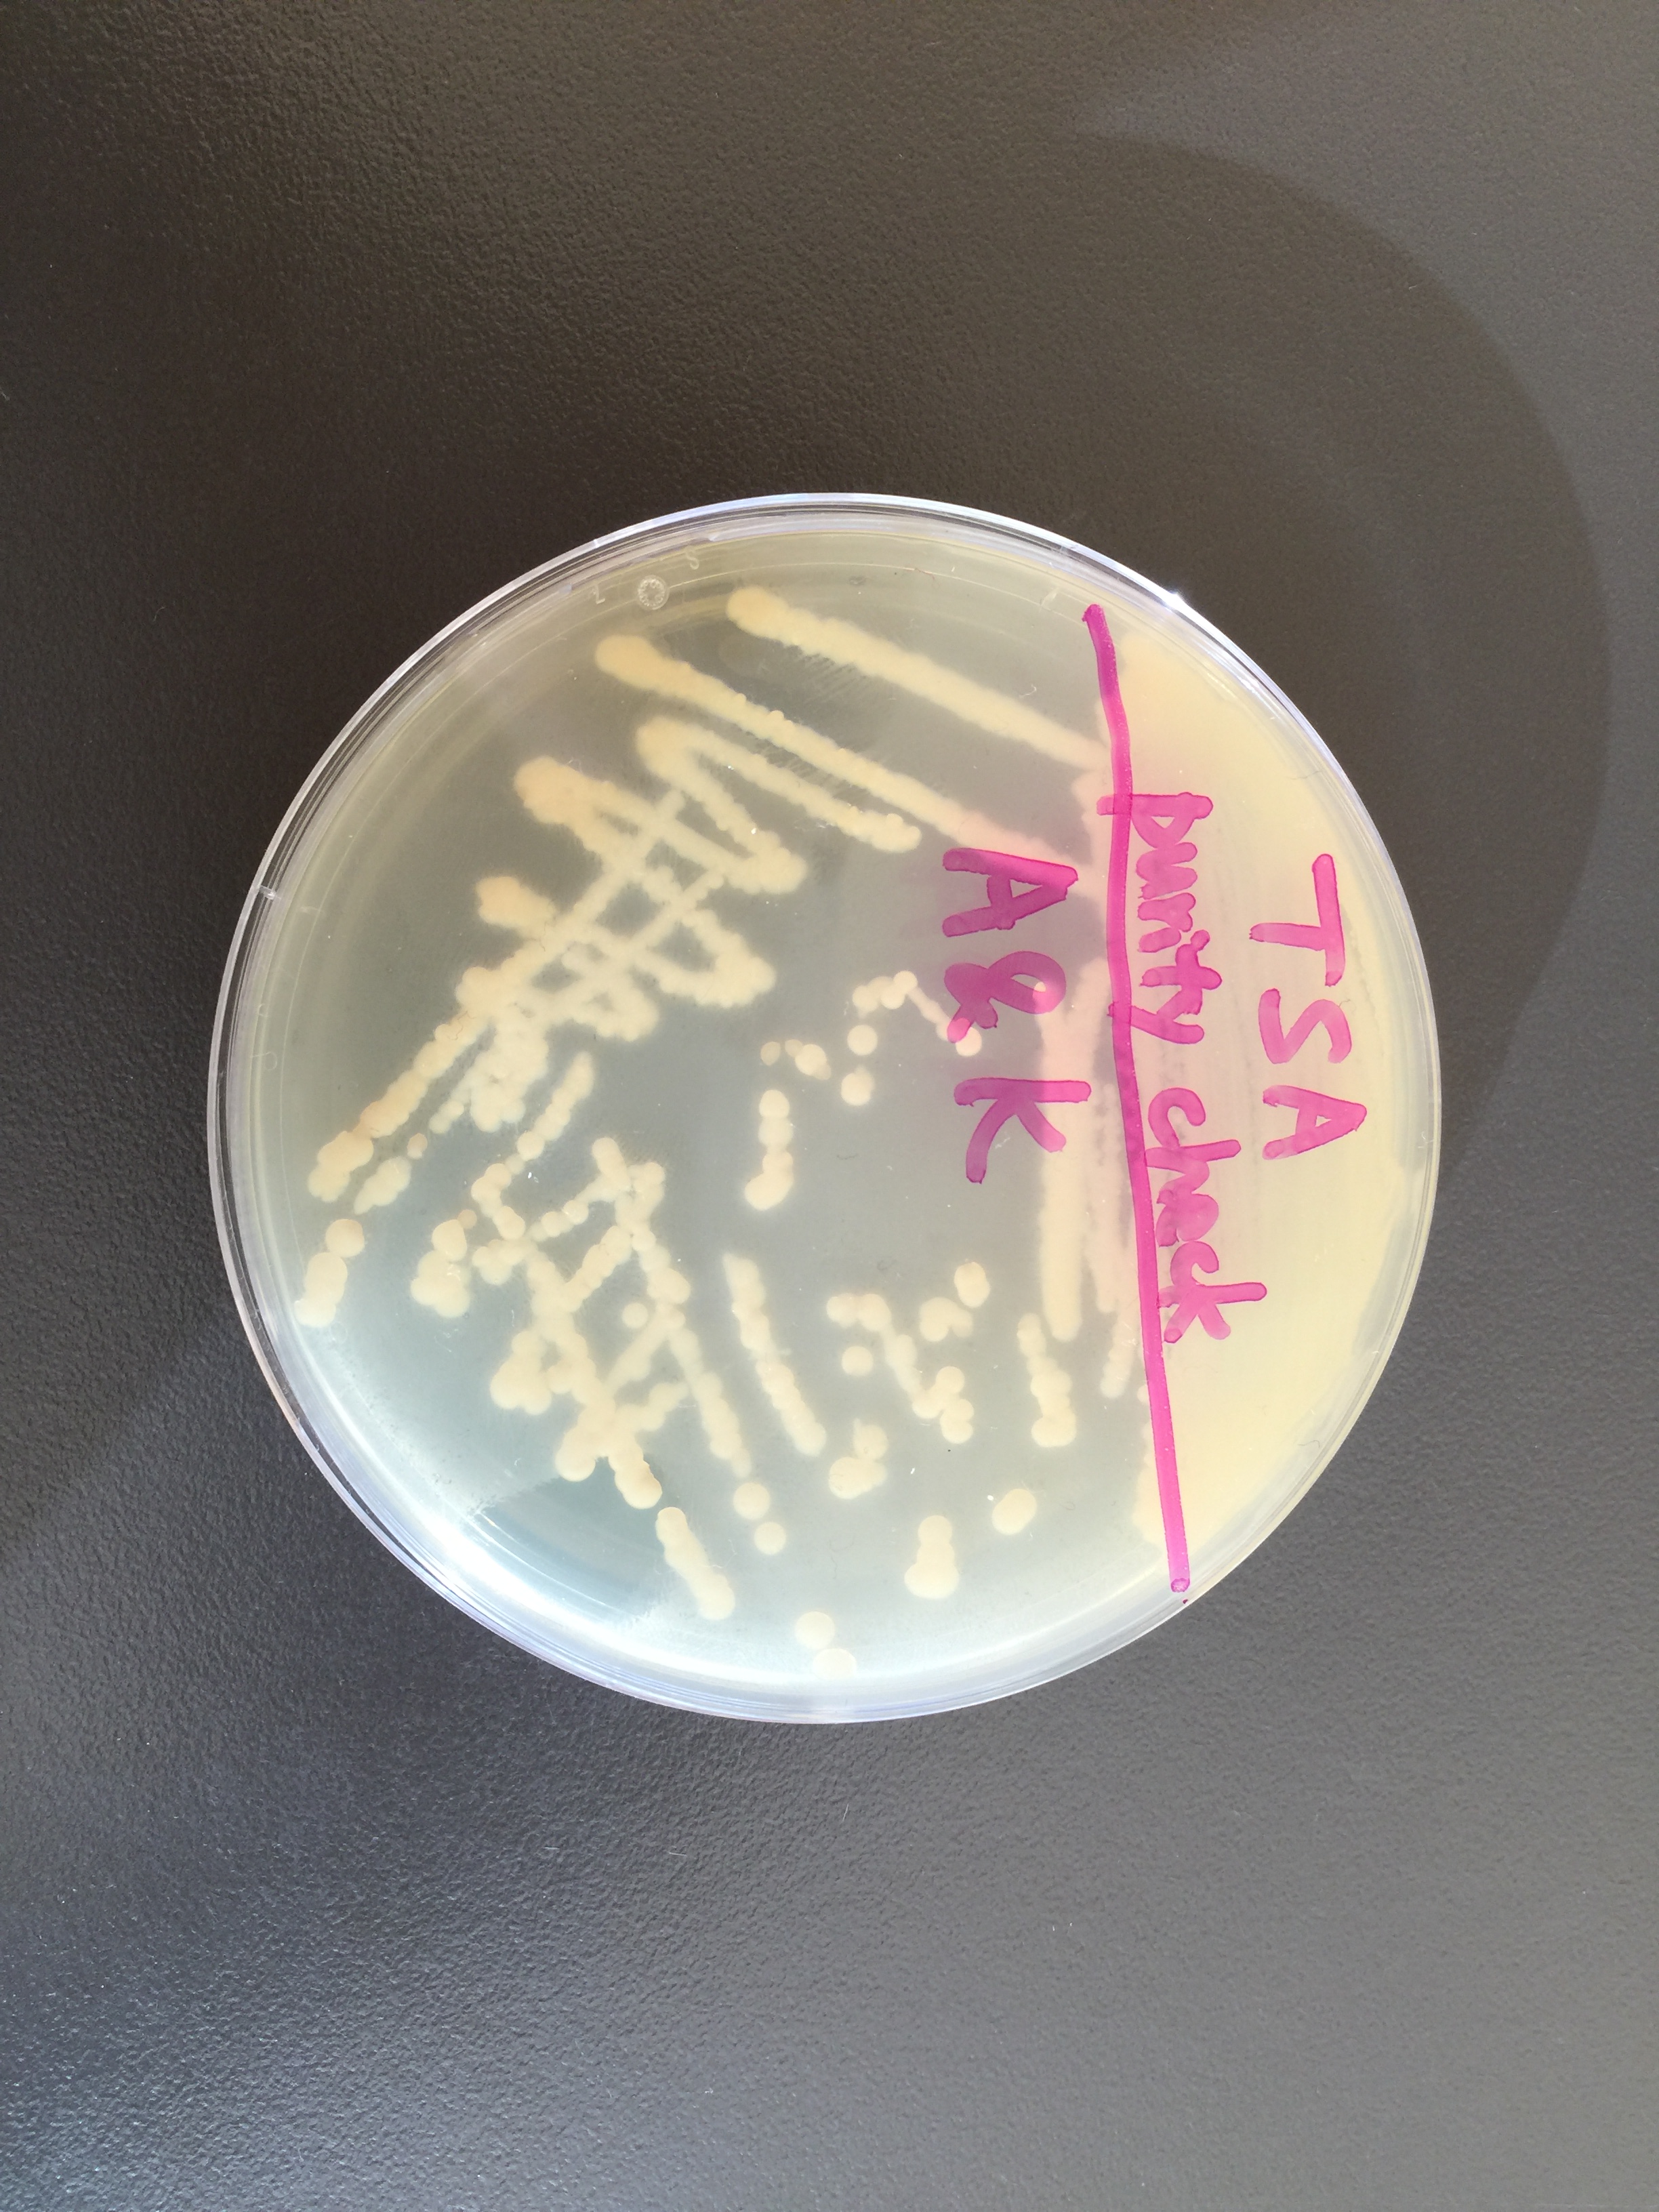
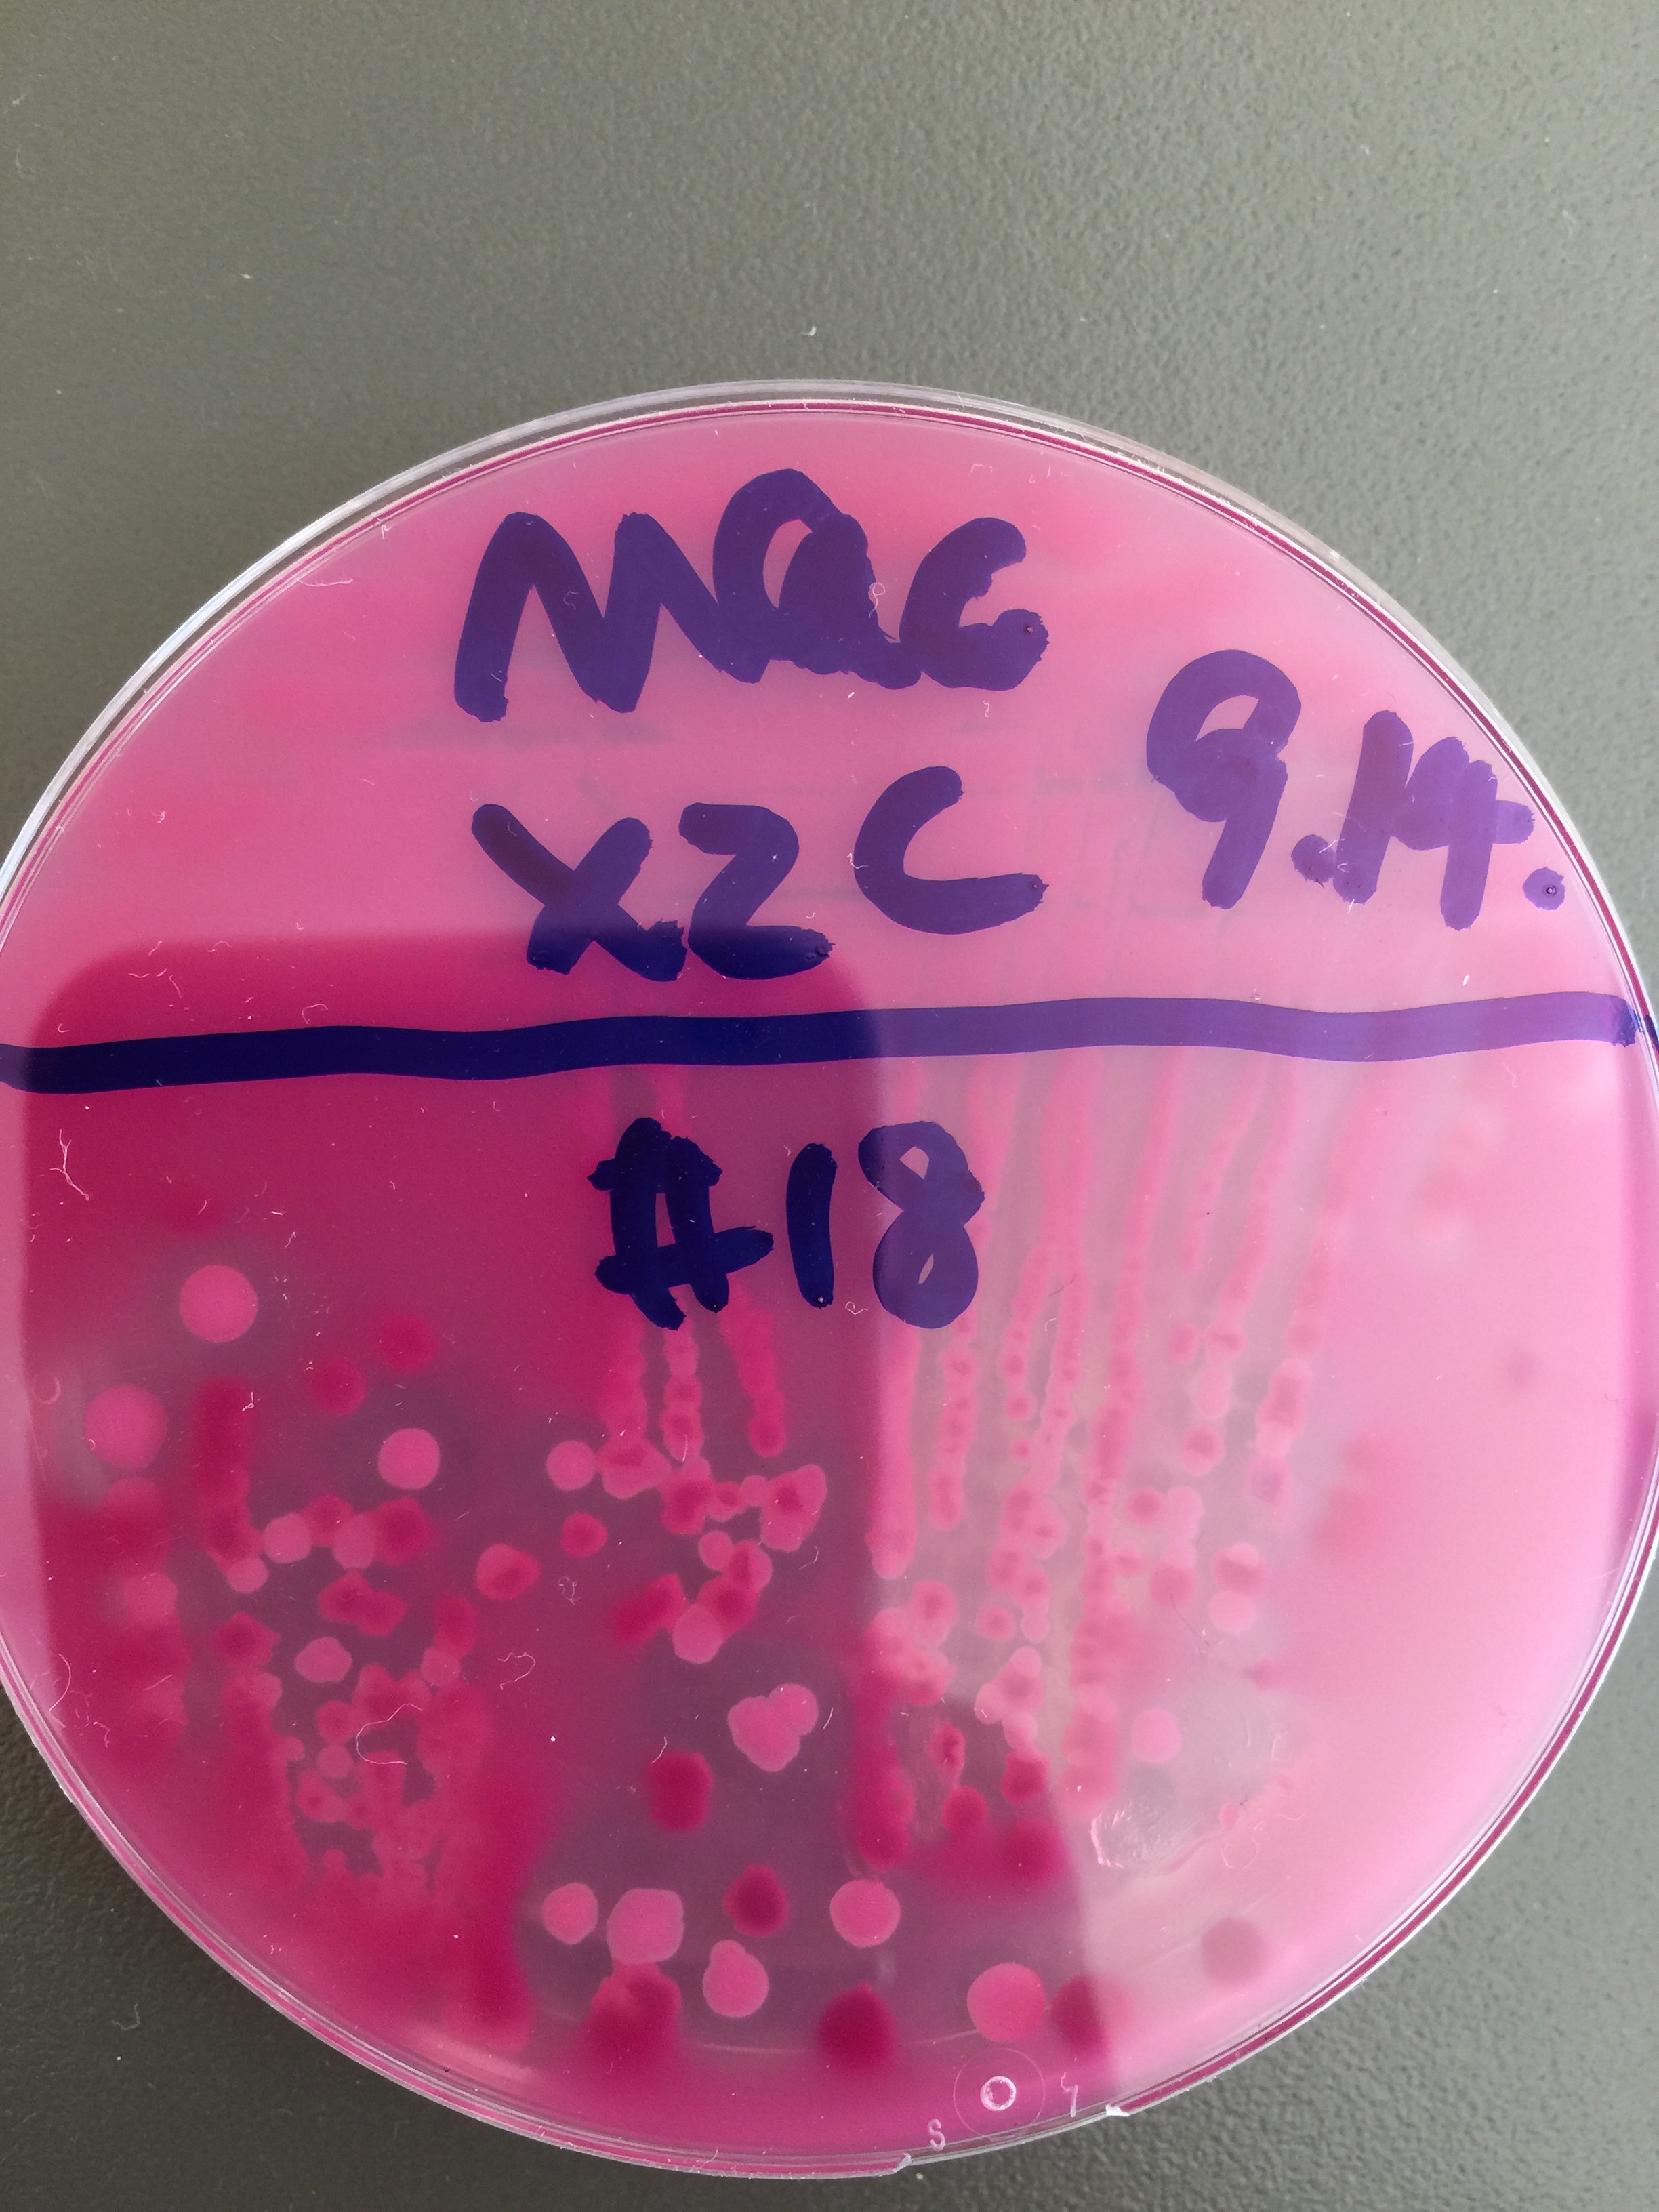
We streaked a TSA plate with the isolated colonies to do a purity check. There’s only one type of colony growing on the TSA plate so we can consider it as pure.

IMG_1874 IMG_1873

Thanks for keeping up with my blog! I am very pleased to share my microbiology lab experience with all of you 🙂

Lab 5 and Lab 6 Day 3

Hello guys, thanks for viewing my blog post!

In today’s lab, we observed the Rainbow agar 0157 plate, EMB plates and Hektoen agar plates incubated in last lab. The colonies growing on the Rainbow agar 0157 plate are red color which represents a positive beta-glucuronidase test results. Non-pathogenic strains of E.coli generally have a positive beta-glucuronidase test results. So luckily we don’t have pathogenic E.coli growing on our spinach!

3

On the EMB plate, we didn’t see a very distinctive morphology. We saw a pink smear on the agar plate.

2

We did three different dilutions on the Hektoen agar plates and there’s only orange colonies growing on the highest dilution. Comparing day 21 and day 14 results, less orange colonies grow on day 21 and this is probably because some E.coli ran out of nutrient and died.

4

Last lab, we digested Plasmid DNA with EcoR1 at room temperature and 37 degree Celsius. In this lab, we ran the Agarose Gel Electrophoresis of the undigested Plasmid DNA, digested Plasmid DNA with EcoR1 at room temperature and 37 degree Celsius at 110V for one hour. We can see that DNA migrated. However, there’s nothing shown on the second column and this maybe because I didn’t add enough Plasmid DNA.

5 IMG_1792 1 IMG_1799

Lab 4 and Lab 6 !

This week we finished the exciting Lab 4 which is the isolation of E.coli plasmid DNA! We use the GeneJET Plasmid Miniprep Kit to isolate the E.coli plasmid DNA. The basic principle is that the size and conformation (degree of supercoiling) is different for the chromosomal DNA and the plasmid DNA. The solutions required for the isolation are re-suspension solution, lysis solution, neutralization solution, wash solution-contains 80% ethanol, elution buffer, spin column with silica-based membrane and microfuge tubes. In each step, we used the centrifuge to do the centrifugation of the microfuge tubes.

IMG_1703 IMG_1701 IMG_1698

Eventually, we collected the flow-through in the micro-centrifuge tube which is the plasmid DNA of E.coli.

IMG_1704IMG_1705

In this lab, we also did the plate count for the lab 3 incubation of bacteria using the pour plate methods.

IMG_1702

Lastly, we did the “Day 1” for lab 6. My group’s leafy green vegetable is spinach. It seemed that we were making nutritious smoothie in the lab! LOL

IMG_1711

Haha! Actually we were making homogeneous sample solutions and then we used it as the 10^-1 to make a series dilution.

Great! Let’s see the incubation results after 2 weeks.

Lab 2 and Lab 3

Let’s check out some growth results of the unknown microbe from the contaminated water sample inoculated in the EMB agar and XLD agar. The colour of the XLD agar changed to bright yellow colour which is very cool! The colour of colonies displayed on the EMB agar is pretty shiny.

IMG_1643 IMG_1642 IMG_1641 IMG_1640

Note that the growth results of unknown microbe from the contaminated water sample inoculated in Luria agar plate under different conditions are very different. For plate #1, we can see that there are a lot of colonies on the agar plate. However, there are very few colonies on the #4 agar plate which was inoculated the heat treated water sample .

IMG_1632 IMG_1633 QQ图片20150928215101IMG_1639

In lab 1, I isolated unknown bacteria from a contaminated water sample and inoculated the MacConkey agar plate. Let’s check out the growth results on the MacConkey agar plate.

IMG_1644 MacConkey

In lab 2, I inoculated a variety of differential test media using the unknown microbe that corresponds to colonies on the MacConkey agar plate used in lab 1. In lab 3, I did the biochemical test for identification of the unknown bacteria from the contaminated water sampleLet’s take a look at the differential tests results!

QQ图片20150928212047

Hello world!

Welcome to UBC Blogs. This is your first post. Edit or delete it, then start blogging!

First Micro-foods Lab

Hi everyone, welcome to the Micro-foods Bug Club!

I began my journey of exploration on microbiology of foods this week. It’s so exciting! I obtained a bacteria culture which is Staphylococcus epidermidis and then I used aseptic transfer technique to transfer the pure bacteria culture to sterile broth, sterile agar slant and sterile agar plate. What’s more, I also inoculated unknown bacteria from contaminated water sample and seafood sample on Luria agar plates, MacConkey agar plate, XLD agar plate and EMB agar plate under different conditions, such as different temperature.

I can’t wait seeing the bacteria growth results next Monday!

Spam prevention powered by Akismet