Design tab

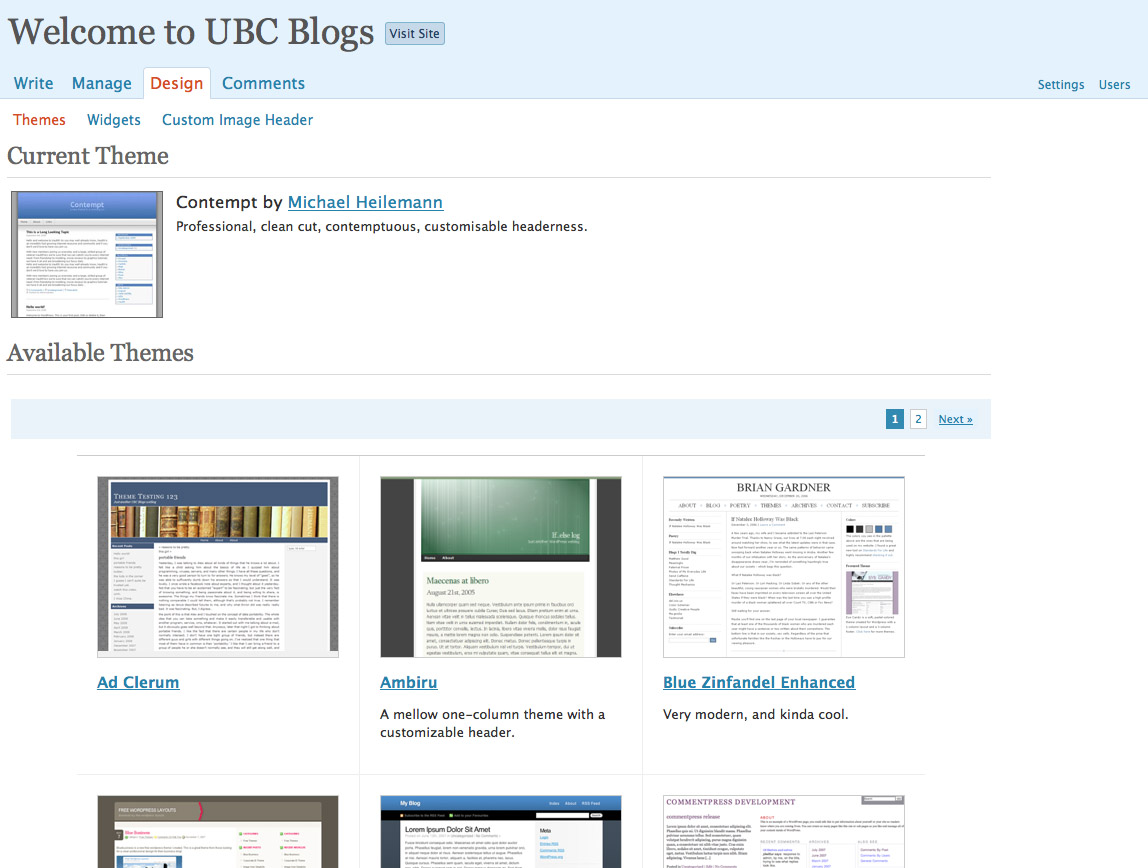
The Design tab has two main tabs within: Themes and Widgets (You might also get a “custom image header” tab if you have a theme that allows one)


(Remember, you can see a bigger screenshot by pressing the image)

When under the themes tab, you can try out how your blog would look with a certain theme by pressing on it.

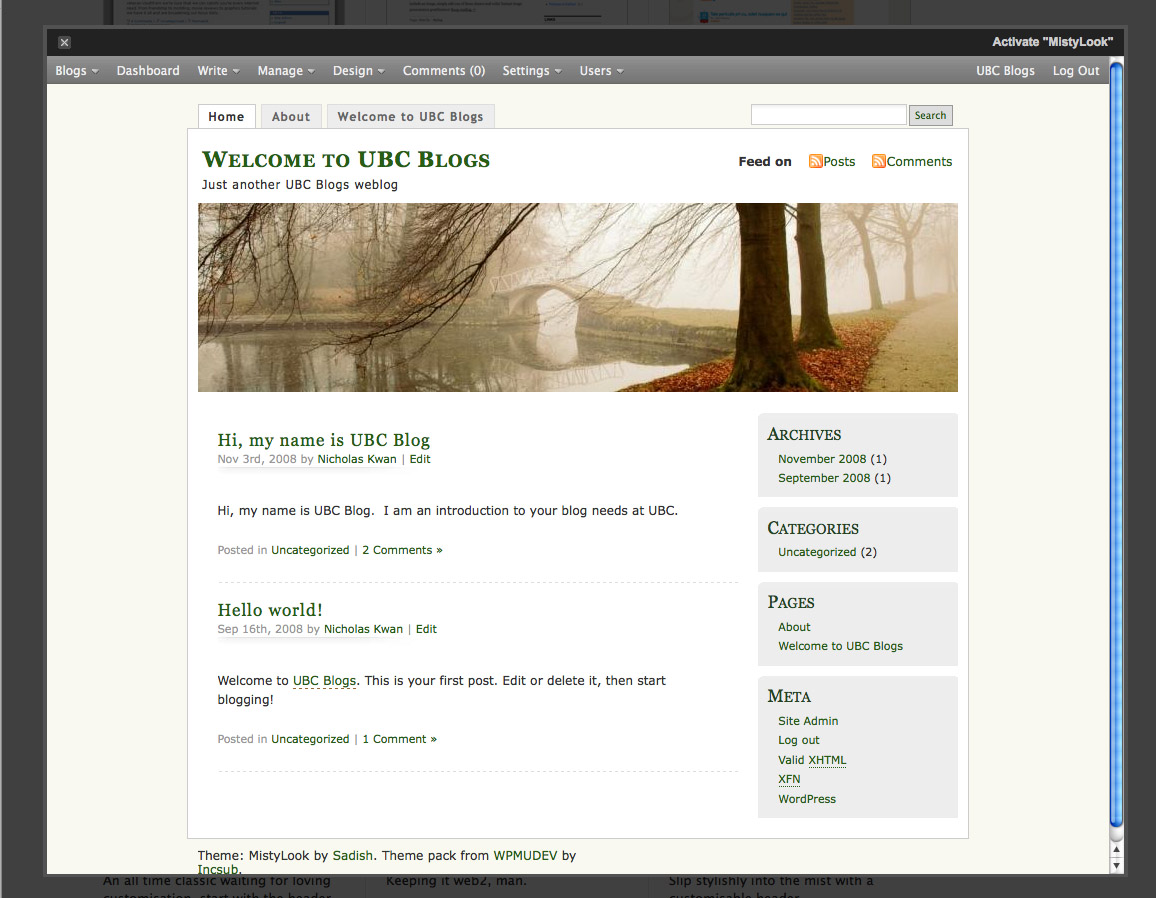
To keep a theme permanently, press “Activate” on the top right hand corner.
Then, you will have a different look when others visit your site.

To customize the header, select the “custom image header” tab. Then click Browse image to look for an image on your desktop. After that, you will have to crop the image to allow it to fit the specific theme you are using. After that, you will have your own custom header image.

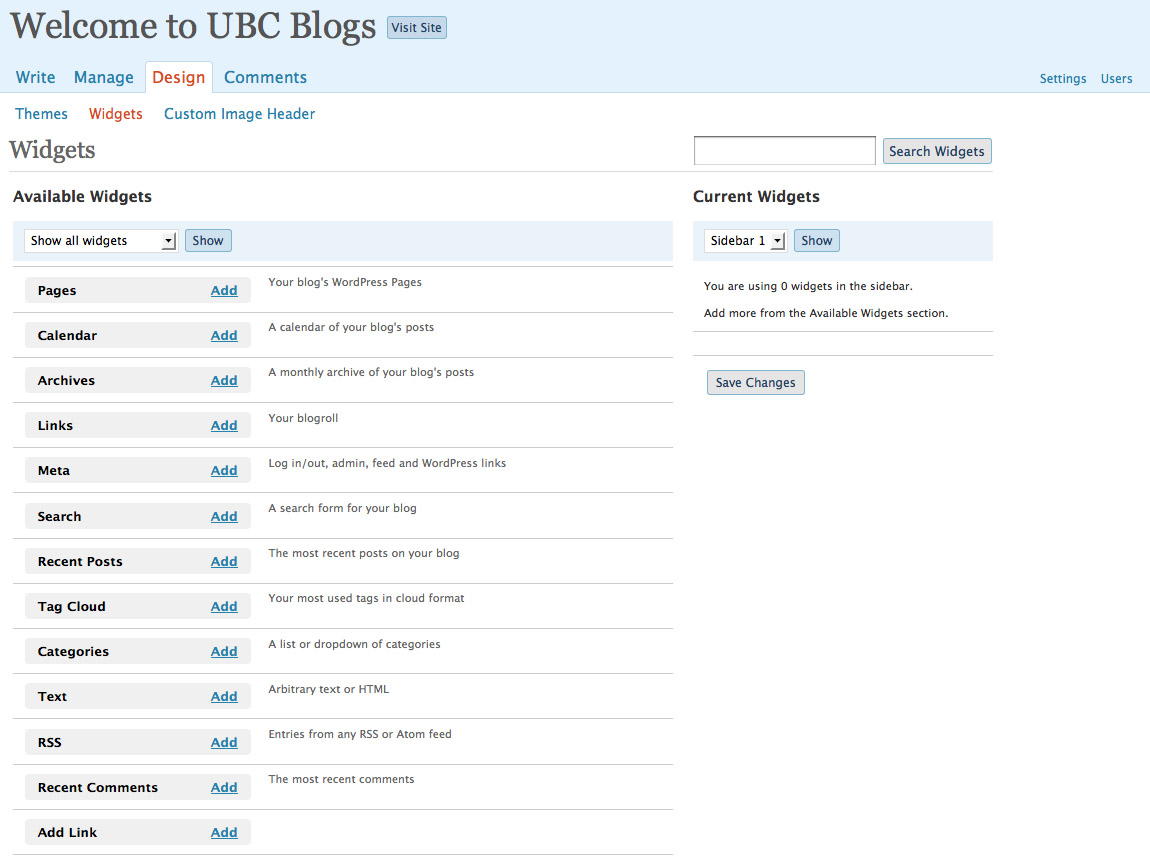
Widgets are little add-ons to your blog to allow it to have more information and be more engaging. When you enter the widget tab, there is a list of widgets that are readily available. You can always add widgets from external sources as well.

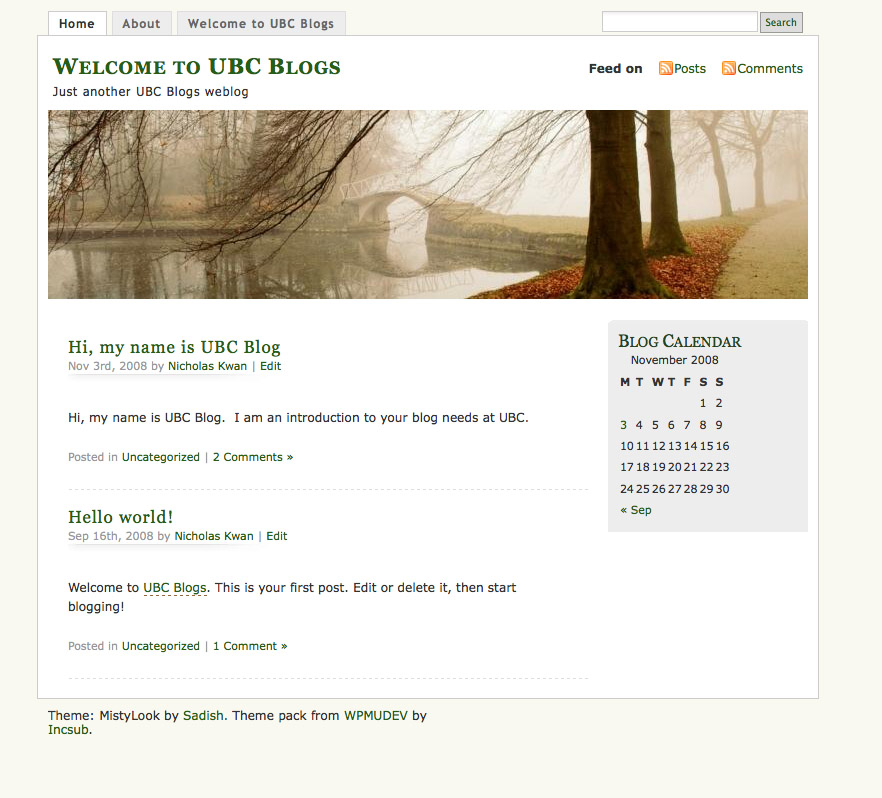
Now, I am going to add a calendar as an example for a widget. Next to calendar, press the “Add” button and a box will pop up on the right side.

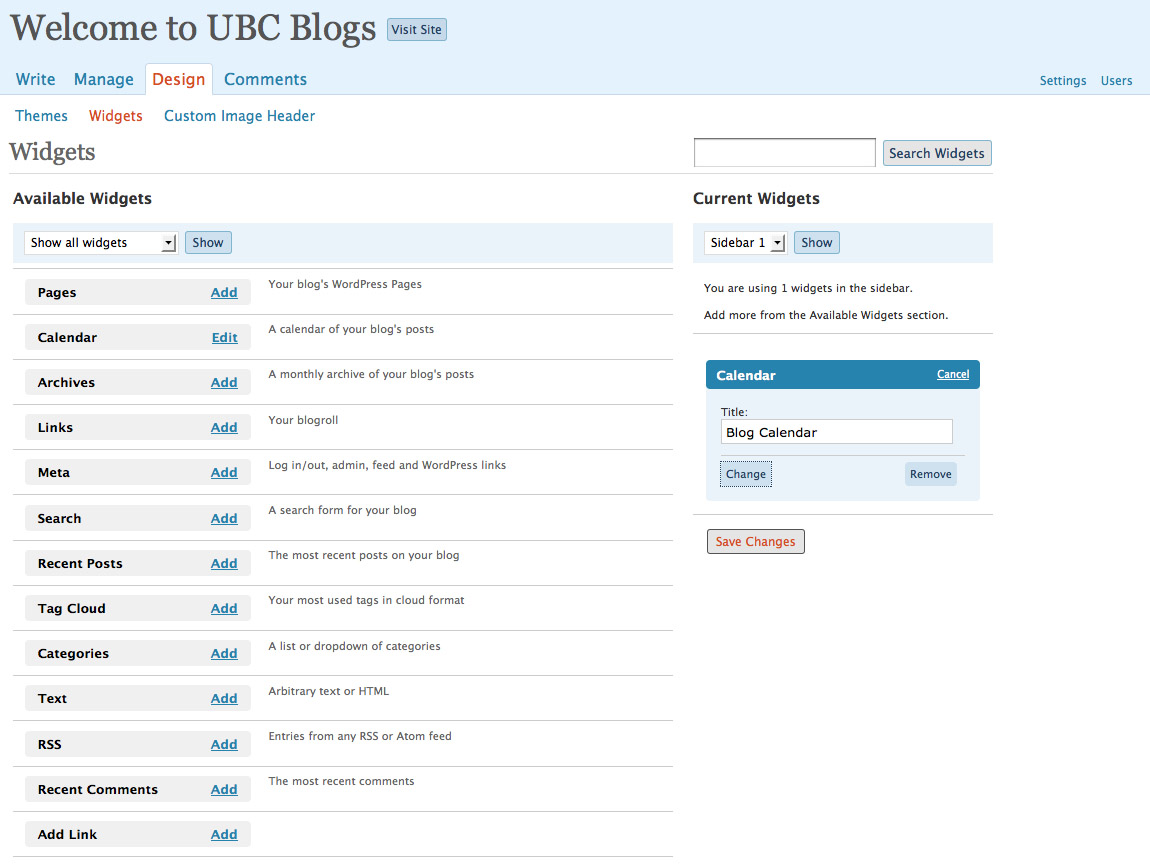
Now, I can save changes to have the calendar on my blog when I go back to my homepage.

Manage tab

The manage tab is used for making any changes to the any posts, pages, or links you have made. On top of that, the manage tab can also manage categories, tags, links, categories, etc.


(Remember, you can view a larger screenshot by pressing the image)

Here, you can organize your categories and different tags you have. By keeping these consistent, it allows a user to look for your posts easily. For example, if you tag several posts as “camera” to talk about your camera, other users can access if by typing https://blogs.ubc.ca/your_url/tag/camera. Categories are similar and the difference between them is that category is something you put your posts in, and tags are something you attach to your posts.

There is also the import and export feature that allows you move the blog as a whole from and to another place.

Write tab

The Write tab is where everything begins. Let’s start off with a Page so that we have something permanent and static on our blog. A Page will create a new tab on your blog (this also depends on theme) and will stay at a certain location in your blog. This is unlike posts which will move down in your homepage as new posts are written.

To write a new page, go to Write tab and then the Page tab:

(Remember, you can see a larger screenshot by clicking on the picture).

Then, you have the option of saving the page or publishing the page. If you are not ready to publish the work, simply save and it you can go back to it in the manage tab (which will be covered in another entry).
To publish, either go to the drop down menu and select publish and then click save; or simply press publish.

To see your page, go to “Visit Site” button at the top of your page and you will see you blog. Select the tab of your new page (probably next to “About”) and you can see your page. This page will stay in the same place until you move it.

Posts are done in a similar fashion but you have more things to add to your post. Tags are used as labels so other people can quickly know what your post is about. Categories, on the other hand, are places you put your blogs in. Think of it as a picture in Facebook that many of you are familiar with: You tag a photo to show characteristics about the photo or the things in the photo. However, you also put photos that are related together, making them into organized albums, or in wordpress terms, categories.

Here is our first post!

The last thing you can Write is a link. Links are things that point to other places on the internet. To add a link, simply go to Write and then link, name the Link, put in the url of the link, and give it a little description if you wish.

And on the homepage of your blog, you will see the link!

Now go and have fun writing on your blog!

Getting Started

The first pages:

After you complete the registration, you will enter the site like this:


(Remember, you can view a larger screenshot by pressing on the image)

Your site will look like this:

Settings tab

There are many settings in the settings tab including the place where you change the blog title, tagline, and email address. 


(Remember, a larger screenshot can be seen by clicking on the picture)

Most of it is self-explanatory; however, feel free to email weblogsupport [at] exchange.ubc.ca if you need any assistance.

However, if you are interested in the different privacy settings, please refer to to this video:

https://blogs.ubc.ca/blog/2008/10/03/ubc-blogs-privacy-settings/

This video was made by Catherine Paul from the Office of Learning Technology.

Comments

Comments are a very popular aspect of blogging. It lets people interact with each other by commenting on each other’s posts. When you are logged in and want to comment on someone’s post, simply click on their post and you will have an empty box to comment.


(Remember, you can enlarge the screenshot by clicking on the picture)

If you are not logged in, you will have to complete a short spam filter test:

Fill in your name, email, comment, and reCaptcha box to post your comment. Your comment will most likely not be posted right away because it needs to go through moderation.

What is moderation?
Moderation allows your comment to be posted if you are not logged in. If your post was the one that got a comment that needs moderation, you will receive an email notification similar to the following message:

You can then approve, delete, or mark as spam by clicking on one of the links. Also, you can log into your wordpress account and do it in there under comments.

Have fun with comments!

Hi, my name is UBC Blog

Hi, my name is UBC Blog.  I am an introduction to your blog needs at UBC.

Spam prevention powered by Akismet