Pre-lab:
Please download the code package here.
Make sure you have your unity ML agents set up by following our guide!
Questions
Watch the following video, starting at 1:38 and ending at 10:00. You can ignore the parts before and after, as well as the middle section about initialize and the academy
- Note that this video uses a downloadable example from unity. You do NOT need to download this example (though you can if you want to play around!)
- What is a vector observation in unity ML (note this is different than the vector we’ve seen up until this point). What does it represent?
- Describe what each of the following functions are doing. A single sentence or two is enough.
- CollectObservations()
- OnActionReceived()
- OnEpisodeBegin()
Lab:
Today we will be using Unity ML agents to teach a ball how to roll to hit a target.
ML Agents Introduction PPT slides
Part 1: Manual Input
Lets make sure to setup everything properly.
- Open Scene -> RollerBall
- Press play and use the arrow keys to move around the ball. Notice that the ball cannot yet “hit” the target and when it falls off nothing happens.
- Open Scripts -> RollerAgent.cs
- Finish implementing the OnActionReceived function by following the TODOs. This is where you will be setting rewards and punishments for your agent. Read more about rewards here and here
- Hitting the Target
- Use rewards to encourage the agent to hit the target. Make sure to reset the target by ending the episode.
- Resetting on fail
- Try not to fall off the platform!
- Better end the episode when the agent does fall off…
- Hitting the Target
- Press play again and use the arrow keys to move around. You should be able to hit the target and reset it, as well as reset when you roll of the edge. Show your TA when you are done.
- Finish implementing the OnActionReceived function by following the TODOs. This is where you will be setting rewards and punishments for your agent. Read more about rewards here and here
Part 2: Training the Agent
Now we can begin teaching the agent how to solve this task without your input!
- Open up your terminal and navigate to the folder containing this lab. There are multiple ways of doing this, so make sure to ask for help if you can’t get it working.
- Easiest way -> In VScode -> RollerAgent.cs -> Open the terminal menu at the top and click “new terminal”
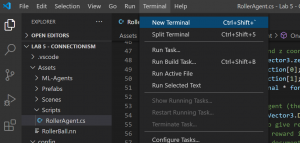
- If you have minimized or exited the terminal, you can bring it up again by dragging up from the bottom of the VScode screen
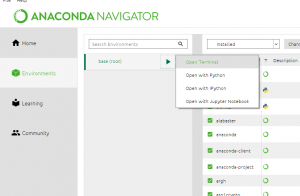
- Instead, if you installed ML agents with Anaconda, Open it -> Environments -> Open Terminal.
- You will have to manually navigate to the correct folder. The easiest way of doing this is by going to Vscode -> RollerAgent.cs -> File -> Open Folder
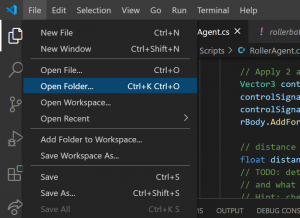
- Click on the folder which says “Lab 5 – Connectionism”
- Copy that folder address to your clipboard
- Copy that folder address to your clipboard
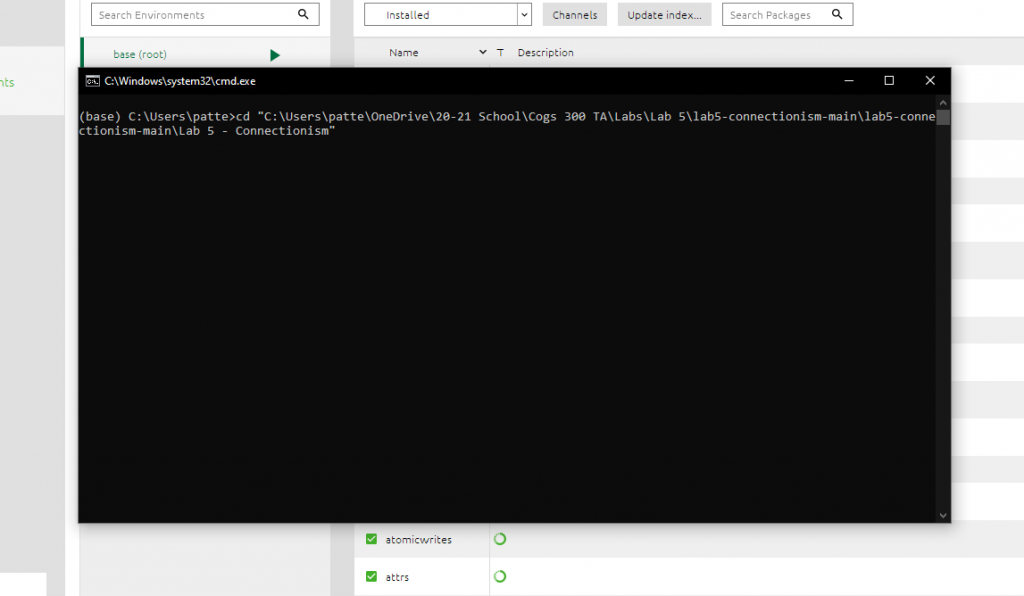
- Go back to the terminal which you opened with anaconda and type in
cd "(your copied folder address)". This tells the computer to change the directory to the folder you specify- Right click the mouse to paste (“ctrl/cmd + v” will not work here!)
- Make sure to include the double quotations around the folder address.
- Easiest way -> In VScode -> RollerAgent.cs -> Open the terminal menu at the top and click “new terminal”
- Once you are in the right folder, copy in the command
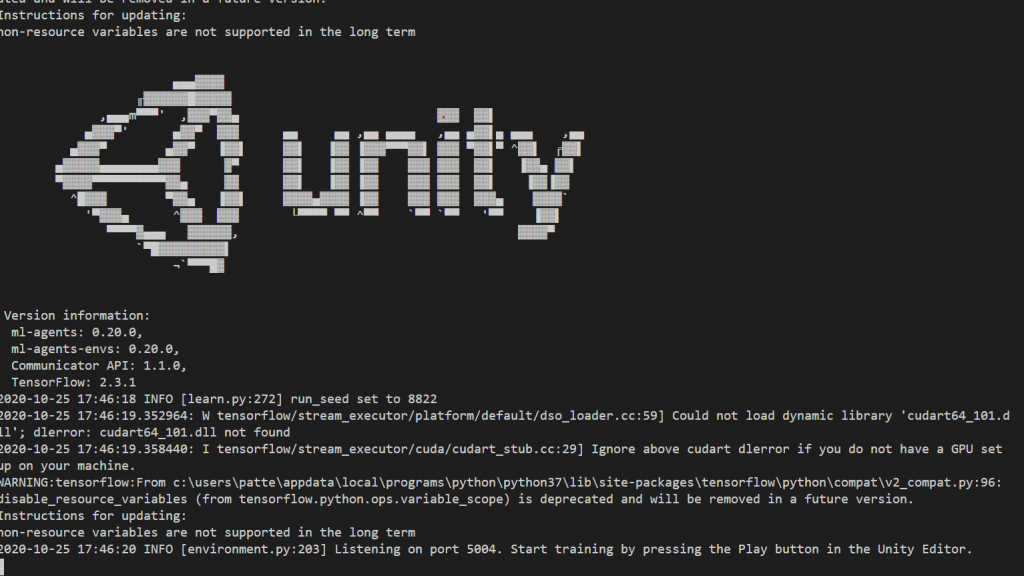
mlagents-learn config/rollerball_config.yaml --run-id=RollerBall_Part2and hit enter.- You should end up with a page that looks like this: (Ask for help if you don’t!)
- You should end up with a page that looks like this: (Ask for help if you don’t!)
- Go back to the unity editor and hit the play button to begin training. As you go along, your agent will improve. You will also see periodic progress reports in your terminal window. At this point, there is no need to fully train your agent. Run it for 3-5m maximum.
- When you are done your training (5 minutes max for now! No need to fully train it!) press the play button again to stop.
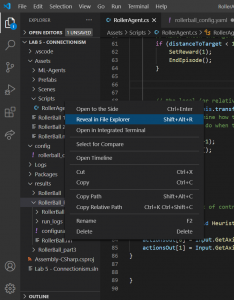
- In VScode you can find the results in the explorer sidebar -> folder “results” -> folder “RollerBall_Part2”.
- Right click on “RollerBall_Part2.nn” (might be .onnx for Mac) and select “reveal in file explorer”
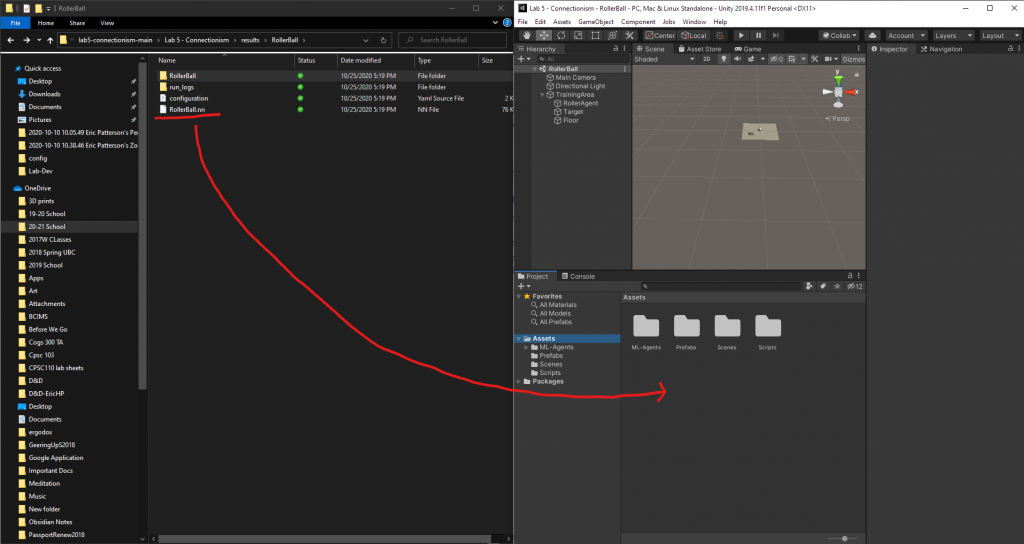
- Drag the RollerBall_Part2.nn file into your unity assets
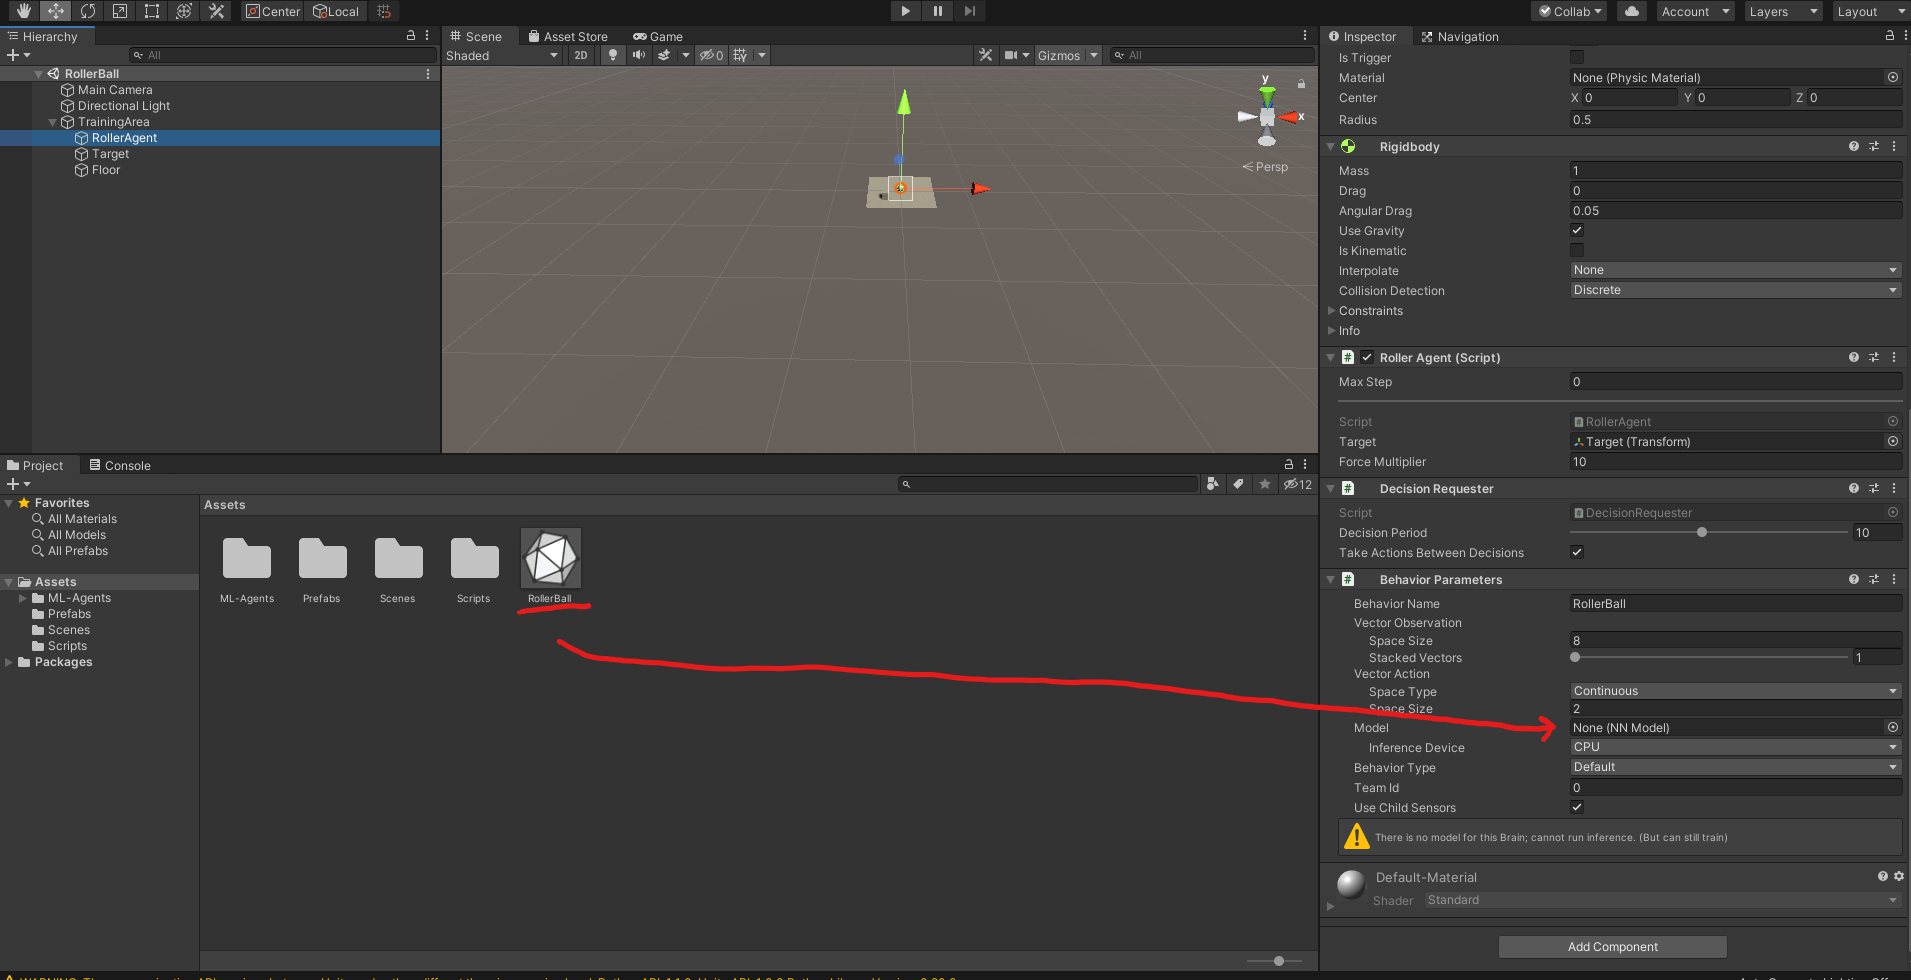
- In Unity, drag the .nn file into the “model” space in the behaviour parameters script on your roller agent
- Right click on “RollerBall_Part2.nn” (might be .onnx for Mac) and select “reveal in file explorer”
- Press play again on Unity. You should see the agent doing the actions it was just trained to do. Show your TA when you are done this step.
Part 3
Okay, now lets optimize and customize!
-
- No more wasted movement!
- Open the RollerAgent.cs script
- In the OnActionReceived function, encourage your agent to hit the target with as little wasted movement as possible. (You may want to look here for inspiration)
- Open Scene -> MultiRollerBall
- This time, we’re going to use 6 agents operating in parallel instead of one (you may have to zoom out to see them all).
- Repeat the steps from part 2 to train your agent again.
- Make sure to specify a different run-id when calling mlagents-learn!
- You can keep fiddling with the rewards/punishments you give until you are satisfied with your agents performance
- To view the results from your training copy
tensorboard --logdir resultsinto your terminal. Then, navigate to your internet browser and go tolocalhost:6006to see some graphs of the results. - When you are done, show your TA and tell them how you structured your rewards/punishments.
- BONUS: Fiddling with settings
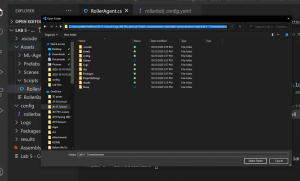
- From VScode open config -> rollerball_config.yaml
- This is the file that specifies how the agent should be trained, how big the neural network should be, and lots of other fun stuff!
- Fiddle with some parameters 🙂
- Changing “hidden_units” and “num_layers” is a good place to start.
- Go here if you want to find out more about the different possible parameters (warning, gets a bit technical!)
- From VScode open config -> rollerball_config.yaml
Postlab:
- Tell us about any unexpected/interesting/surprising behaviour which your agent displayed. What do you think caused it?
- What is reinforcement learning? How does it work? (50 words max)
- No more wasted movement!