Category Archives: week 8

The Hulk FINAL

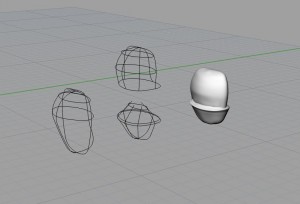
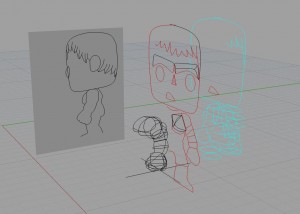
I added more complex geometry to the base surfaces I created the week before by intersecting shapes and adjusting them using control point editing and cage edit. I went back to the curves I used for the other surface and added to them to continue the fluid forms.

I make the legs of the pants one surface and then split the surface of the torso to them edit the surface further and adjust the curve network to create the crotch area of the pants. This way I could have the shape of the legs district from the rest and create the lip of the pants against the torso.

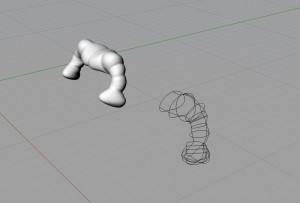
Arms were constructed very quickly using circles that were placed in the middle of each muscle and at the crease where the muscles would meet. This technique extended into the chest so that when the surface was mirrored, there is an indent delineating the pecks.

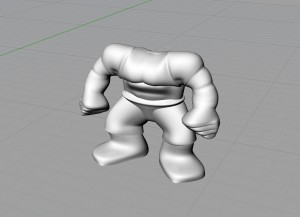
The abs and back muscles along the spine were edited using control point edit and cage edit.
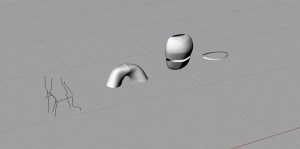
pants
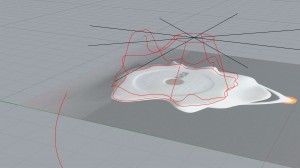
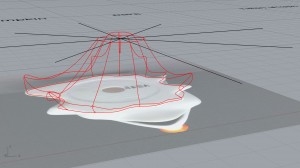
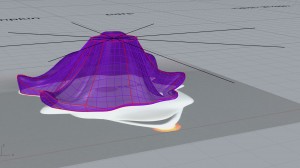
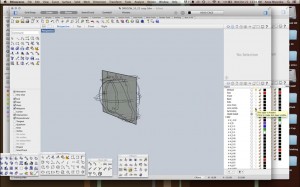
Left to right: Curves from picture frame used to create curve network, pant legs, torso split into two, lip of the pants
torso
Adding to existing curves to create a smooth, continuous surface for the pants to be added to the pant legs.

armsarms final

Circles used to create the prominent muscle structure

BODY

resulting form
Olaf Final Progress

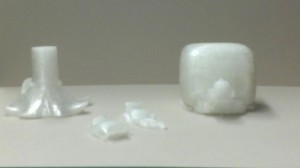
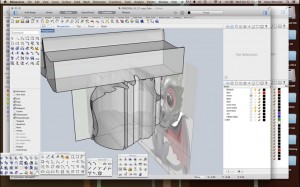
Last Wednesday, we had printed our models. We tried printing in white for 3 hours but it never worked so we ended up printing in clear. Once we had the toys, we noticed a few things that were off so we went back onto Rhino and tweaked this and that to make it more accurate. Then after talking with Edward and Andy, we decided to do something fun with the model for our renders and to hopefully print a second time in white. We decided to play with Olaf losing his head, both in different ways, because that is something he does in the movie. We used those for our renders, but unfortunately we never got a chance to print them because our studios printers both broke and using the white PLA was never fully resolved by anyone. It worked for some and not for others and we thought we shouldn’t waste printing time that others might need when it might not even come out. Hopefully once our printers are back and working we will be able to print these ones.

Blog_finalpost

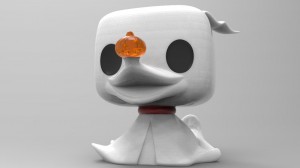
Zero Vinyl Toy Final Progress

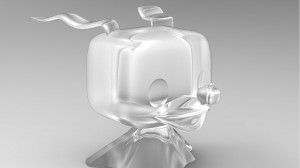
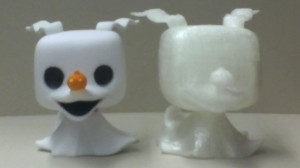
Zero-made-of-Glass

Before continuing to model the body, I had fun trying out Keyshot!

In order to model Zero’s body, I used the photographs and one scan to create reference lines, and tried many different commands such as Loft, Sweep2, Rebuild command, and NetworkSrf to connect the lines into a surface. NetworkSrf produced the best results, but needed more reference lines than I had expected.

29-oct-body-frame zero-guidelineszero-body

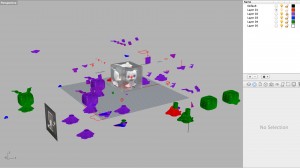
Connecting the various parts presented a bit of a challenge: the mouth in particular had too many disconnected edges, and I ended up having to revisit it and come up with other solutions. Once the entire toy was assembled (ears, head, mouth, nose, body), I began creating renderings in Keyshot. After playing around with different materials, I went back to the Rhino model to separate the model into layers according to colours. I then brought it back to Keyshot and used the plastic materials as colouring, as well as adding a backdrop image found at http://f.fwallpapers.com/images/nightmare-christmas.png.

zero-appropriate-colours


Zero-rendering-with-background

Zero-Floating!


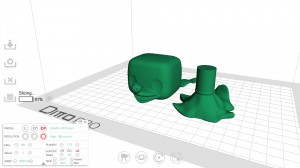
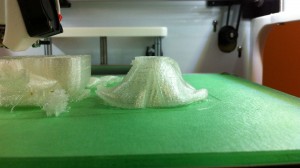
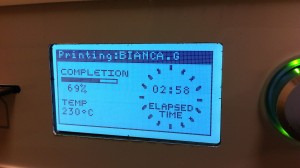
The next part was the actual 3D printing: I quickly discovered there were a few more steps before bringing my Rhino model into Tinkerine, such as getting rid of naked edges, creating meshes, and exporting each piece into an stl file. I decided to print the body, head, and ears separately in an attempt to use less support material to speed up the process, and also to allow the head to be able to turn. A problem that came up while printing was that the PLA material did not stick to the base surface very well, so the bottom surfaces ended up with gaps where the material was pulled away by the printer head. Overall, the 3D print result worked, although with less detailed precision than I had prepared for.

Zero-Slicing-in-Tinkerine3D-printing-part-way print-timeseparate-parts-3dcomparison

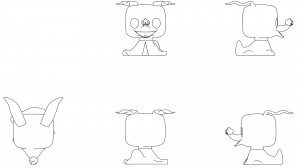
To finish up the project, I used the Make2D command in Rhino to generate line drawings of the figure from different views. To improve the drawings, I then added and deleted specific lines.

zero-line-drawing


Final-Rhino-Mess


Finn the Human: Let’s Try This Again (Attempt #3)

After organizing all my layers so neatly and tracing all the slices (top and bottom) I still can’t quite get these surfaces to come together the way I want them to… I have decided to finally abandon these beautifully organized layers and follow the route most others have discovered – tracing images of the original toy.

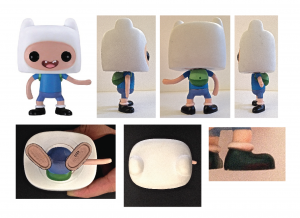
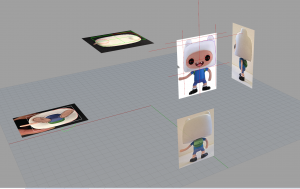
During this step you have to be very careful to take pictures with the least amount of distortion as possible – impossible to take a photo without at least a small amount of perspectival distortion so try focus only on the nearest parts of the toy when tracing.

Screen Shot 2014-11-15 at 4.45.58 PMphotos

**Later I moved these images with their tracing together to meet in the middle**

DROGON PART II

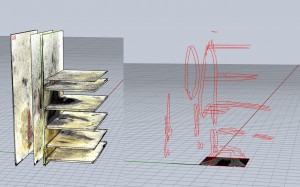
Liyang and I, having scanned and scaled and the physical section cuts, then went about importing them into 3D modeling space. Andy gave us the great tip that the saw mill cuts out ~2mm, so we used this in addition to our measurements to arrange the cut reference files.

g_modeling

We were careful to be neat with our layers, labeling, and organization.

1

We then began to tackle the body in parts. For example, with the head, we found a plane of symmetry, mirrored the reference lines, and began to form a network of curves.

2

The next step is to work with solids; we experimented with different ways of forming solids and booleaning them.

3

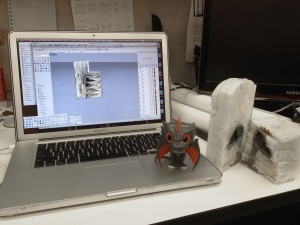
We found that our section cut references were not informative enough on their own, so we supplemented them with imported elevations. We also frequently referred to the physical toy, feeling it and examining it.

4

Other parts of the figure included the torso, feet/legs, wings, and tail.

5

Some methods yielded convoluted results. This is definitely a process of trial and error.

6

Many techniques used in combination lead to the best accuracy and intricacy.

7

Here’s the screenshot of the current state of the model. Not there yet, but well on the way:

8