This is a combined pdf of multiple images and texts that explain some of the troubles, workarounds, and solutions Mark and Patrick had in the making of their Munny Toy.

This is a combined pdf of multiple images and texts that explain some of the troubles, workarounds, and solutions Mark and Patrick had in the making of their Munny Toy.
This week Darcy and I worked on modelling the face which required a variety of attempts and methods to accomplish. Using a curve network and then editing control points to shape the smile and correct the volume was one method. In order to get both sides of the face to be symmetrical, One half of the face was modified and then mirrored.
The other method was using horizontal slices at different heights and then lofting them together to produce the face volume. This made the bottom part of the face look good, but distorted the top half. Then we tried using vertical slices cut along diagonals of the face and creating a curve network from those. This produced a good top half of the face but distorted the bottom half. Next we tried putting those two together but couldn’t get them to connect properly.
Once the face was completed, we created the eyes using distorted spheres, and the teeth with a curve network. After that we boolean union all the parts together to get ready for printing. We ran into some difficulties when trying to mesh the object which required repairing some shapes to eliminate naked edges and make it a closed solid and Andy helped us with manifold edges and how to fix them. Now we are ready for printing.
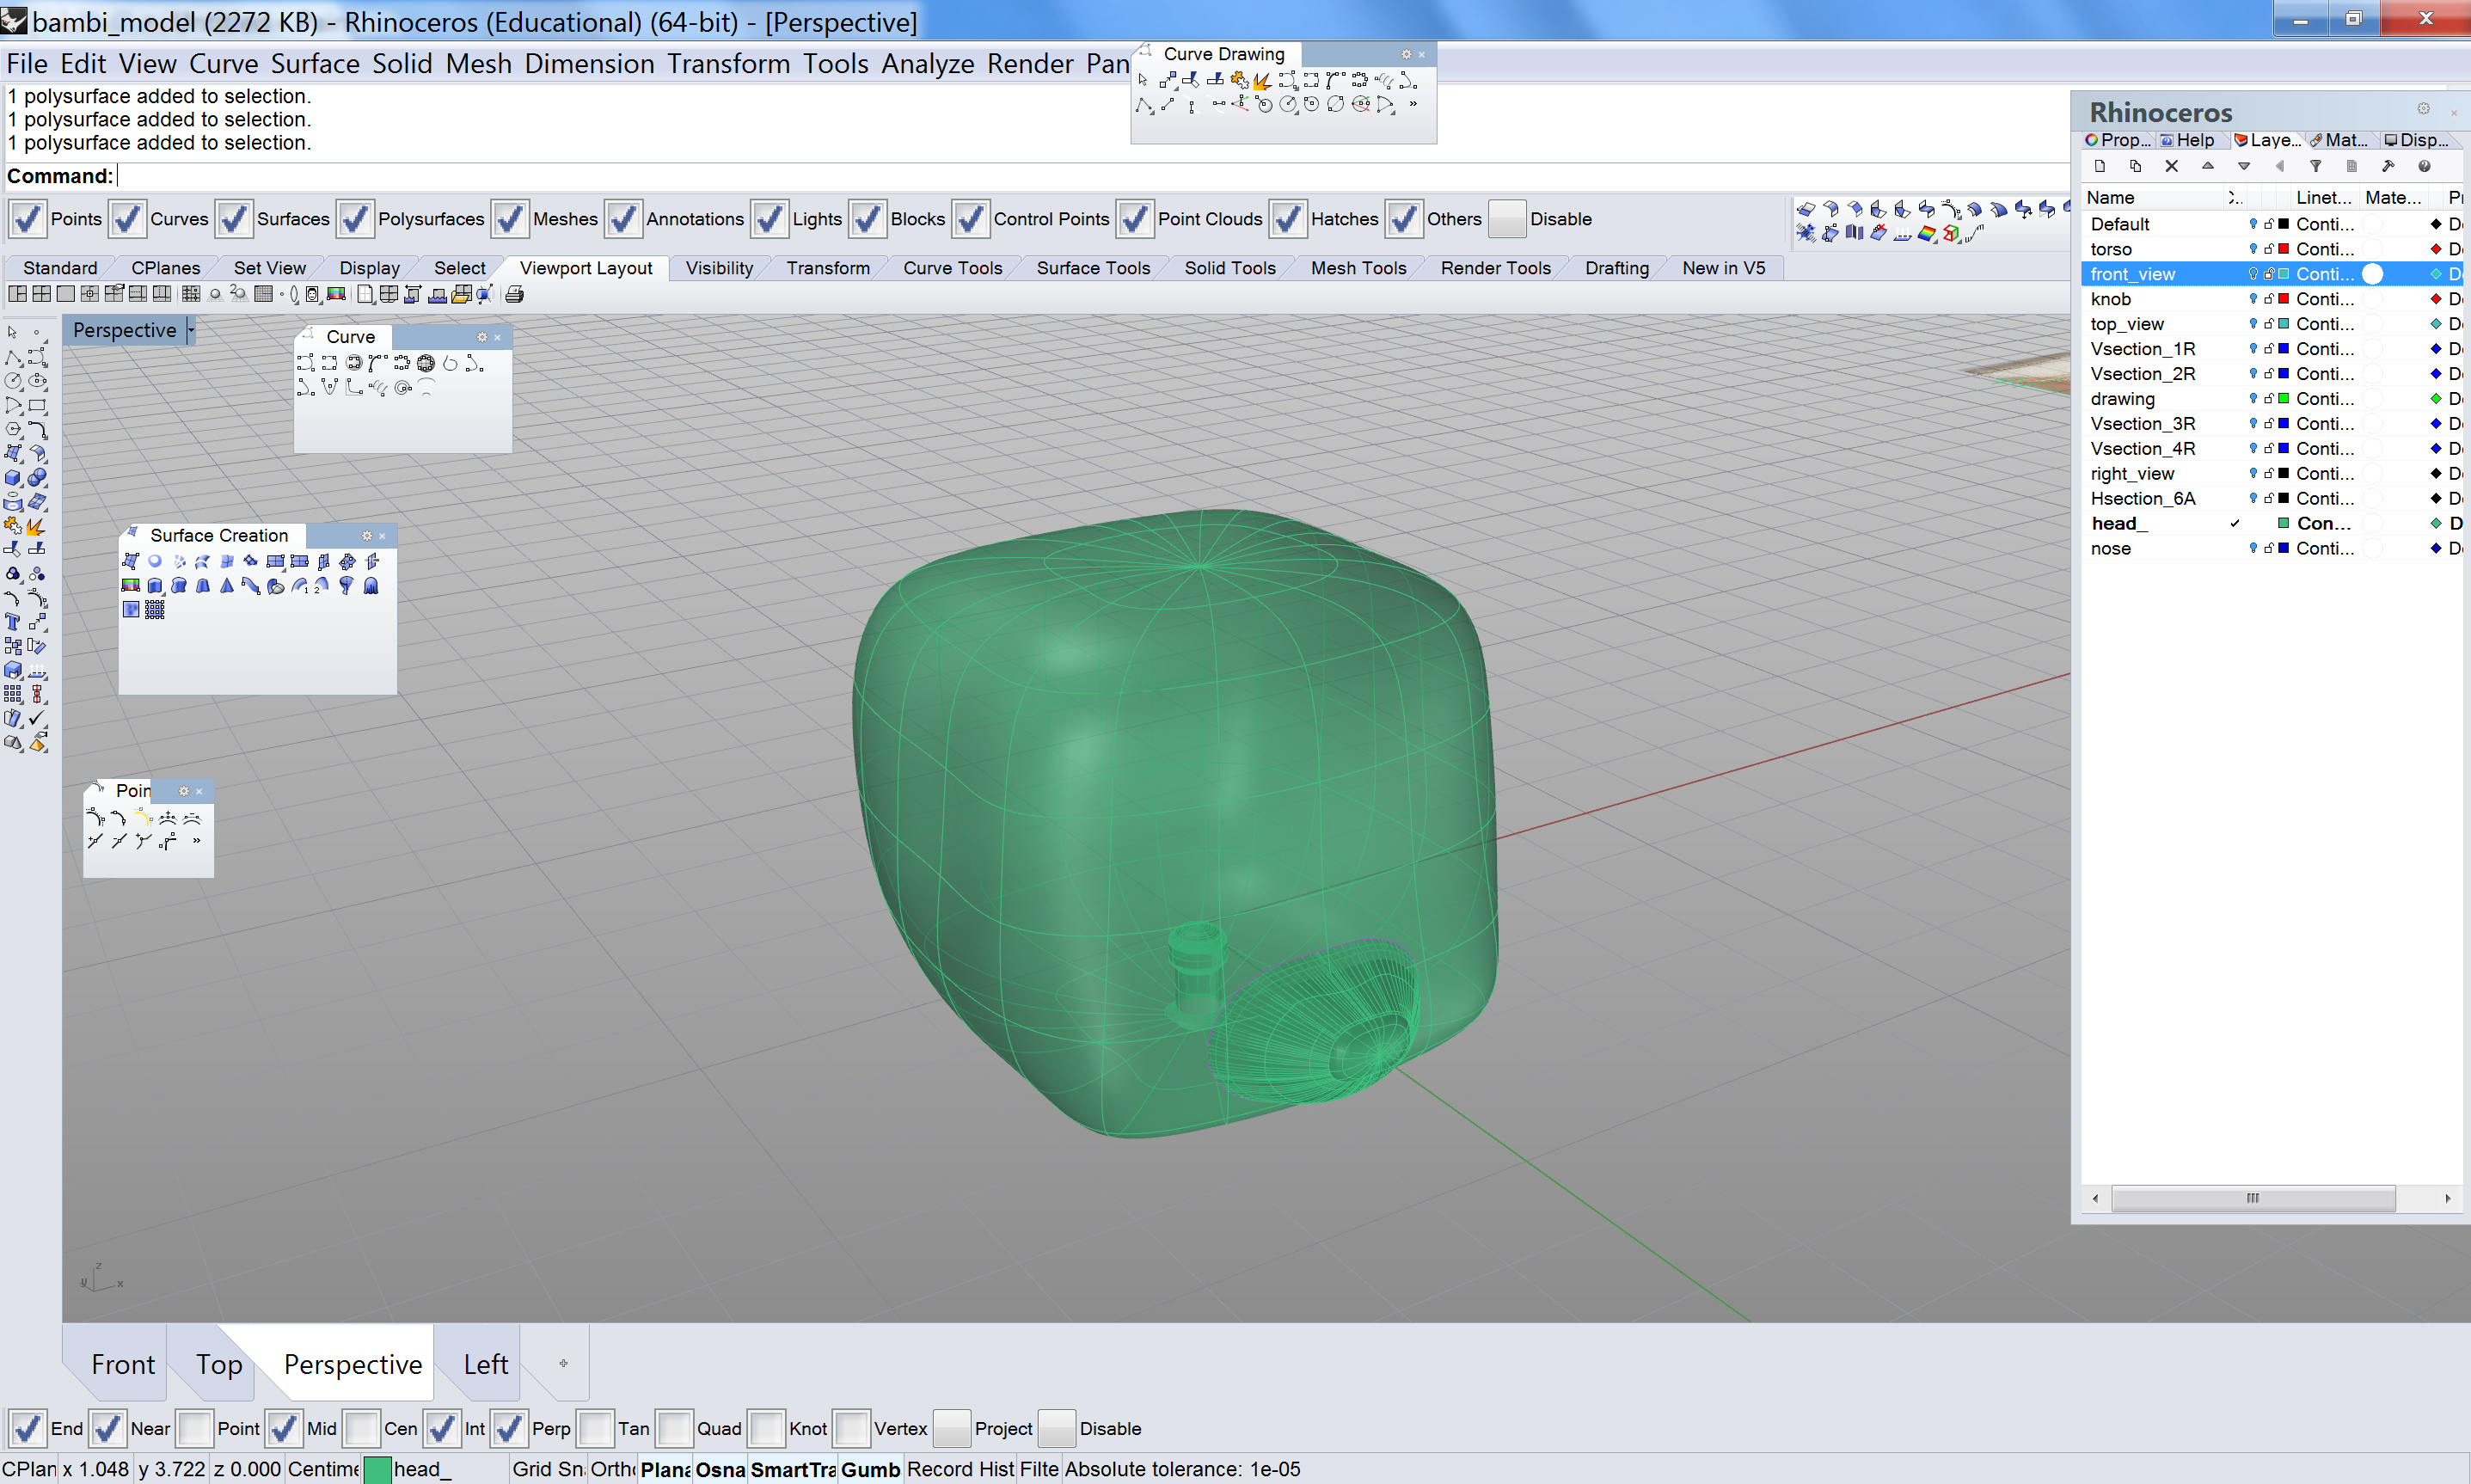
Modelling Bambi this week involved a lot of testing of various commands and methods. Throughout the week, Vivian and I spent most of our time testing and using the following commands to create surfaces: Sweep1, Sweep2, Curve Network, Loft, Edge Surface and Rail Revolve.
As mentioned in our last blog post, we started to build Bambi’s head by tracing and then “sweeping” in sections, hoping to get around the entire head piece by piece. However, that method led to many undesired bumps and rough edges that did not contribute to demonstrate the toy’s smooth surfaces.
After several tests using different commands, Vivian and I found that “Curve Network” gave the best result, resolving the issues of bumps and properly represented the sphere-like quality to Bambi’s head (see screenshot 1).
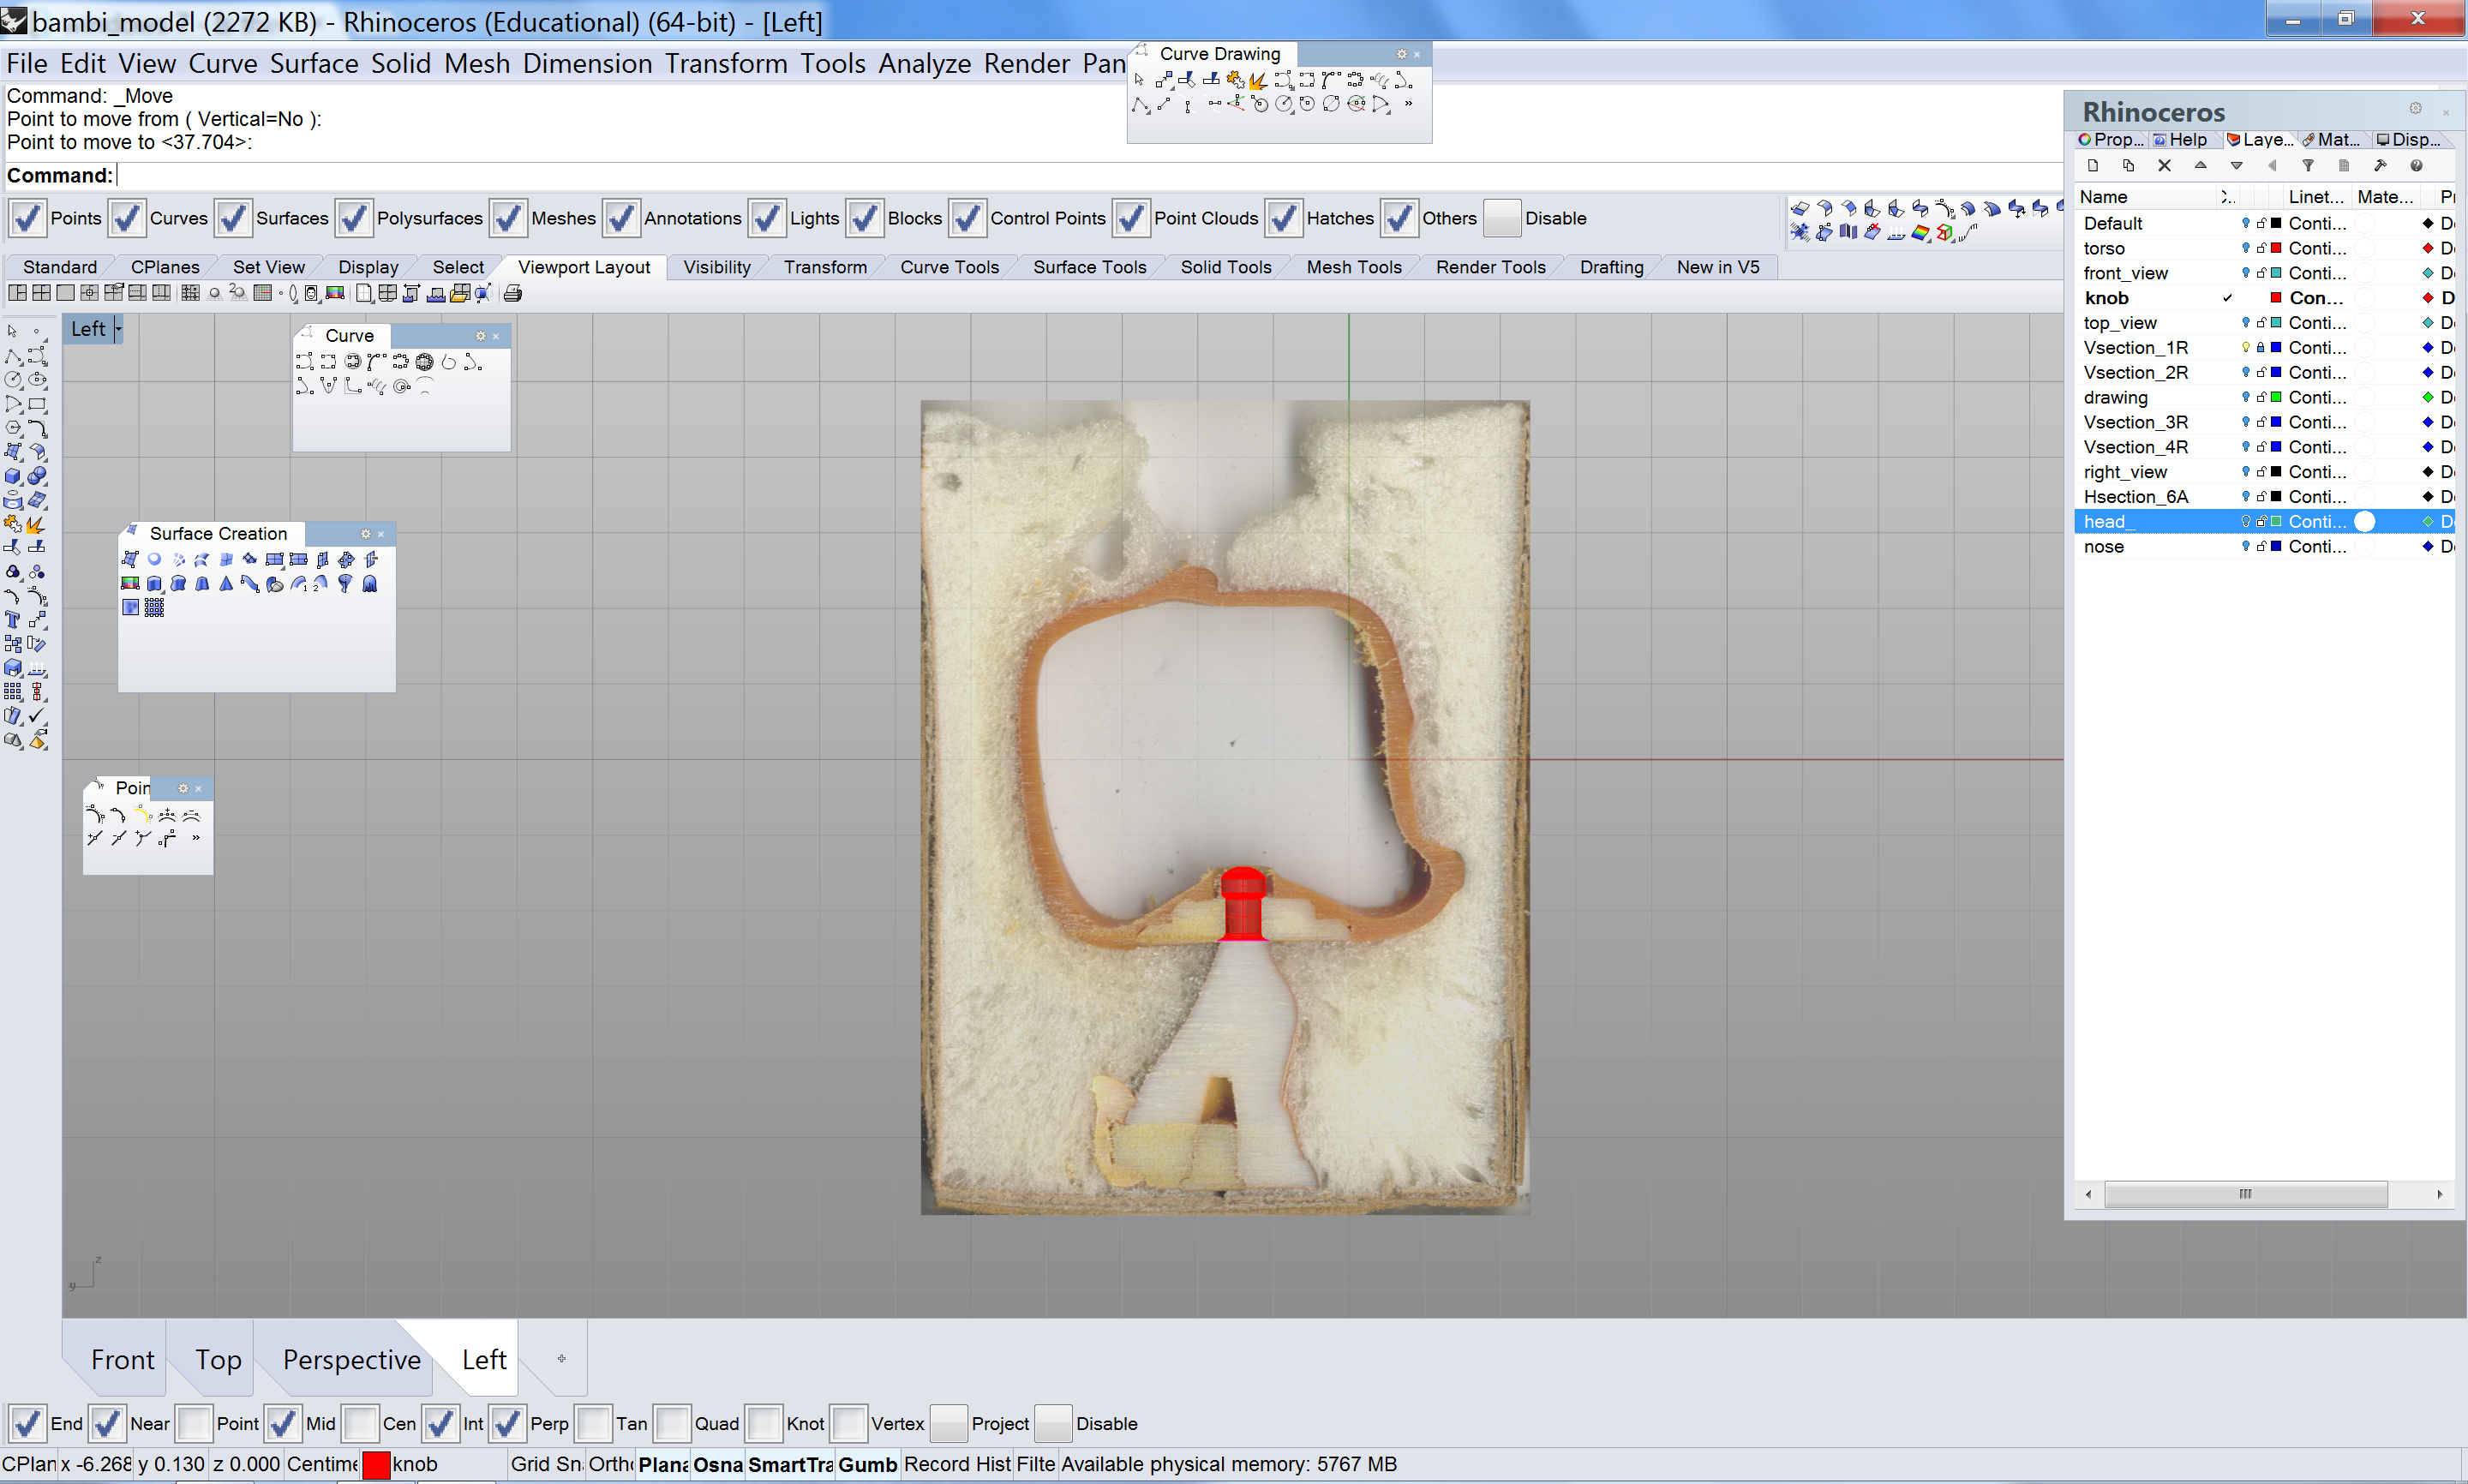
In addition, we decided that we want to allow the models’ head to rotate (see screenshot 2). We used “Revolve” to create a small nob embedded underneath Bambi’s head, with a gap of 1mm all around.
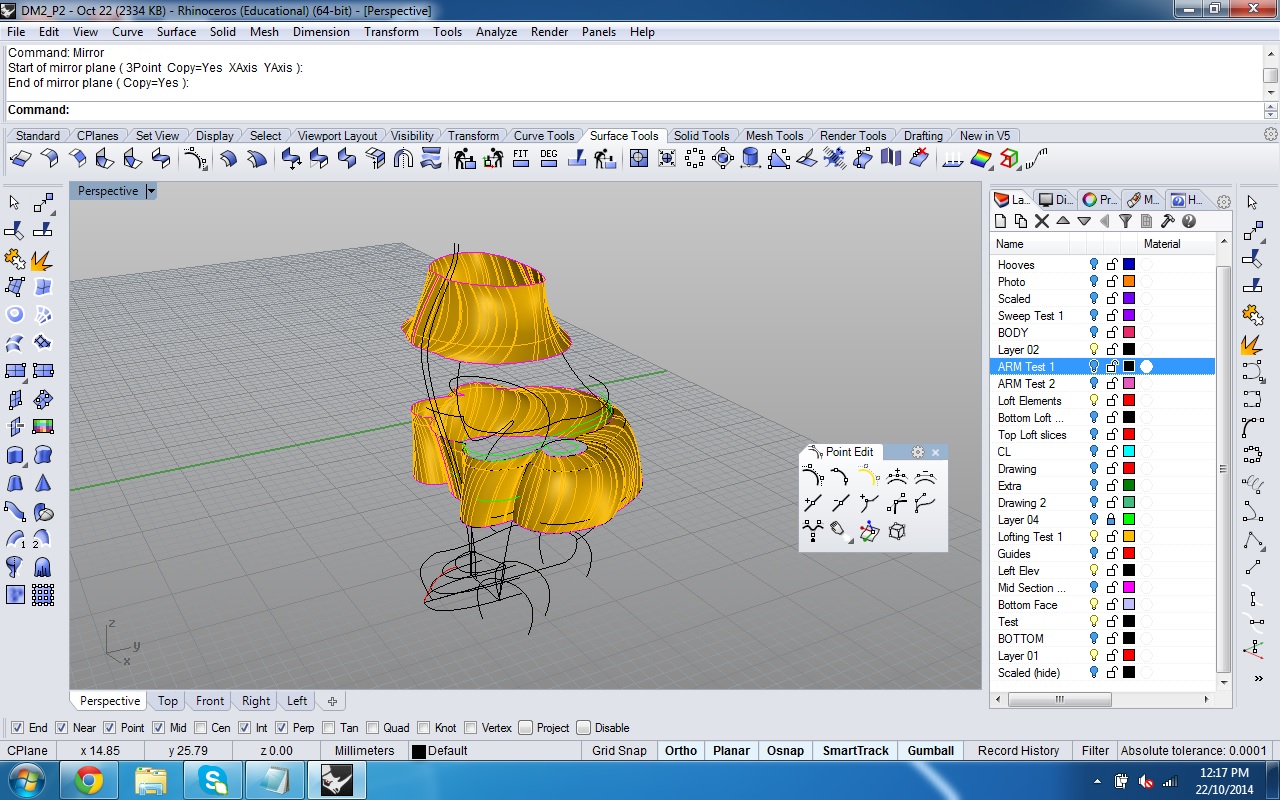
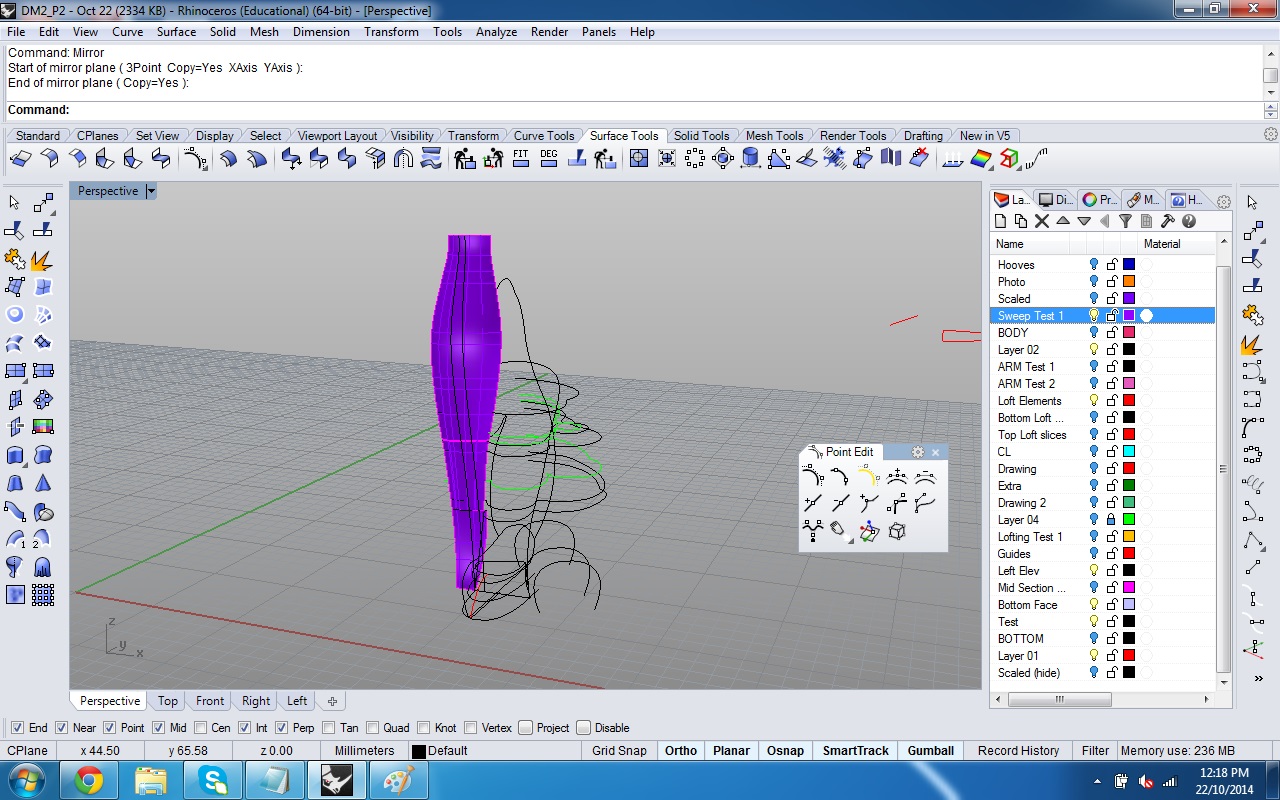
Bambi’s torso underwent much iteration. Screenshot 3 shows parts of the torso using “Loft”. We liked this method because it formed the arms, knees and body in one piece. The problem arose while attempting to loft the entire torso; surfaces disorderly bounced off of curves and jagged edges formed.
Screenshot 4 shows a piece-by-piece attempt in resolving the torso. Vivian and I used “Sweep2” to create Bambi’s front and back. This was successful, however could not carry forward to the rest of the torso as smoothly as this portion, such as the knees or the arms.
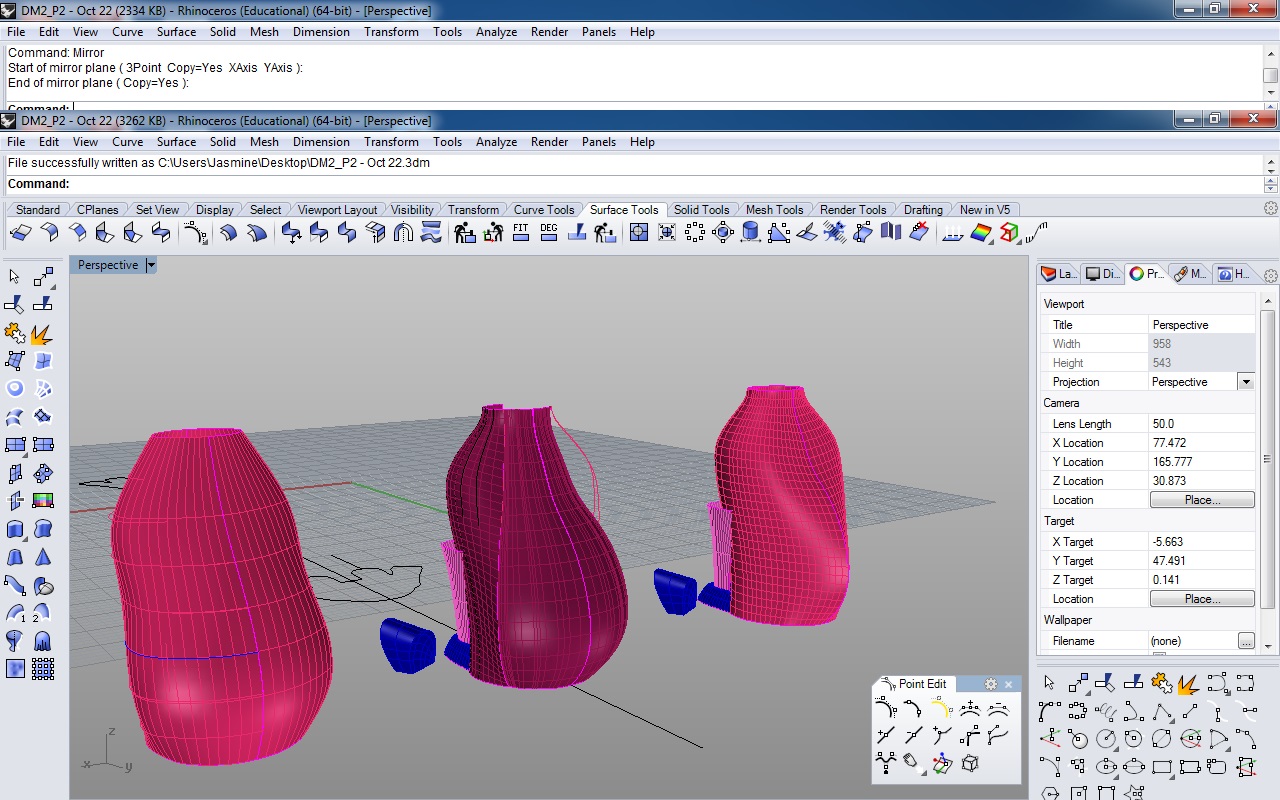
A third attempt involved using “Curve Network”, where several lines had to be added in order to provide adequate direction (see screenshot 5). Some of these lines had to be estimated and adjusted from reference images. The resulting model looked good. Nevertheless, after mirror-ing the second half, the shape did not resemble Bambi.
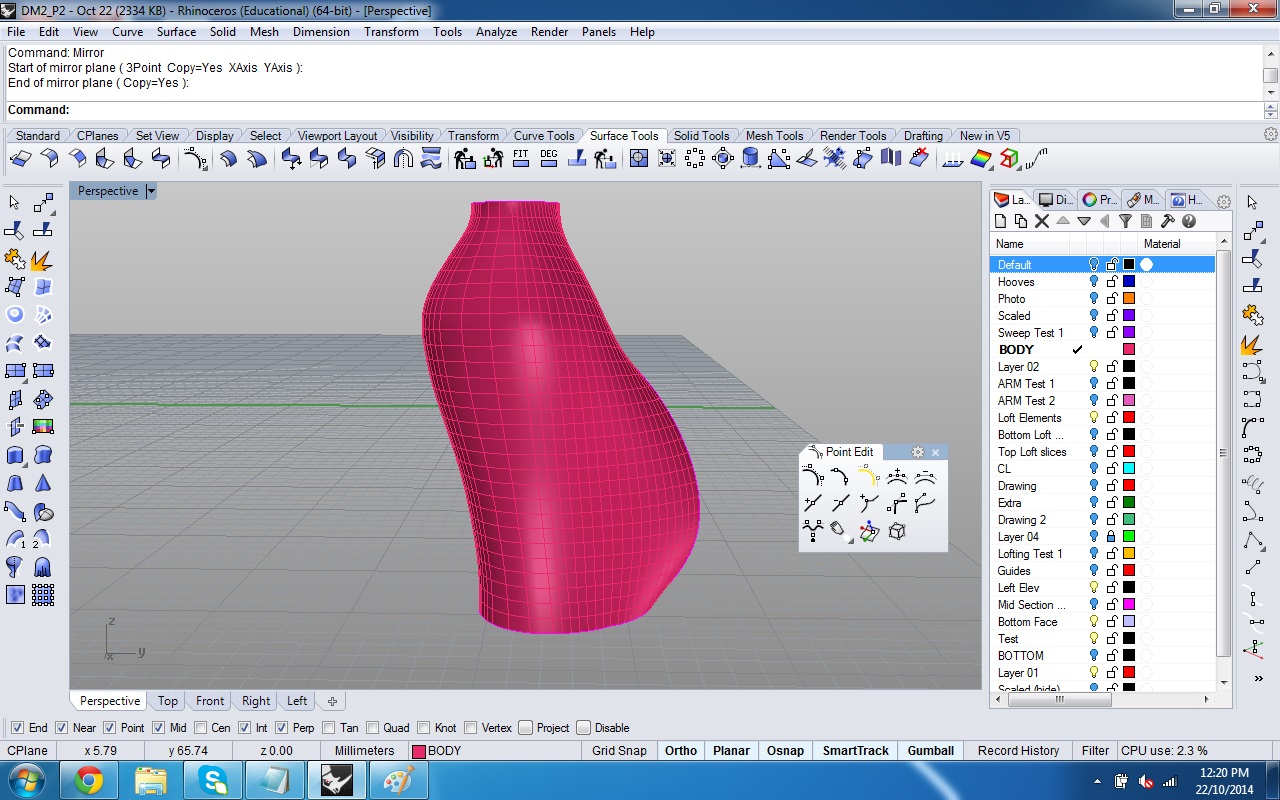
Lastly, a final method landed us in a good position for creating Bambi’s torso. Using the model formed by a combination of methods all of the above (ie. “Sweep2”, “Curve Network” and “Loft”), we used a command that extracted curves in specific vertical increments. By adjusting each of those curves to smooth the edges produced in the third attempt, we were able to obtain the model shown in Screenshot 6.
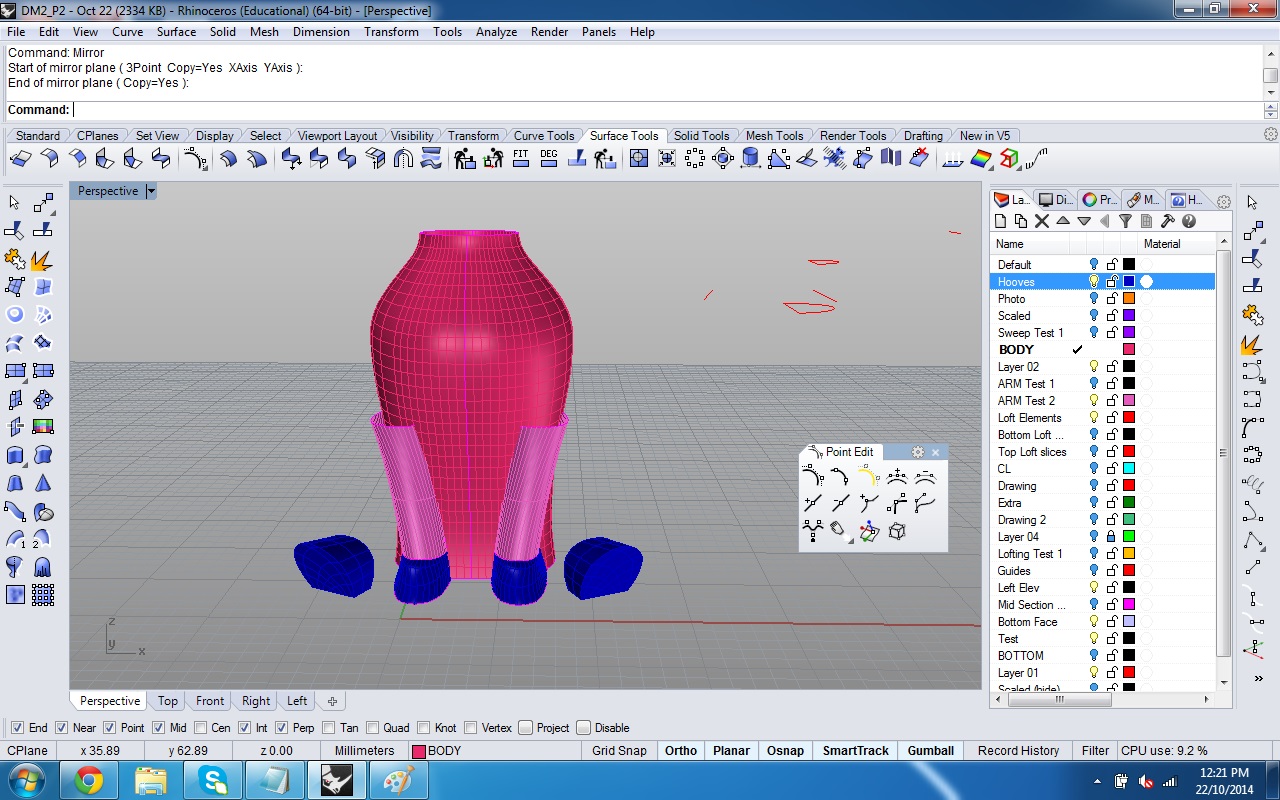
Vivian and I then continued to build the arms and hooves, with commands mentioned above including “Edge Surface”. These parts were not as complex as the main portion of the torso. Nonetheless, we are still stuck on closing off the top part of the arms.
As we continued to trace our sliced model images to obtain Bambi’s form, these traces became references more than the actual curves used to build the model.
Darcy Keester + Luis Puente
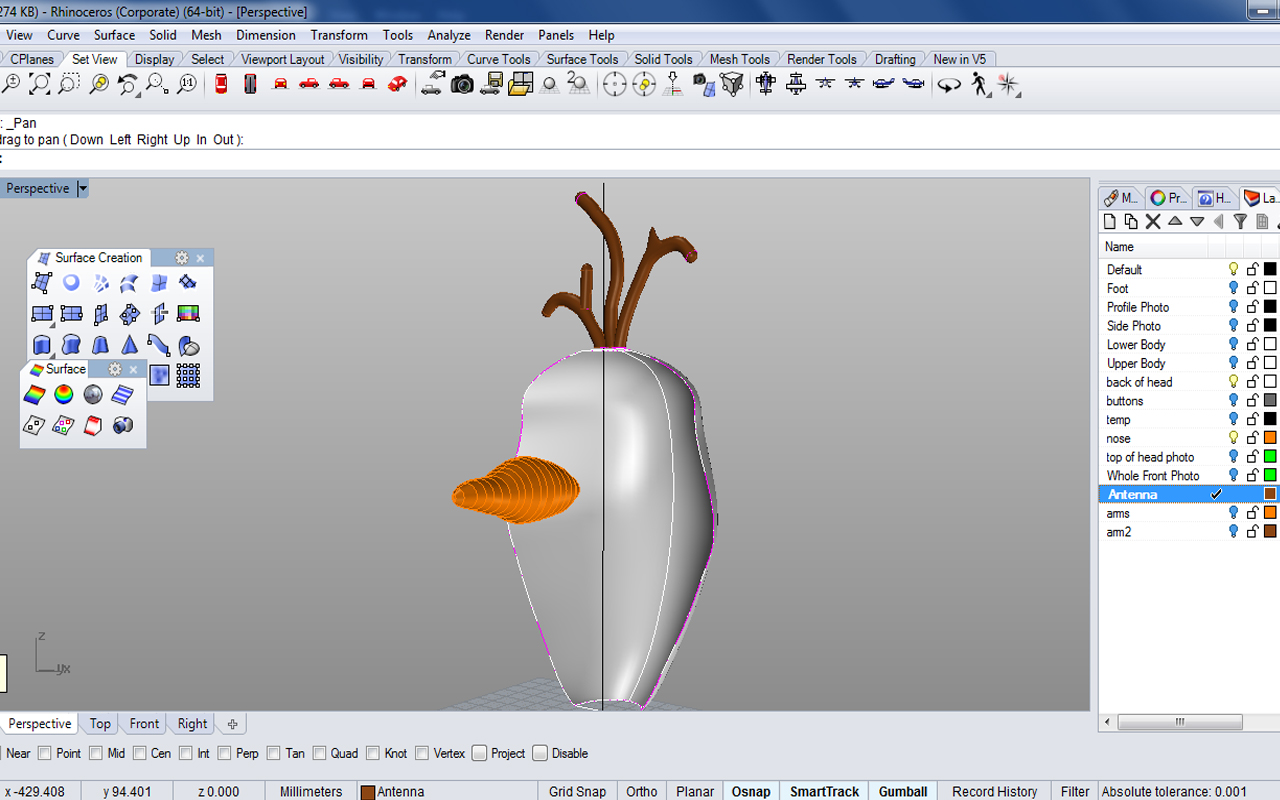
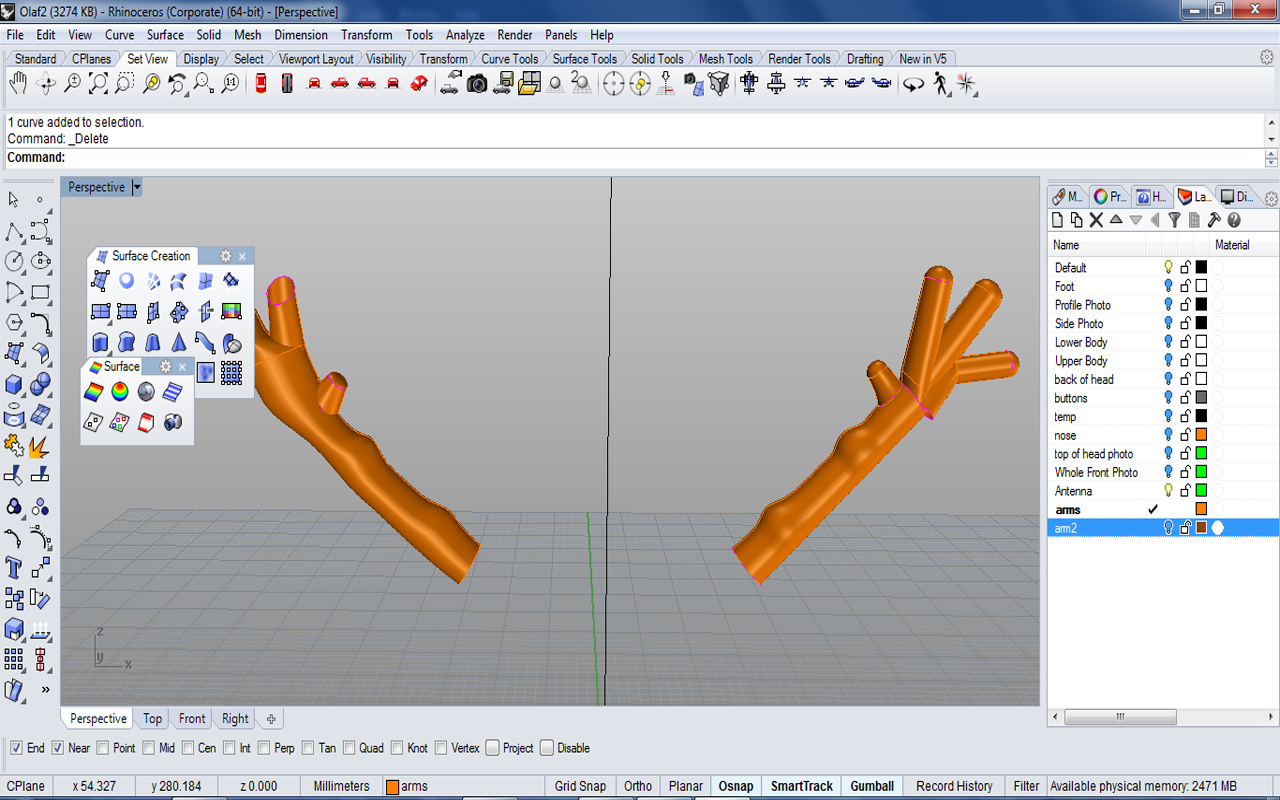
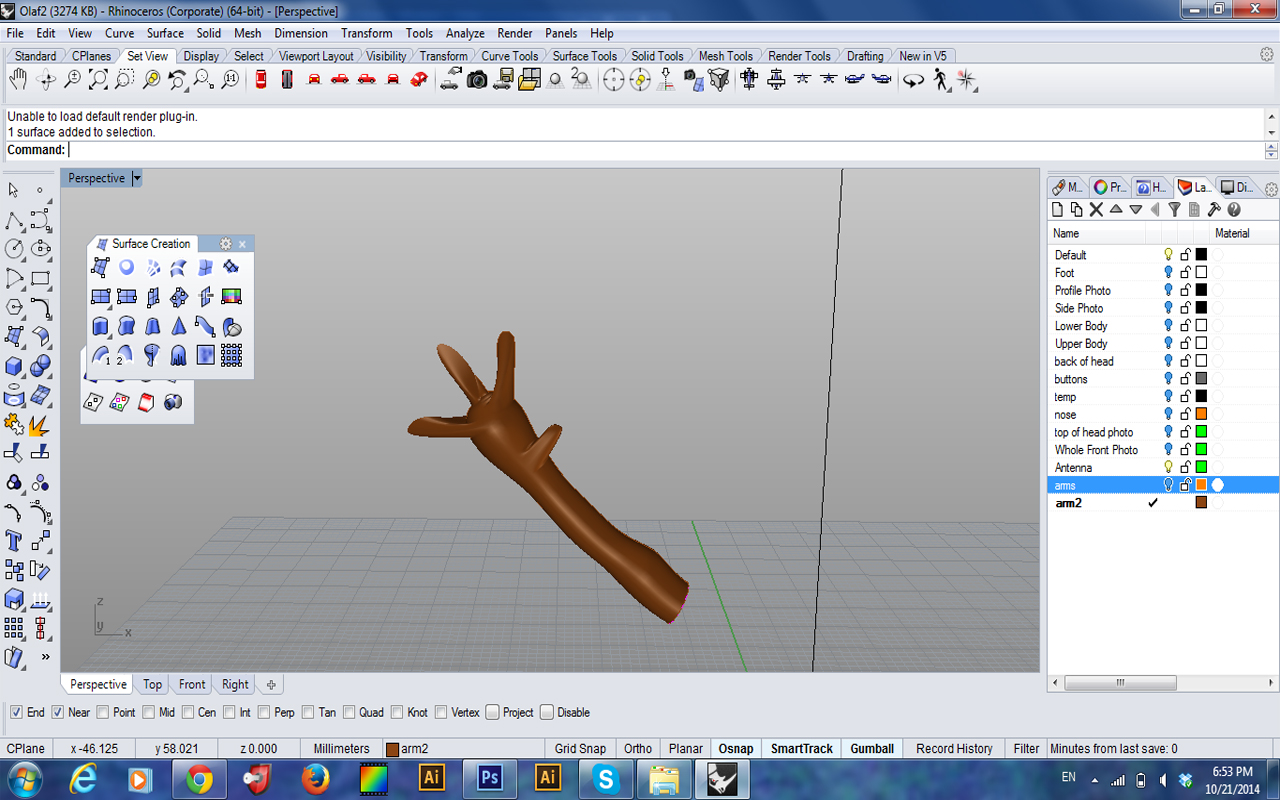
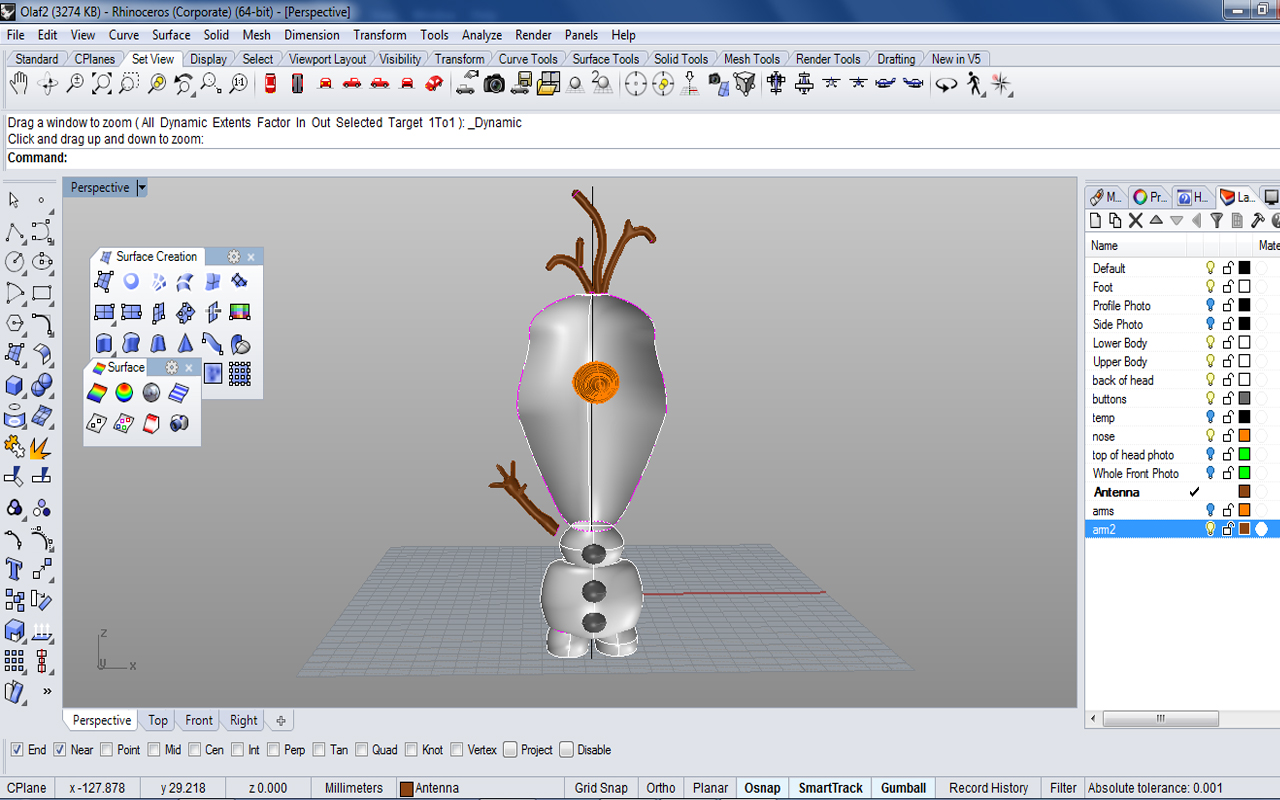
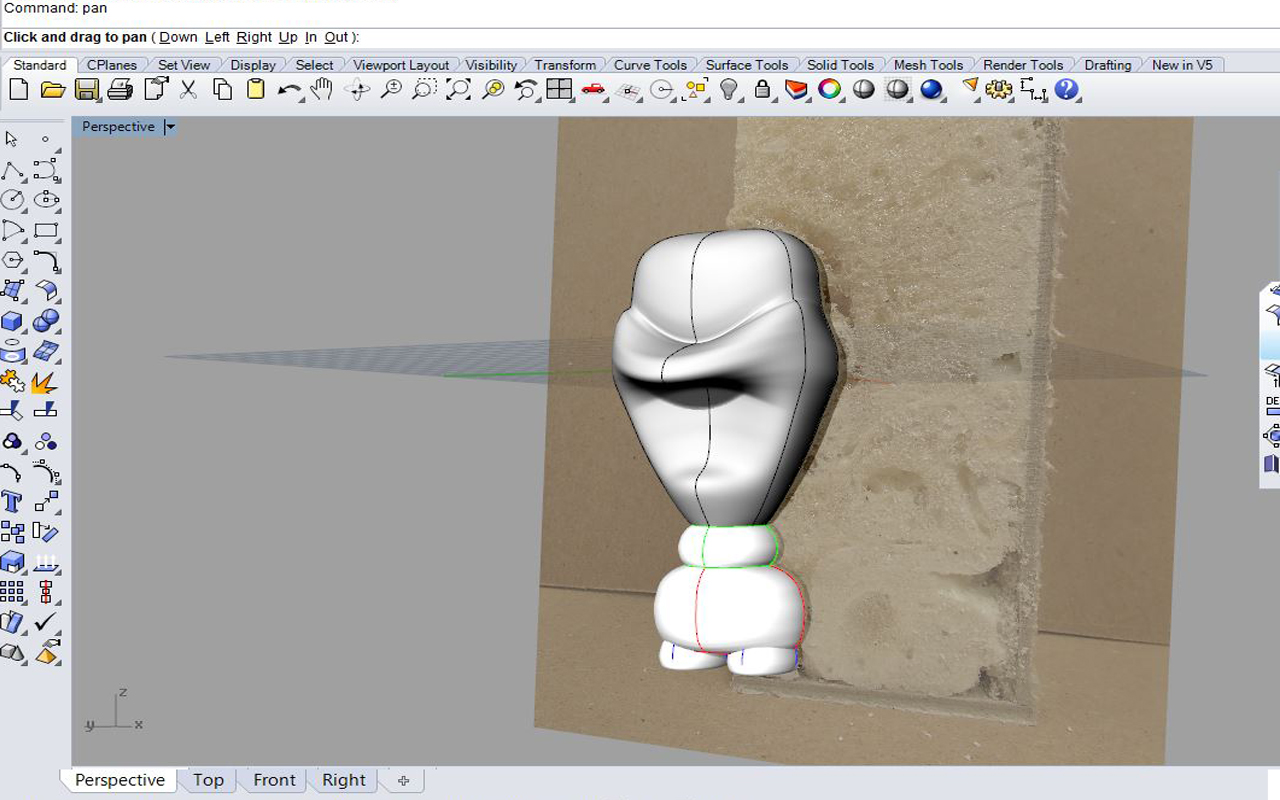
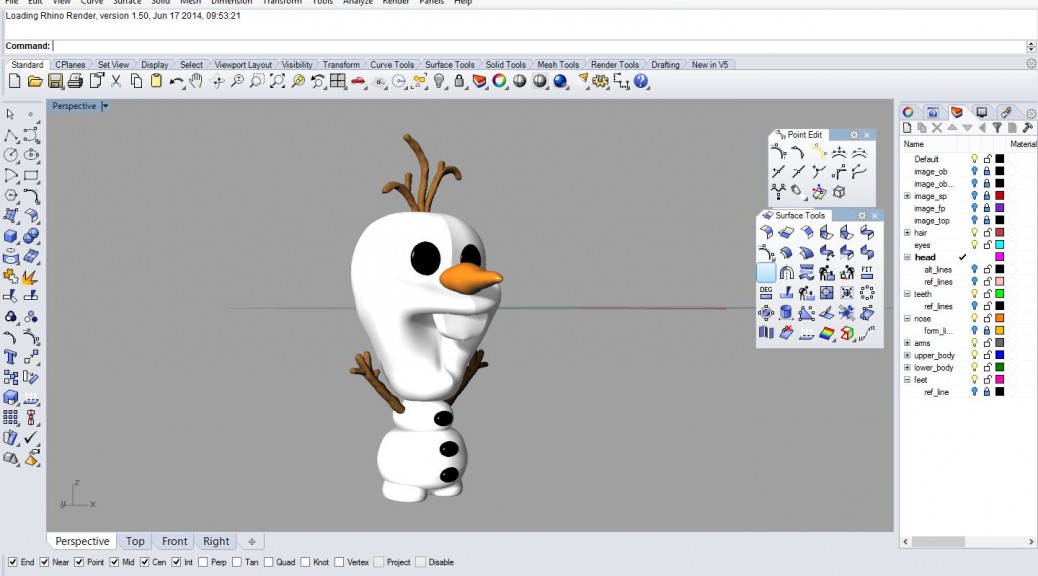
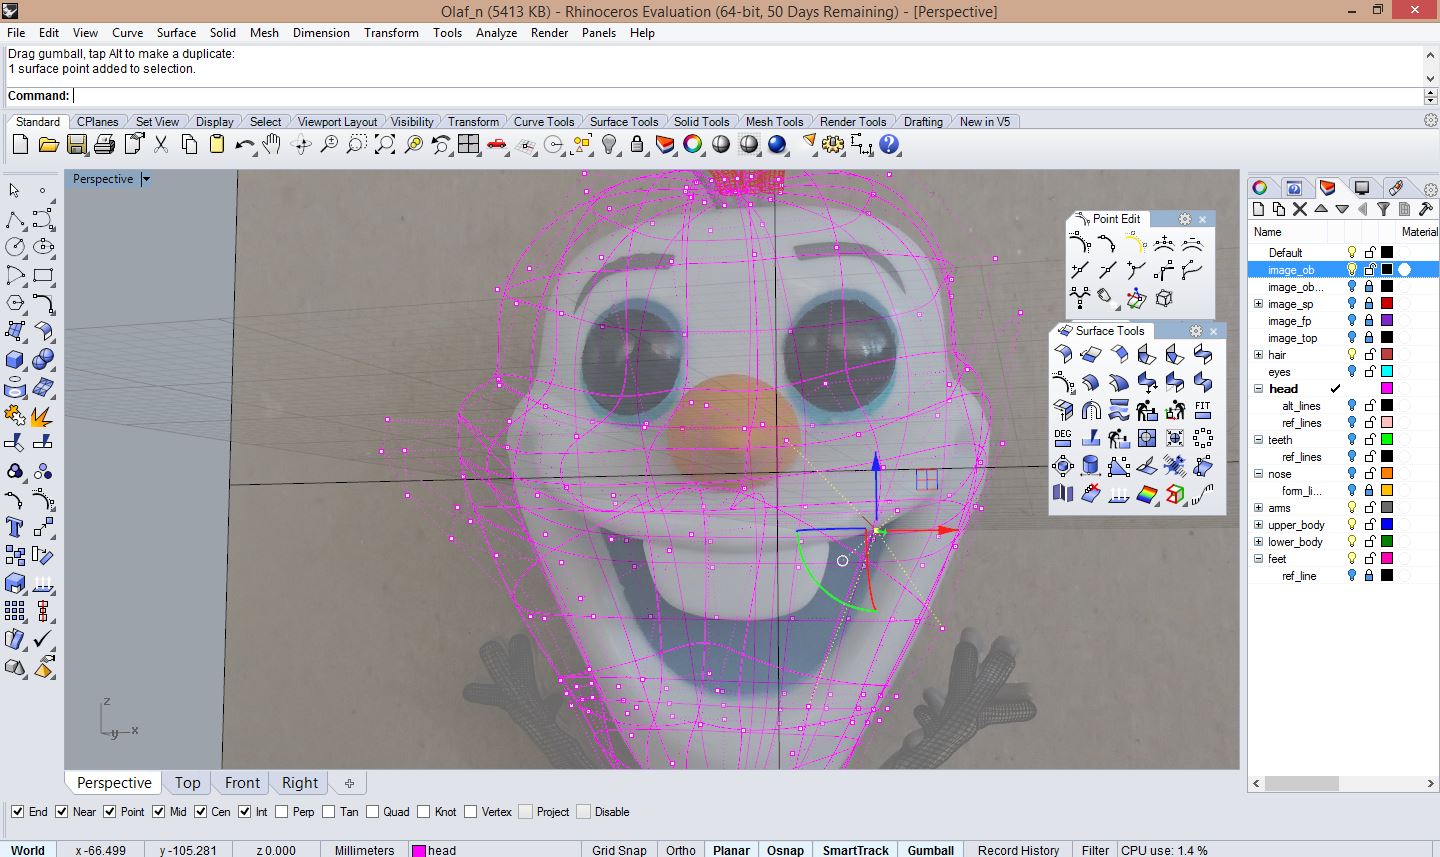
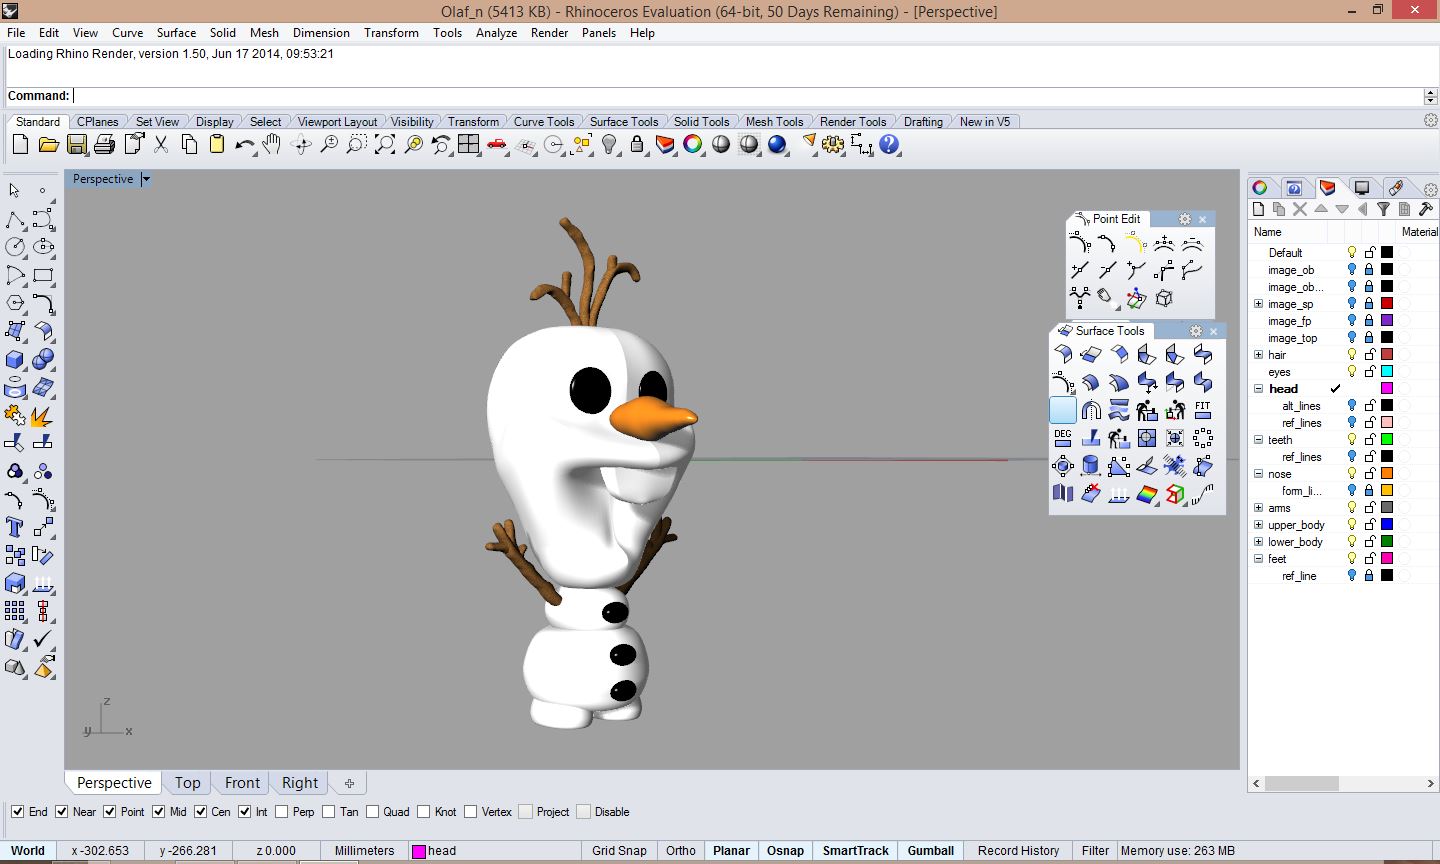
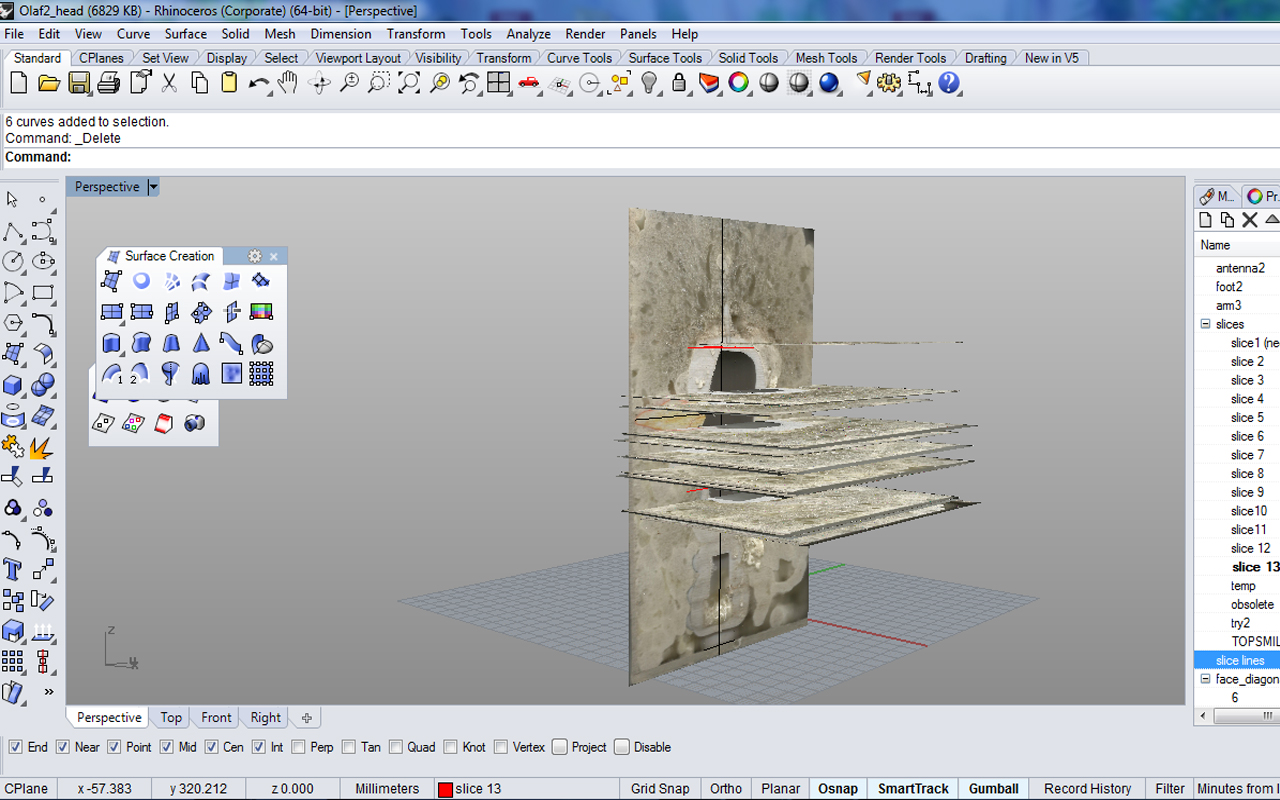
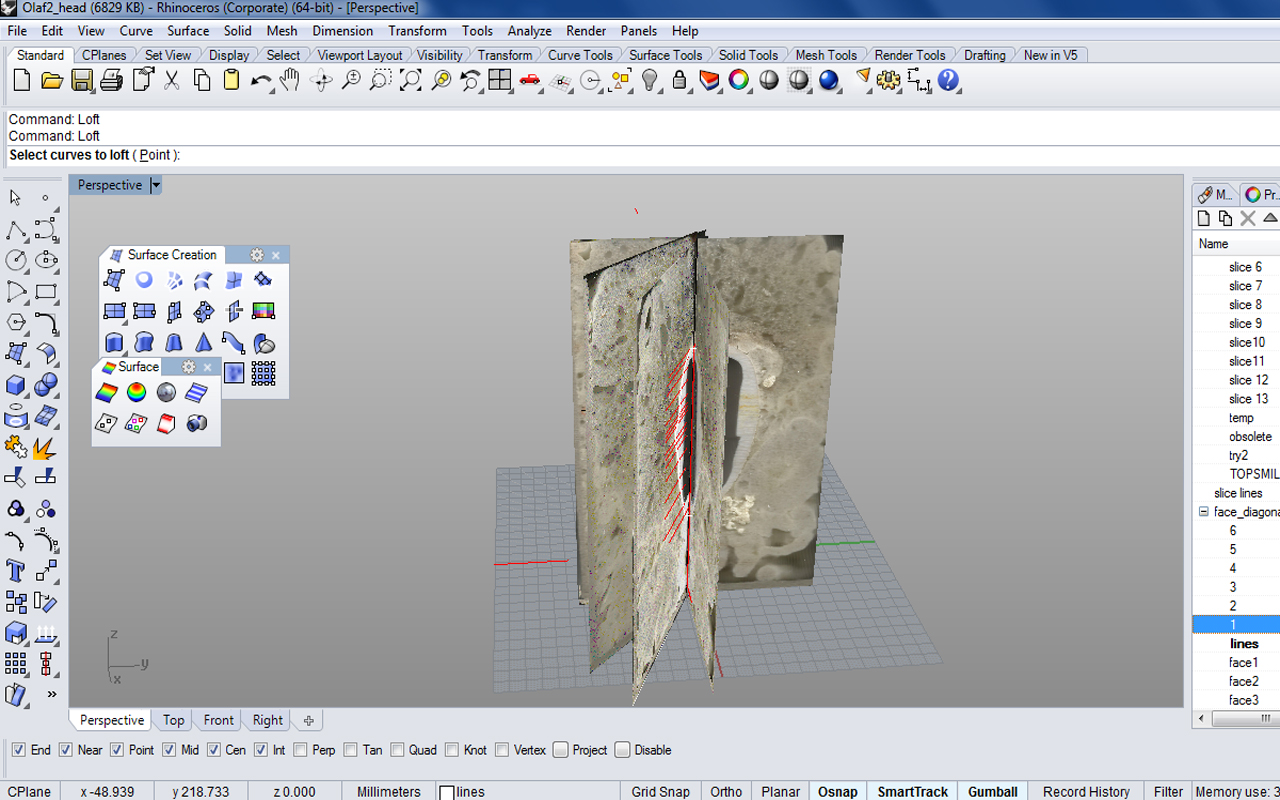
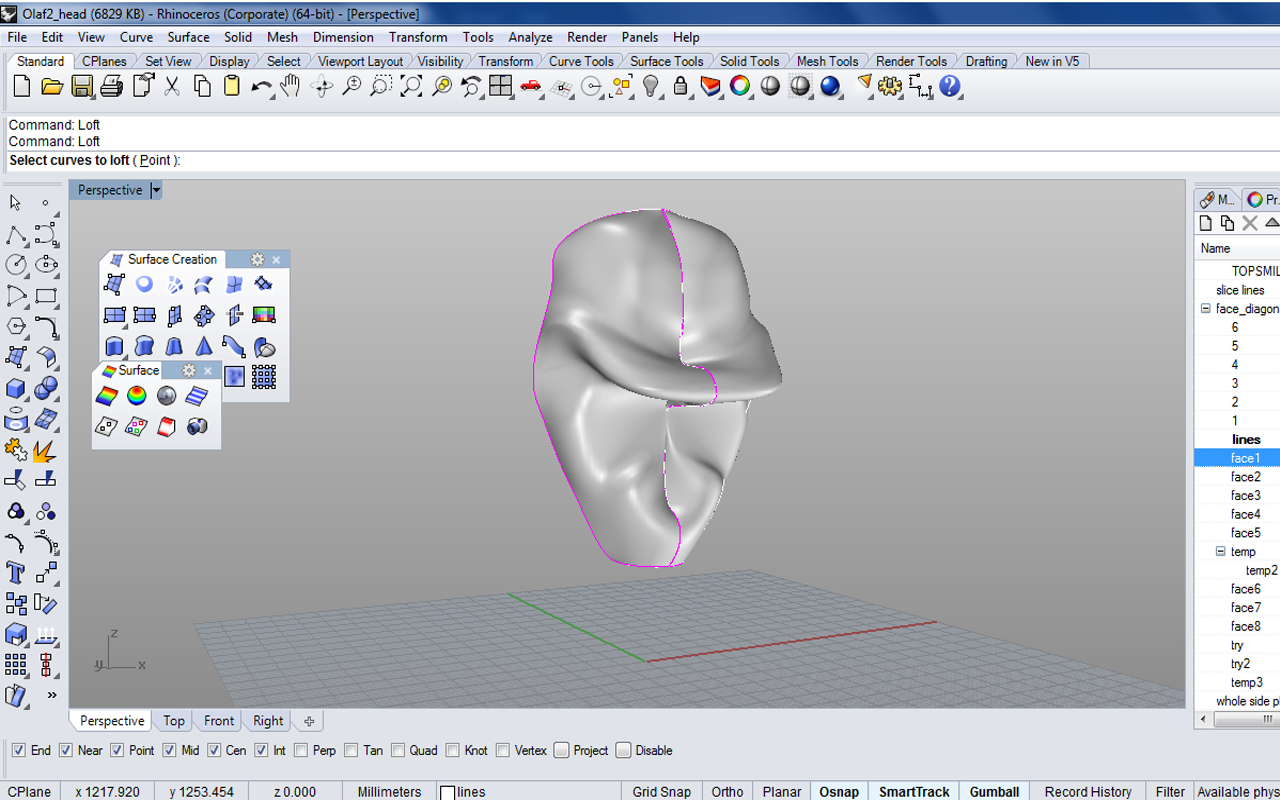
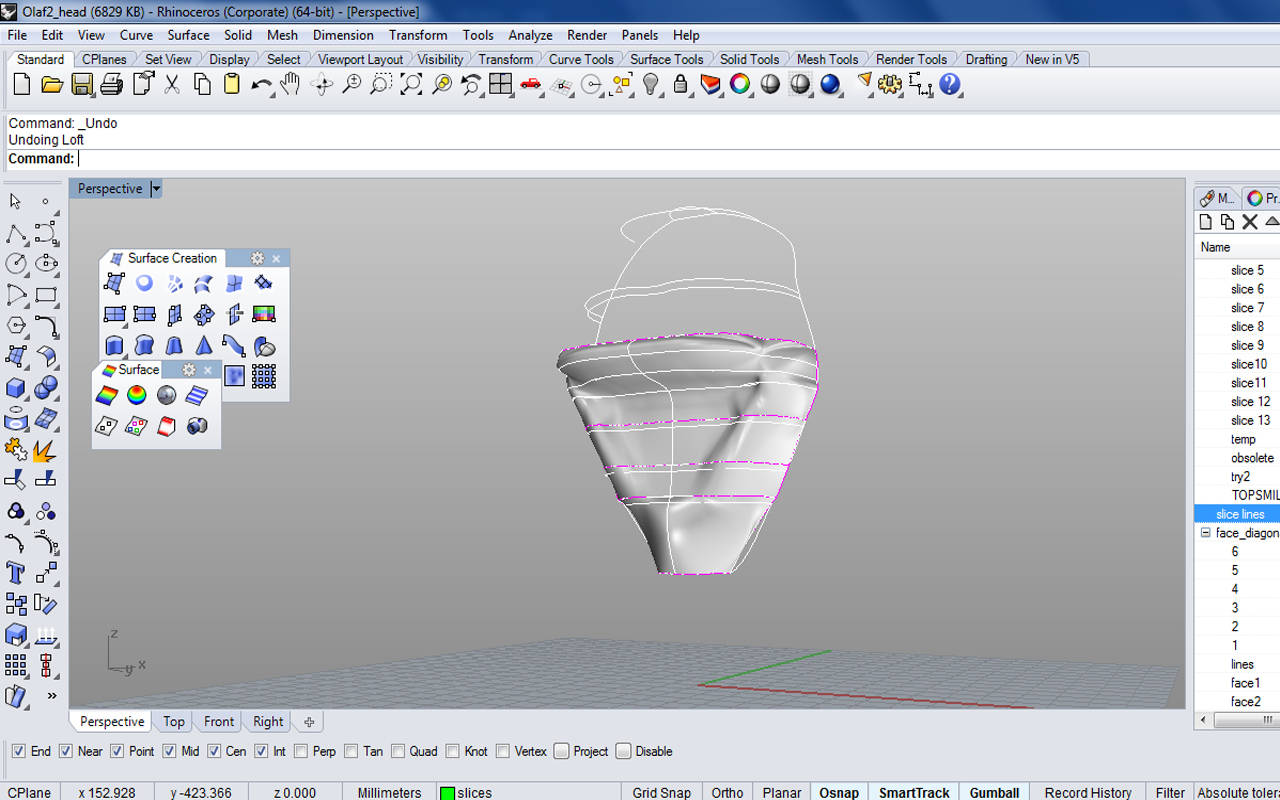
This past week we have tried to model all of the components of Olaf. We first worked on the body last week before realizing our photographs were not very accurate, so we scanned our pieces instead and re-modeled the body. Next we worked on some of the smaller details like the hairs, nose, and buttons (screenshots 1 and 4). Those were done using the sweep and loft commands. We also worked on the arms, which have turned out to be very tricky. Our first attempt used sweep to make the arm and then another sweep to make each finger, which as you can see from the screenshot (#2) below turned out looking not so great. In our next attempt we used only one sweep to get the arm then played with the control points to make each finger (screenshot 3). The trickiest part now is modelling his face. We made a first attempt, as seen below (screenshot 5), using a curve network with curves on the front, two sides, and two in between on his face. However, we decided we need more cuts to our model to more accurately make this part. So we are going to try two different methods of cutting it, since we already have scans of our cuts we figure we can do that to see which one works better. One method will be similar to the idea of getting those curves down his face, like our first attempt, and the other will be to make horizontal cuts along his head. Besides that our next step is to figure out how to put each piece together and how to make it “solid” so it can be printed.