This example has been adapted from a tutorial on H5P.org
In this demonstration, we will walk through the creation of a Content Presentation content type. This is how it will appear:
Use Cases
Course presentation enables you to create and present interactive course content through a web browser. It is comprised of slides which can be embedded with text, multimedia and interactions that can foster engagement.
Course presentations are ideal when you would like to package educational content in an organized and interactive structure. Learners navigate through slides, actively participating in quizzes or viewing videos and other media as they progress.
They can be considered as a dynamic substitute for traditional formats like PowerPoint presentations, PDFs or text-based websites.
Step 1: Topic
The Wikipedia article on Cloudberries will be sourced as content for this demonstration. We will also use images from Wikimedia Commons.
We will create two slides and a test at the end of this course presentation:
- Slide 1: Cloudberries
- Slide 2: Uses
- Slide 3: Assessment
Step 2: Creating a Course presentation
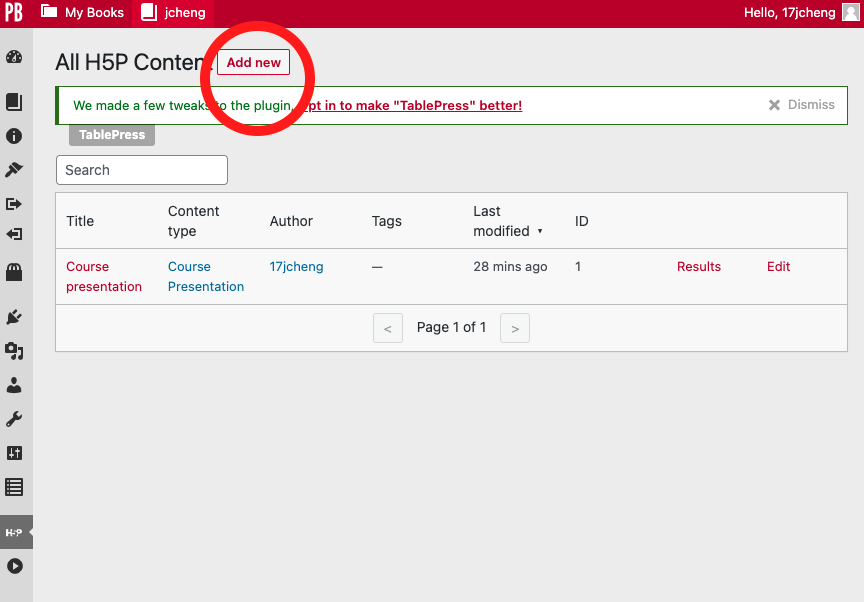
If you are using Pressbooks, navigate to the H5P menu on the left sidebar and click Add new.
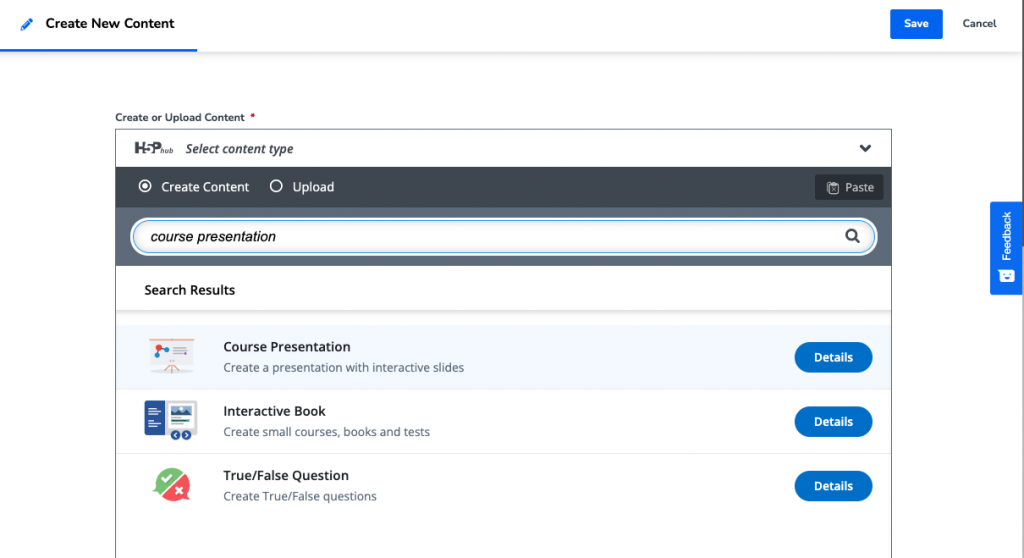
Search for Course Presentation and select Details
If you are using H5P.com, you will be prompted to Create New Content. Search for Course Presentation and click Details
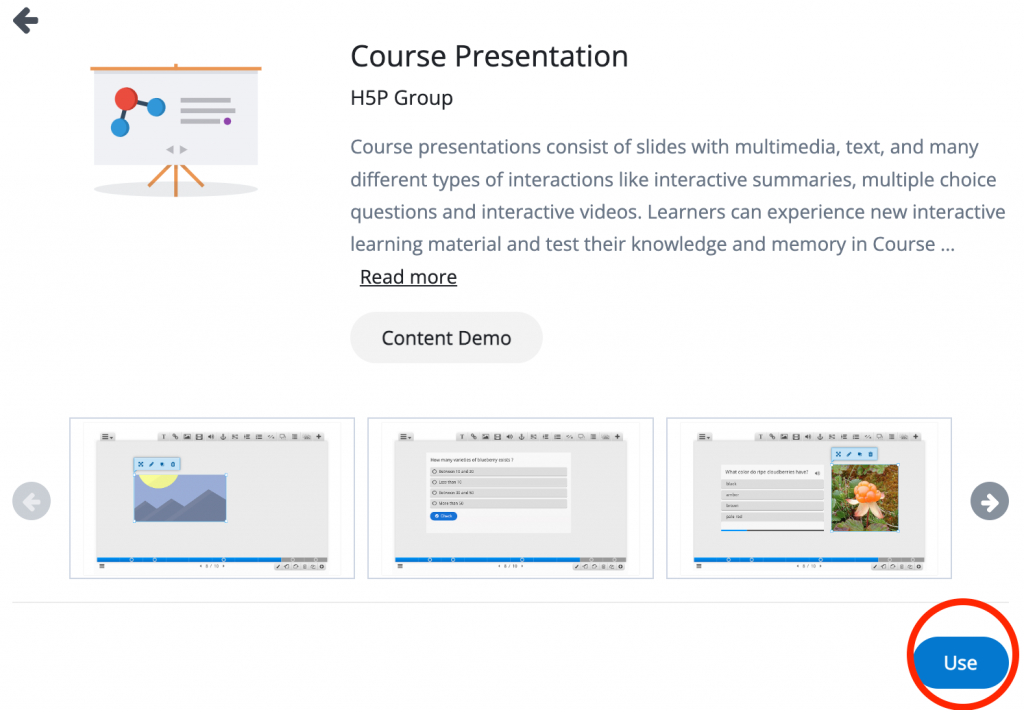
Select Use
Step 3: Title and Course Presentation editor
Enter a unique Title for your Course Presentation. This title will be used to distinguish other H5P Course Presentations and content types you create.
In this example, let’s use the title Cloudberries – Course Presentation.
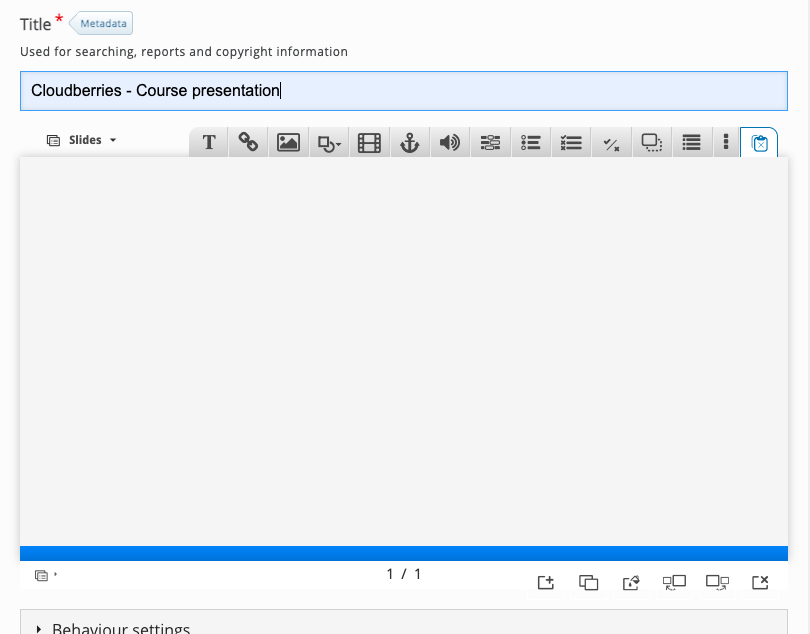
The Course Presentation has a WYSIWYG (What you see is what you get) editor below the Title field. Much like Google Docs, Word, PowerPoint editors, the published end-user view will be similar to what is created and displayed in the editor.
Step 4: Slide 1
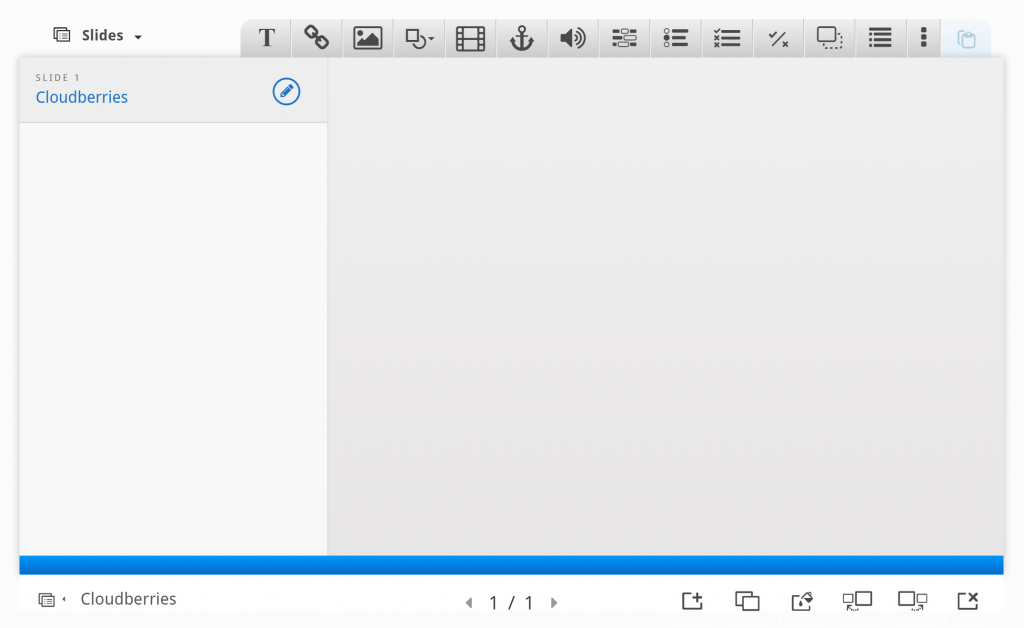
Let’s add slides to the slides panel on the left. Slide titles can be used to navigate between slides and help organize your content.
Press the  button to open the “Slides” menu.
Press the pen next to “No title” ![]() to add a slide title.
to add a slide title.
Type Cloudberries as the title.
Let’s add some images to the first slide. We will use these images from Wikimedia:
When you click on the links above, they will open into a new window. Right-click each image and save them onto your computer. Note the license information and URL for each image.
Add these pictures by using the ![]() button in the top toolbar. Press this button, drag it to where you want the image to be placed and drop it there. A dialog will automatically open:
button in the top toolbar. Press this button, drag it to where you want the image to be placed and drop it there. A dialog will automatically open:
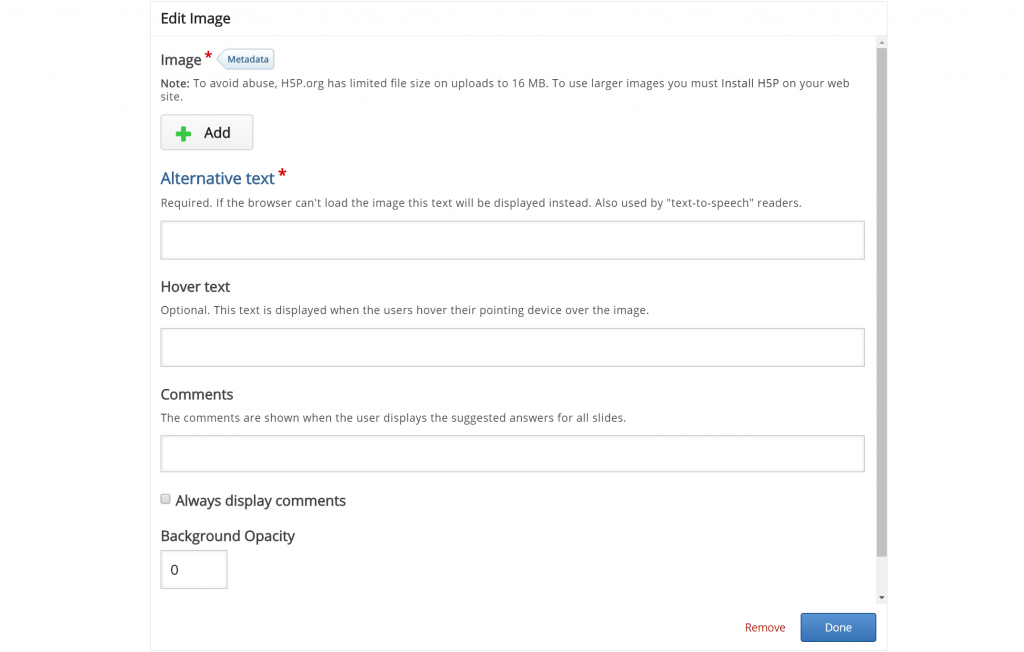
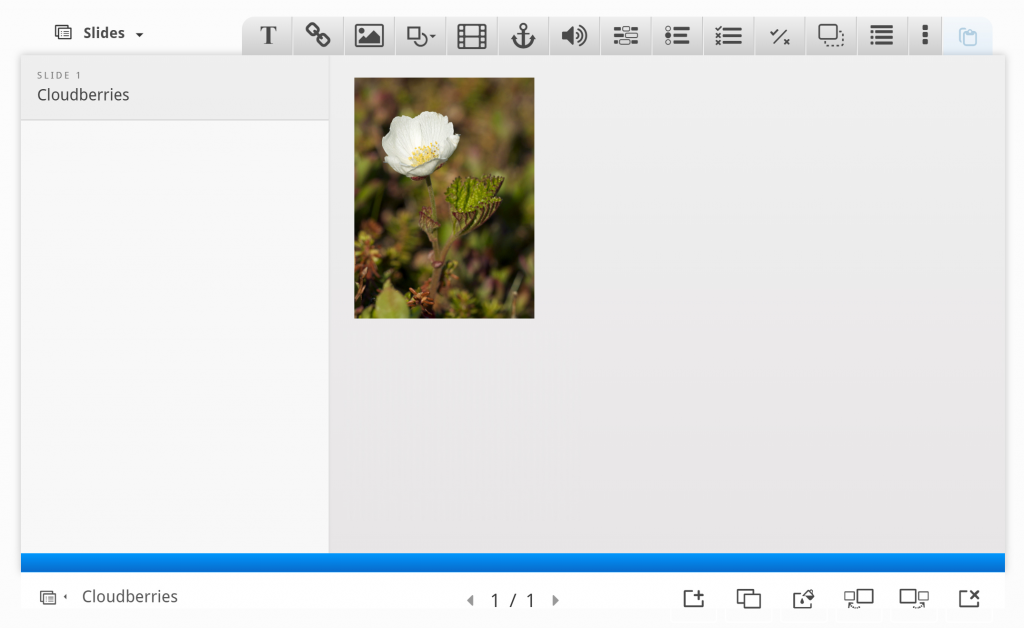
Press the  button, browse to where you saved the cloudberry flower picture and select it for upload.
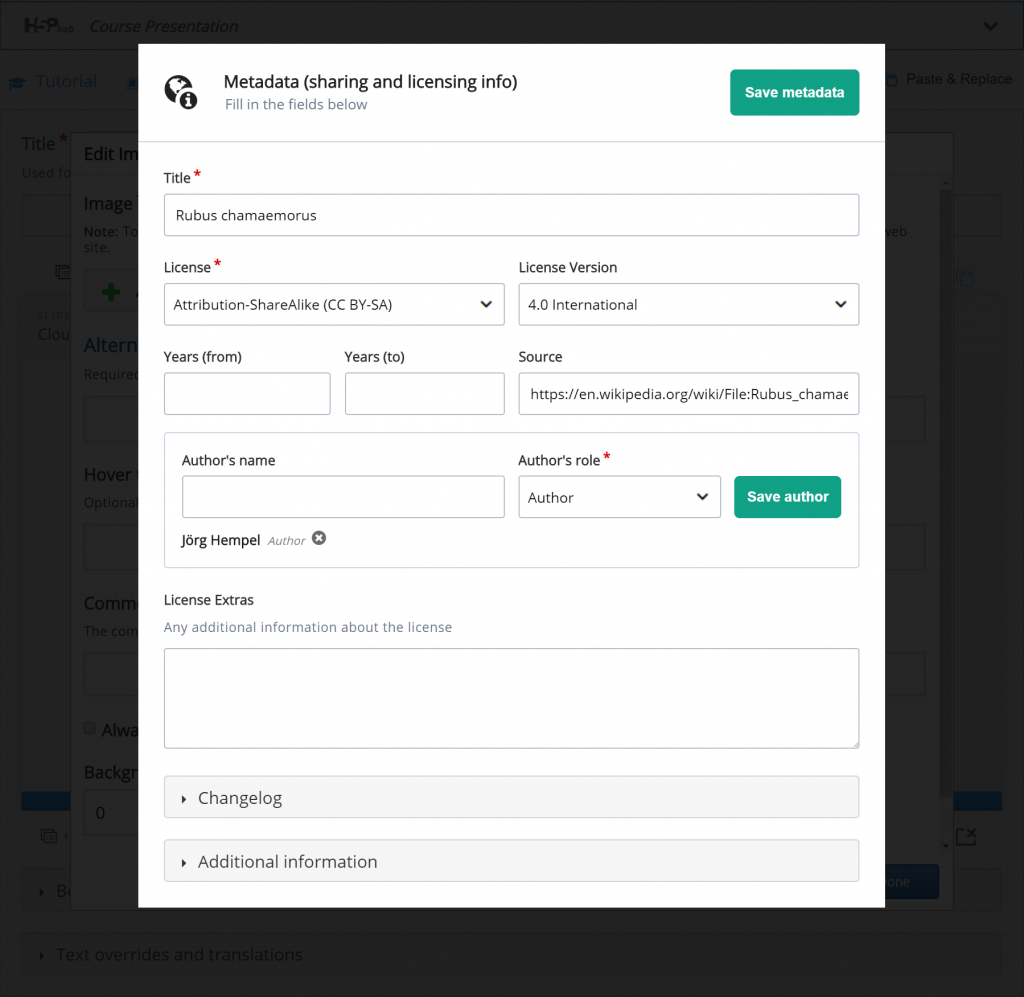
Remember to add multimedia license information. Add the following information to the Metadata  dialog:
Finally, we have to add an Alternative text and a Hover text. The Alternative text is used to describe the image as an alternative to being displayed. The Hover text will show up on devices using a mouse when the cursor hovers over the image.
Alternative text: Rubus chamaemorus
Hover text: Rubus chamaemorus
You should now have something like this:
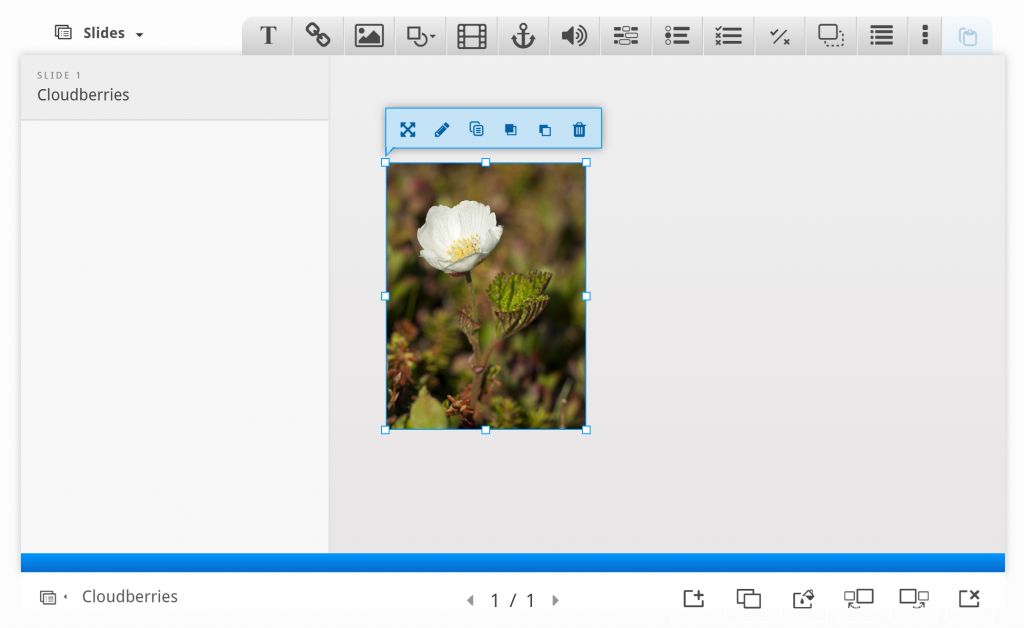
Resize the picture by pulling in the lower right corner of the image. Make the image slightly smaller in size. You can move the picture by using drag and drop. Place it in the top left corner, so you get something like this:
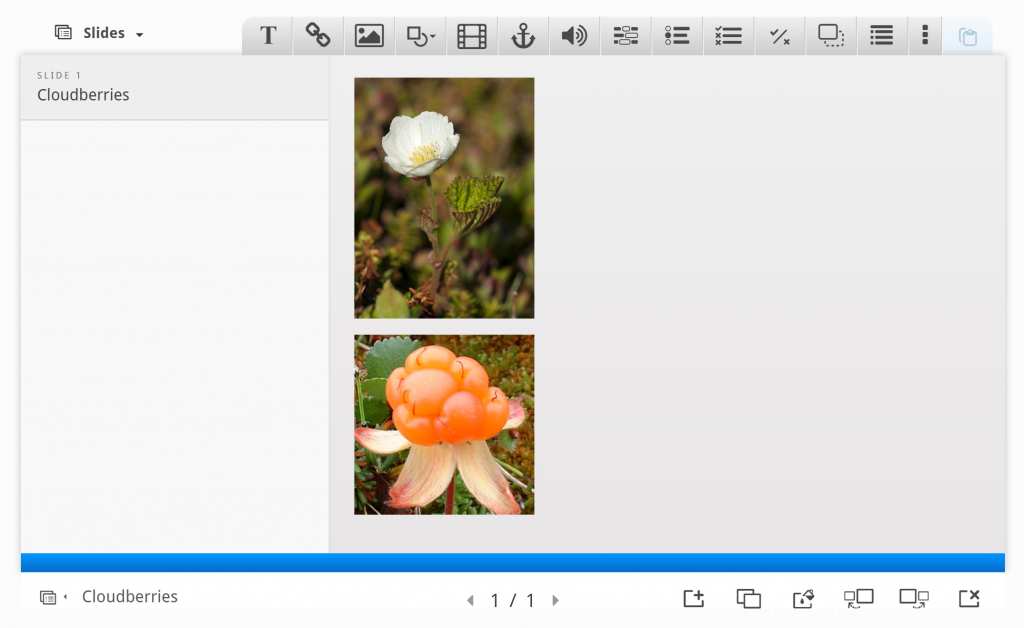
Now, add a second picture. This time, we’ll use the cloudberry picture and place it beneath the cloudberry flower picture. Use the same procedure as above.
You should now have something like this:
To finish slide 1, we’ll add the following text, which is paraphrased from the Wikipedia article:
- The Rubus chamaemorus is a herb producing amber-colored edible fruit similar to the raspberry or blackberry.
- The cloudberry grows to 10–25 cm high.
- The leaves alternate between having 5 and 7 soft, handlike lobes on straight, branchless stalks.
- After pollination, the white flowers form raspberry-sized berries.
- Each fruit is initially pale red, ripening into an amber color in early autumn.
Use the Text tool ![]() to add a block of text to the slide. Once you have dropped the text box, a dialog will appear. Insert the text above in the Edit text dialog:
to add a block of text to the slide. Once you have dropped the text box, a dialog will appear. Insert the text above in the Edit text dialog:
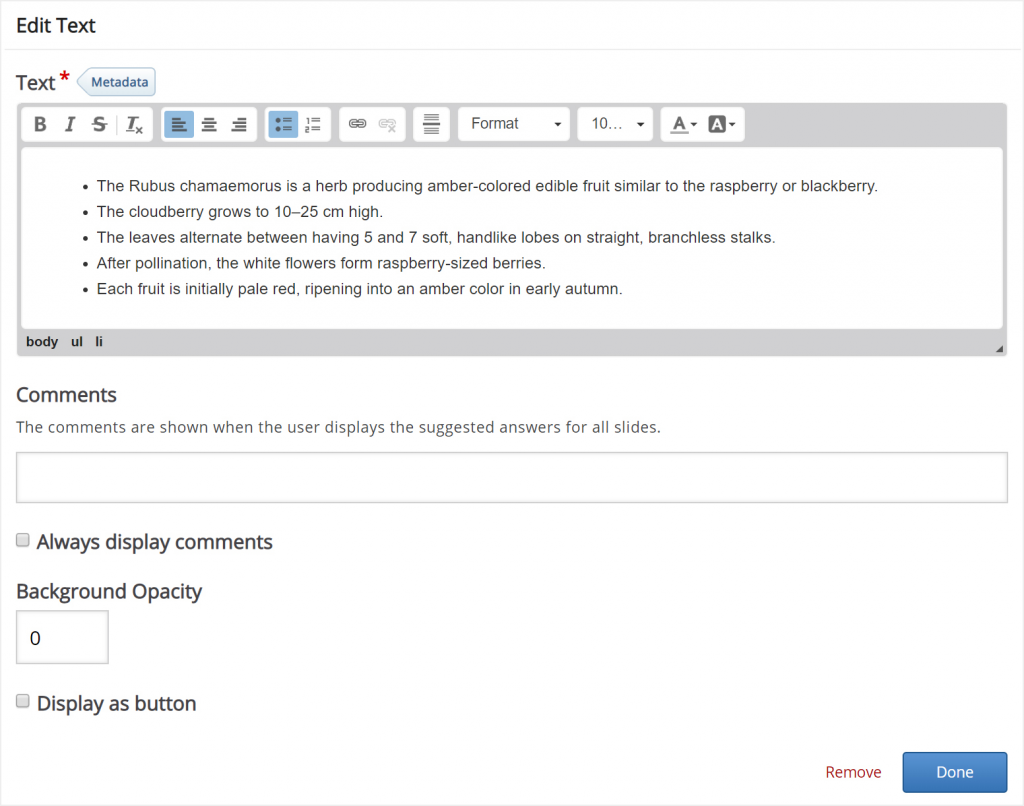
Leave the other fields blank and press Done.
You can place and resize the text block in the same way as images.
Now, position and size the text block so that you end up with something like this:
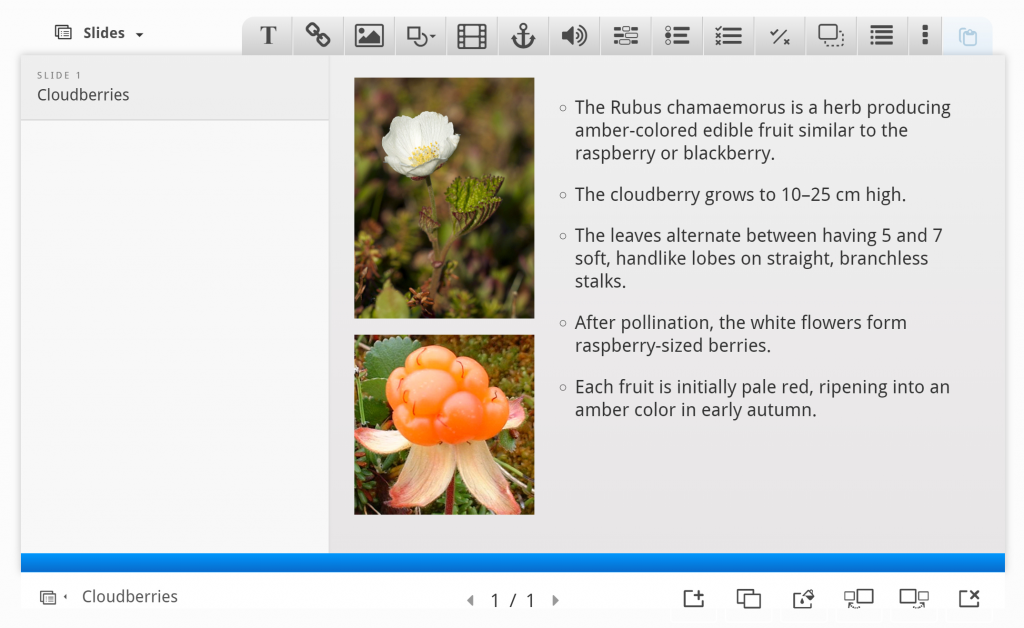
Slide 1 is now complete! Click Create to save your progress. Clicking Create/Update anytime in the H5P editor will take you to the published version of the content type you’re working on. If you are viewing the published version, you can click on the Edit Button to go back to the H5P editor.
Step 5: Slide 2
Press the  button to add the third slide.
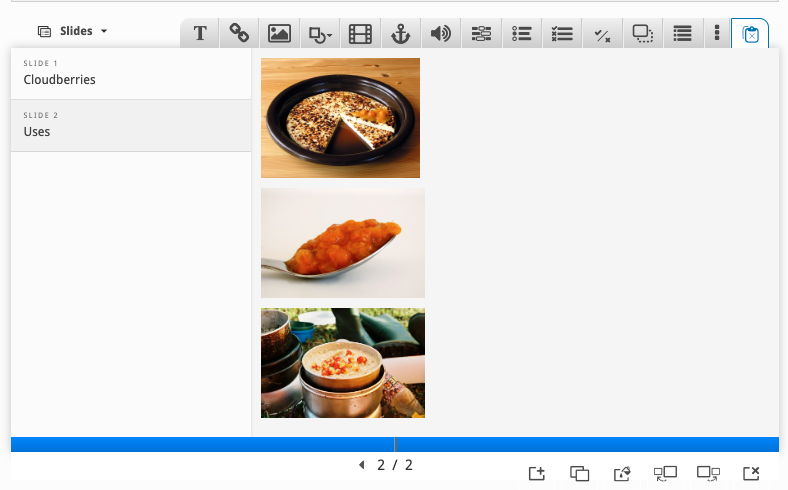
Slide 2 will describe various uses of the cloudberry. Add the slide title Uses in the slides panel.
Again, we’ll use text and images to deliver our message. In addition, we’ll add a link to a website where the learner can find recipes using cloudberries.
Here are the links to the Wikimedia Commons pictures we’ll use:
We add the pictures by using the ![]() button in the top toolbar. As on slide 1, we’ll place the pictures in a column on the left side of the slide. Insert the three pictures, add the appropriate license information, place and resize them so you have something like this:
button in the top toolbar. As on slide 1, we’ll place the pictures in a column on the left side of the slide. Insert the three pictures, add the appropriate license information, place and resize them so you have something like this:
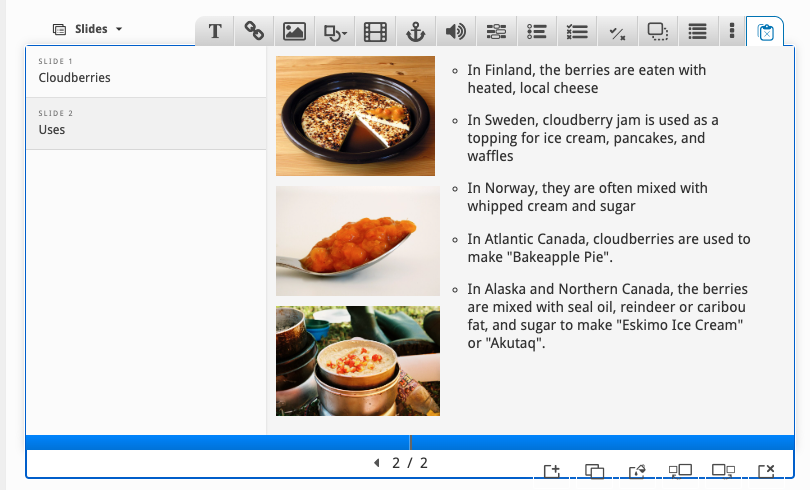
The text we’ll use, is again paraphrased from the Wikipedia article:
- In Finland, the berries are eaten with heated, local cheese
- In Sweden, cloudberry jam is used as a topping for ice cream, pancakes, and waffles
- In Norway, they are often mixed with whipped cream and sugar
- In Atlantic Canada, cloudberries are used to make “Bakeapple Pie”.
- In Alaska and Northern Canada, the berries are mixed with seal oil, reindeer or caribou fat, and sugar to make “Eskimo Ice Cream” or “Akutaq”.
Use the Text tool ![]() to add a block of text to the slide. Once you have dropped the text box, a dialog will appear. Insert the text above in the Edit text dialog. Press Done when you’re finished. You should now have something like this:
to add a block of text to the slide. Once you have dropped the text box, a dialog will appear. Insert the text above in the Edit text dialog. Press Done when you’re finished. You should now have something like this:
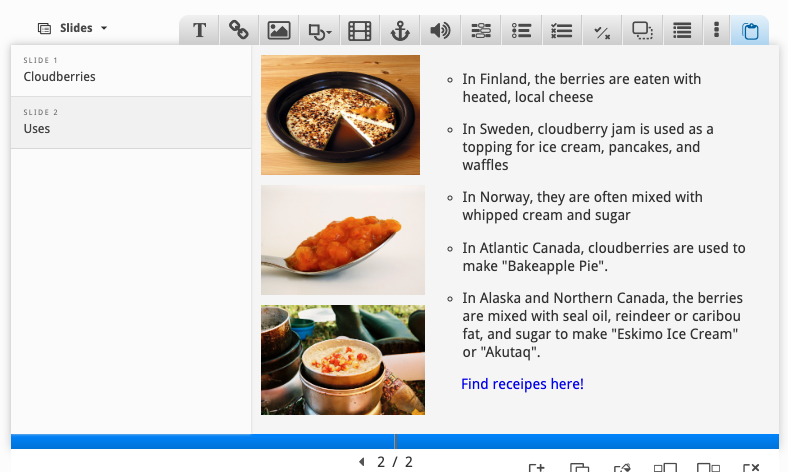
Finally, we’ll add a link. Use the ![]() button on the toolbar and place the link onto the slide.
button on the toolbar and place the link onto the slide.
We can find a selection of Cloudberry desserts on yummly.com. Here’s the URL: http://www.yummly.com/recipes/cloudberry-dessert
Use the link text Cloudberry dessert recipes.

Press Done. then resize and place the link box so you have something like this:
Remember to click Update to save your progress.
We’re now finished with slide 2. Finally, we’ll add a Summary to finish the Course presentation.
Step 6: Slide 3
Press the button to add a third and final slide. Add the slide title Summary in the slides panel.
The Summary will allow the learner to make an interactive summary of the most important aspects of the previous three slides.
On the toolbar, press the ![]() button and drag a summary onto the slide. Once you have dropped the Summary, the editor will appear.
button and drag a summary onto the slide. Once you have dropped the Summary, the editor will appear.
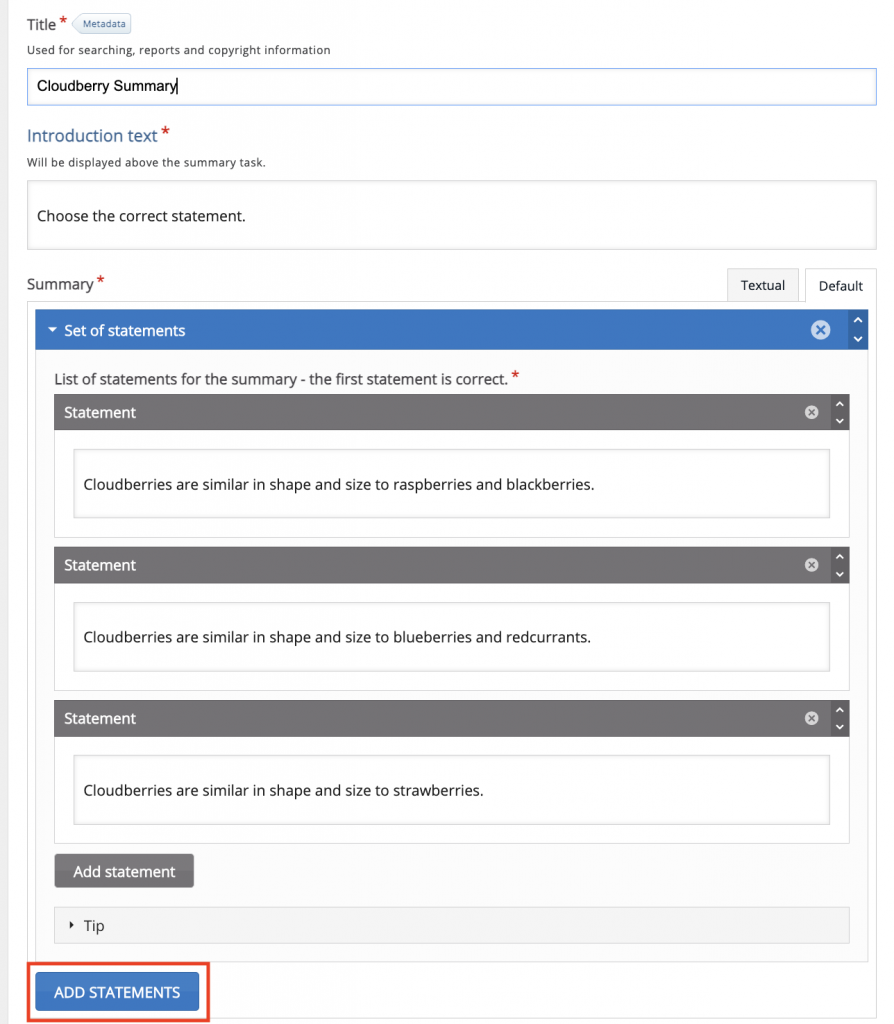
Enter a unique Title for the Summary. This title will be used to distinguish other H5P Summaries and content types you create. Here, we entered Cloudberry Summary.

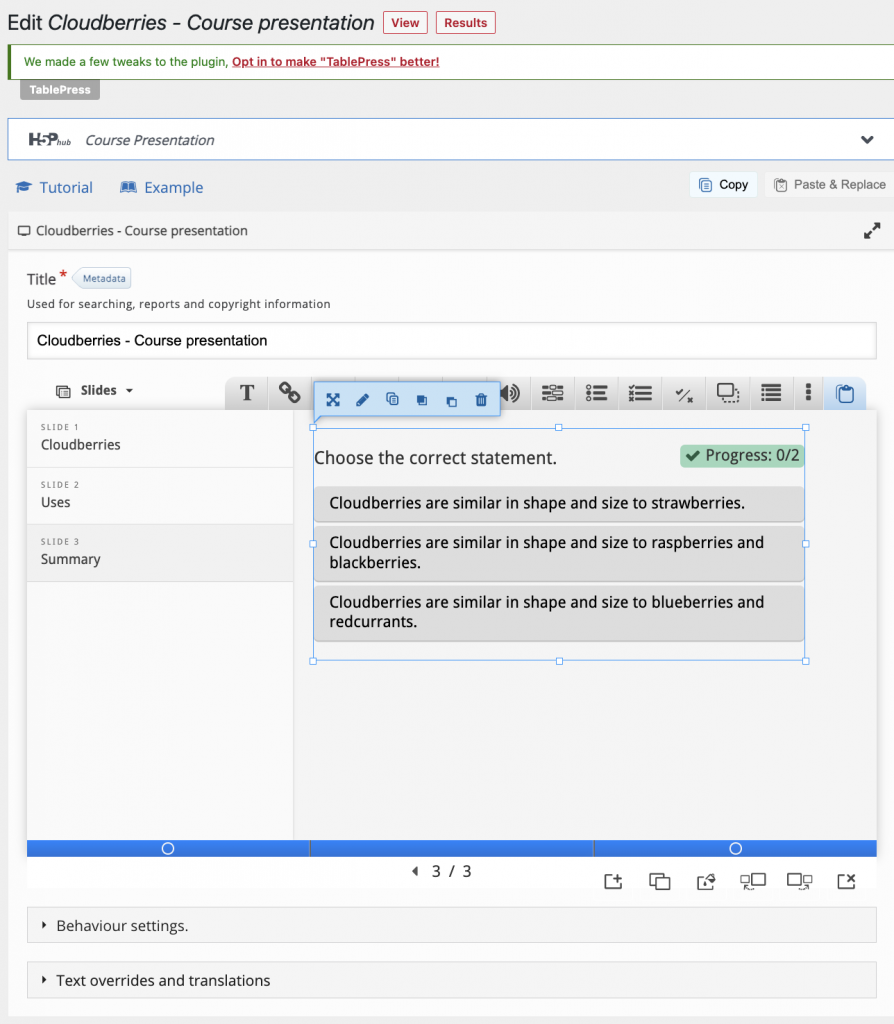
Now we’ll add a statements to the Summary. Press the Add statements button to add one more statement group.
Introduction text:
Choose the correct statement about Cloudberries.
Statement group 1:
- Cloudberries are similar in shape and size to raspberries and blackberries.
- Cloudberries are similar in shape and size to blueberries and redcurrants.
- Cloudberries are similar in shape and size to strawberries.
Statement group 2:
- In Atlantic Canada, cloudberries are often used to make “Bakeapple pie”.
- In Atlantic Canada, cloudberries are mainly eaten with a heated local cheese.
- In Atlantic Canada, cloudberries are mainly eaten with a heated local cheese.
Press Done when you have added the statements.
Remember to click Update to save your progress.
Then position and resize the Summary so you’ll have something like this:
Select ‘Behaviour settings’ to override any default settings for the Course Presentation content type. Consider hiding the Summary slide or disabling the ‘Show Solution’ button.
Step 7: Wrapping Up
Reminder
Add Metadata to your H5P content. This is key to determining how your H5P creations can be adapted, shared and reused. Select Metadata next to the Title of your content and add any relevant information including Title, License, License Version, Source and Author’s name and role.
Let’s add Metadata to this Course Presentation. Select Metadata next to the Title and add some to your example.

Select Update to view your finished Course presentation. You should now have the same result as the example on top of the page.