How it all started?
Back in October 2020, we had a conversation with instructors and leaders from JIBC’s Fire Fighting Program and learned that practical firefight training can be costly, dangerous, and only available at specialized locations.
Taking fire investigation as an example, instructors need to purchase used furniture, set up scenarios such as a kitchen or a bedroom in shipping containers, burn them, and then put the fire out. Only after all these steps can students enter and investigate the cause and origin of the fire. In addition, it is reported that sometimes the burn patterns do not turn out as expected.
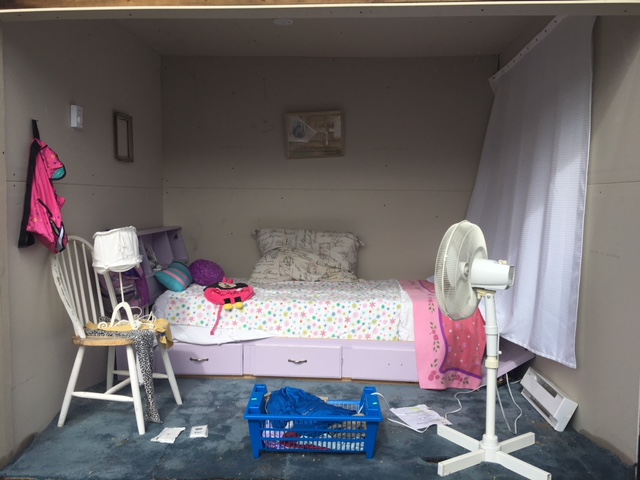
Bedroom in a Cubicle
A Journey of JIBC’s Fire Investigation Simulation
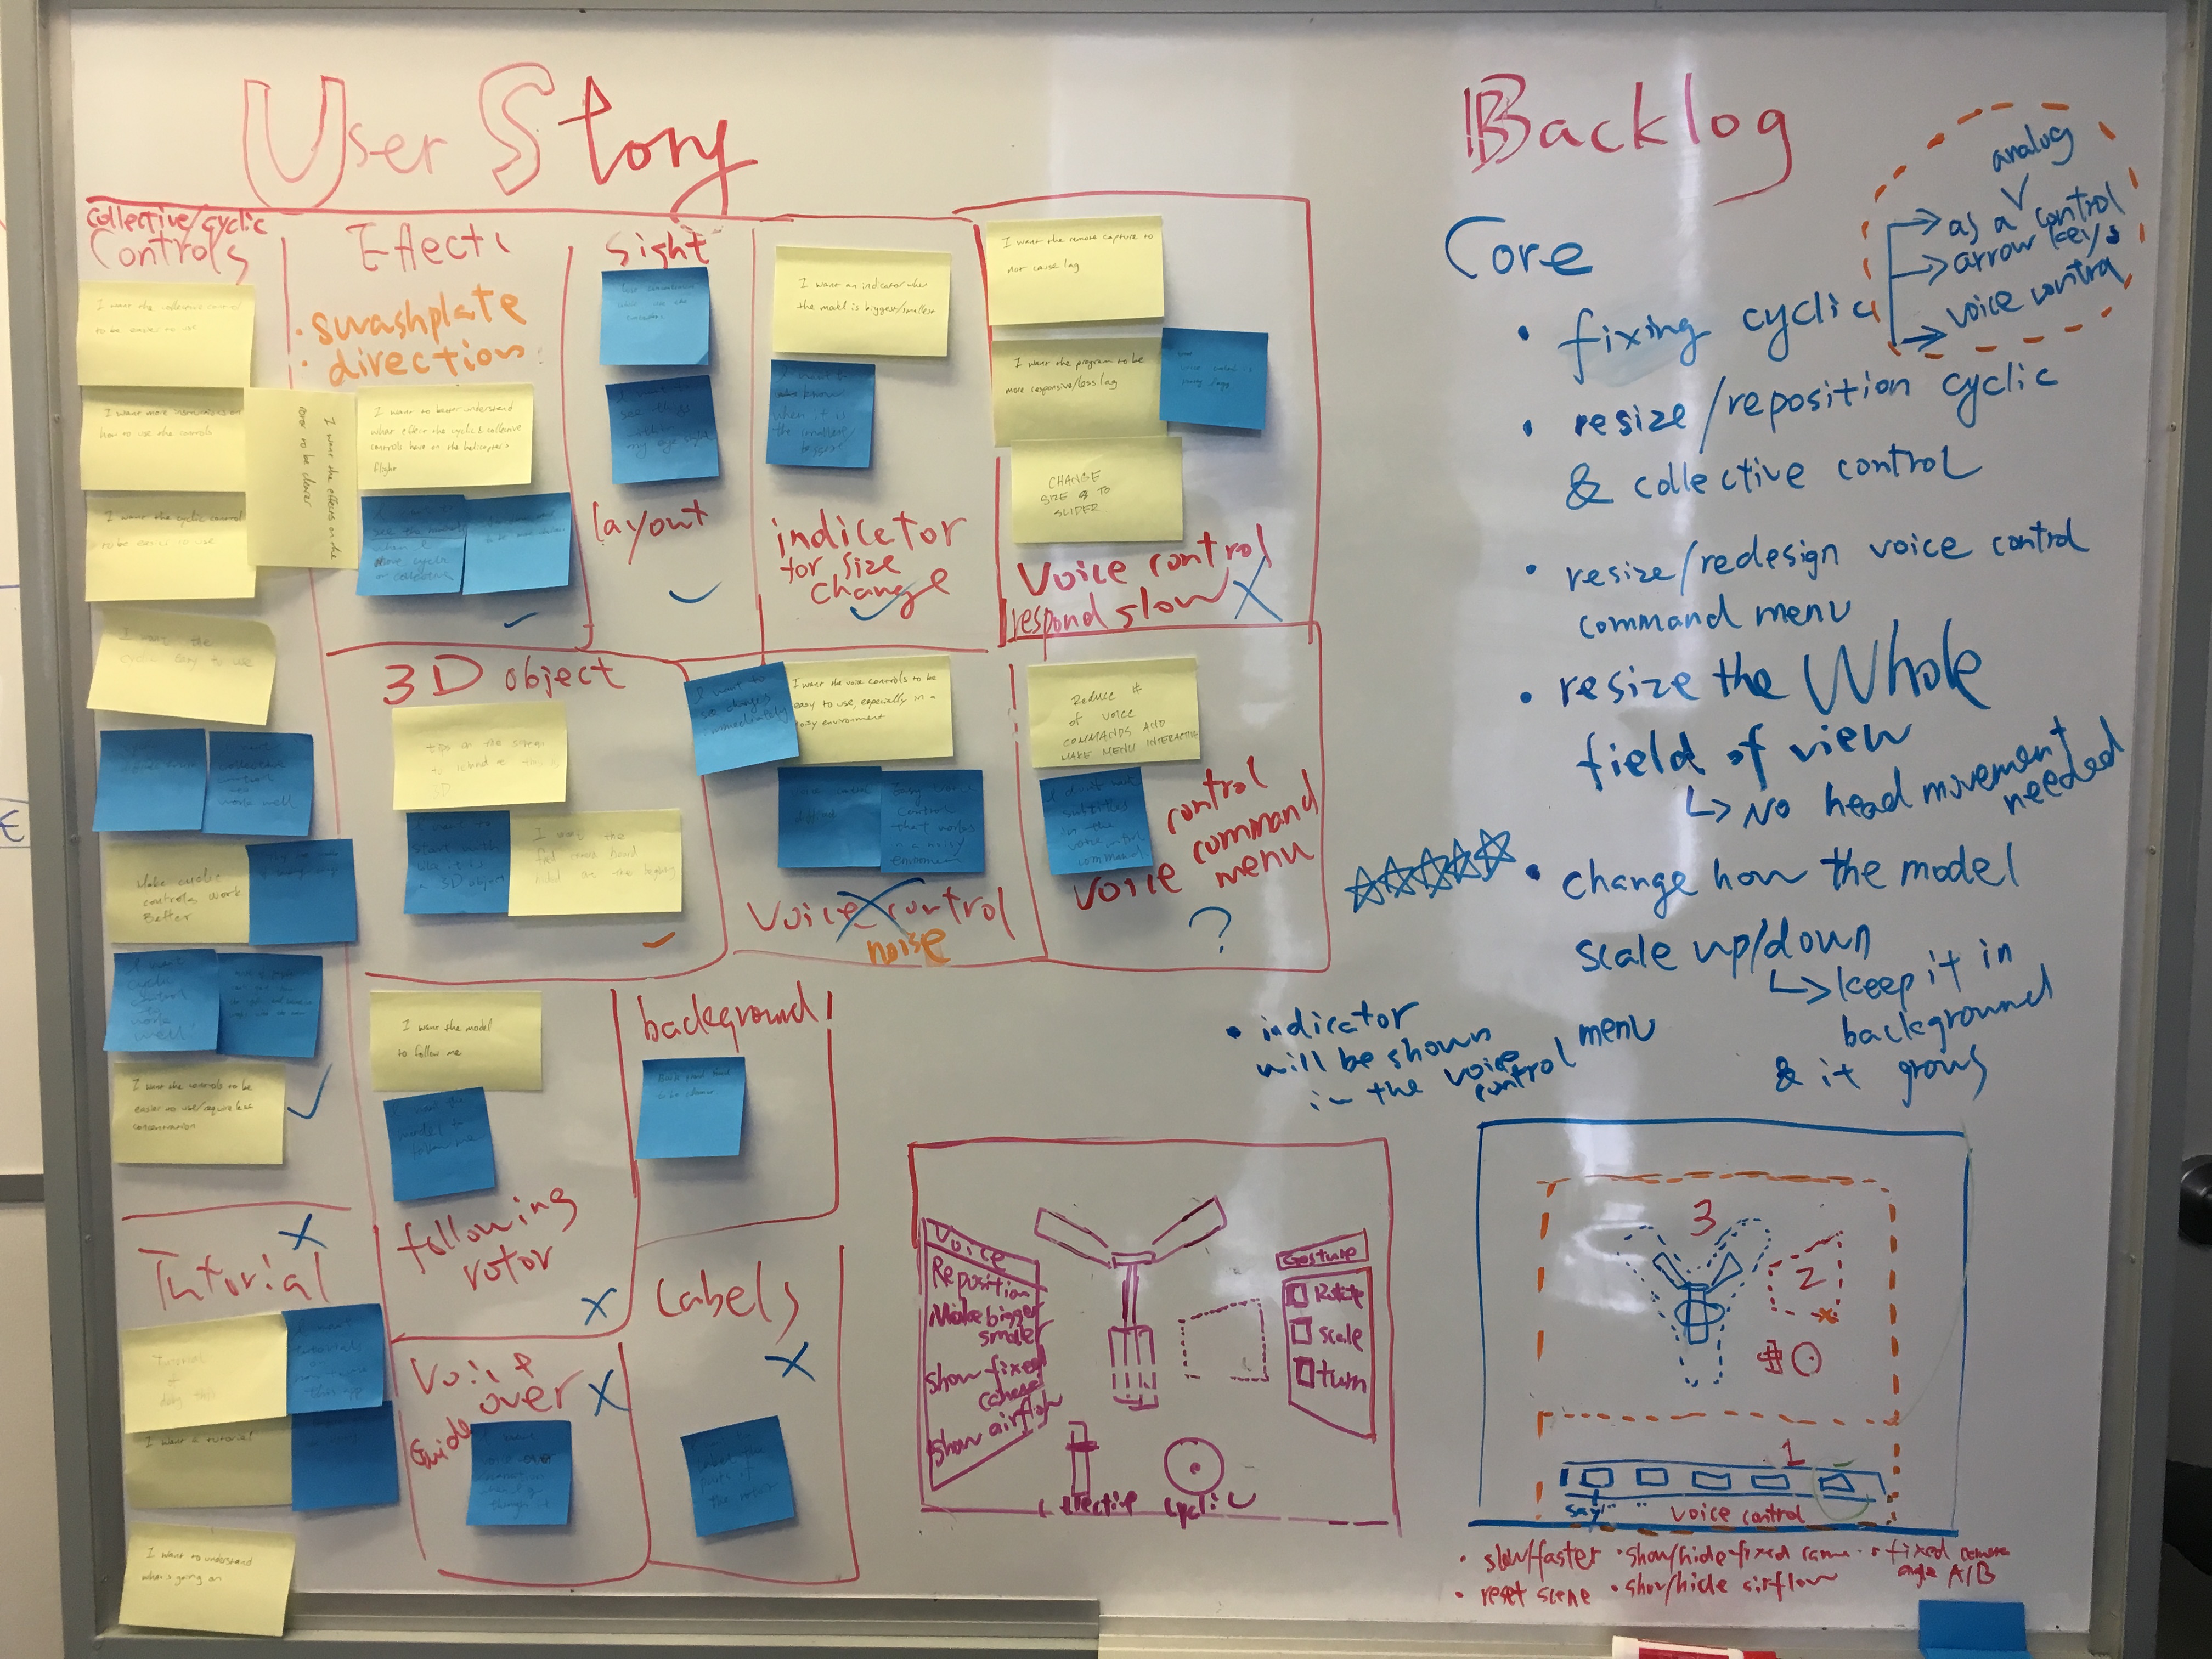
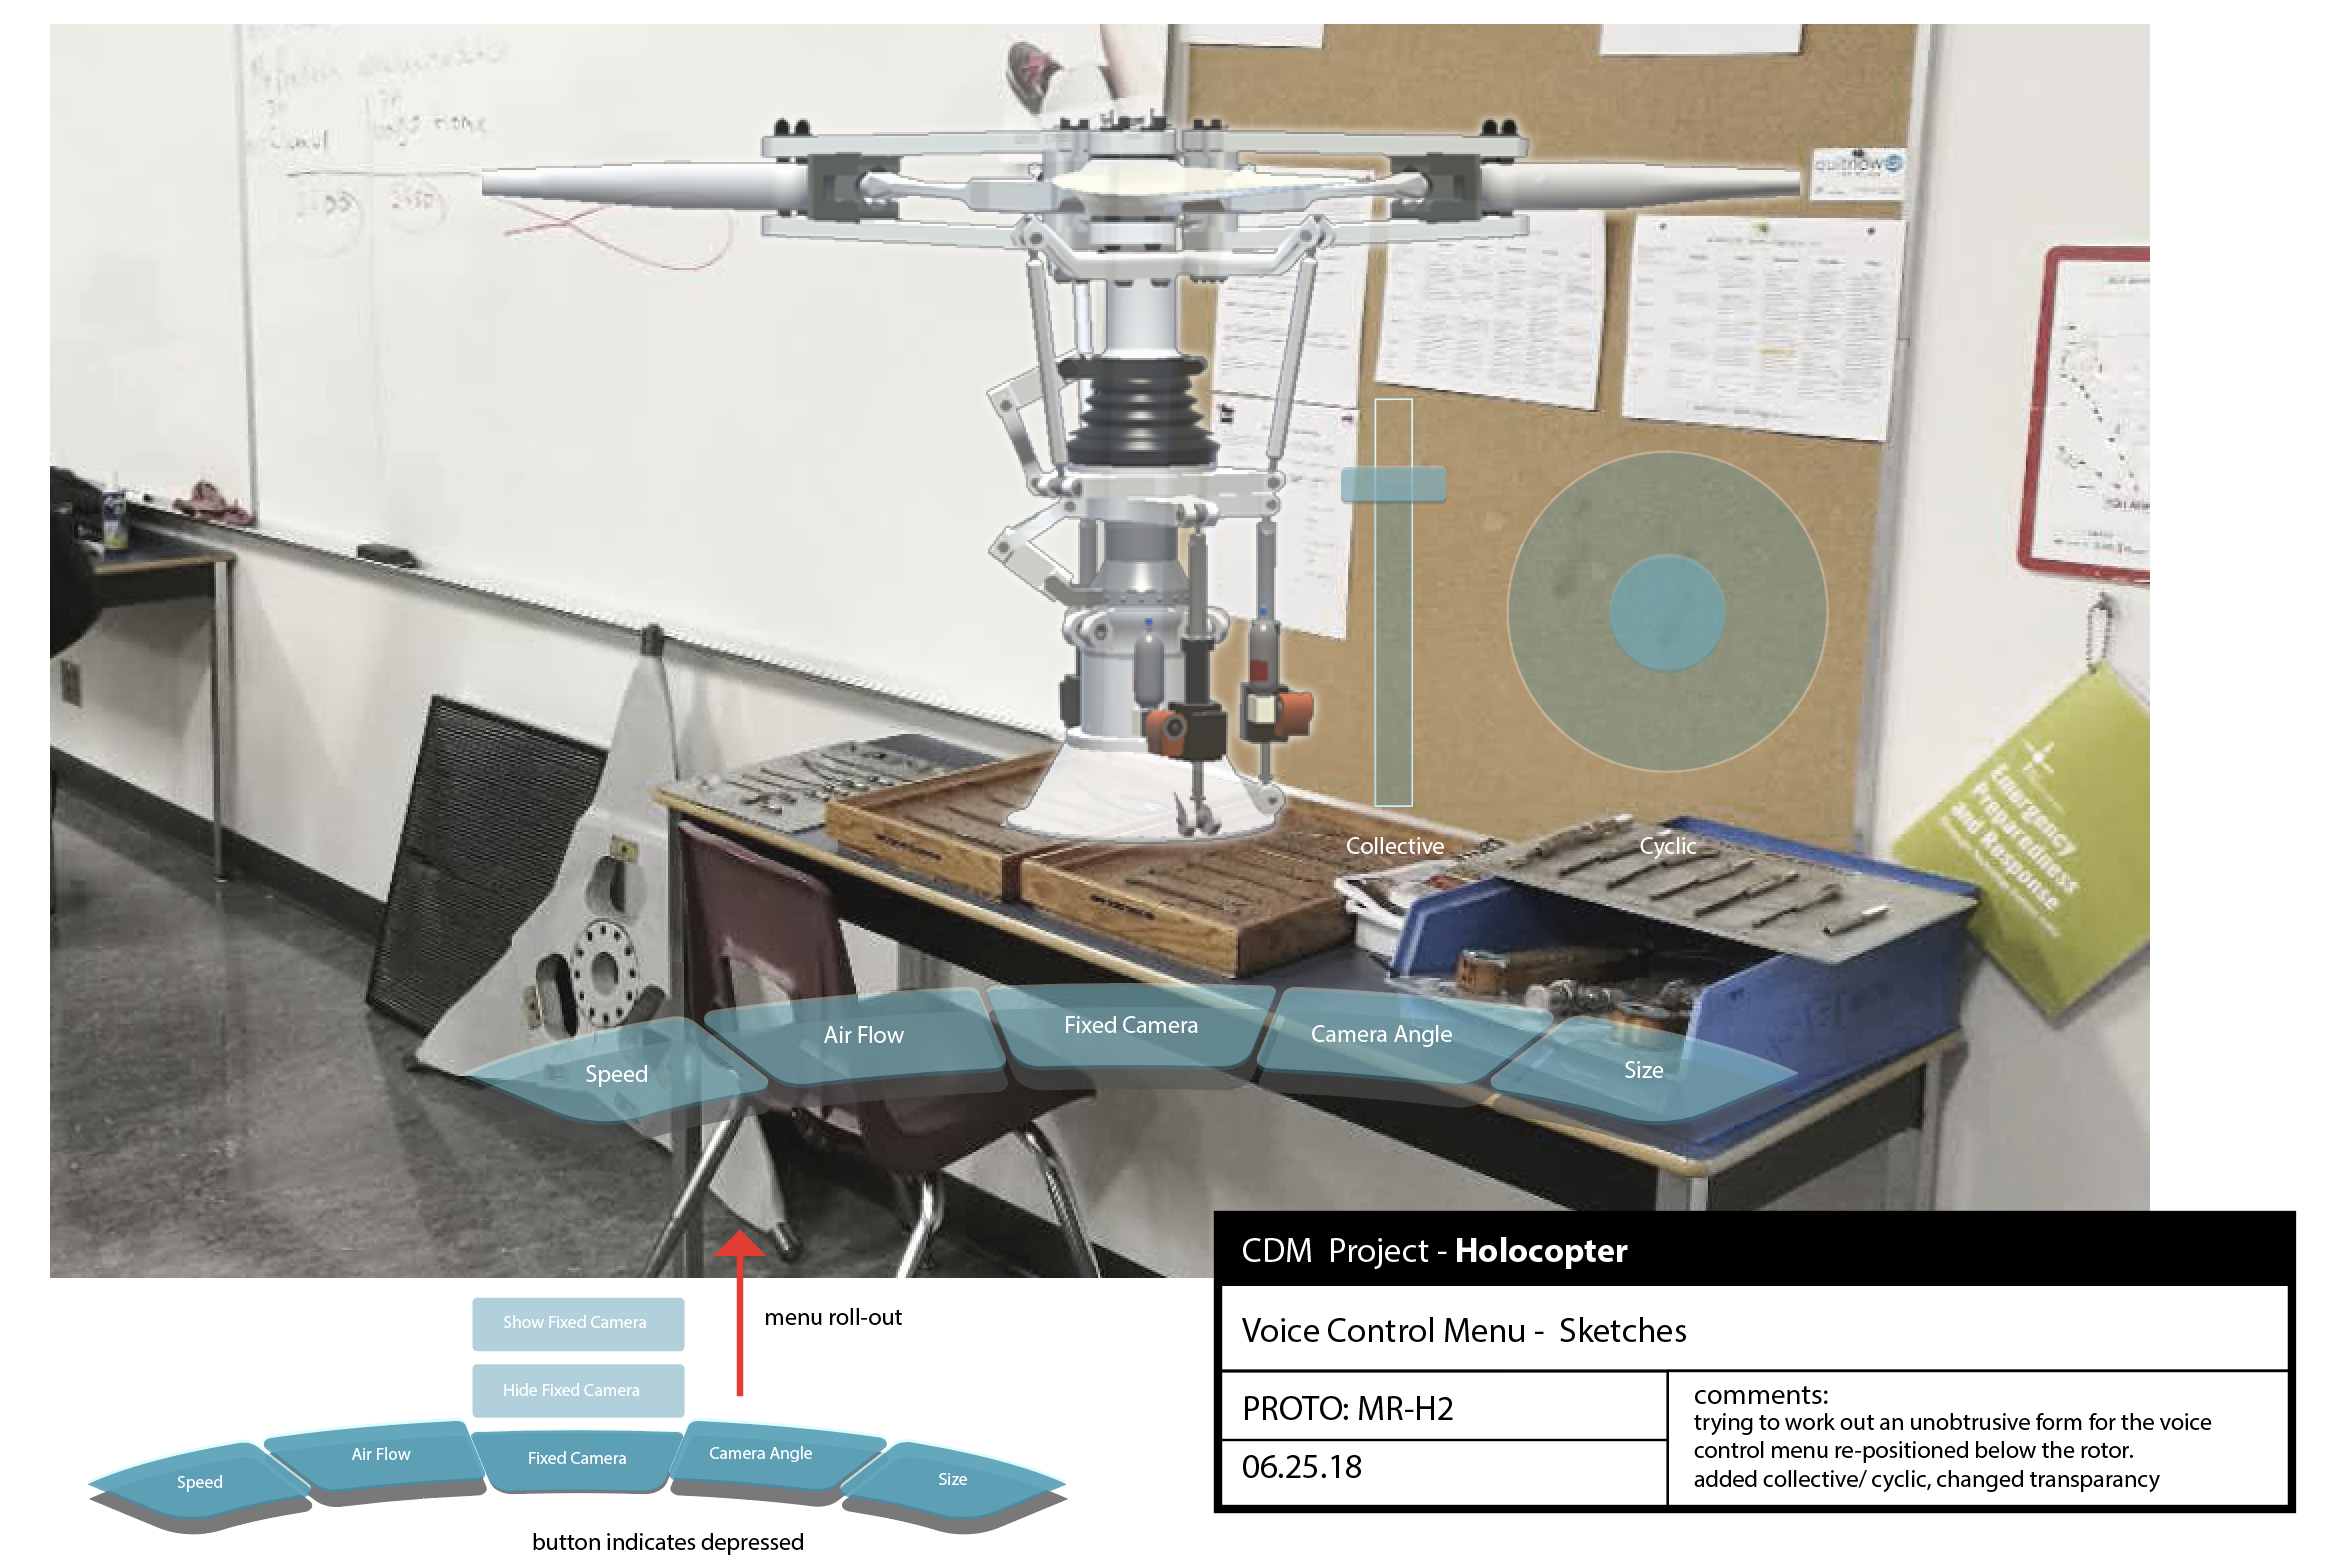
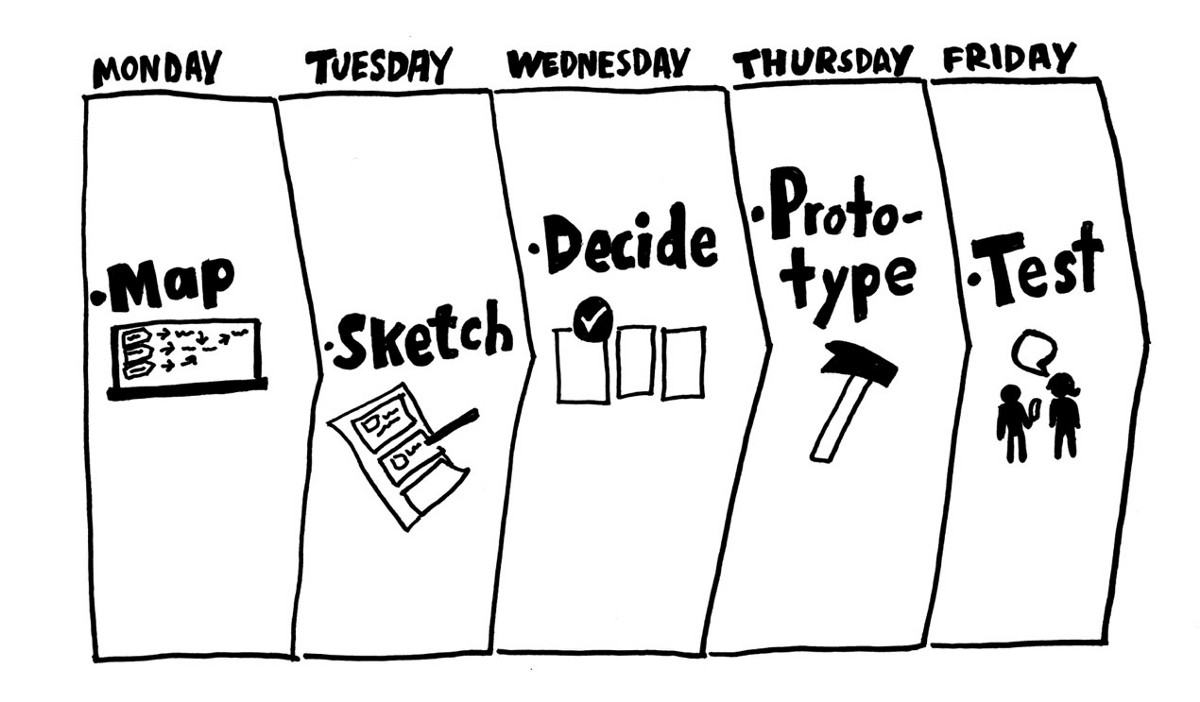
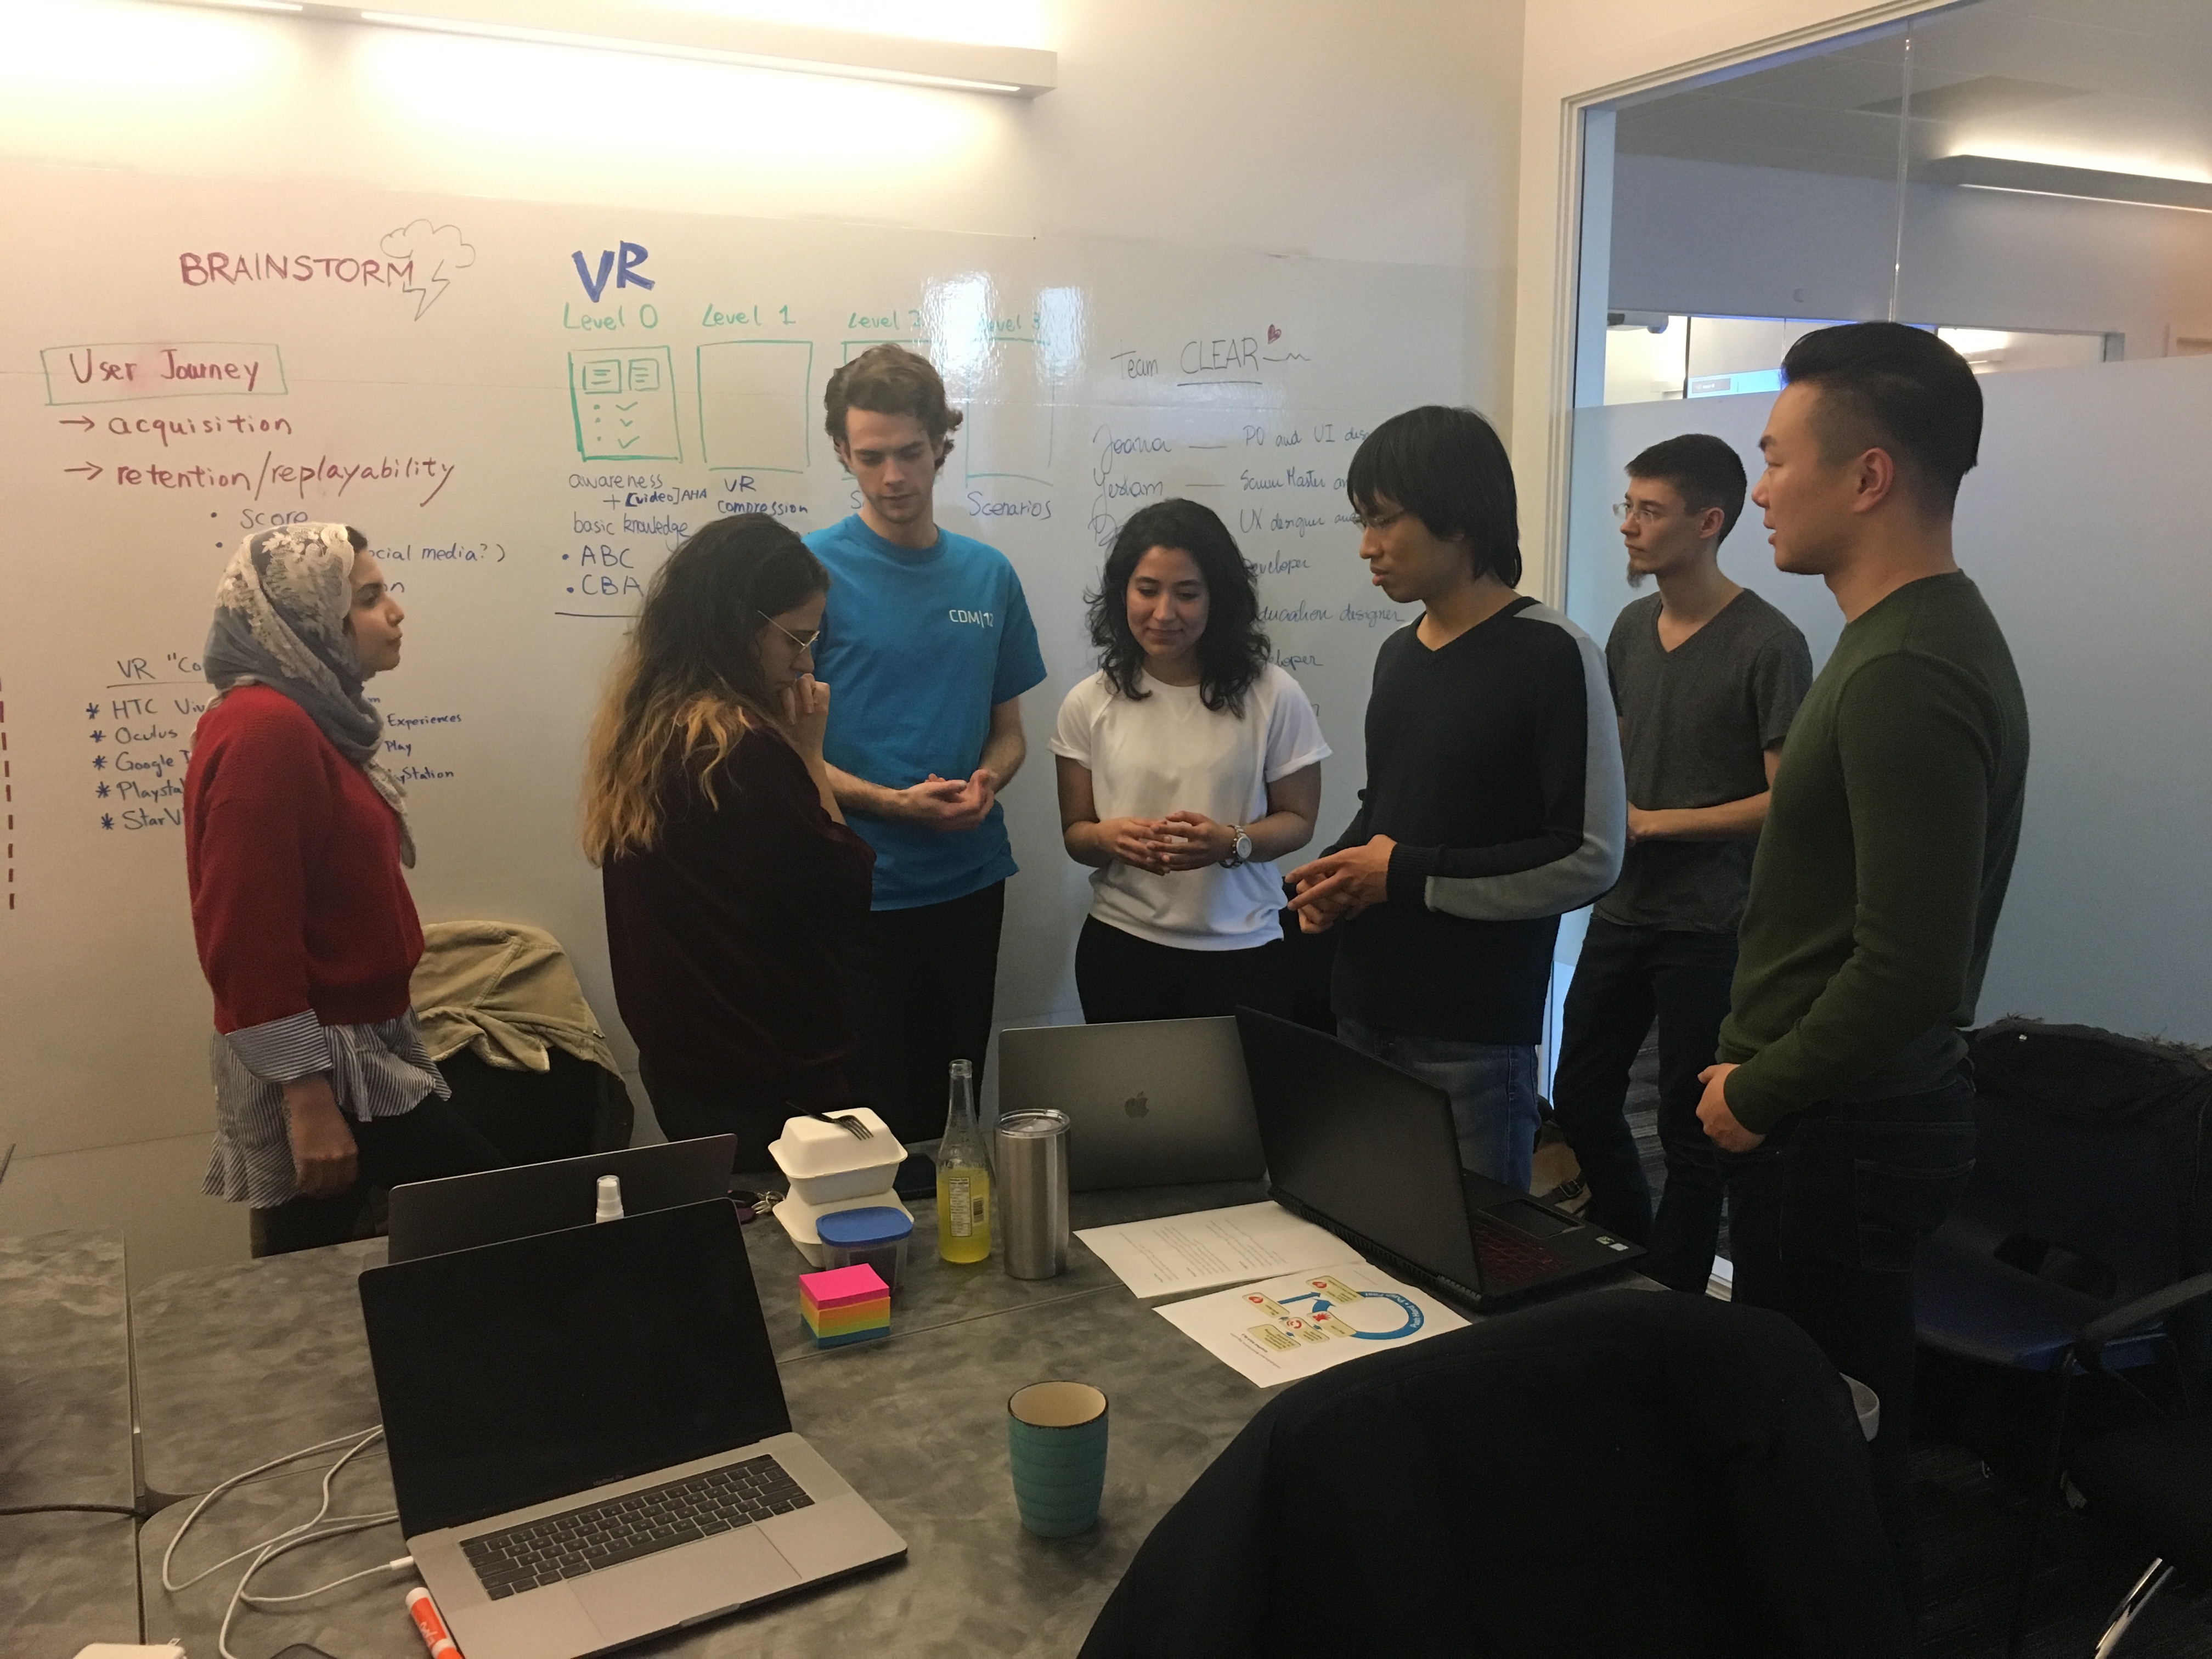
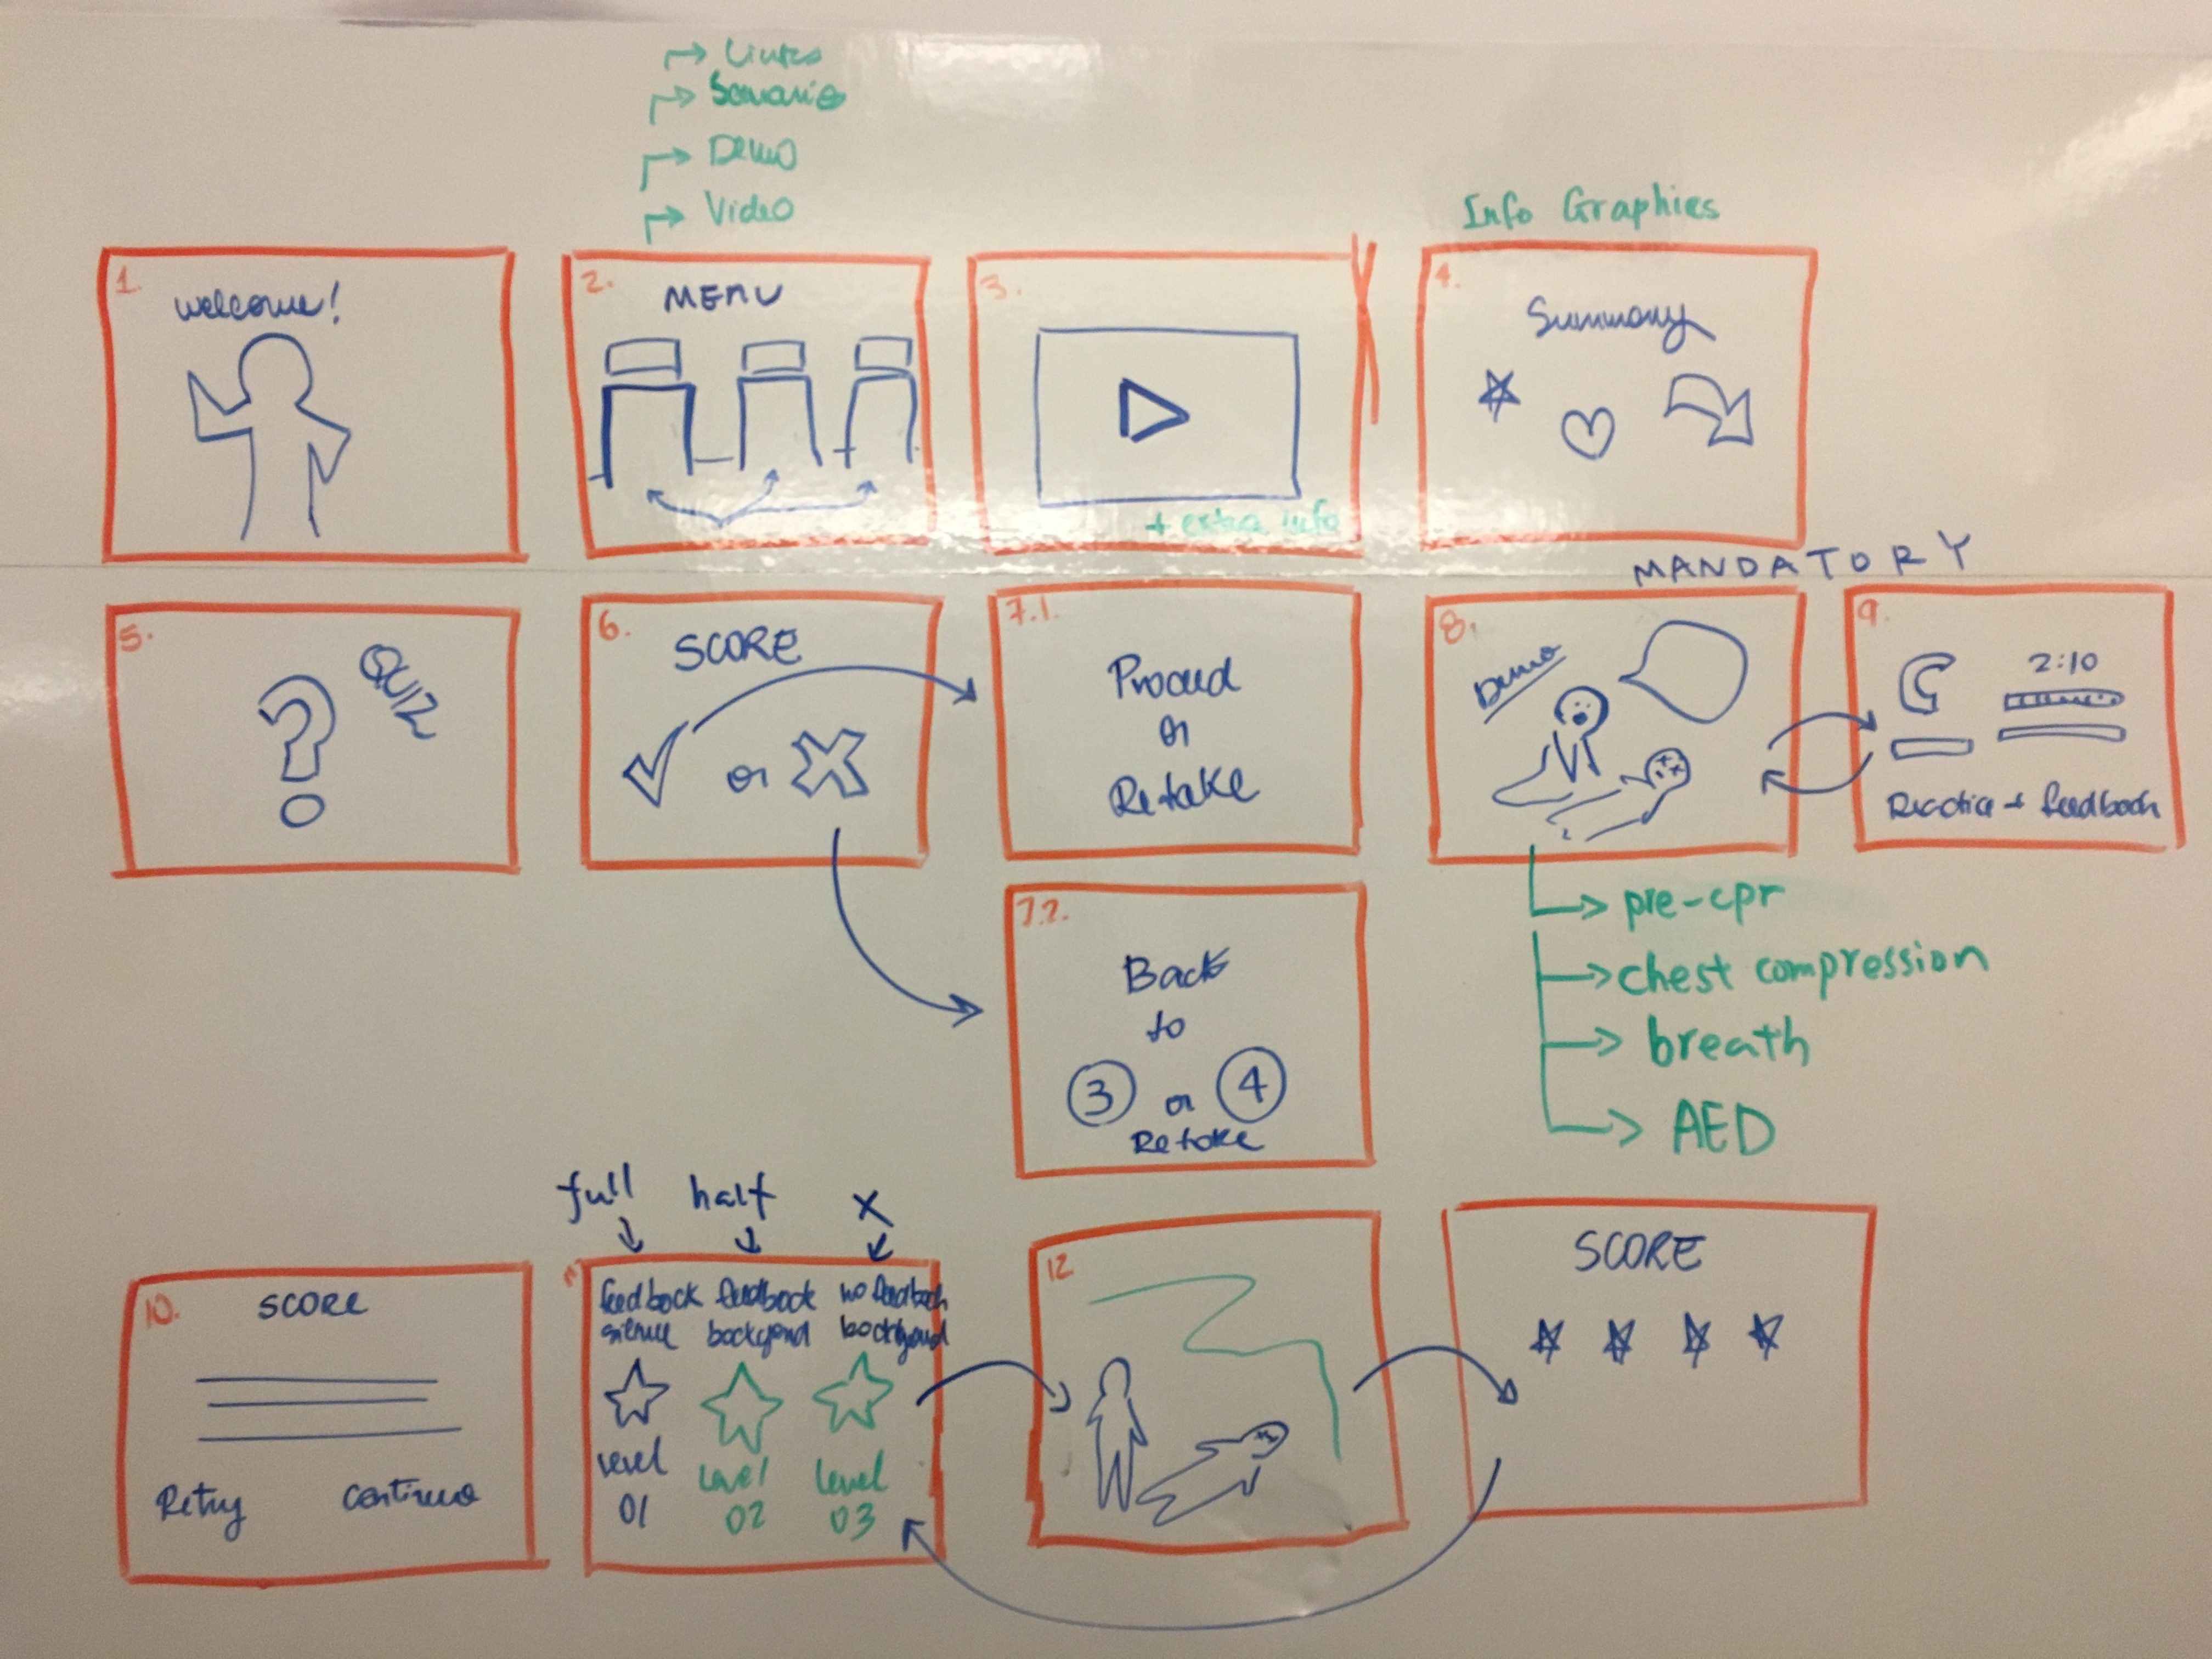
Early Prototyping
-
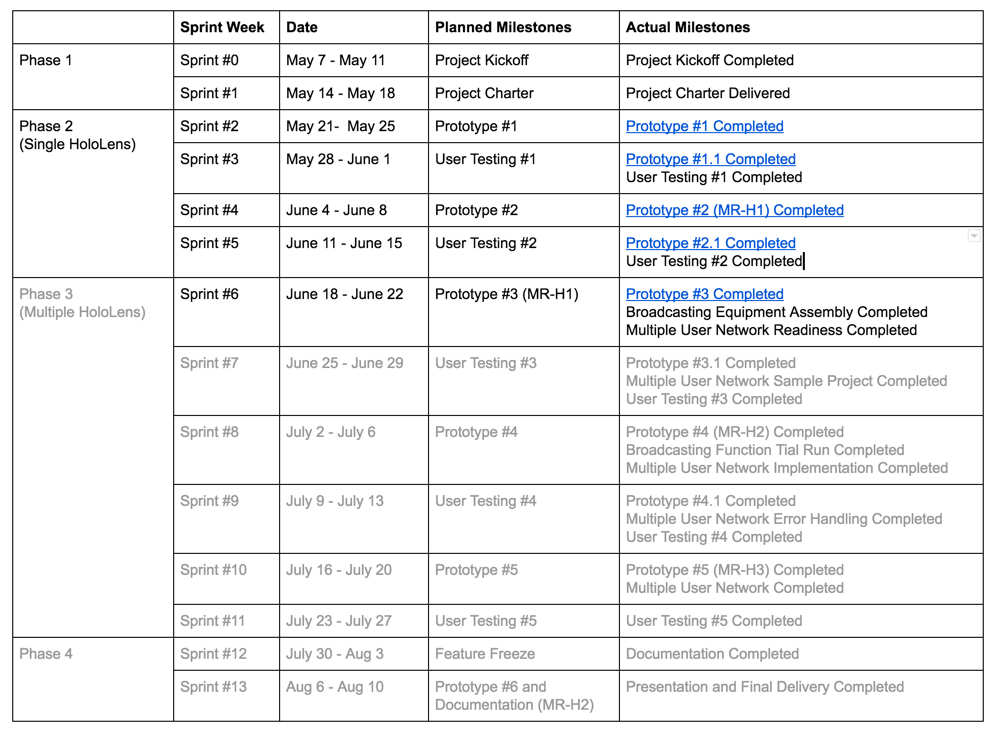
In early 2021, we partnered with a team from Centre for Digital Media and created a working prototype for fire investigation over a period of 13 weeks. The CDM team on this project did an excellent job capturing their design and development process on their blog.
-
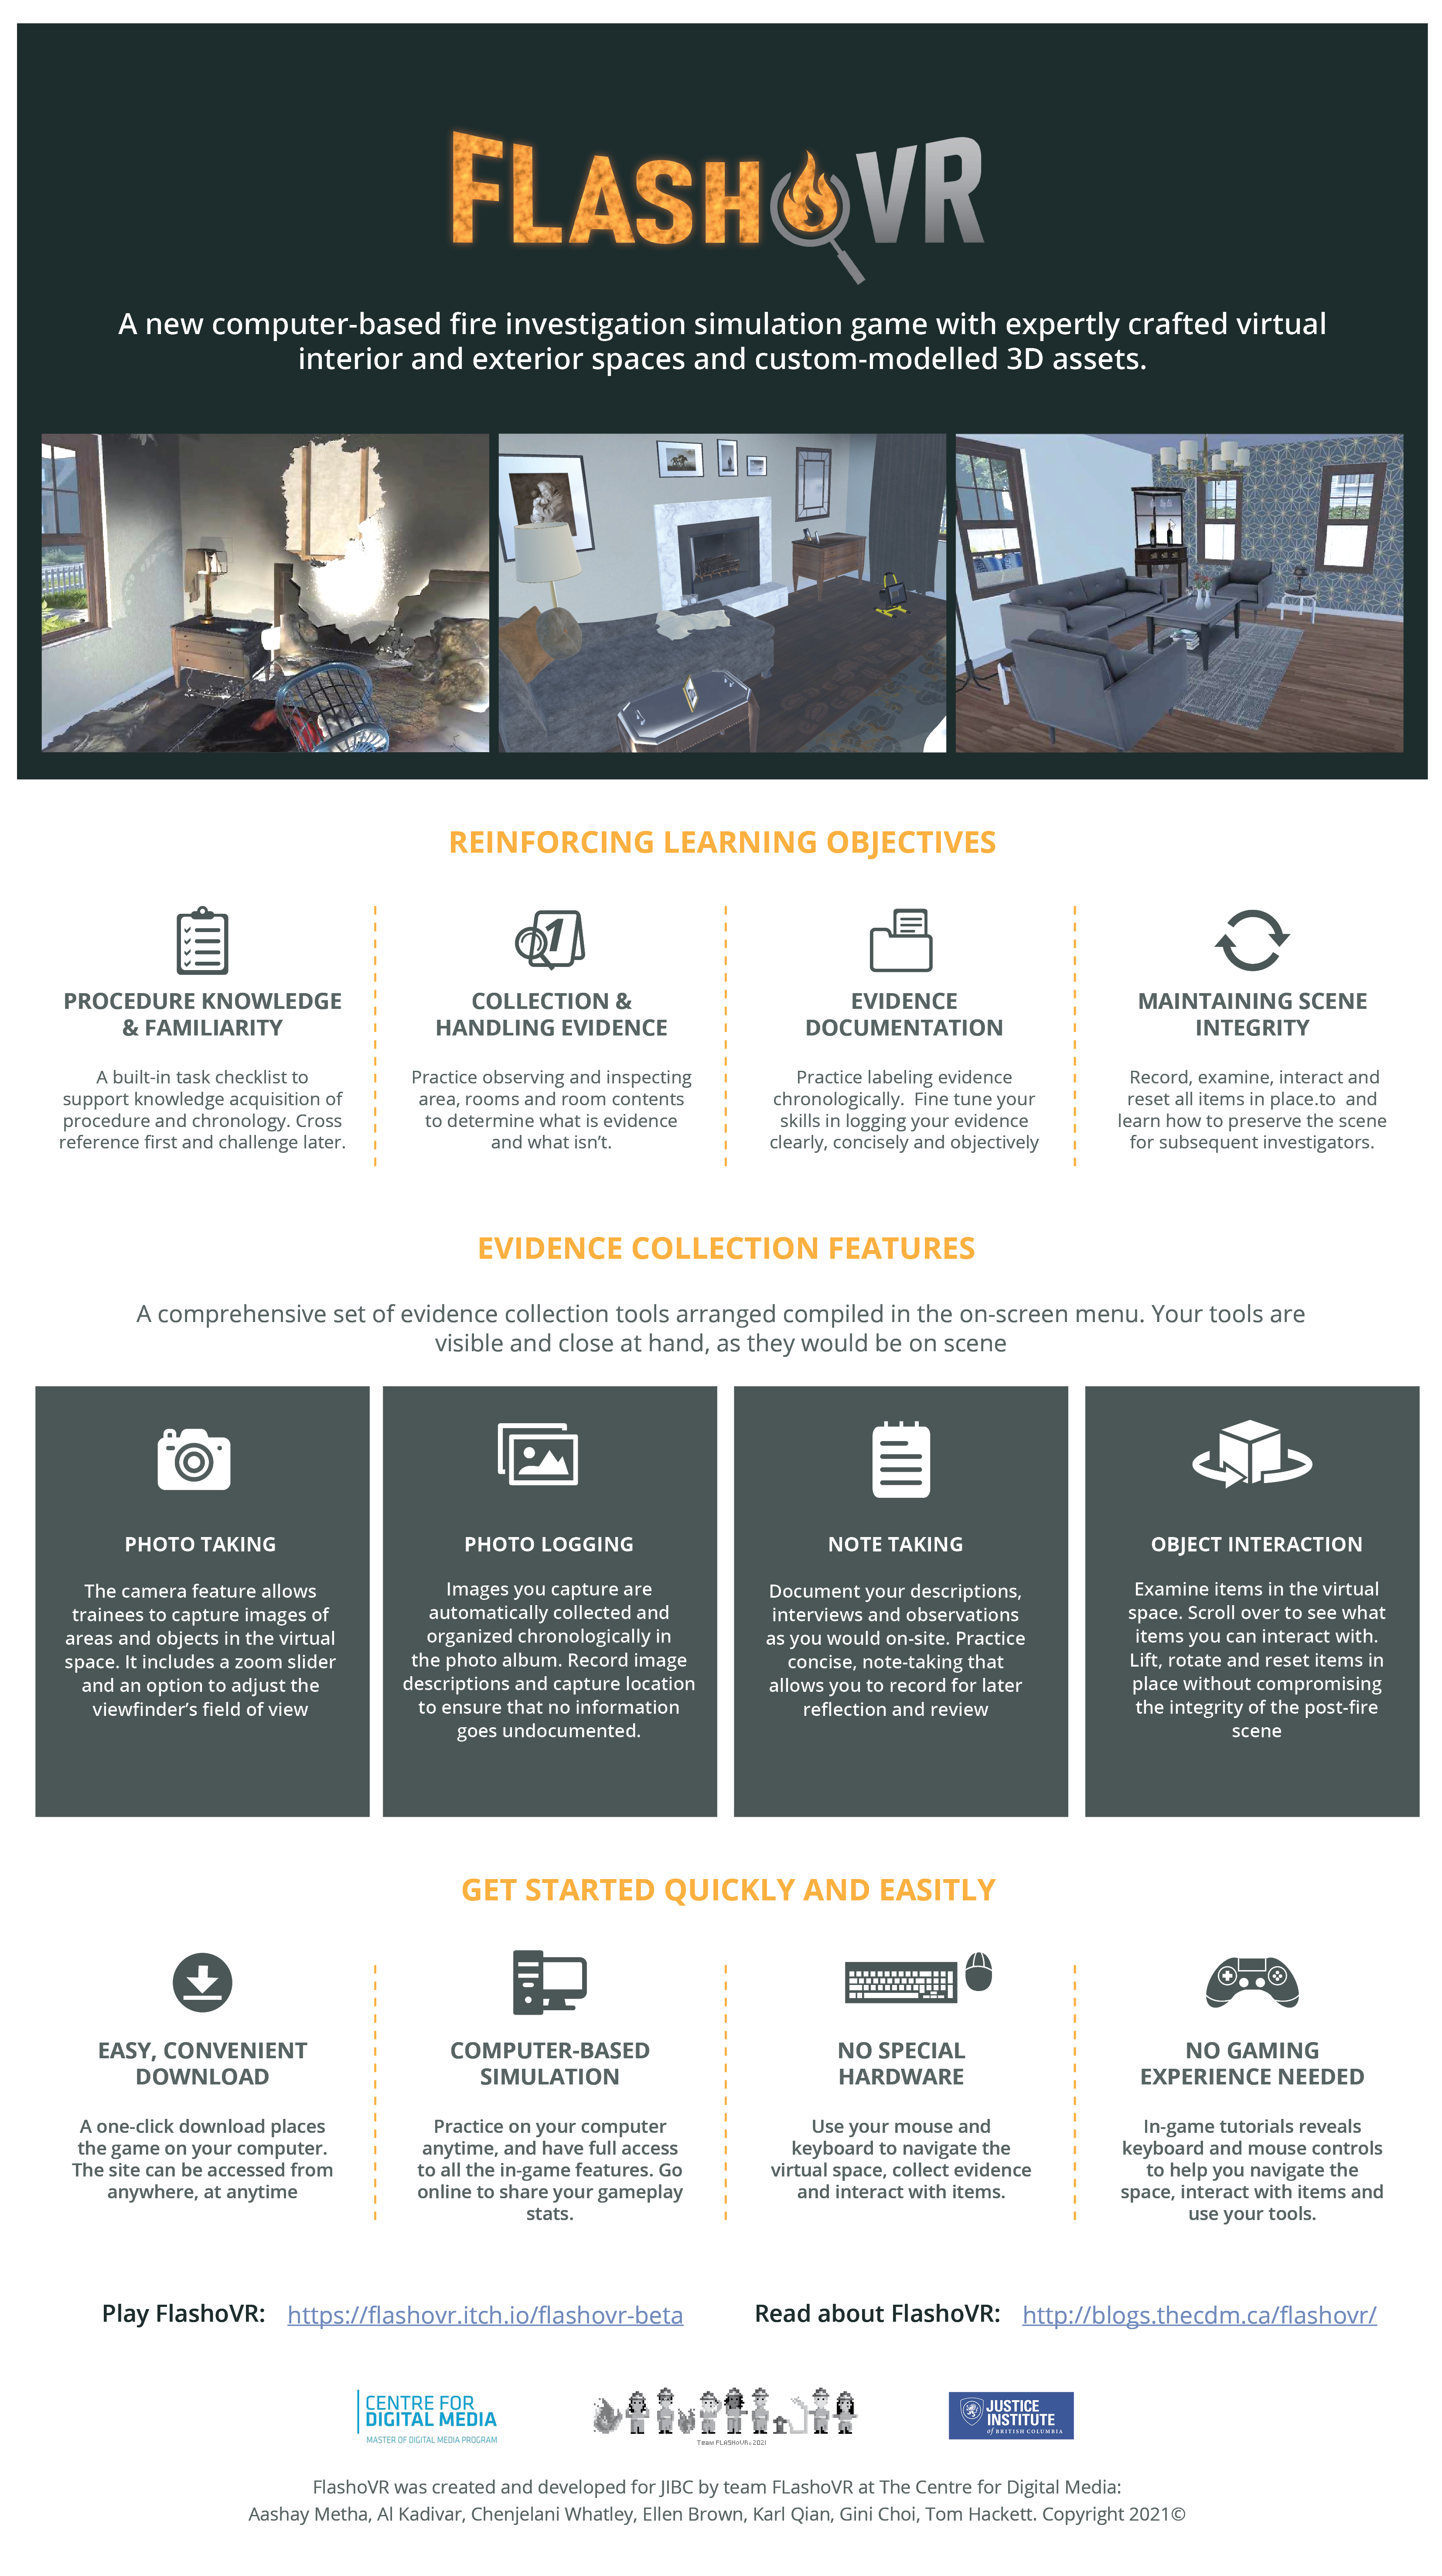
Additionally, within the handover package, the team provided a well-designed infographic to illustrate the main features of the simulation. Kudos to the team again for exceeding our expectations.
Piloting the Simulation
-
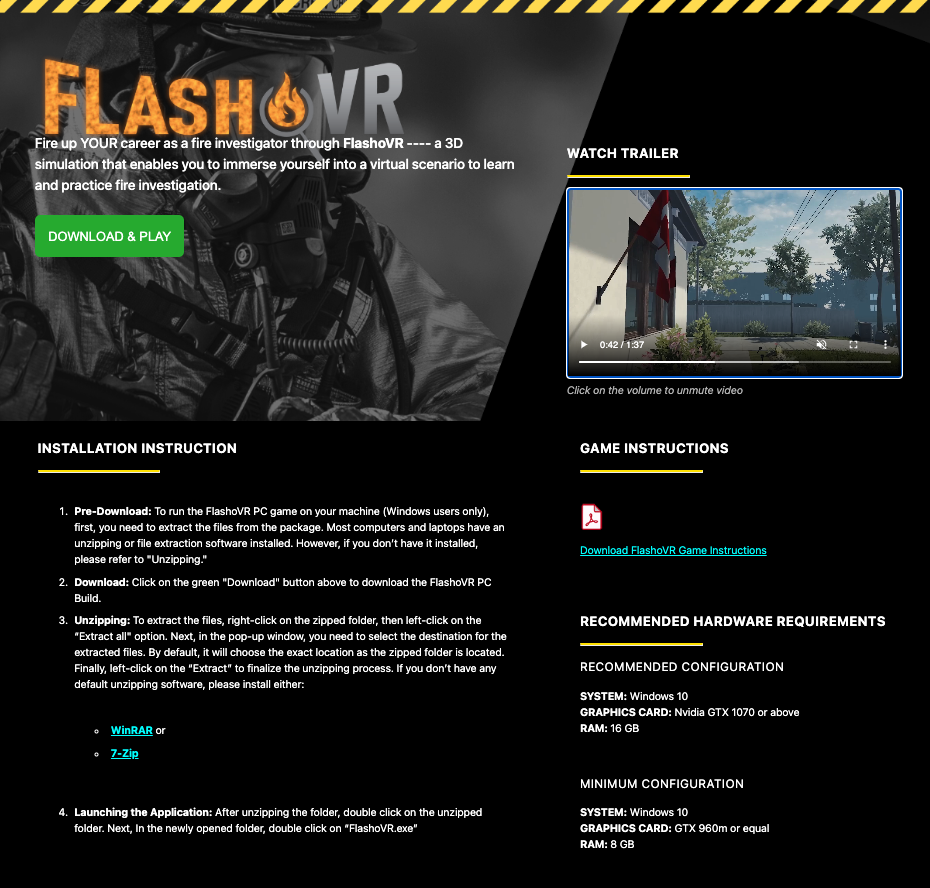
As our ultimate goal is to integrate this gamified simulation into the firefighting program, we decided to pilot the simulation in an upcoming course section.
-
Kavita and Dennis from our CTLI team designed an HTML page that includes all the necessary information for the learners.
Pivoting Based on User feedback
-
Through the pilot, we collected and analyzed students’ feedback and found that one of the main issues is that students had a hard time downloading, installing, and accessing the simulation, especially for MAC users.
-
Even for those who were able to access the simulation, the simulation can be choppy depending on the performance of users’ computers. In short, our analysis suggests that we need to address the accessibility and usability of the simulation.
-
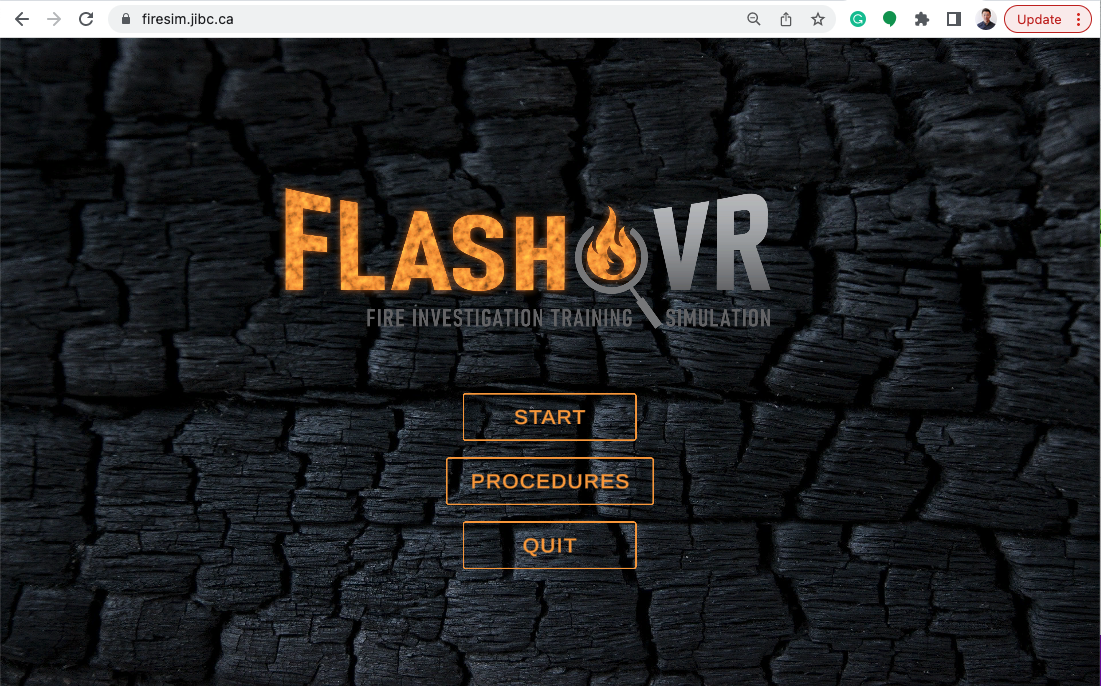
While users acknowledged the potential of this fire investigation simulation, a better solution is needed. Upon discussions with our team, we decided to convert it into a web-based simulation while improving its usability within the simulation.
A New Direction
-
With a limited budget, we worked with a CDM alumnus, a software engineer with a passion for health and education simulations, to convert the simulation into a more accessible web-based solution.
-
The first prototype of the web-based solution was completed in July 2022, followed up with user testings that aim to assess its accessibility and usability.
-
User testing suggests that simulation loading and responding speed, navigation and wayfinding are key areas for improvement, along with other minor adjustments needed. For a more detailed testing report, please refer to Fire Sim User Testing Report – Aug 2022.
What Next?
Design is a craft and sometimes a never-ending process. We have identified a list of achievable changes to improve user interaction and overall user experience. We are also hoping to pilot the web-based fire simulation in an upcoming course and continue to collect feedback from users for improvement.
What are the lessons learned?
- Pivoted a few times, from the original idea of a VR application, to computer-based, and then finally web-based, we learned again that a good design needs to be firstly accessible and then usable.
- User research is a critical task that should never be overlooked, as the False-Consensus Effect suggests: we are not users and we should not assume users will behave similarly.
- Looking at the big picture, this simulation has a powerful impact on the overall course design: assignments and relevant instructions need to be adjusted accordingly; instructors will play a key role in supporting students when a new tool is introduced.
 (Credit: Junsong Zhang, Project Manager)
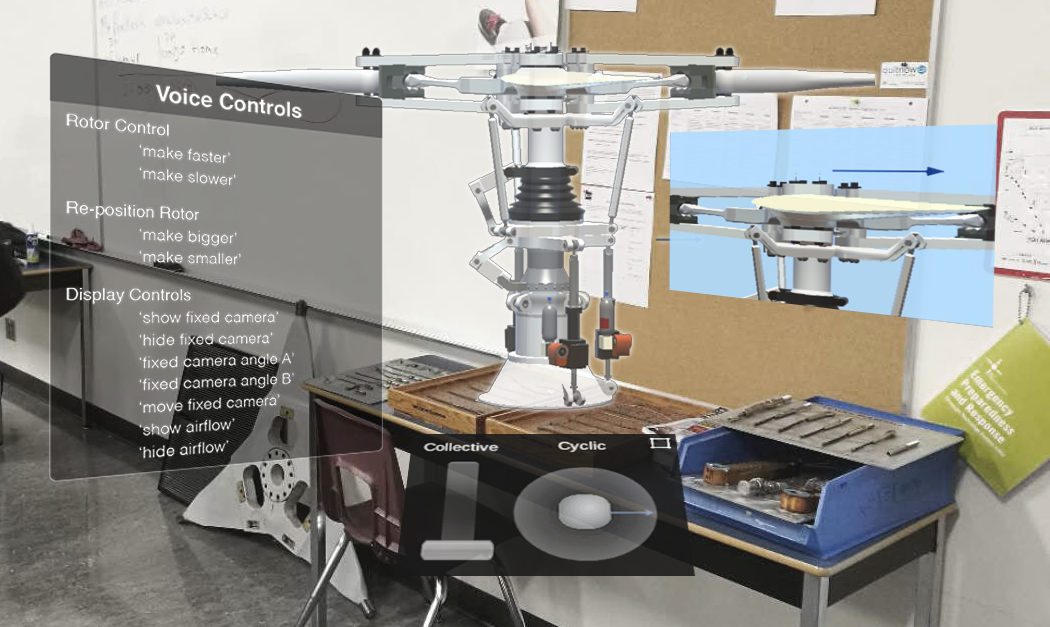 (Image Credit: John Bondoc, UX/UI Designer)