
As a WaterLogger, you will receive a sample kit that looks like this:
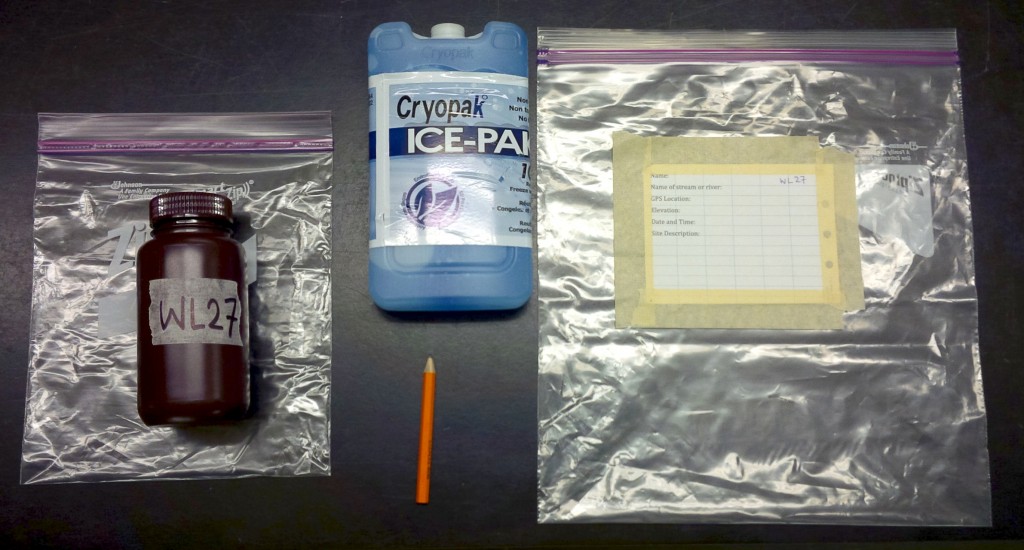
Photo credit: Morgan Haines
Instructions printed on waterproof paper about how to take a sample (same as below) are taped to one side of the ziplock bag. As well, a sample tag on water-proof paper is taped to the other side. This is where you will write all of the information we need about the sample you collect.
In the ziplock back, there will be:
- A clean, labelled plastic bottle for collecting water. Do not take this label off!
- A pencil for writing information on the water-proof paper tag on the ziplock bag.
- A freezer pack to keep the collected sample cold.
How to collect a water sample:

- Place the provided freezer pack in the freezer, and place it back into the sample bag before you go to collect.
- Choose a suitable sample site. Great sample locations are streams and rivers big enough where water is actively flowing – hopefully deeper than the height of the bottle.
- A great sample location is safe and easy to access. If the water is fast flowing, and/or has a number of obstructions like log jams, do not enter it – if in doubt, do not enter the water. Always watch out for slippery, wet surfaces. Remember that your safety is the #1 priority!
- Take a picture upstream, downstream and across from where the sample will be taken.
- On the sample bag, note the date, time, your name, and the name of the stream/creek.
- If possible, note the GPS location and elevation.
- Write a short description of where you are taking the sample. Include any information that will help us find where you are, as well as things that you note about the area around and upstream of where you are sampling.
- Example: Streamwater sample from 21 Mile Creek in Whistler. Sample taken upstream of parking lot from Alta Lake Road, on west side of the creek. Note that the creek still has some snow on it. Upstream, 21 Mile creek goes into protected watershed for Whistler’s drinking water, with relatively little human activities (hiking trails mostly, some snowmobiling). Lots of fairly old forest around, mainly Douglas Firs. Very nice day! Sunny and about 5 degrees Celsius outside. Sample taken around 2:00 PM.
- Take the bottle out of bag, and rinse the bottle and cap at least three times with the streamwater. Make sure that you rinse it well, and all of the surfaces inside of the bottle and cap have been rinsed.
- To take the sample, go slightly upstream of where your rinsed the bottle, point the open end of bottle upstream, and try to submerge at least 10 cm below the surface of the water. Try and get as close to the middle of the stream AS IS SAFE, and try and sample from flowing water (not pools at the side of the stream).
- Be sure not to disturb sediment at the bottom if the stream is quite shallow.
- Fill bottle all the way full so there is no air in the bottle. Cap and place in bag.
- Make sure bag is labeled with date, time, your name, the stream name, and the sample description.
- When you get home, put the sample bag into your fridge as soon as possible.
- Return your sample to WaterLogged.
Thank you for participating in WaterLogged!
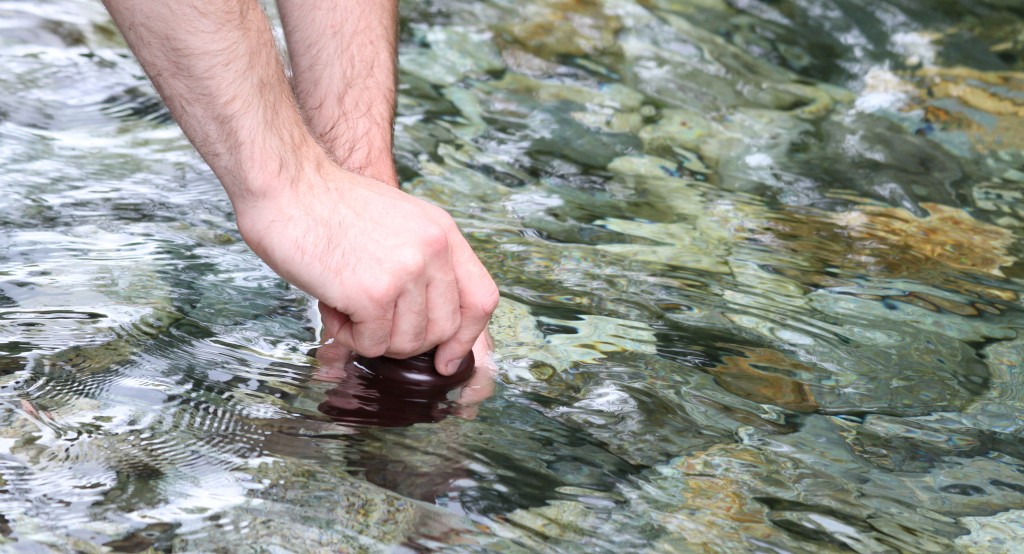
Photo credit: Jenny Labrie
 Follow