Monthly Archives: March 2014

Project Implementation and Organization

Out of the two groups working on this project, we made efforts to split the workload equally within all members. A total of 50 injects (written and pictures) are required for the client therefore each group was given the task of producing around 25 to 30 injects. There are two main tasks for this project, creating the injects and delivering them to the client.

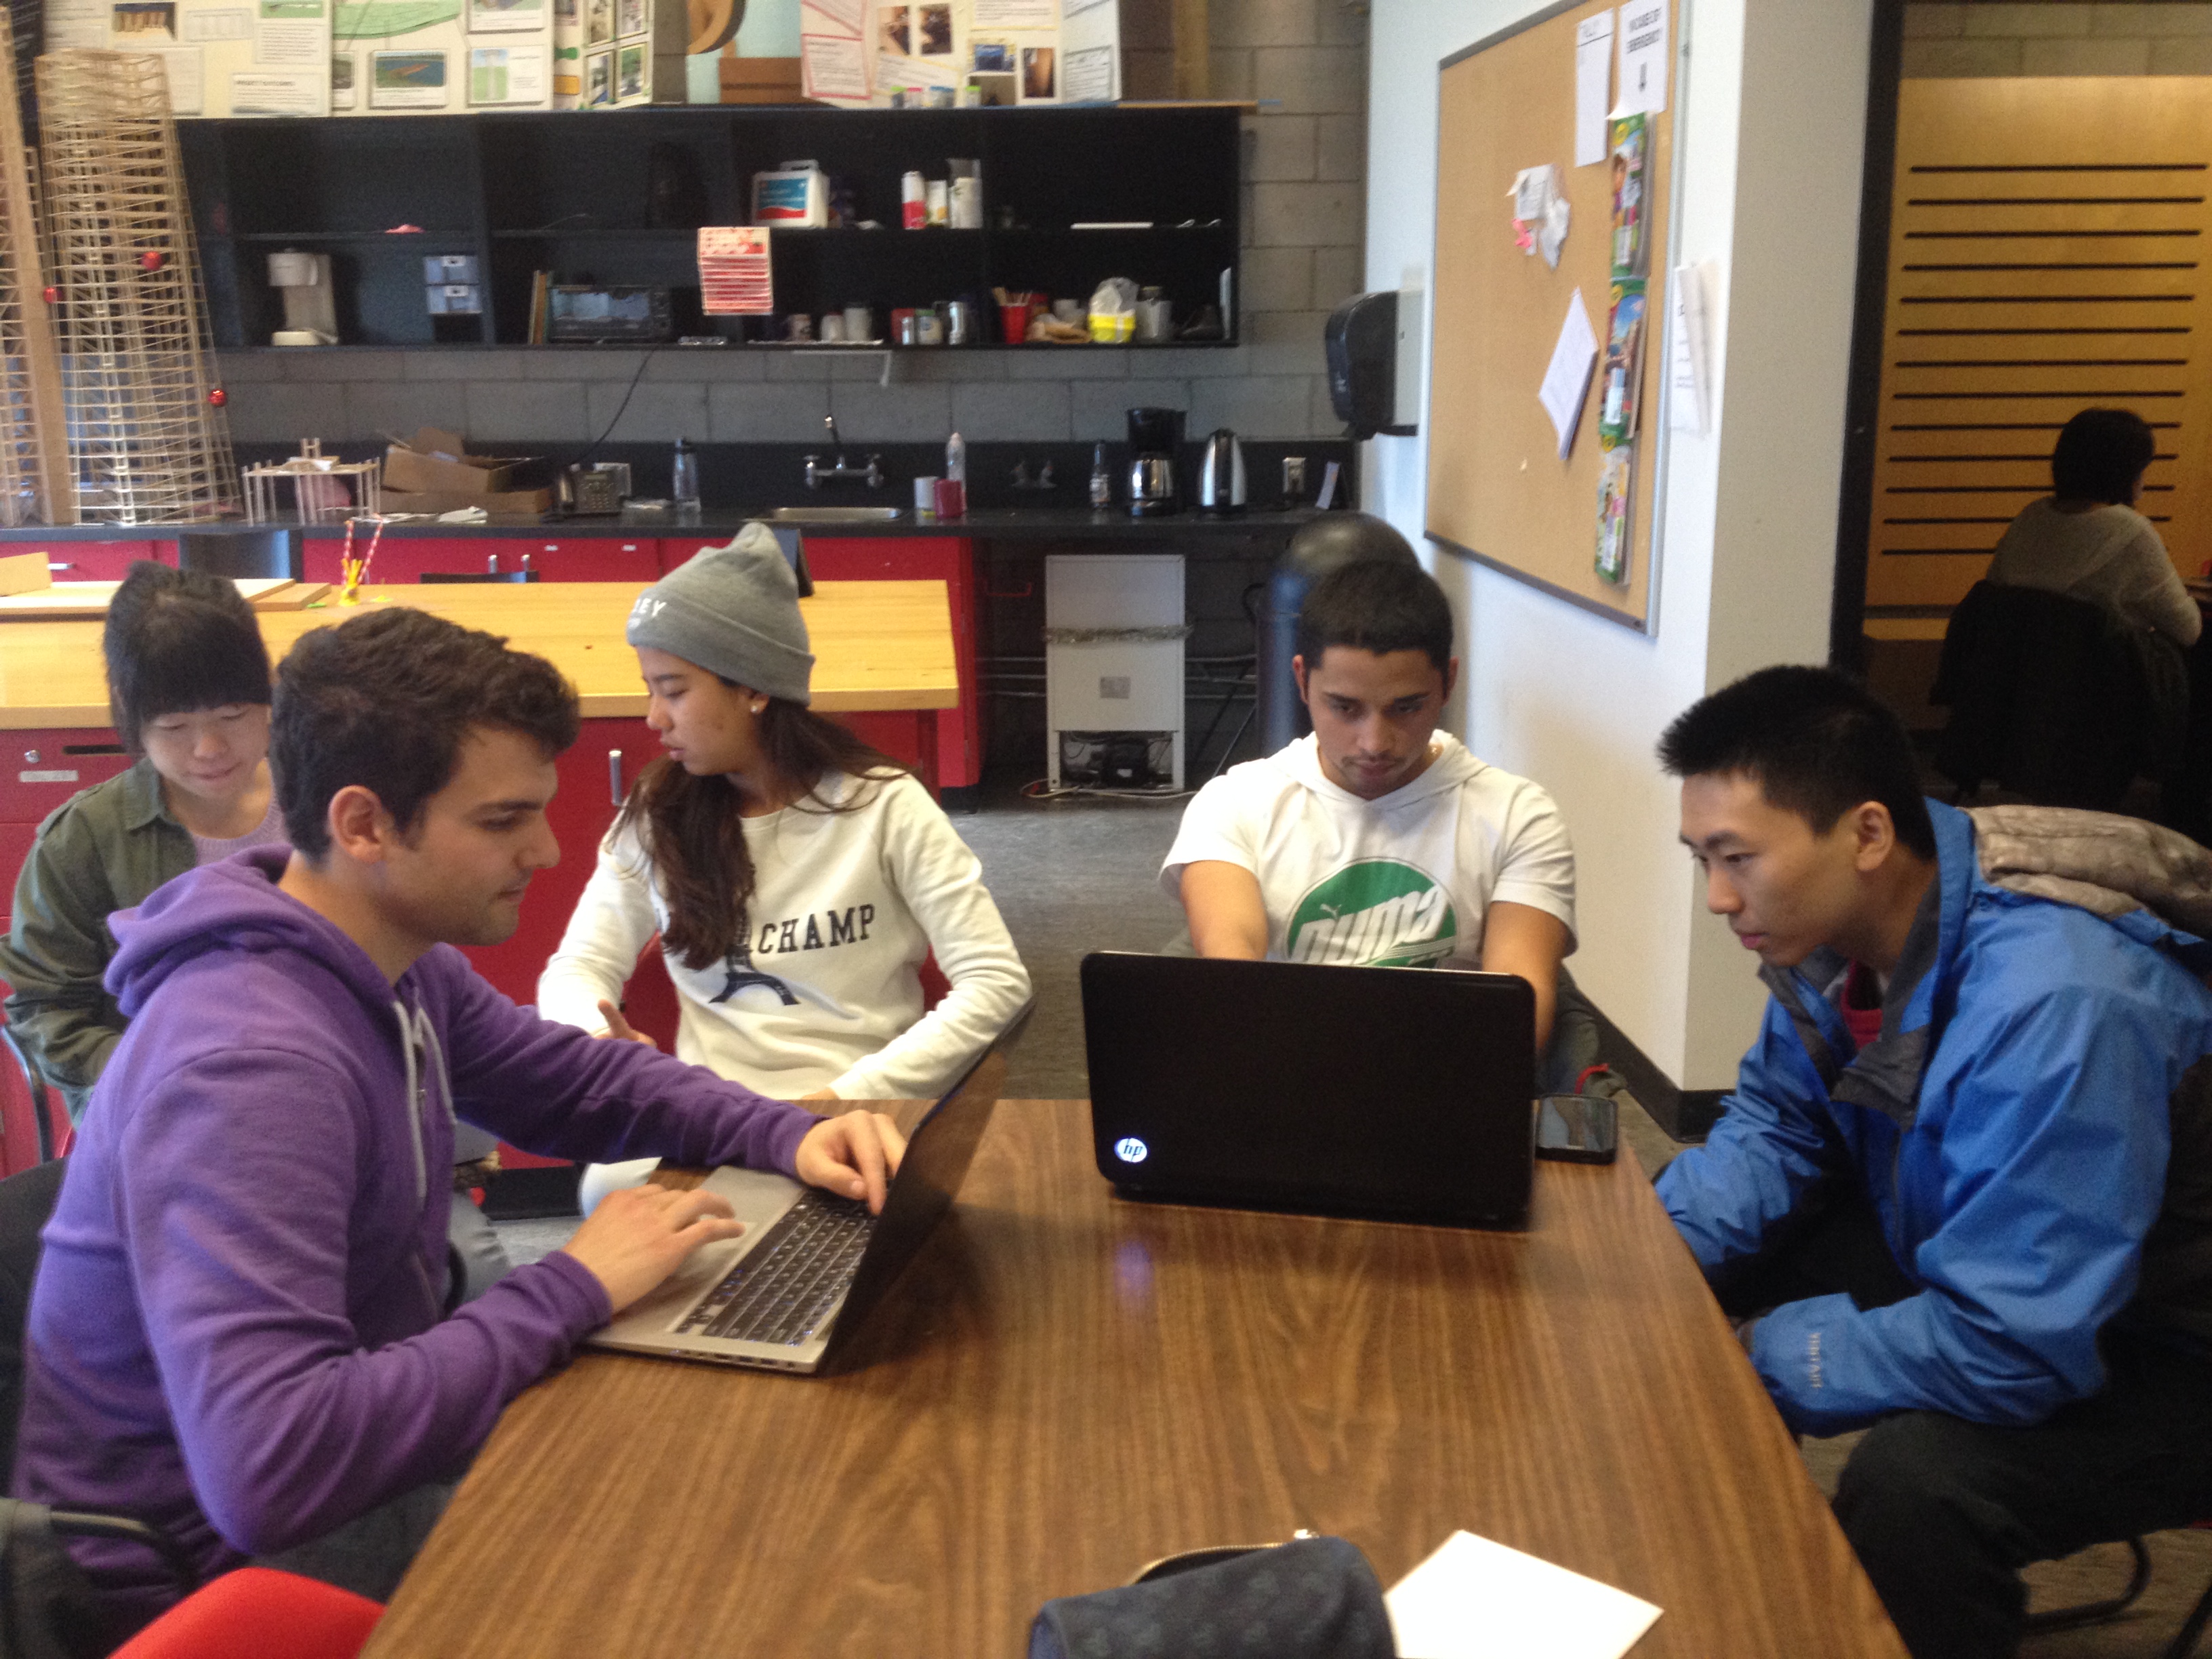
The team, hard at work.

Preparing Injects

  • Completed by: each group member
  • Resources required: Software – Photoshop (free trial version available), Word
  • Time required: 30 minutes per inject = 3 hours per group member
  • Timeline: March 10 – 20

Both teams met and brainstormed a list of 50 sites for simulated earthquake damage. Once completed, this list was divided in half, 25 sites for one group and 25 for the other. Then, the sites were divided evenly among group members. Each group member was made responsible to some photo and some written injects for a total of 5 or 6 injects each.

The group member responsible for an inject must research the site, compile a photo if required (from Google Street View), perform the Photoshop work or create the written damage description, then upload the completed inject to a shared Google Docs folder.

For resources, this task requires software and time. Word and Photoshop are the primary tools. All group members already have Word installed, and a free trial version of Photoshop is available, so there are no financial costs. Each inject is estimated to take 30 minutes for a total of 3 hours per group member.

This task does not present any significant risks to group members, nor are there safety issues. However injects must be kept confidential since their public perception could raise alarm and potentially negatively impact any private businesses depicted, or could be perceived as a threat.

Presenting Injects to NSEMO

  • Completed by: each group member
  • Resources required: Software – Prezi or PowerPoint
  • Time required: 5 hours preparation and 3 hours delivery
  • Timeline: March 24 – 28

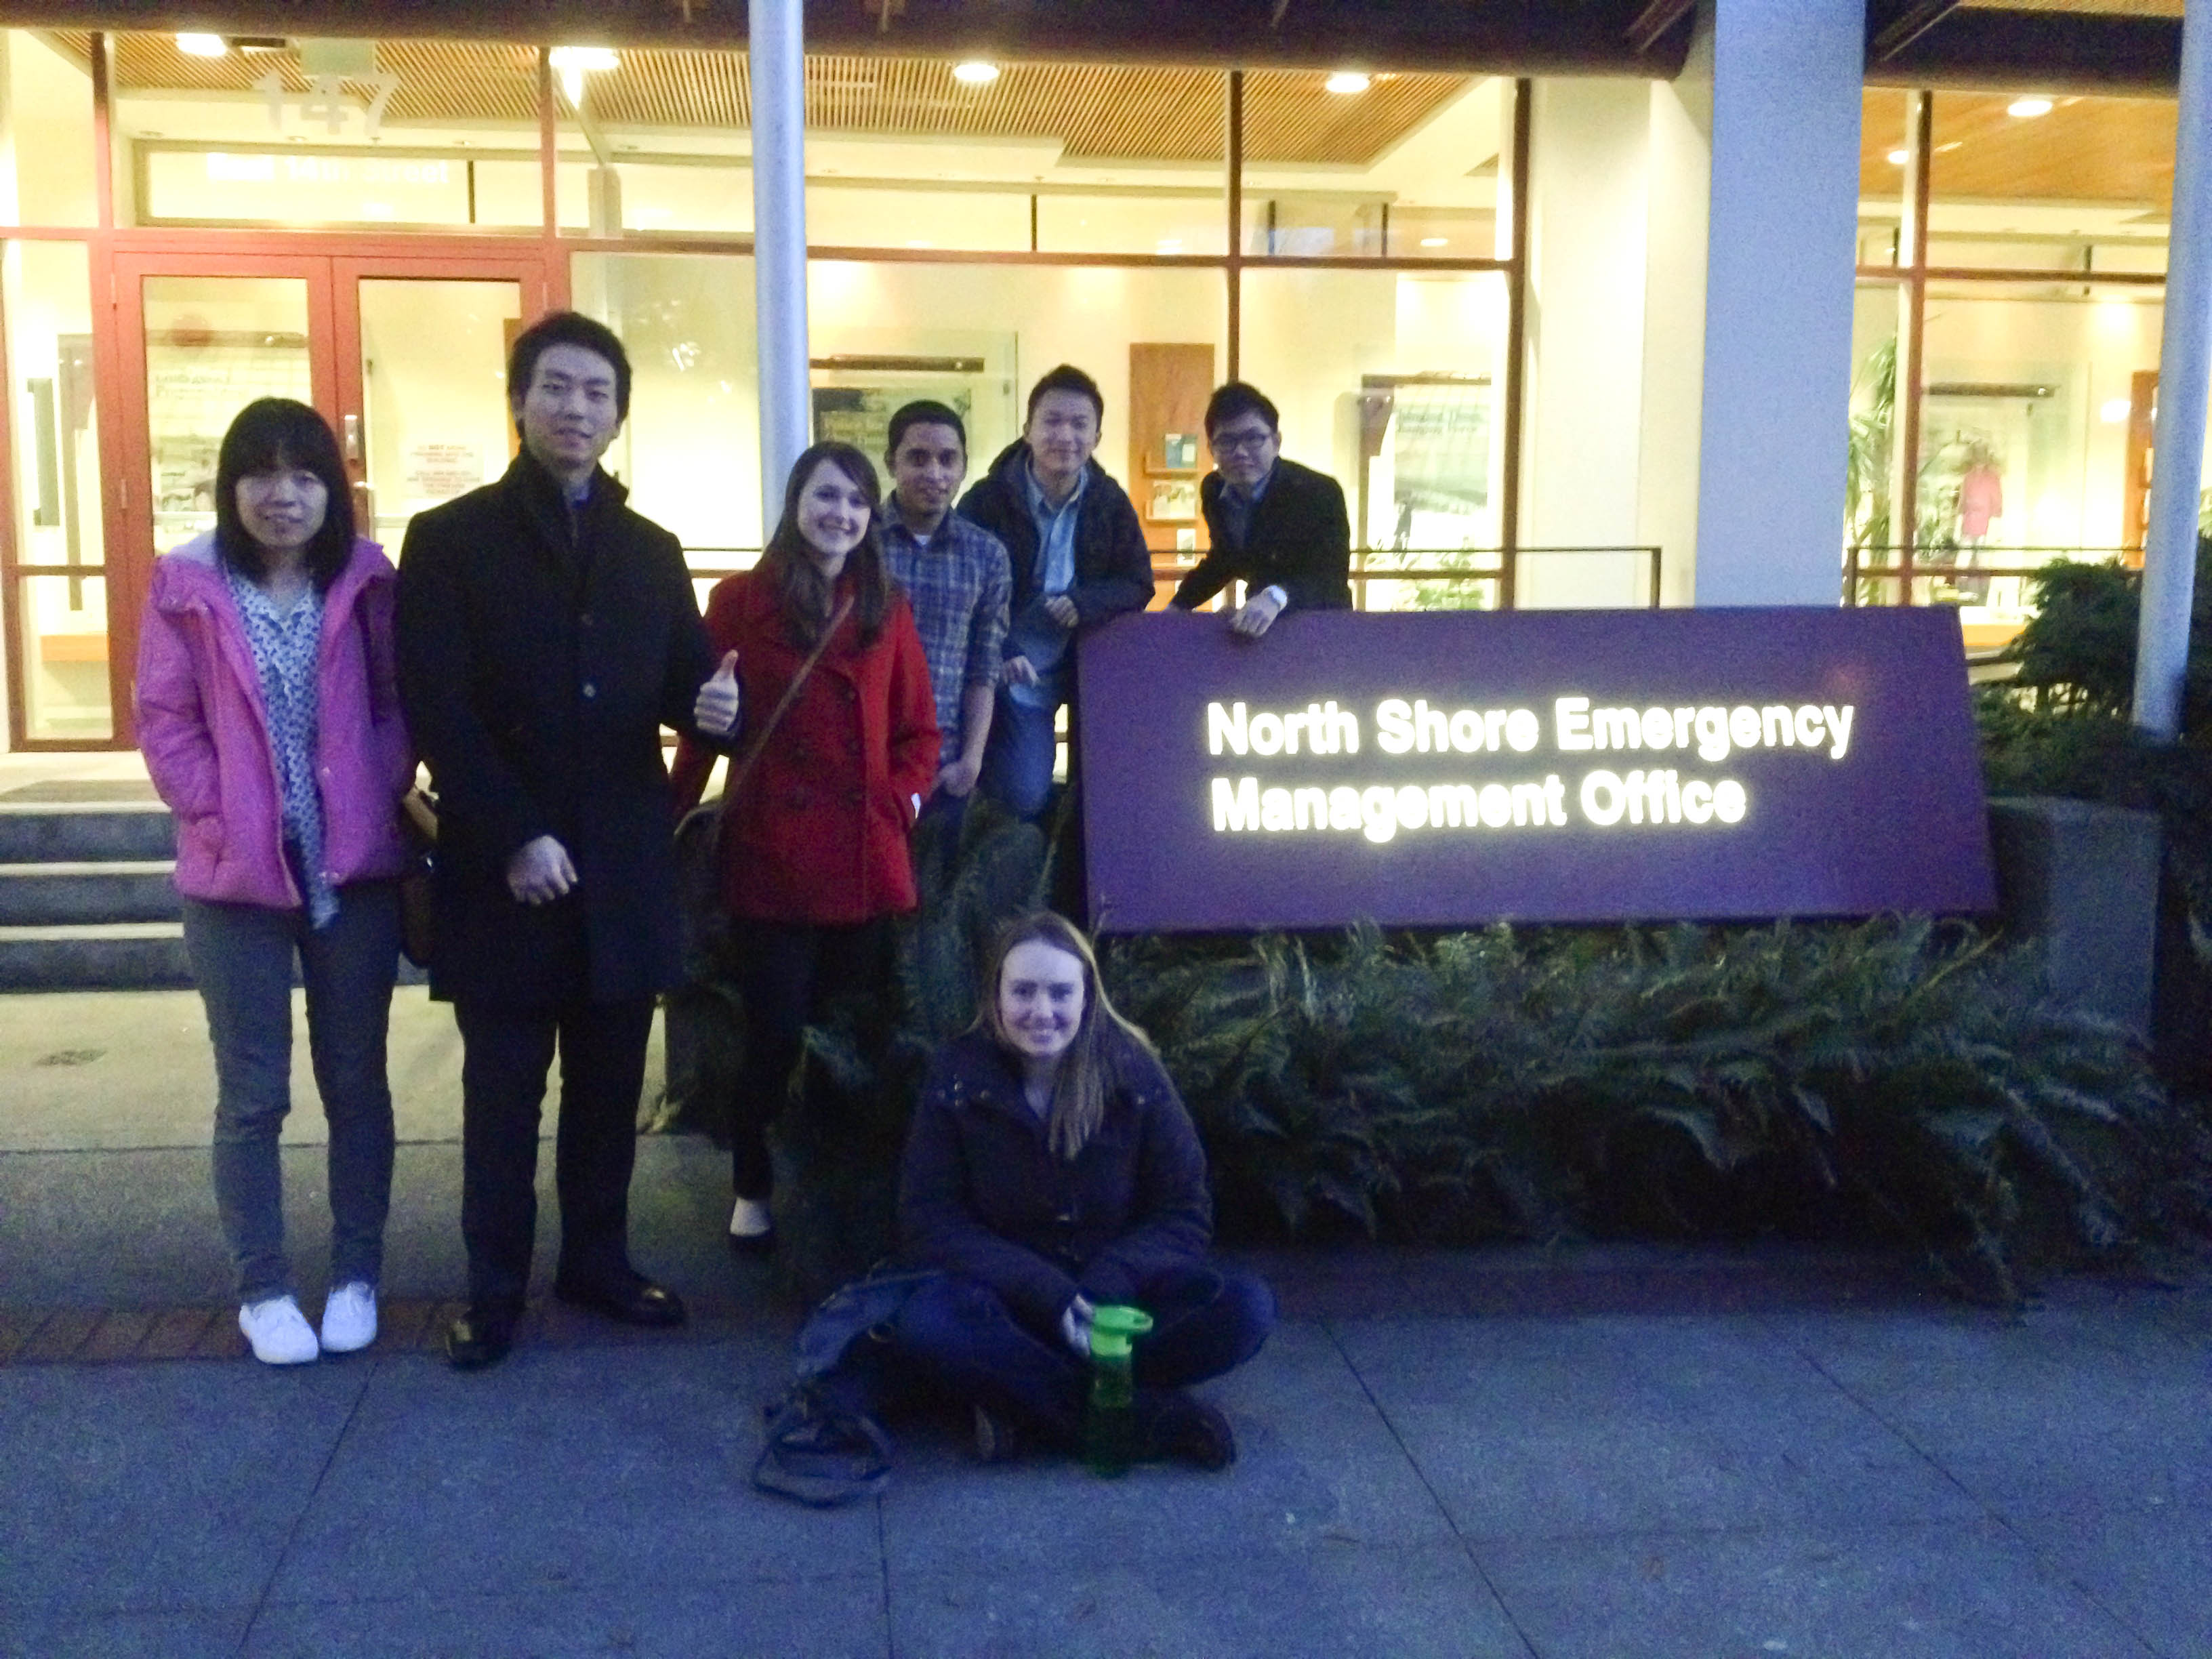
NSEMO has requested we deliver a presentation to them with our injects. We will be compiling this presentation as a group, and all team members will participate equally. We are waiting to hear from NSEMO on the presentation date, and we will be delegating two team members to deliver the presentation. We will be creating and delivering this presentation in conjunction with the other group.

We are currently discussing which presentation software to use, considering Prezi and PowerPoint. These applications are already installed on each team member’s computer, so there is no financial cost.  We expect to spend 5 hours as a group preparing the presentation and 3 hours delivering it to NSEMO, including travel time.

There are no significant risk issues with this task, however it is crucial for us to remain professional when interacting with our client at NSEMO, which means the presentation must be of excellent quality.

Indicators of Success

The number one indication of success is overall client satisfaction. Operation Windshield, the emergency response drill that will use our injects, will take place later this year in June. After receiving positive feedback from the event, we can consider the project successful. In the interim, our client’s evaluation of our work is our guiding feedback. We have been communicating frequently with NSEMO to ensure we are on track.

Process and Milestones

After learning more about NSEMO and the project, we sat down as a group to discuss our next steps. Since our main task for the project is to create 30 injects that will display different scenarios after an earthquake, we brainstormed critical sites where these scenarios can take place. We classified sites as critical if they are crucial to the city’s day-to-day operation such as hospitals, schools, roads, etc.

We also brainstormed on the kind of damages these sites will experience. Our initial ideas for damages included:

  • Cracked walls, broken windows
  • Blocked roadways
  • Indoor pipes bursting
  • Spills and leaks
  • Power outage
  • Small fire

Once we had gathered our thoughts, we met with the other team working with NSEMO to share ideas and divide work. We first combined our initial critical sites and damages list with that brainstormed by the other team, and then we sent our preliminary list to NSEMO for feedback and approval. We discussed dividing the sites between our two teams by geographic location.

Once we received the go-ahead from NSEMO for the sites we selected, we met again with the other team to finalize the list of sites and the simulated damage for each site. In the end, we achieved our goal in creating a list that contained 50 sites with different damages.

The inject will show a critical site, like this bridge, with a manipulated earthquake damage (Photo: Google Street View)

We narrowed down our list of sites and damage based on possibility of the envisioned damage occurring, site significance to the city, and the urgency of response the site should receive. For example, we chose a hospital that will experience power outage over a restaurant that will have cracks on its walls.

Another crucial decision was how to obtain the photos needed to create the injects. When compiling our list of sites, we had used Google Street View to virtually visit potential sites and check their viability for simulated damage. We were very impressed with the images in Google Street View and decided that we would use screen captures from it as much as possible. Any photos that we cannot obtain from Street View will require an in-person site visit to take the photo.

Timeline and Milestones

 We assessed our client’s deadlines, due dates for the CIVL 202 course and our overall workload to compile a plan of action for completing the project. The plan is reflected in the Gantt Chart below. Completed milestones are indicated in gray and upcoming in blue.

Our Gantt Chart, showing timelines for project phases (please click to enlarge)

Timeline Overview:

  1.  Meet with NSEMO for project details* – February 4
  2. Create action plan – February 10-14
  3. Create list of inject sites – February 17-28
  4. Delegate sites and editing -March 3- 7
  5. Compile pictures of critical sites – March4-9
  6. Complete set of pictures* – March 9
  7. Editing of Pictures – March 10-14
  8. Write Descriptions – March 10-14
  9. Compile all injects – March 17-22
  10. Deliver injects to NSEMO* – March 24
  11. Create poster for presentation – March 24-31

*Key milestones

Meeting with NSEMO

We met with our client, the North Shore Emergency Management Office (NSEMO) to gain further information on the project. The meeting took place at NSEMO headquarters in North Vancouver, which provided us with a chance to tour their facilities such as the emergency operations centre room where applicable parties would assemble in an emergency, and a radio broadcast room which is also used by an amateur radio club in non-emergency times. We were joined at the meeting by the other CBEL team working on this project, who we will be working closely with.

The group at NSEMO headquarters

About NSEMO

NSEMO manages emergency response for the North Shore, covering three municipalities: City of North Vancouver, District of North Vancouver and District of West Vancouver. If an emergency such as a natural disaster arises, NSEMO mobilizes to ensure citizens are safe and that appropriate response measures are undertaken, fulfilling its mission “to serve and support the North Shore municipalities and citizens in preparing for, responding to, and recovering from emergencies and disaster” (retrieved from nsemo.org).

Our Job

As mentioned in the last blog post, we will be helping NSEMO prepare for an earthquake response drill. In a simulated earthquake to take place in June 2014, municipal personnel will drive around and perform a windshield assessment, where they observe damage and report it back to NSEMO’s operation centre.

At the meeting, we learned about our particular role in this project and the deliverables. During the earthquake simulation, responders will drive to a location and open an envelope that describes observed damage. We will be preparing these damage descriptions, referred to as injects. Injects can be in several forms:

  • Written descriptions of damage
  • Altered photos of a site with simulated damage added
  • Altered videos of a site with simulated damage added

NSEMO has requested 30-50 injects between our group and the other CBEL group. Injects must correspond to locations across North and West Vancouver and should reflect primary earthquake damage such as cracked buildings and roads, ground settlement and industrial fires (and not secondary effects such as landslides, flooding, etc.). NSEMO requires the injects in time for their June 2014 training exercise, however we will need to complete the project before then to meet the timelines of our CIVL 202 course.

Next Steps

We now have the information we need to start the project. The next steps are as follows:

  1. Determine intermediate milestones and set timelines
  2. Divide responsibilities with the other CBEL group
  3. Identify team members who can make particular contributions (e.g. Photoshop skills, owns a car to drive around and take photos)
  4. Identify damage sites and review with NSEMO
  5. Collect photos and compile injects

We are working closely with the other CBEL group and have created a shared Google Drive for transfer of information. We have also been having weekly meetings to work toward completing the project.

That’s all for now! Stay tuned for our next blog post which will outline project timelines and intermediate goals.